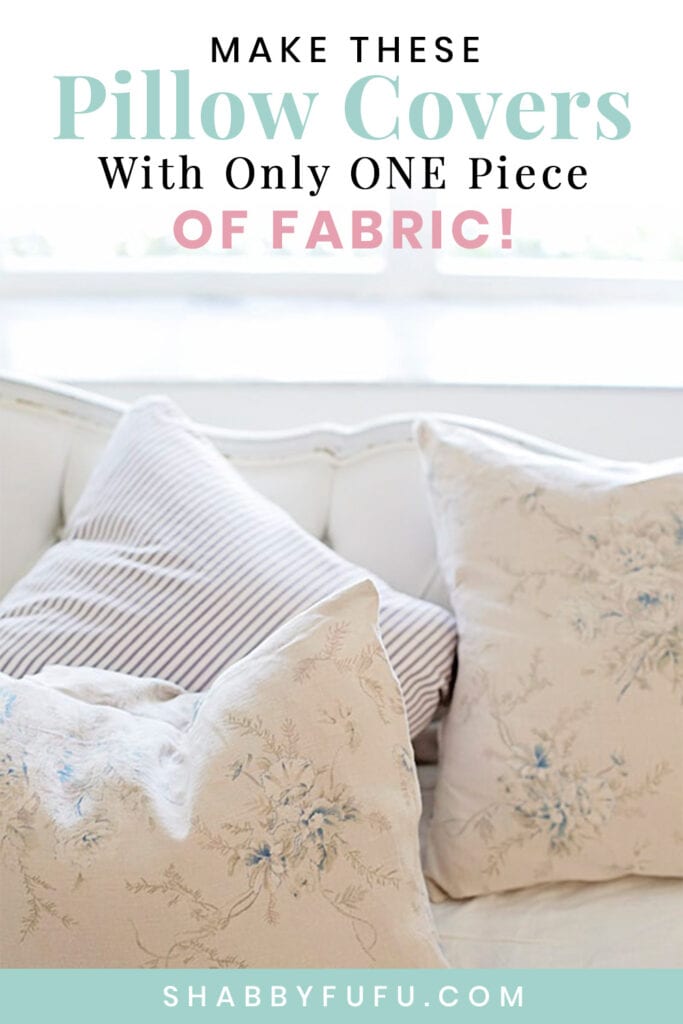
Who doesn’t love an awesome pillow cover? You are in luck!!! Today, you’ll learn all about how to make one super fast, and it’s super easy as well!
I have a quick tutorial today if you are like me and love to have lots of pillows around to change up the look…Pillow covers are a great way to give your home a seasonal or colorful update with ease!
EASY and FAST Pillow Cover * Sewing 101
Over the weekend was like many around here with running around doing errands and projects. We started out on Saturday morning going out to breakfast at our favorite local restaurant. The kind where everyone knows your name and you are friends with all of the servers. Those are the best kind.
After breakfast, I dragged my husband along to a neighborhood~wide garage sale that is held 2x a year. Since I’m not really looking to collect anything else and I don’t need baby items or used clothing or shoes {yep, it was that bad!} after stopping at about 20 homes I was empty-handed and so was the truck:~{ We then went off to the grocery store to stock up on some weekend goodies, like wine and these pretty birthday week flowers.
But then I saw something and said: “Honey, hit the brakes”! I spotted this out of the corner of my eye and it was at a small garage sale that was in another neighborhood all together just steps from the grocery store.
A vintage settee, that isn’t an antique..Probably from the ’60s with the upholstery ripped off and waiting for restoration. The seller was asking $50, but I got it for $35 and honestly, I don’t think that she had much traffic that day so was happy to take the cash. I was happy to take it off her hands!
I plan on recovering and painting, and this is my muse.
I sew and like many of you I’m self-taught and learned before the days of YouTube or blogs by lots of trial and error. Over the years I’ve made draperies, pillows, clothing, and even my kiddos nursery quilts and all of that baby stuff…so it’s been a lot of time on the sewing machine…
I’m an admitted impatient person and it spills over into sewin. BUT, this is the EASIEST WAY EVER to create pillow slips quickly.
I have made MANY this way and you can be a super lazy “sewer” (or if you don’t have a machine) and use
iron-on adhesive tape instead! The machine is, of course, better, so that’s what I will focus on today…
How to make Pillow Covers with Ease
For each pillow slip, I cut a piece of fabric with my
gold scissors about 48″ long by 22″ wide. Place the fabric FACE DOWN and turn about 1/4″ over and then over again on each of the SHORT SIDES. Iron in place and stitch closed. This will make for no fraying and I prefer to do this rather than use my serger for a neater look…
With your fabric FACING DOWN, turn over one SHORT END up about 12″. Then turn over the other SHORT END (that is on the opposite side) over about 16″ to OVERLAP the bottom piece. This forms sort of an envelope with the long sides being raw open edges for now.
Pin the envelope together and then sew your LONG ENDS closed. Your fabric is FACING UP while you are doing this, with the PRINTED SIDES FACING UP.
It’s going to look like the photo below when you’ve sewn down the two long sides.
Remove the pins and turn the pillow cover INSIDE OUT and iron. Sew the LONG SIDES once again with about 1/2″ edge. Be sure to sew around the seam that you’ve sewn before on the long side. Keep in mind that you are going to be turning the pillow RIGHT SIDE OUT when you finish. This is called creating a French Seam. It keeps the pillow cover from fraying when you take it off to wash.
Look how simple it is to sew these pillow covers!
When you are finished doing that, turn the pillow cover RIGHT SIDE OUT, and you will see! It looks so professional and you don’t have to be a stickler for your measurements…so don’t worry:~}
Very easy…and if you haven’t tried this method before you’ll wonder why! If you have any questions I’ll try to help. Just email me or leave a comment with a way to reach you!


This is brilliant, Janet! I am loving the French seams idea. I can't wait to try this. Thanks so much for sharing! Victoria
I am not a sewer and will have to try this. Thanks.
Pretty Janet! Love simple sewing projects, and am self taught as well! Beautiful fabric! Have a lovely week!
Becky
Thank you, Janet. I am pinning this. Really need to make some new pillow covers, and although "the man" doesn't LIKE pillows (yes, I know), we need some freshening up in our home, and this is an inexpensive way to update the decor. Thank you for the instructions!
What a fabulous find. That is a good way to sew pillow covers. Plus the French seam gives it such a nice finish.
Love it Janet….and what a find!!!…I can just imagine the transformation that will occur on that sweet settee…
I just found your blog this weekend and love all your ideas. Love the settee- Look forward to seeing it finished
Beautiful blog post Janet..thanks!! And, Happy Birthday weekend to YOU!! xo Roberta
Love these pillows! Thanks for linking up with Merry Monday!
Your pillow covers are GORGEOUS! I love the fabric you used.
I LOVE the fabric you found! I may have to order some myself. And that settee is to die for! I cannot believe you got it for such an incredible deal.
Cheryl
http://www.rufflesandrifles.com
Lovely! Where do you order your fabrics? I recently made a slip cover for a large sofa. The kids and dogs pretty well ruined the fabric, but the sofa was well made. A first for me! Now for some pretty pillows.I just found your blog and know I will enjoy it. Thank you for your beautiful ideas.
At $35, that is a steal, lovely buy and restoration.
I was just looking for nice but not expensive Euro shams last weekend and can’t really find any to my liking. I had the thought “I’ll make some!” What measurements would you use for a square Euro pillow, or rather, how much extra room do you plan?
I would leave a couple of extra inches on all sides, but it’s personal preference that I prefer loose fitting slips. If it’s 20″ x 20″ for example I would sew them 22″ x 22″. Hope this helps.