How To Build An Outdoor Fireplace – The Easy Way
This post may contain affiliate links. For more information, please see our disclosure policy.
In this post you’ll learn to build an outdoor fireplace that is an easy project for the diy enthusiast!
This post is sponsored by Spotix. All work, photos and opinions expressed here are my own. As always, use proper care and safety equipment when working with power tools.
We love spending time outdoors and are always looking to upgrade our pool patio and garden! As the weather starts to turn cooler we’ve been looking for a way to add a fire feature to fit our space under the pergola.

We recently added a pool heater to be able to swim year round and upgraded our patio furniture cushions that were in need of replacing. But something was missing. We really need a focal point and decided to do a DIY outdoor fireplace which would be just that!

Outdoor Patio Fireplace Wish List
On our wish list was a modern outdoor fireplace with a wood surround that would be large enough to fill the space on the backside of the pergola area. We sketched out our diy ideas and got together our materials list that I’m sharing below. A must for us was that it needed to be an electric outdoor fireplace, as we wanted to respect the environment and not burn wood or use gas.
Build An Outdoor Fireplace – Materials
- Nine – 2 x 4 at 8′ Long
- Seven – 1 x 6 – Pine Tongue & Groove
- One Sheet – 1/4″ Plywood
- Four – 2 1/2″ Heavy Duty Ball Bearing Rubber Wheels
- Box – 2 1/2″ Deck Screws
- Sandpaper
- Clear Polyurethane Topcoat & Brush
Equipment
- Mitre Saw
- Circular Saw
- Screw Gun
- Nail Gun
- Level
- Measuring Tape
- Pencil, Marker
You might be wondering, how much does an outdoor fireplace cost? We spent a little under $500 for the materials and already had the tools in our garage workshop. The SimpliFire Forum 43-Inch Outdoor Electric Fireplace insert is currently priced at a little over $2,000 and comes with everything that you need. You can choose from the look of 13 ember-bed colors and four flame colors. There are other electric fireplace options to choose from as well.
Build An Electric Fireplace DIY – Instructions

Before beginning to build the outdoor fireplace and cut into the wood, we (my husband, with me as the project manager;-) determined the height of the box that we would build. The finished project would be 42″ high by 63 1/2″ wide by 12″ deep. The advantage of using the outdoor fireplace insert is that it’s not deep, so the box can be used in a tight space as we have here!
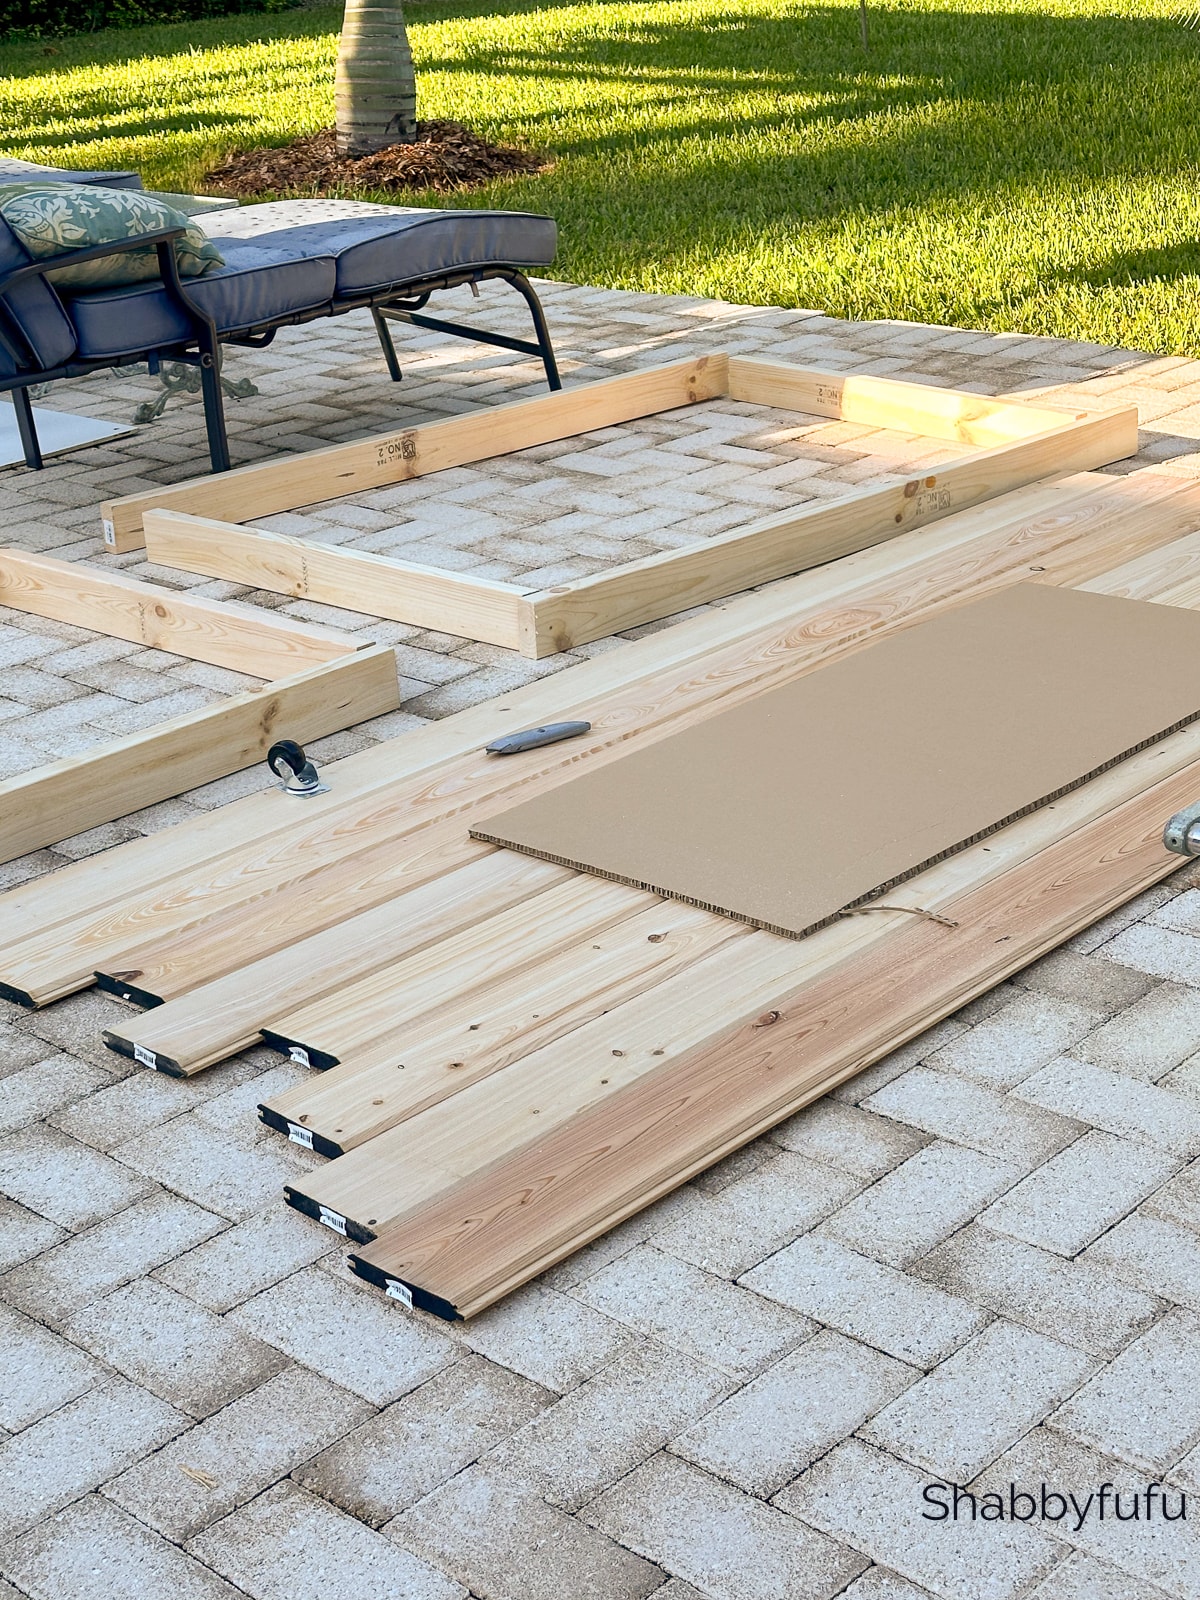
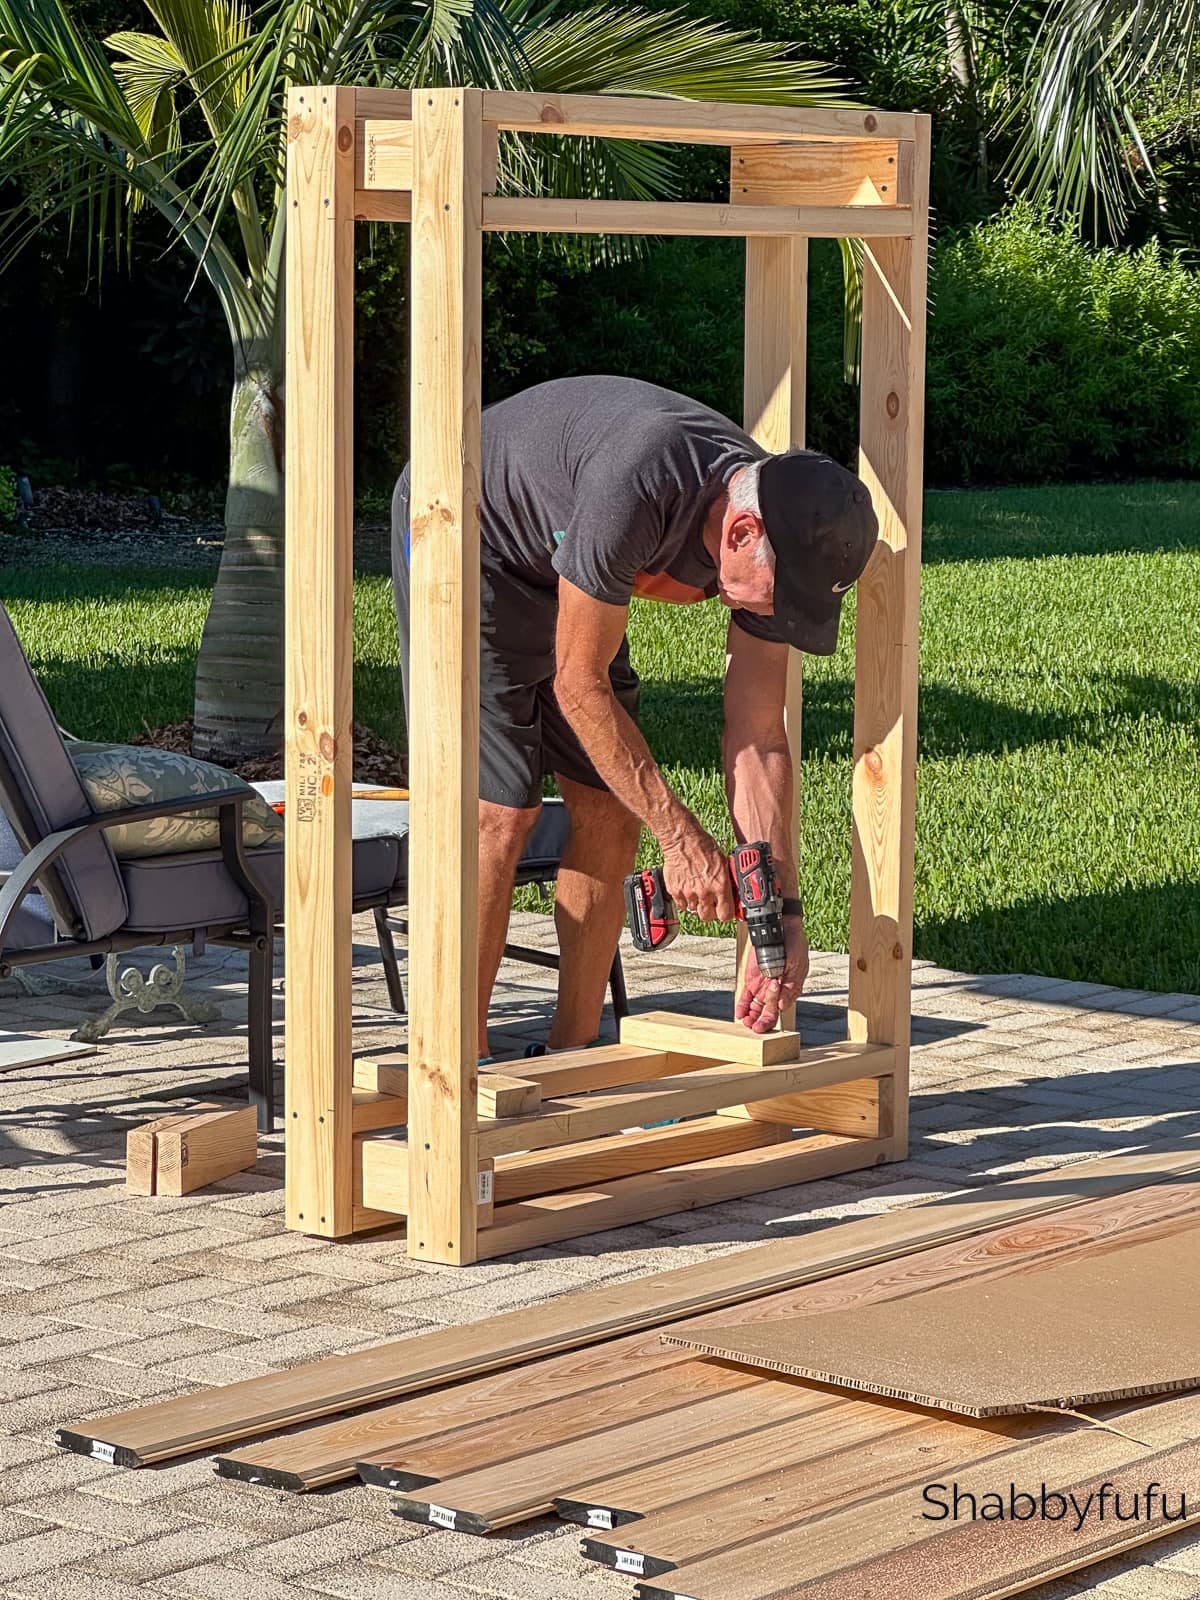
We built a pair of frames that were the same size, measuring 41″ x 62″. These would be for the front and sides of the fireplace frame. Later, we applied 3/4″ tongue and groove to cover the box.

The next step was to build the support frame for the Simplifire fireplace.

Then the front and the back were attached with a 12″ long 2 x 4, one on each corner.
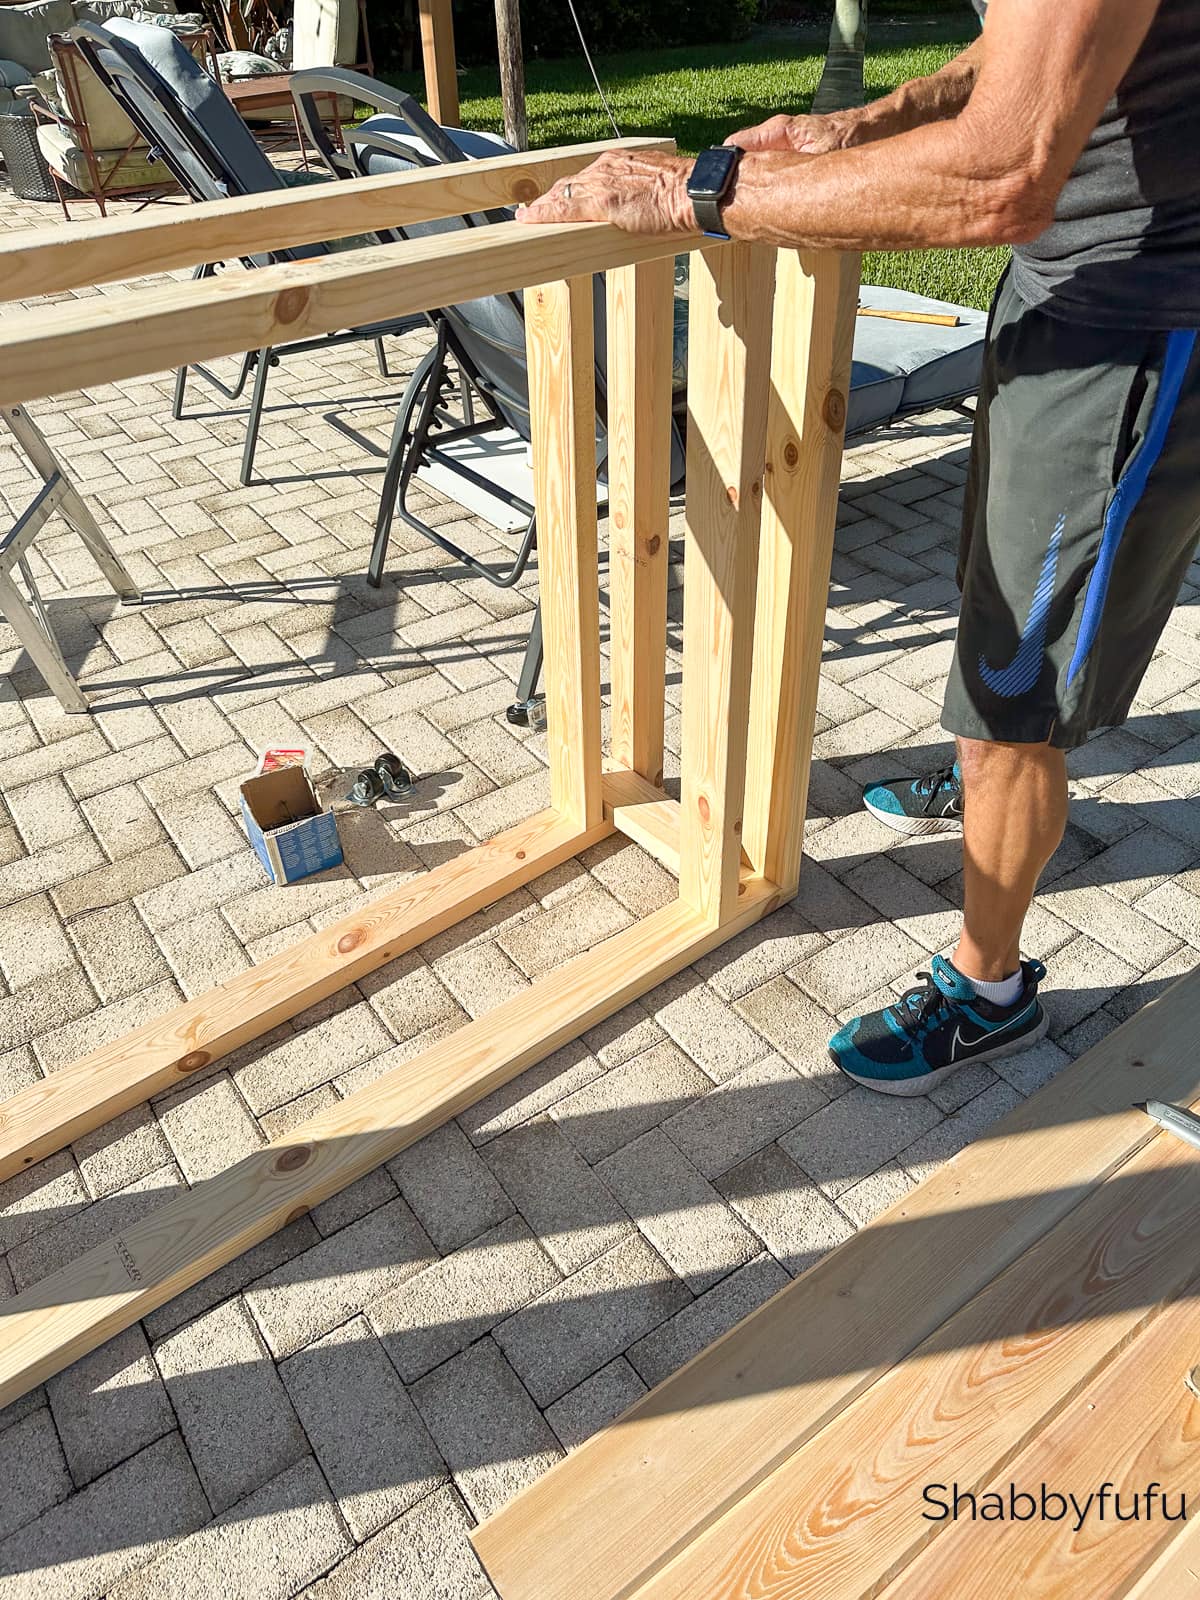
The exterior structure is now complete and is ready for the fireplace support.
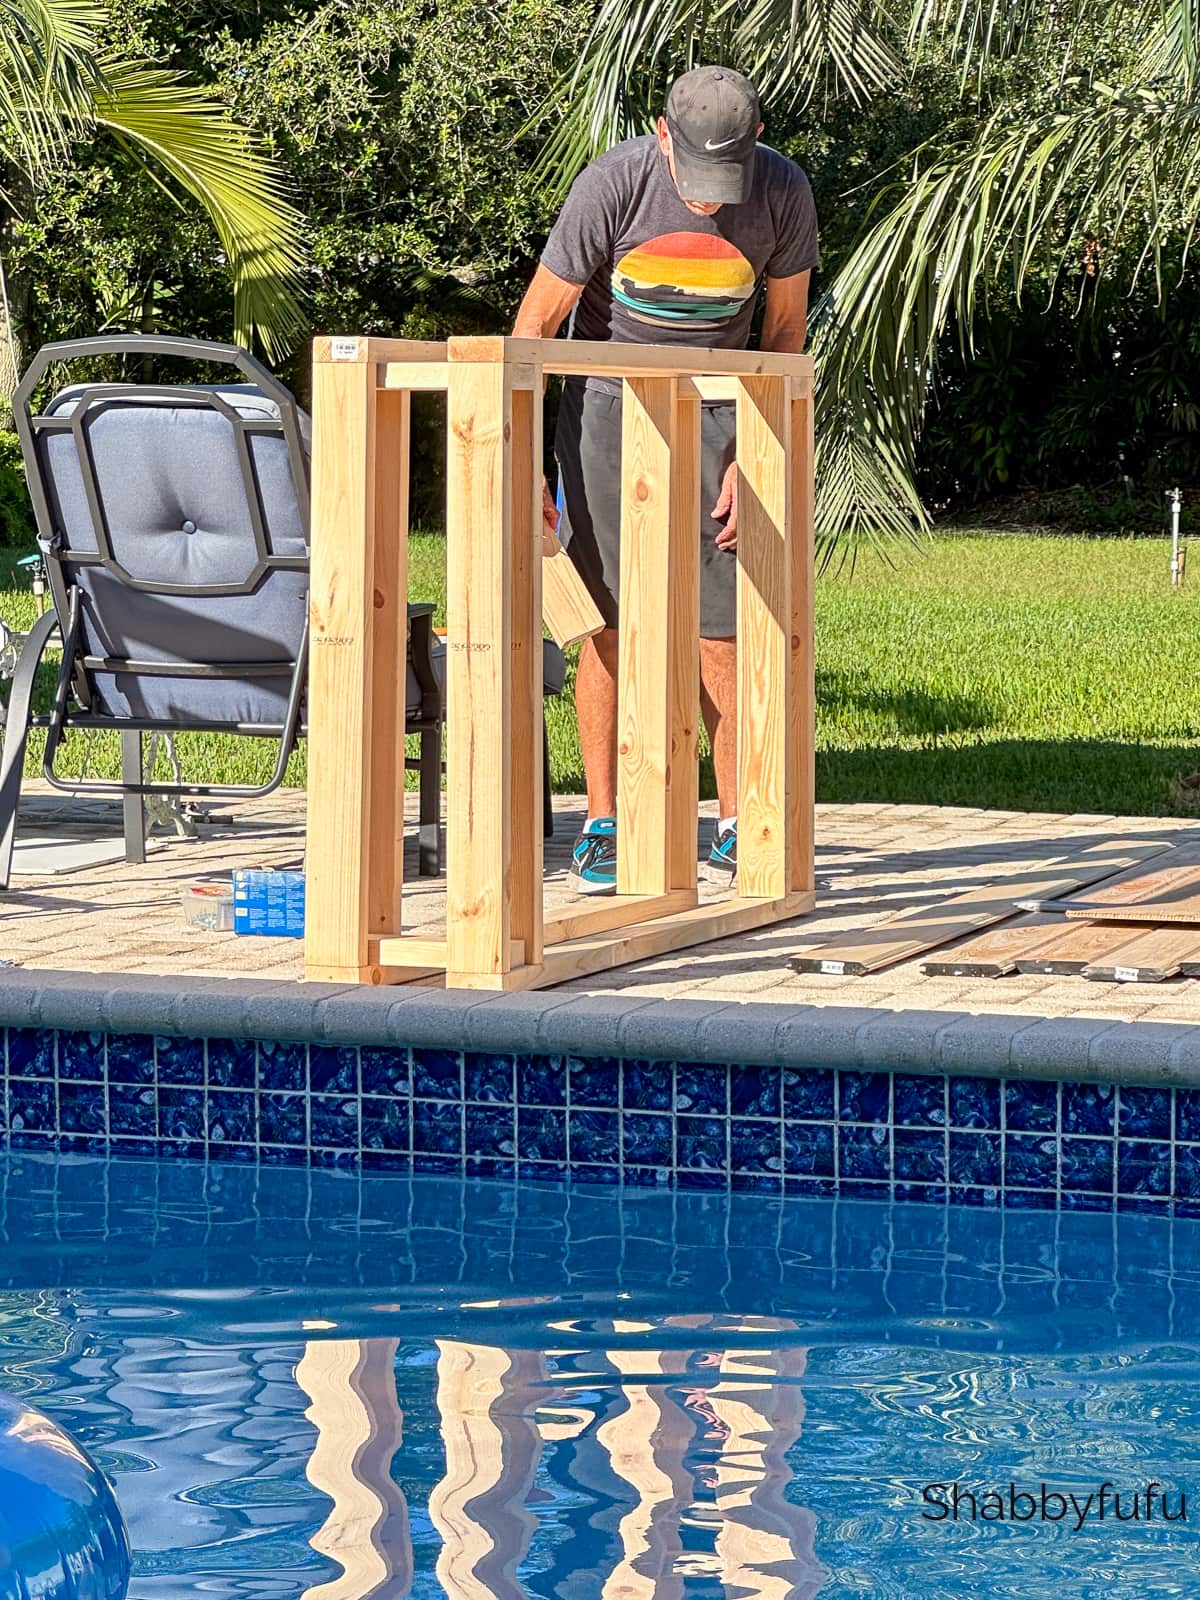
We cut four 12″ pieces from the 2 x 4’s to create support blocks that would hold the Simplifire electric outdoor fireplace. The frame was turned upright to make it easier to attach the supports.

We turned the diy outdoor fireplace frame upside down and installed the wheels with the screw gun.

The frame has been laid on it’s side to install the horizontal supports for the outdoor fireplace insert.


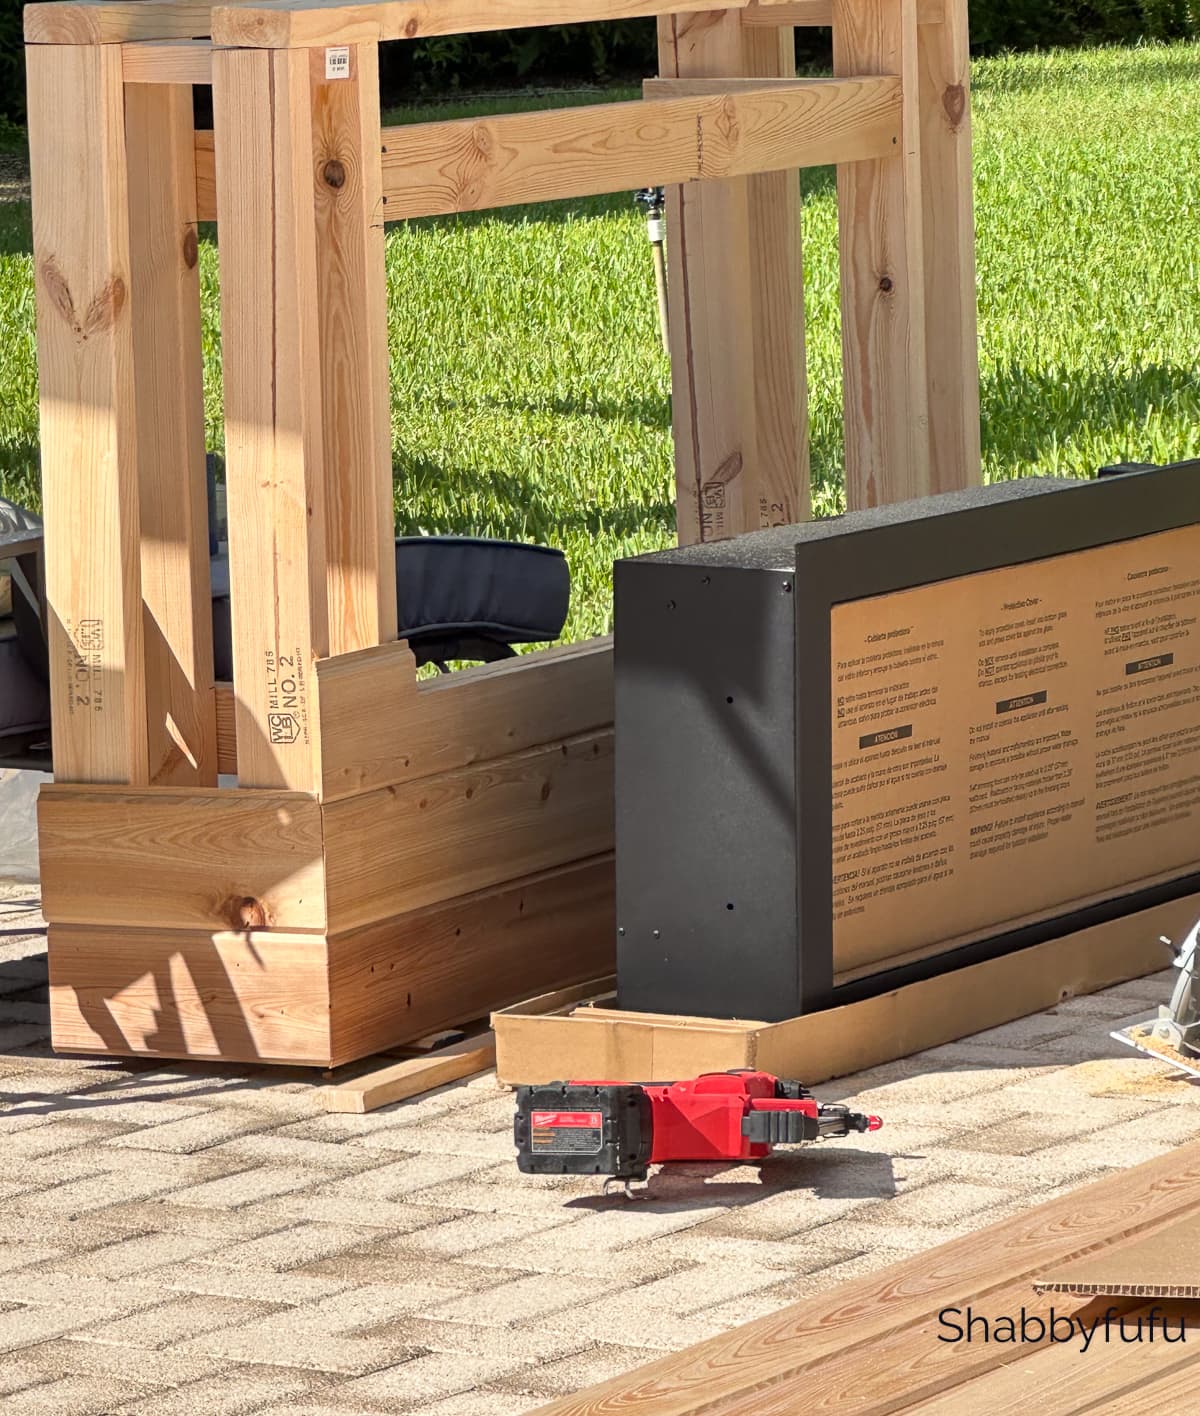
We inserted the Simplifire outdoor electric fireplace into the frame at this point to be certain of a tight fit.
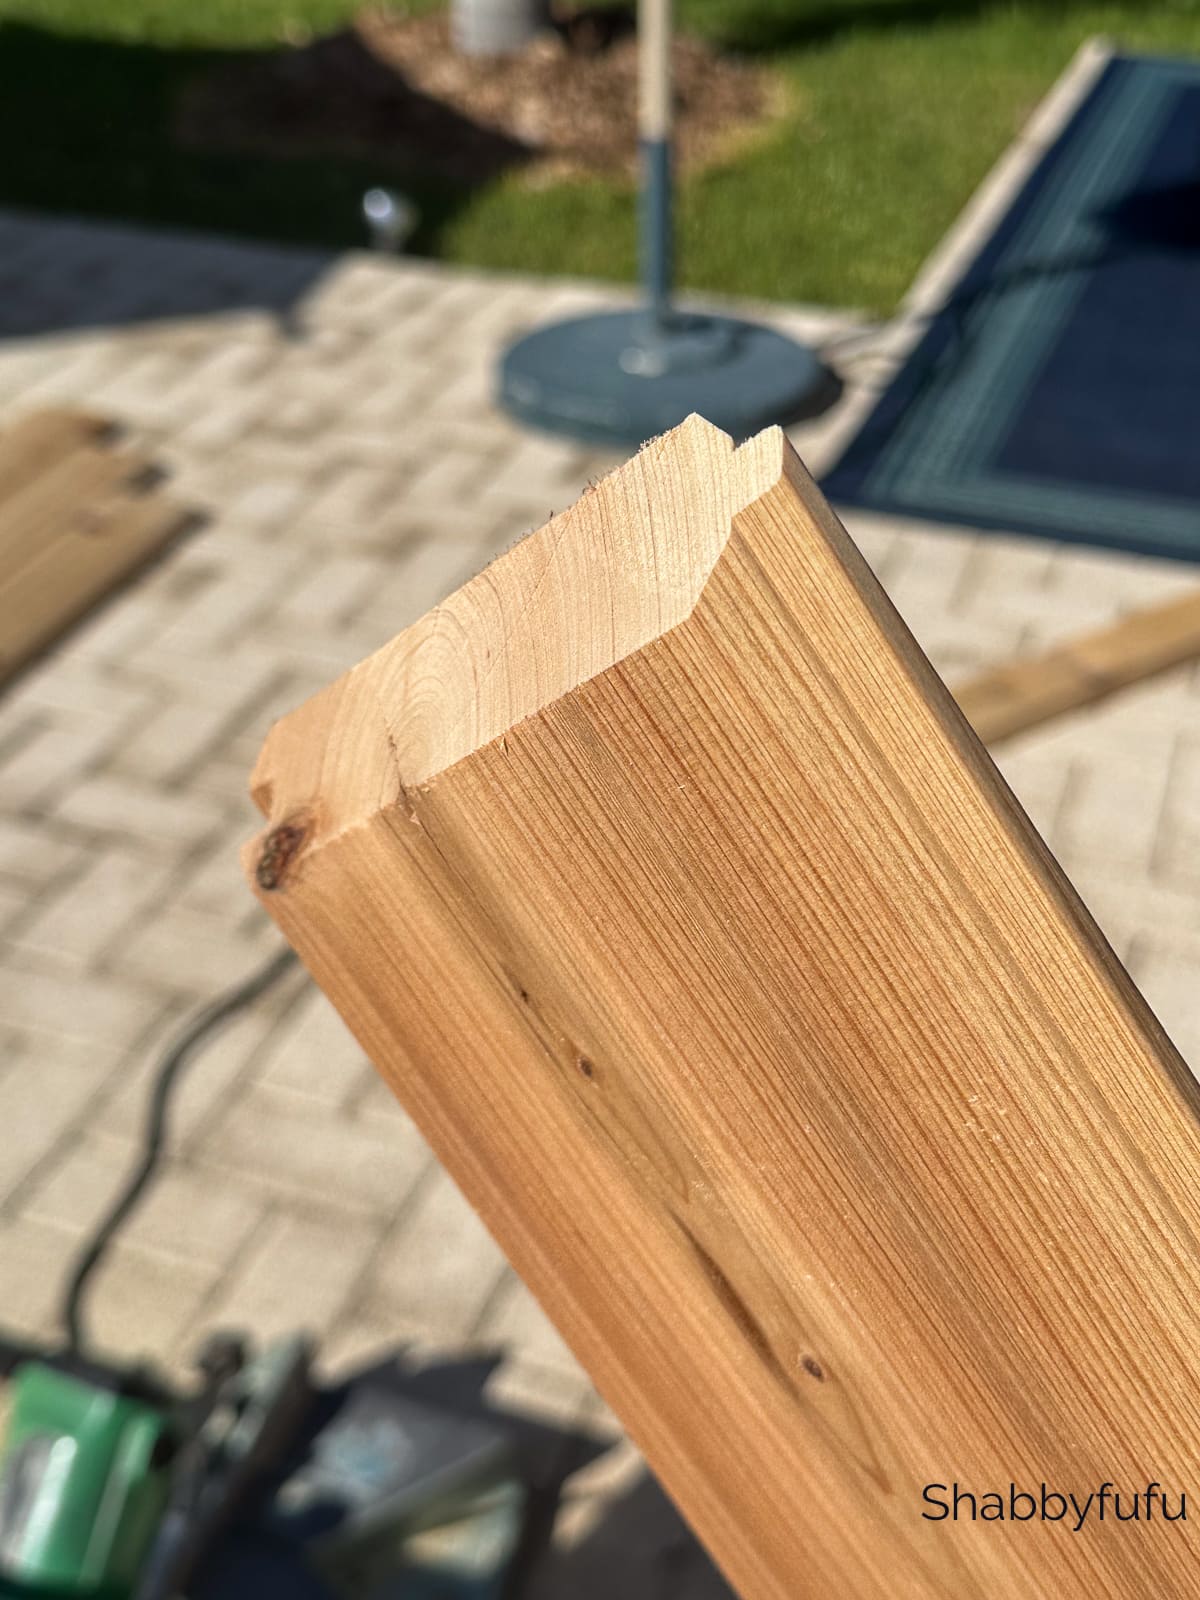
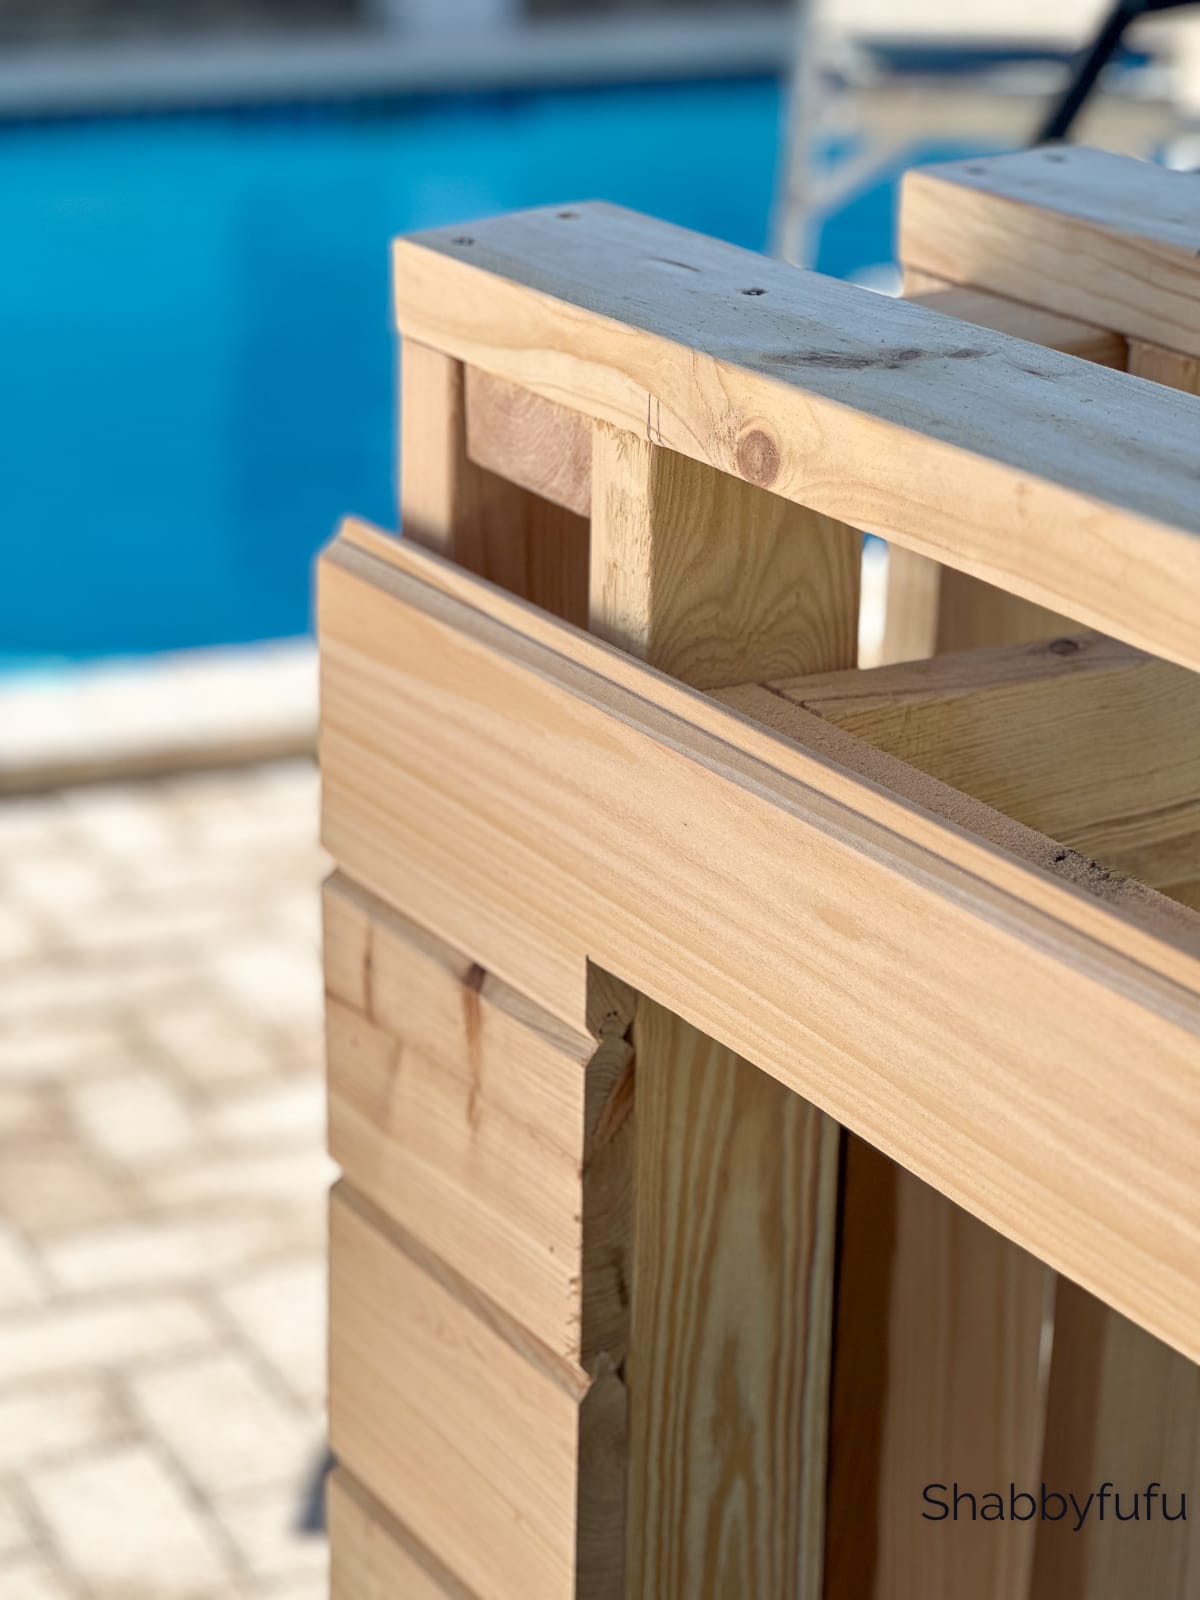
Then the frame was ready to have the tongue and groove paneling applied using the nail gun. The pieces were cut to size with a 45 degree angle.
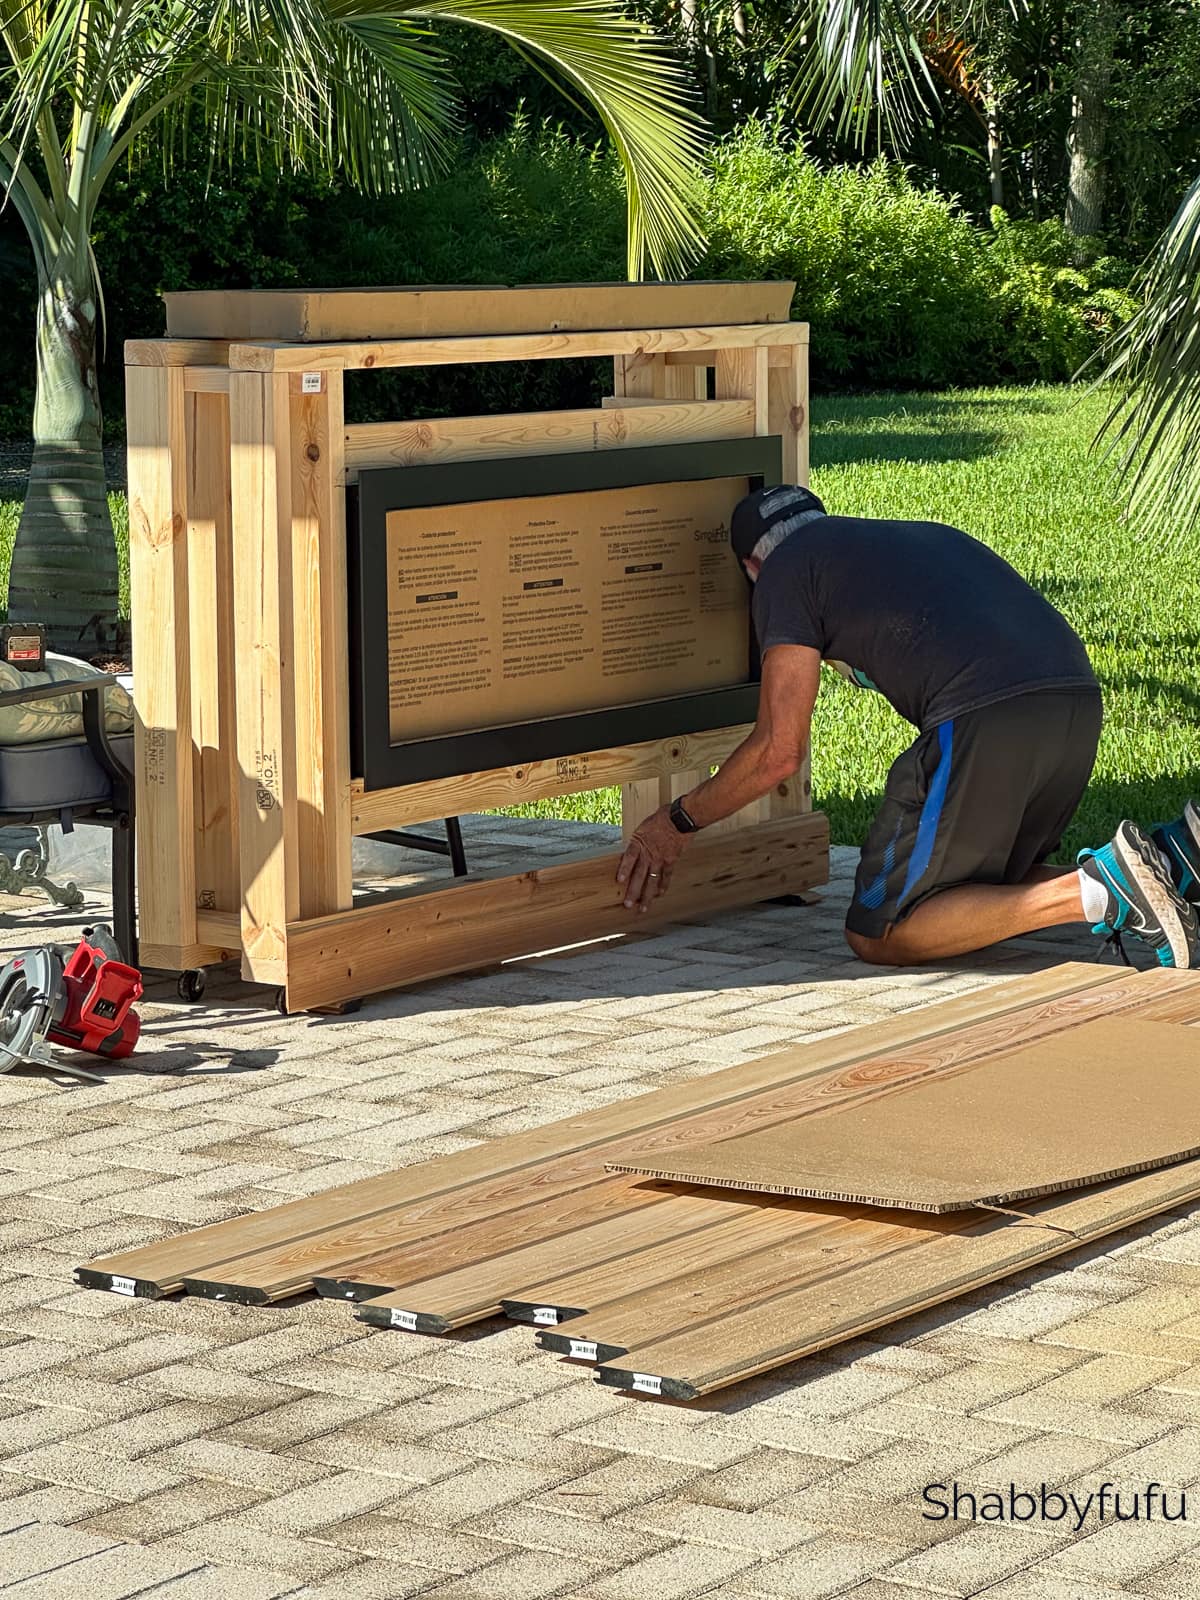
Starting from the bottom, the paneling was installed with a nail gun, piece by piece. The first piece should be 3/4″ above the ground for clearance.
After attaching the second tongue and groove panel, the fireplace box was temporarily removed. This was so that we could cut the 1 x 6 wrap to fit around the opening.

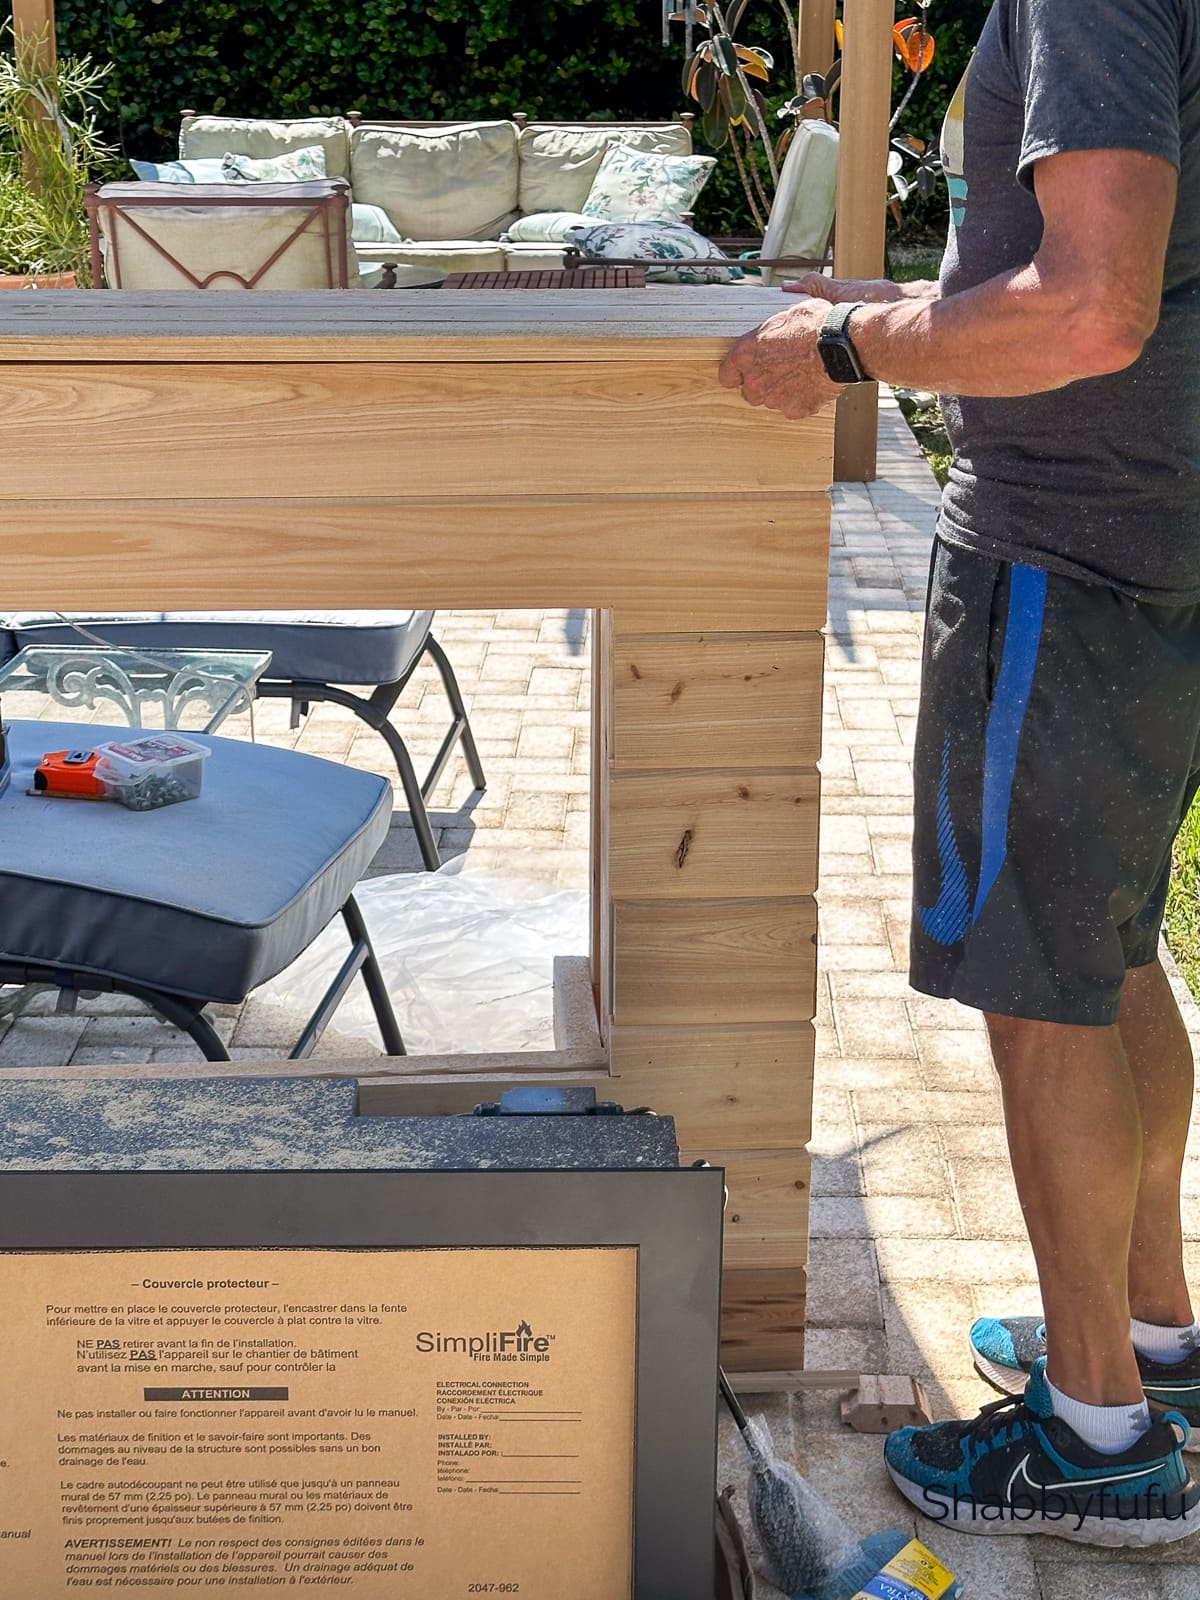
The sides were wrapped in the paneling that was cut to size as we installed the front pieces.
The top and bottom pieces were notched around the fireplace frame to fit the opening.
We used three pieces of the tongue and groove to make the top. All of these pieces were applied with the nail gun.

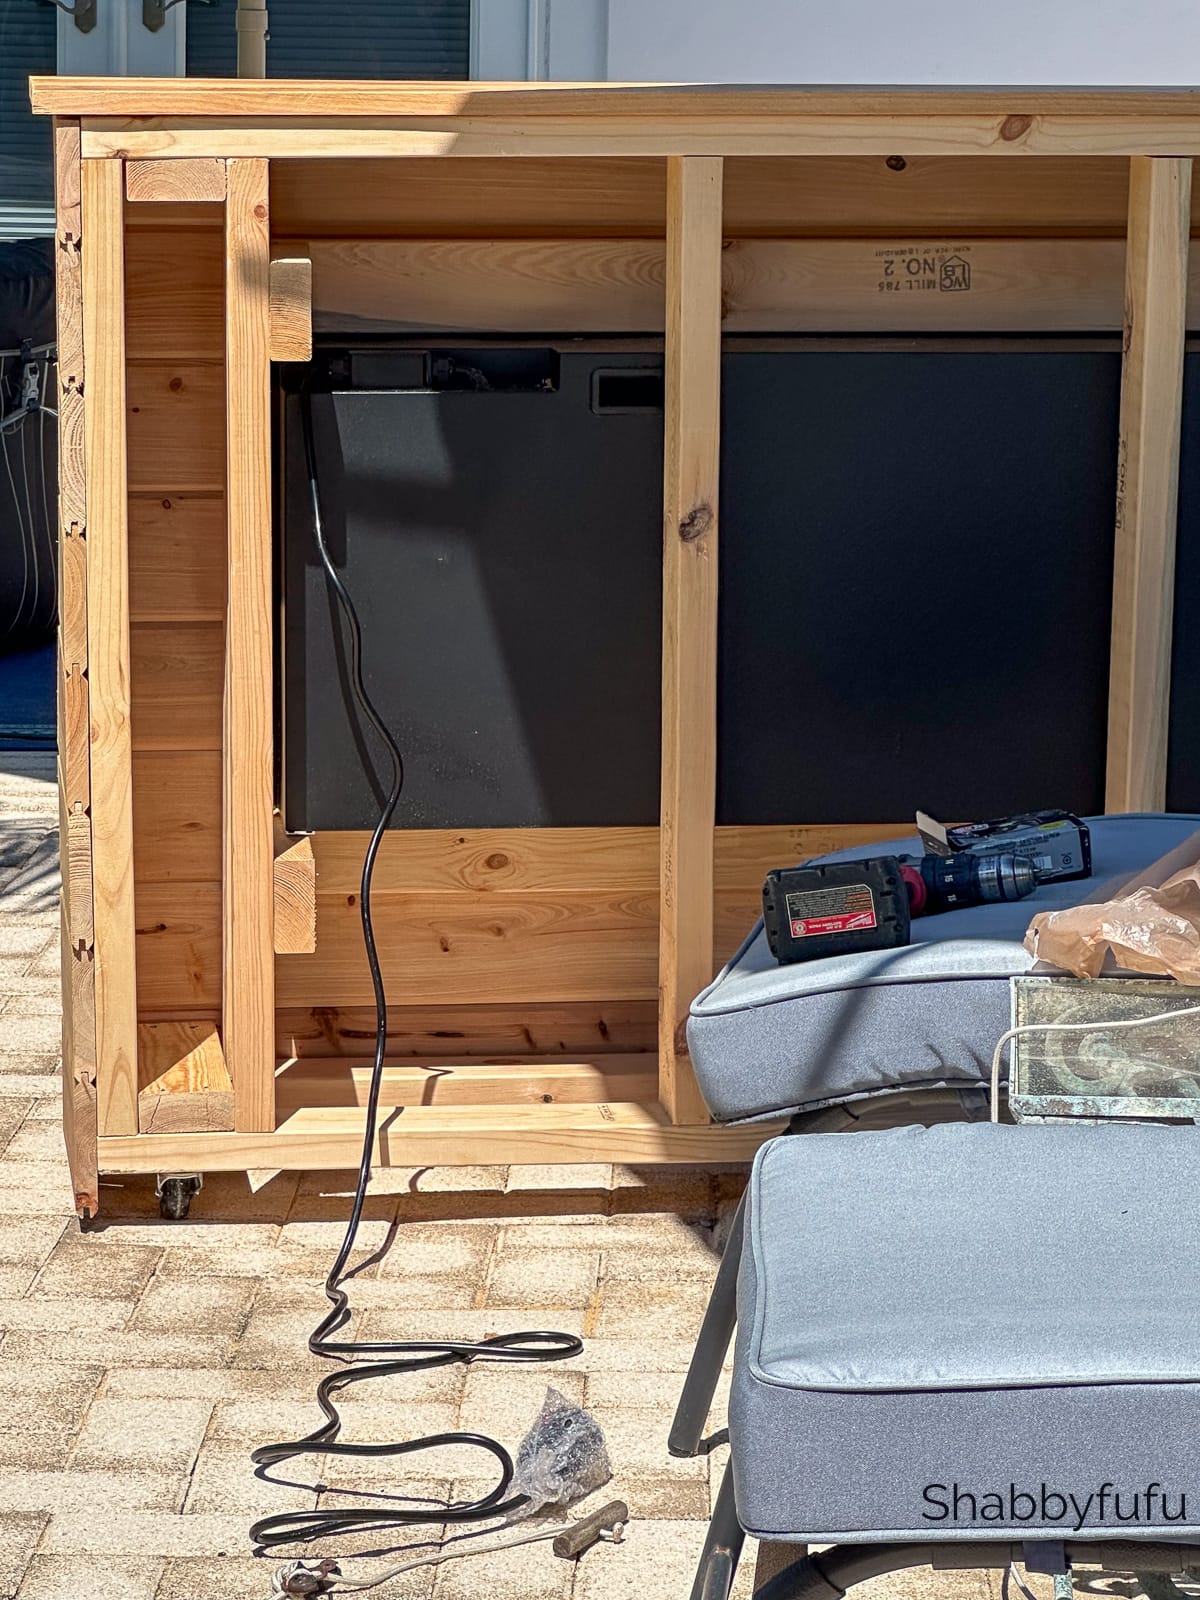
Two 2 x 4’s were then installed to support the plywood back.
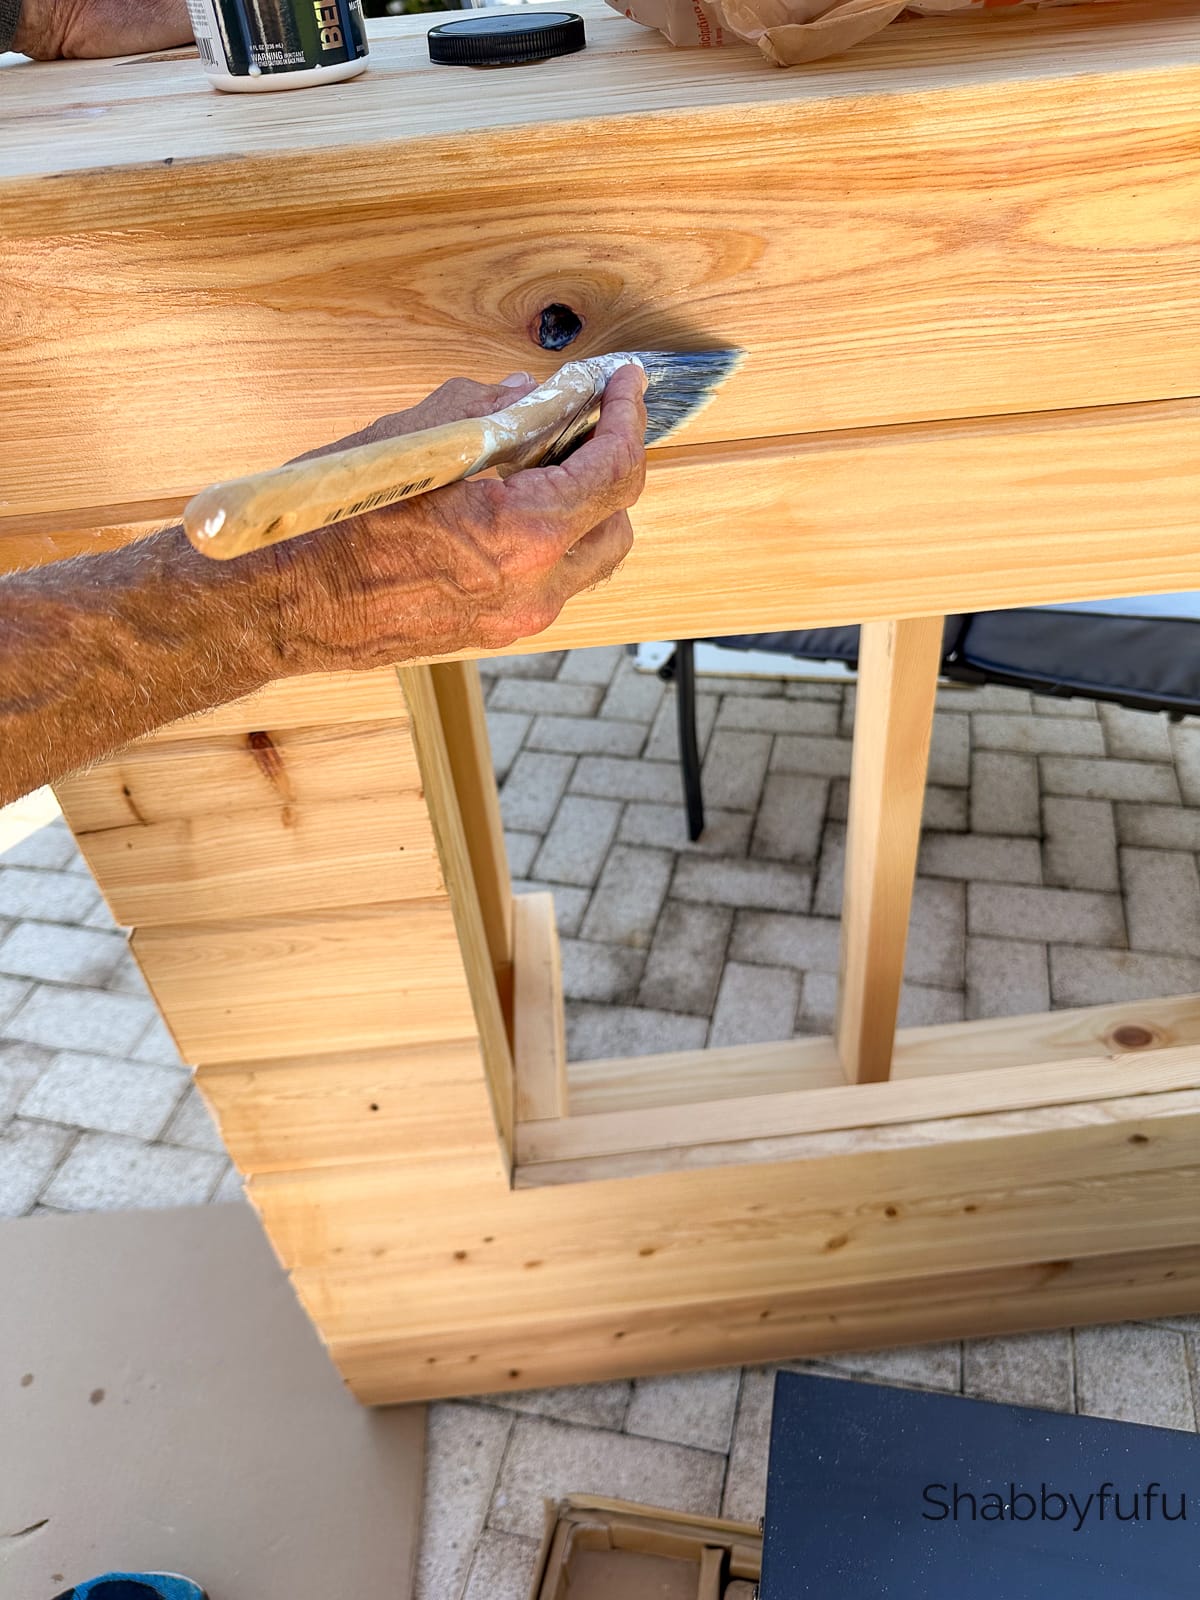
The wood was sanded lightly and two coats of polyurethane sealer were brushed on to protect the wood from the elements.
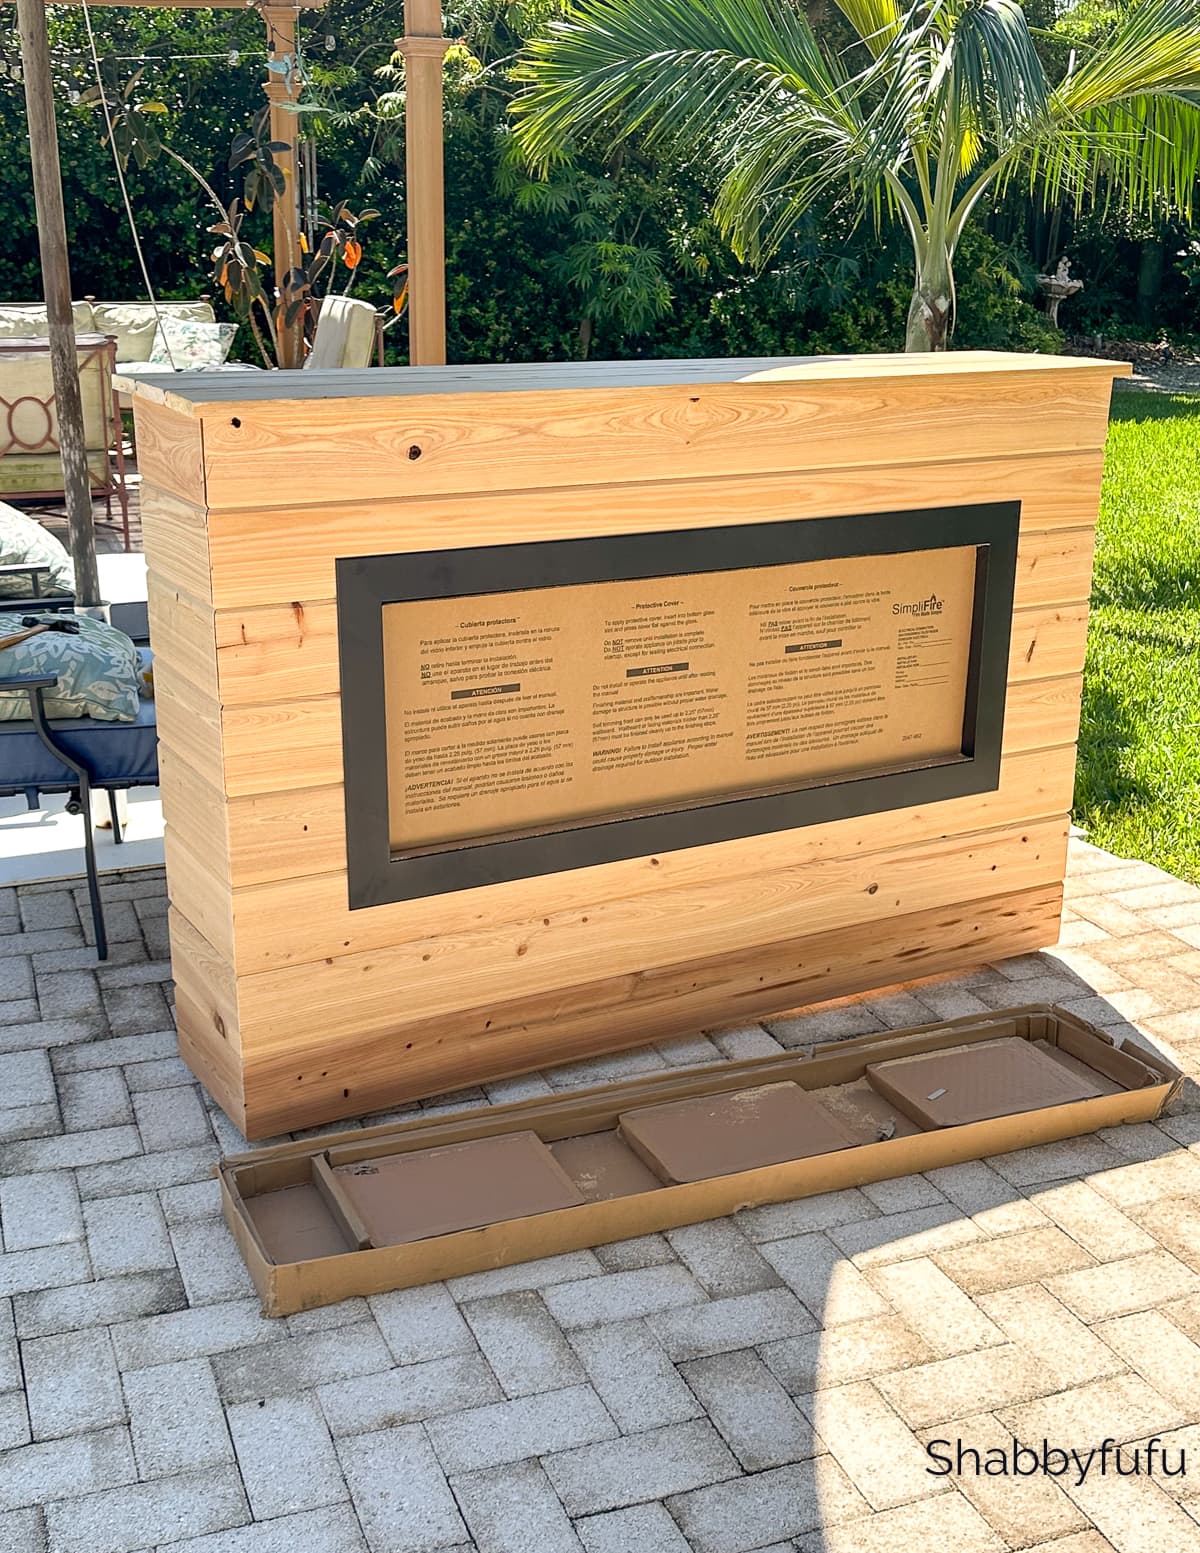
We were finally ready to finish off building the outdoor fireplace! This project took us half a day or around six hours from start to finish.
It took two of us to slide the fireplace box into place, but it was not difficult!
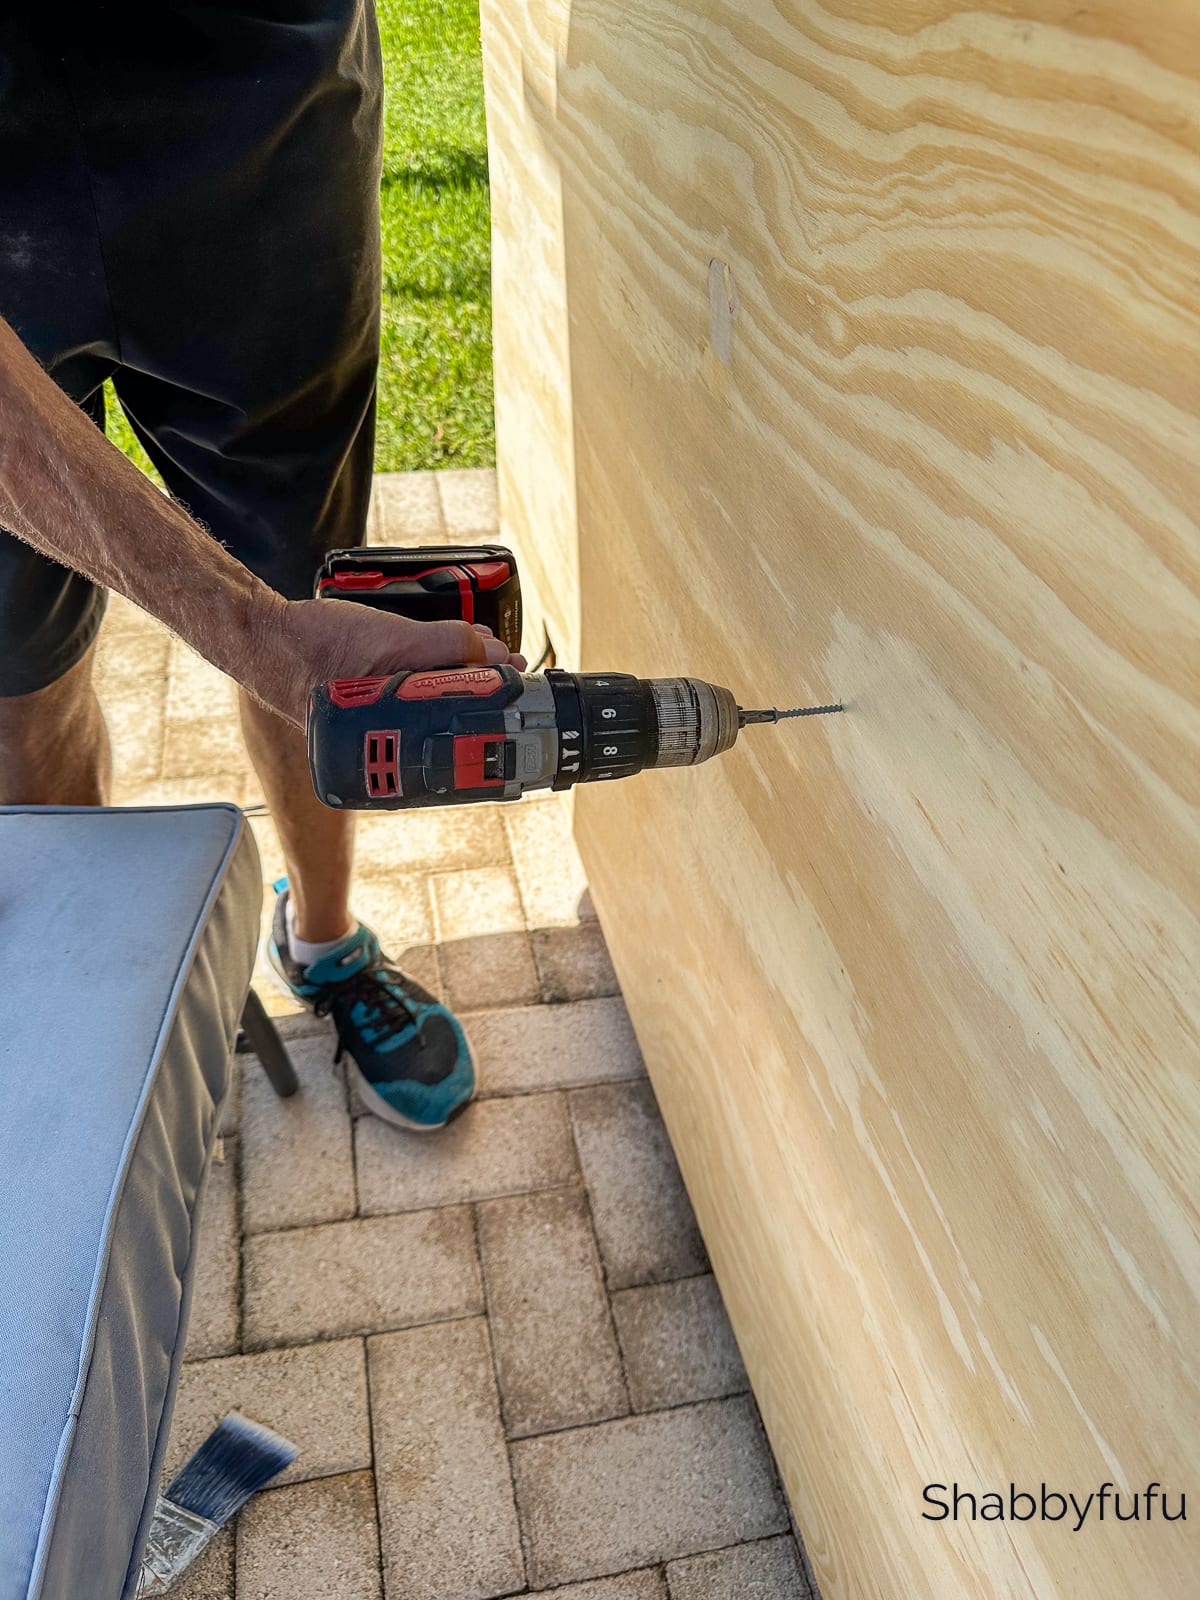
Lastly, the plywood back was screwed into place and the diy outdoor fireplace project was complete!
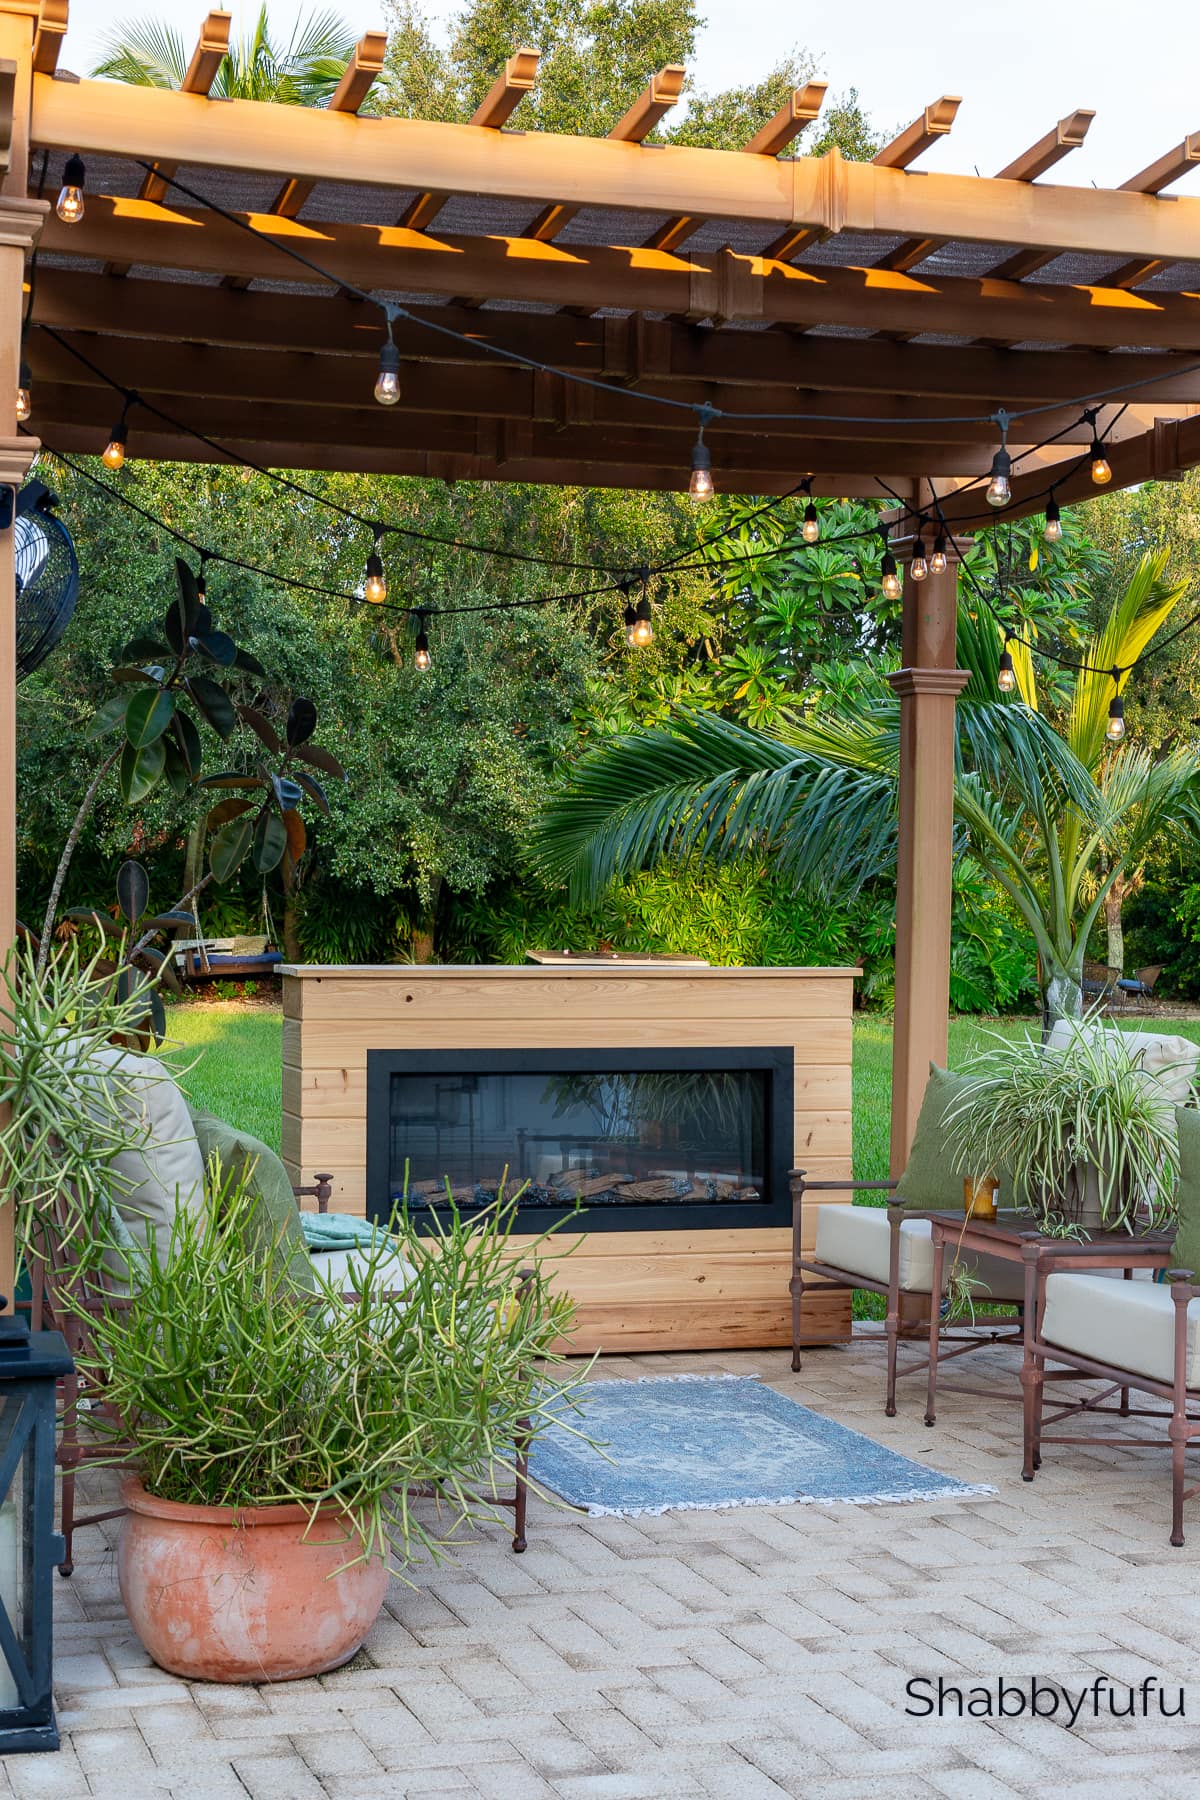
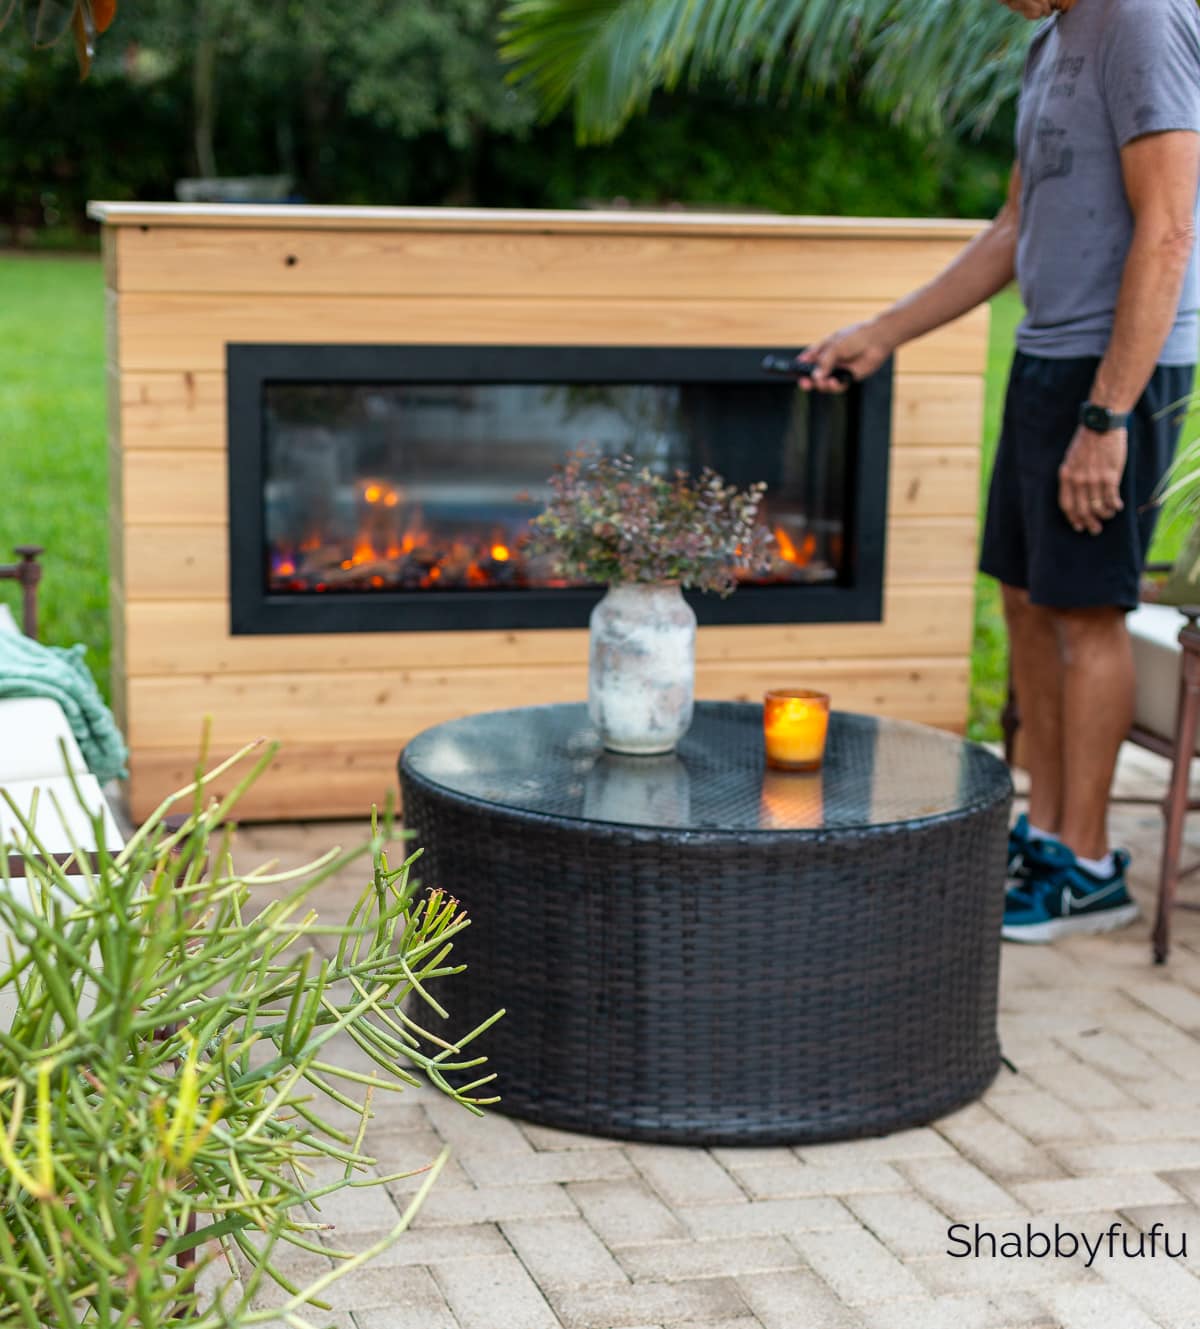
The Completed Outdoor Fireplace DIY Project!
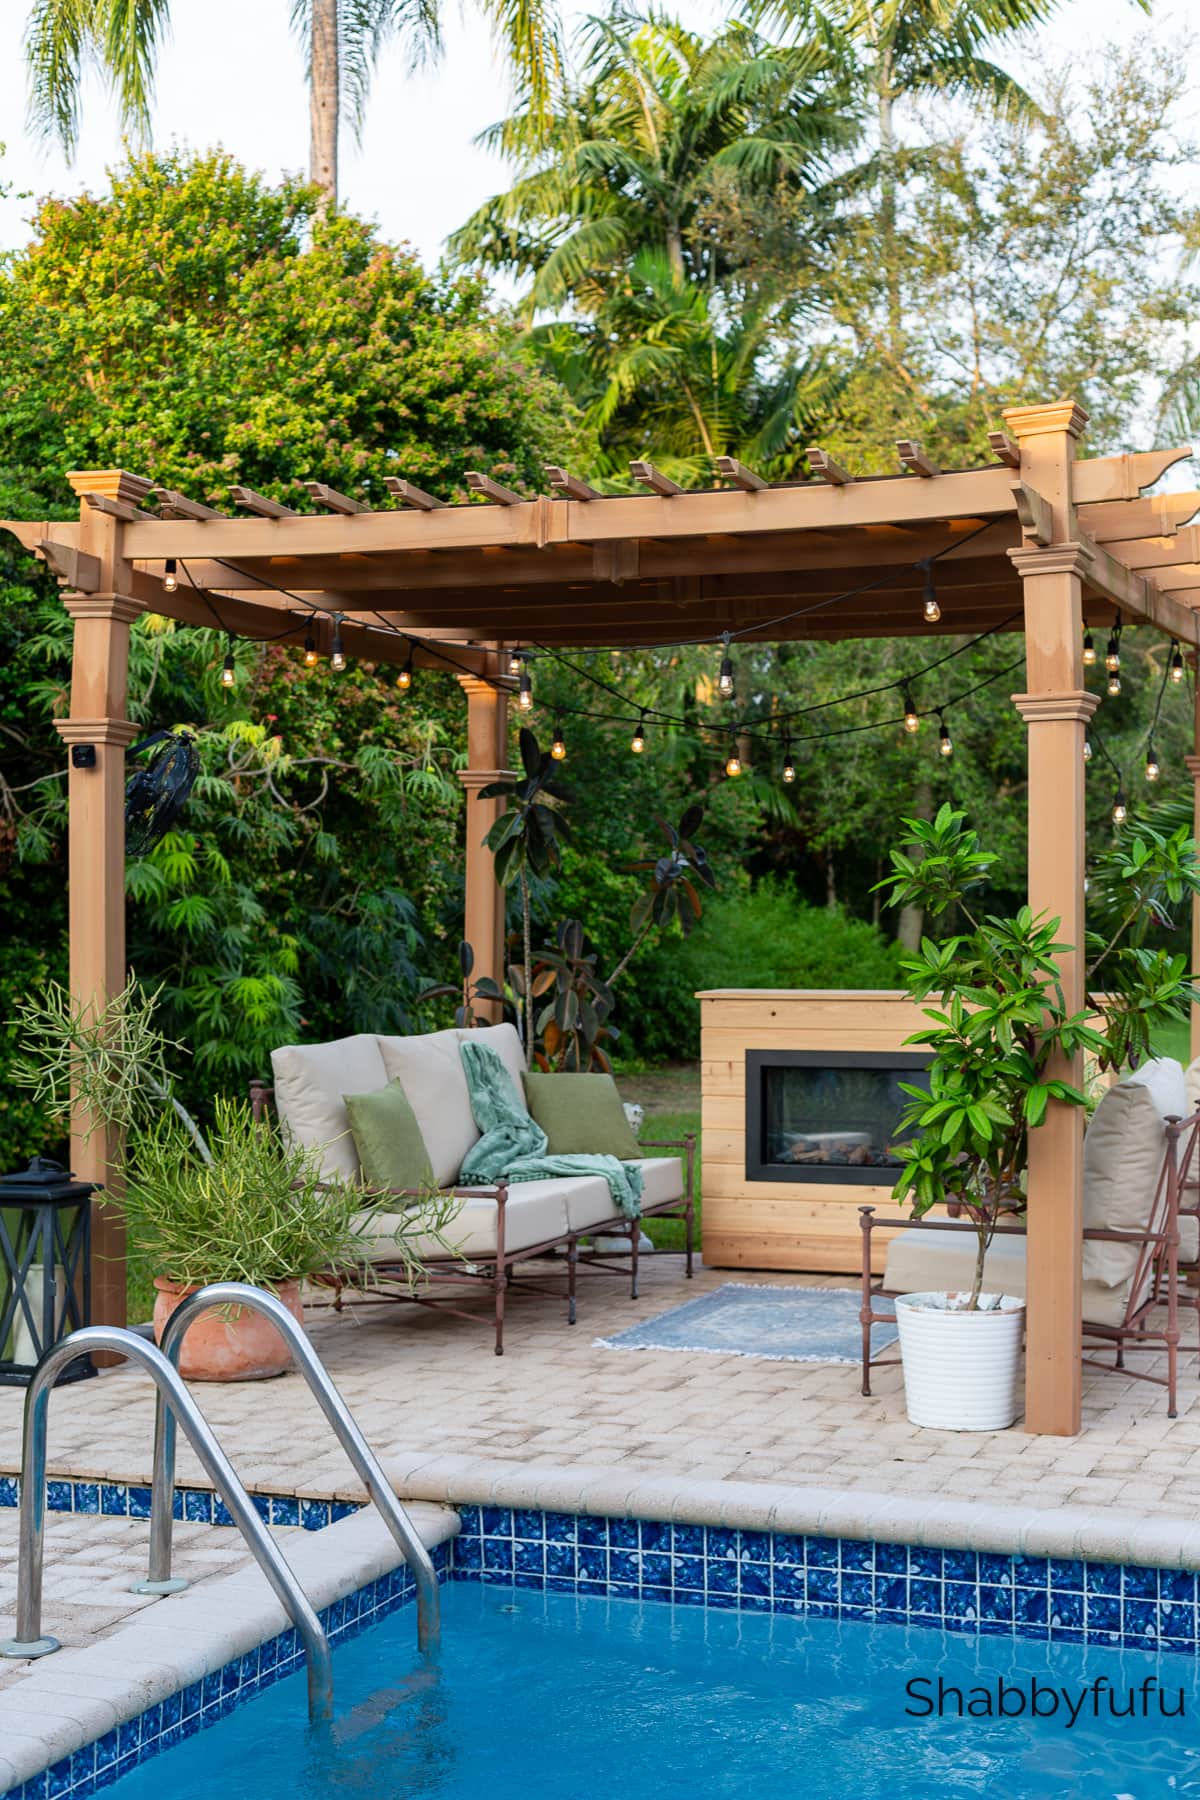
This is truly an electric fireplace option designed for all seasons and flexible to place anywhere with it’s wheels that we installed. It adds so much to our pool and gazebo area!
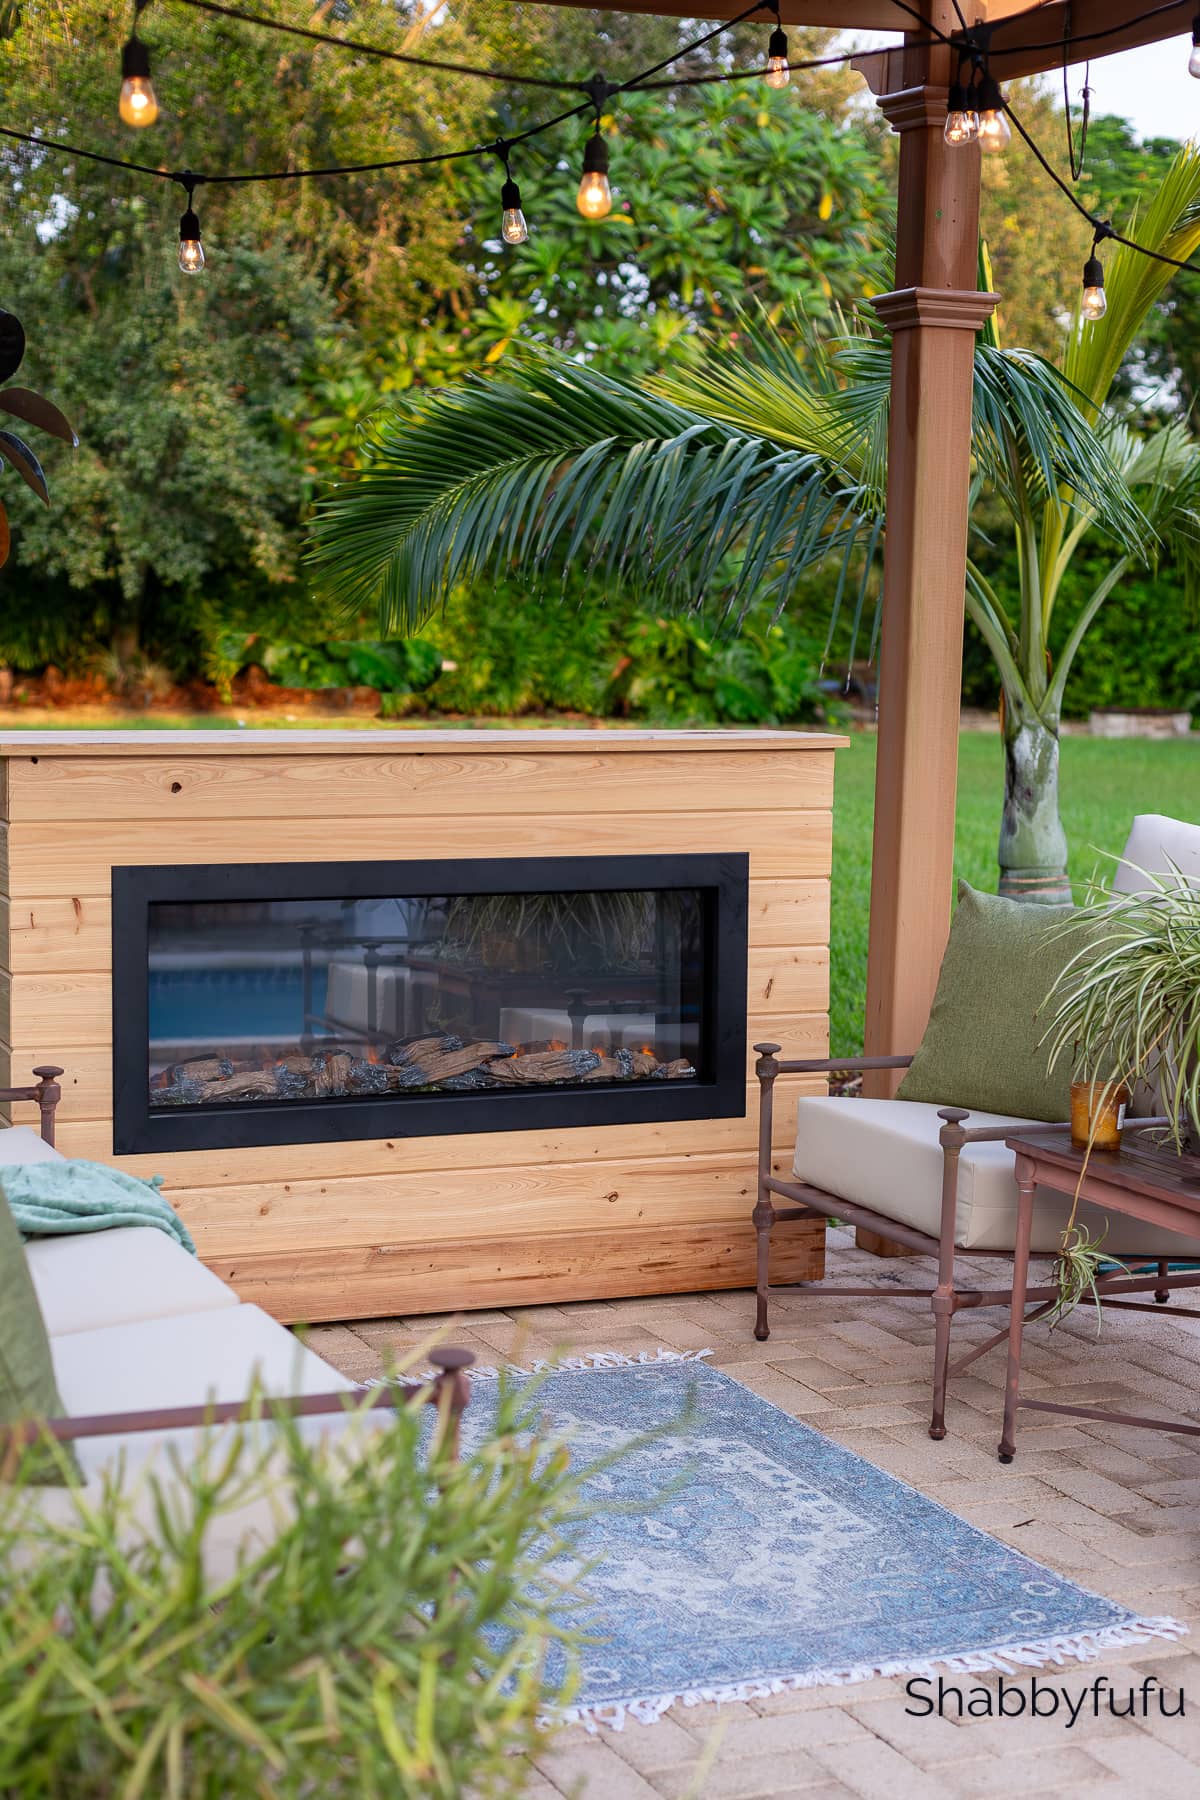
It has a modern, clean look and a variety of settings and options of flame colors via the remote control.

Here is the pergola area at night, where the fireplace really shines! The dots are from reflections that the pool is throwing, adding to the magic!

Pin This Post To Refer To Later!

Janet,
This is gorgeous and would be a great option for our screened porch!
Thanks Christy, it was a bit time consuming but not a terribly difficult project!
So gorgeous, Janet!
Thank you Susan, we really love it!
Very nice!
Thanks so much Lisa!
This guide makes building an outdoor fireplace feel so approachable! For a unique outdoor fireplace idea, consider adding a built-in wood storage area below the fireplace—it’s both practical and adds a stylish, rustic touch. Your step-by-step instructions are clear and inspiring, perfect for those new to DIY projects. Thanks for sharing such helpful tips—I’m excited to give this a try!