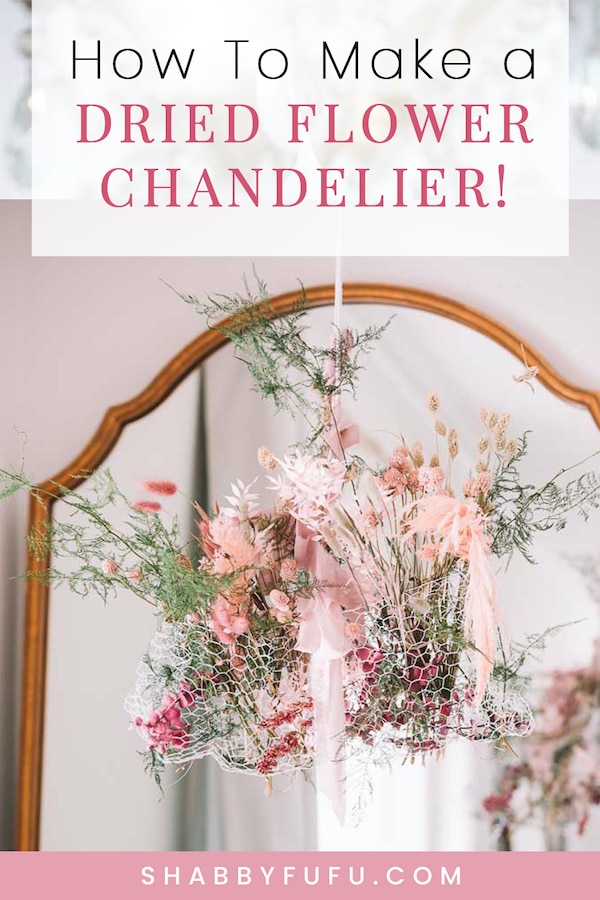
How To Make A Dried Flower Chandelier
This post may contain affiliate links. For more information, please see our disclosure policy.
In this post I’m sharing how to make a dried flower chandelier. Whether you dry your own flowers or purchase them, it’s a fun and very creative way to express yourself…especially for fall!
In THIS recent post, I talked about how dried flowers seem to be everything for fall! Personally I’ve always loved dried flowers. I fondly recall my mom having vases filled with pussy willow in the autumn season. Maybe that got me hooked, but there’s something organic and simple about preserving summer flowers.
Today’s flowers are brought to you by my friends over at aFloral, who I’ve worked with for several years now. While I was not compensated for this post, I was provided with a large amount of flowers to work with. Head over to shop…here is my affiliate link for – aFloral. Let’s get started…the basic tools are below.
Dried Flower Chandelier DIY
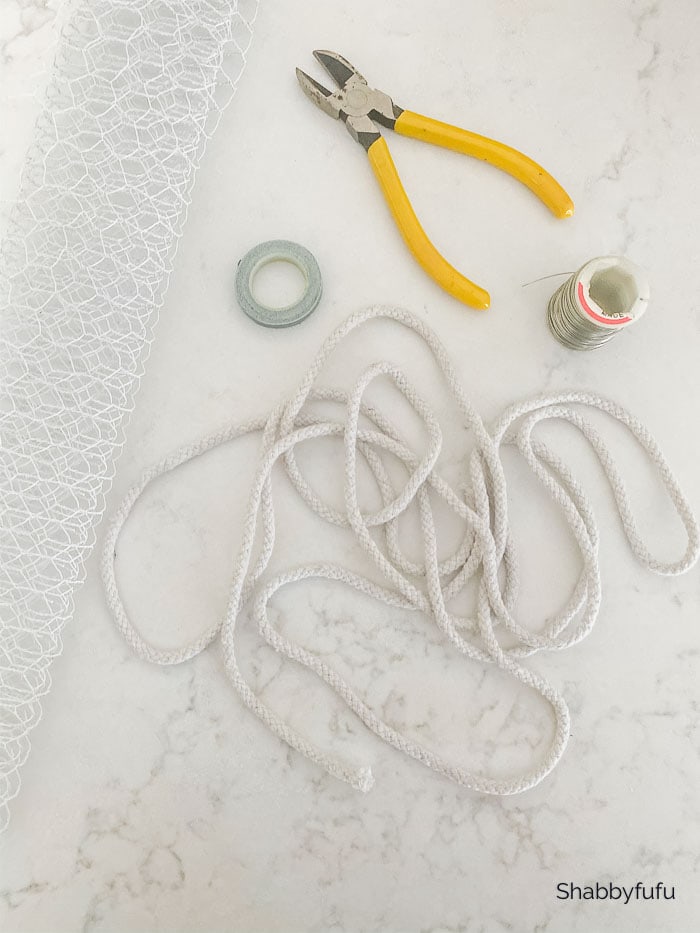
Supplies –
- Chicken wire (I prefer to work with coated – find that HERE)
- Garden gloves
- Floral tape
- Floral wire – thin gauge
- Wire snips
- Scissors
- Battery operated mini string light with remote
- Rope or string for hanging the chandelier
- Decorative ribbon

Decide on the size “chandelier” that you’d like to have. This is perfect for hanging over an outside dinner table and won’t block conversation like a centerpiece can. I might take this one outside in the fall, but it’s way too hot here now! Once you’ve decided on the size and shape, cut off the wire accordingly.
*TIP* wear a pair of garden gloves because chicken wire is sharp once you cut it! Bend the ends of it in and fold the wire in half lengthwise if you’re going to create a rectangular shape as I did. Once you have your rectangle you’ll take some thin floral wire and “sew” the short ends together. It doesn’t have to be fancy or perfect. You’re going to have a sort of boat shape with the top open and sides closed. That way you can put your hands inside as you add the flowers and string lights!
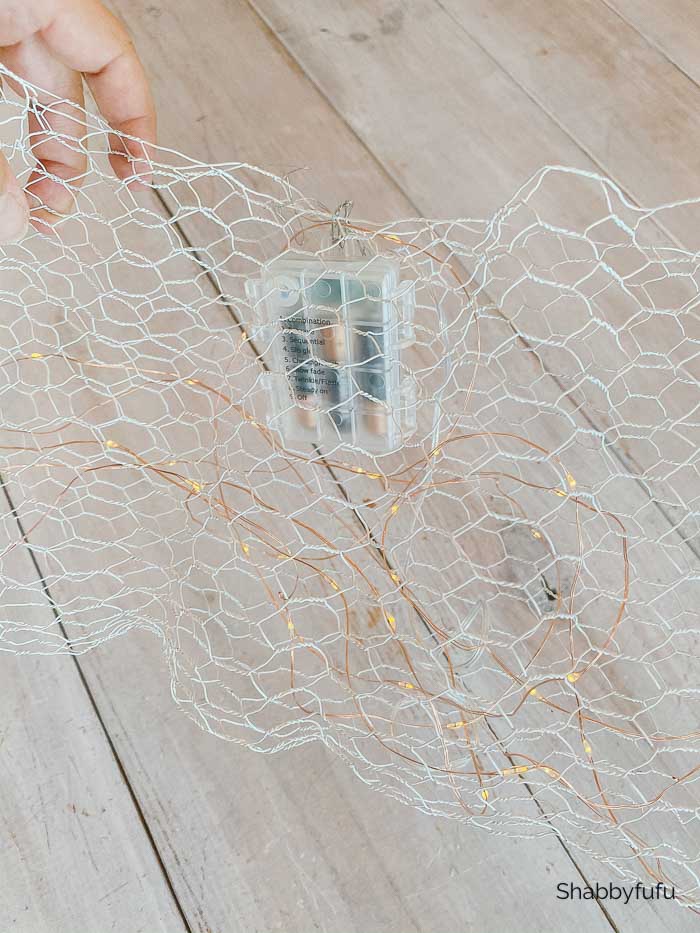
Before adding the florals that will make this a dried flower chandelier, add a single battery string lights set (remote on/off is best). These – mini string lights and had a hole at the top that I used to secure the battery pack to the chicken wire. Any set will do though and you can just place them inside without securing as well.
Then add some rope or string to hang the structure because it makes it easier to work on.
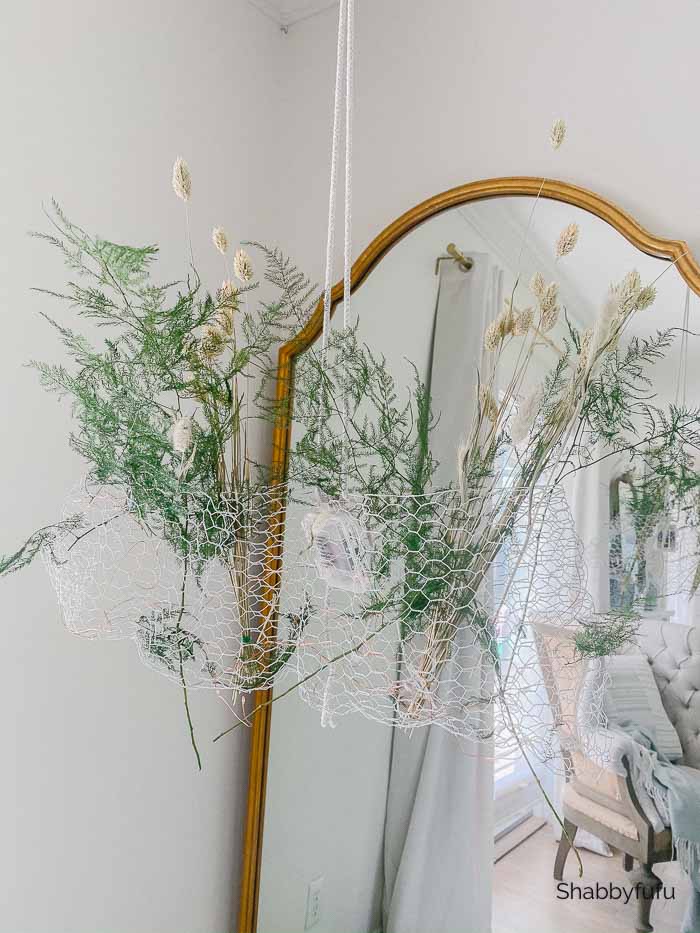
I like to start by adding the greenery first, and inserted some airy dried ferns. As you can see, the ends are long, but you’ll trim any excess later by using wire snips. It doesn’t look like much yet, but as you start building layers it becomes evident that you’re creating something beautiful!
*TIP* Dried preserved flowers are delicate and I recommend putting a drop cloth down on your floor when working with them.
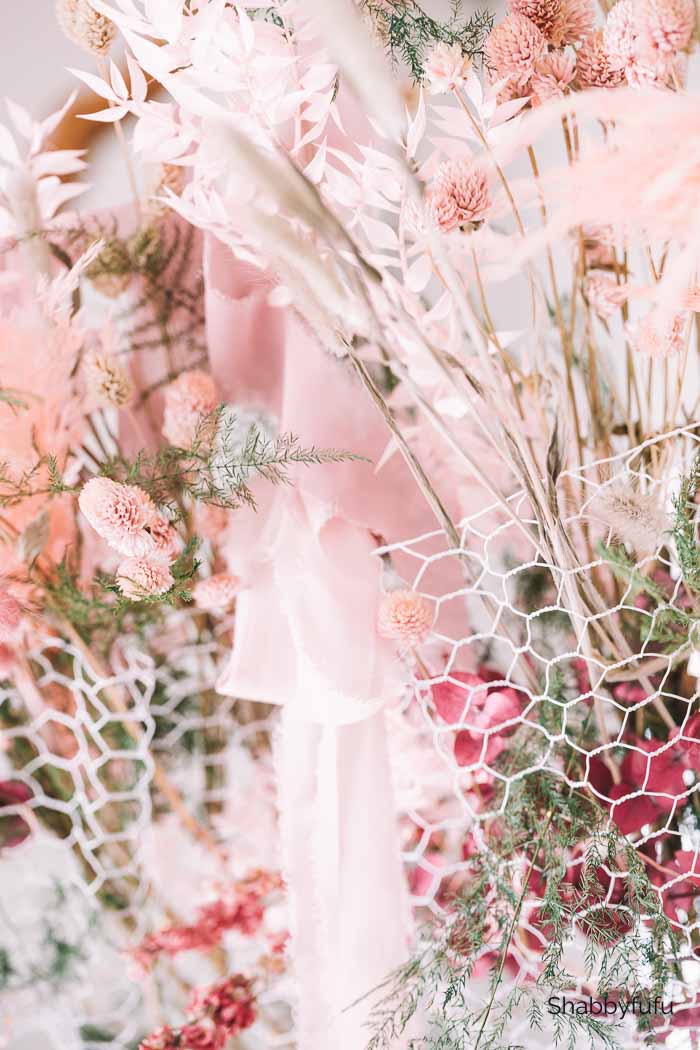
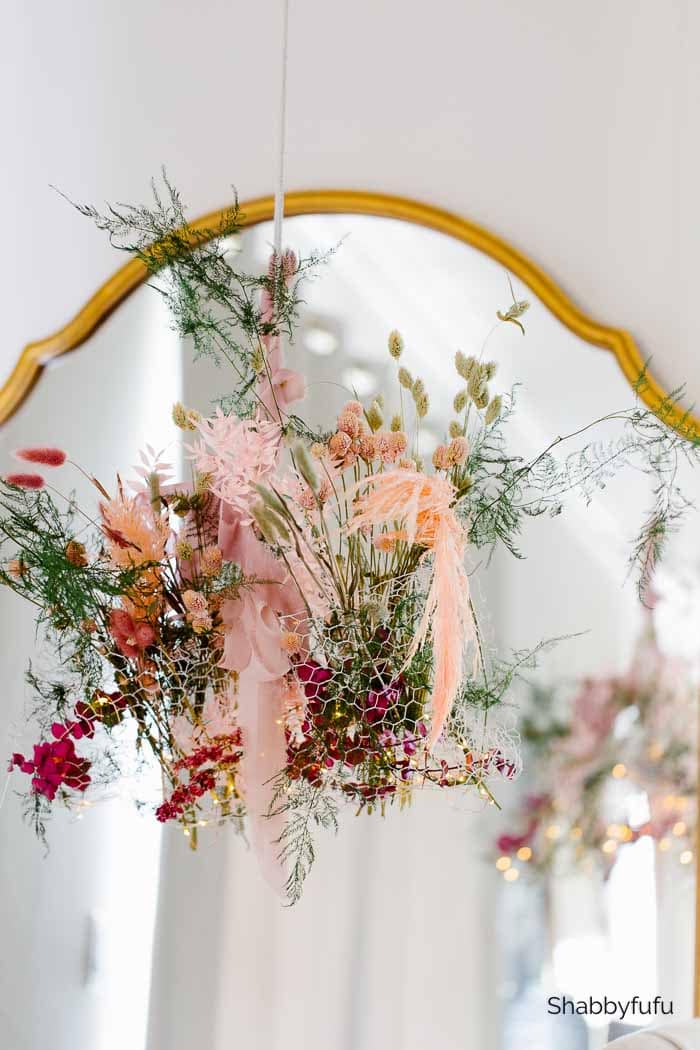
For this dried flower chandelier I had my color scheme planned out ahead of time with neutrals and pale pinks. Such a lovely color combination for fall!

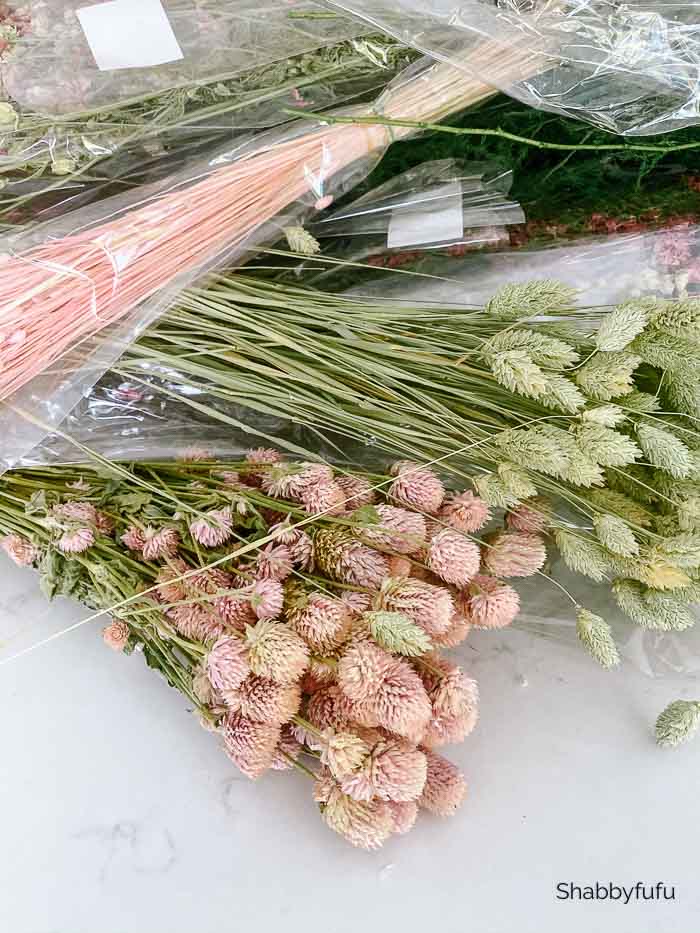
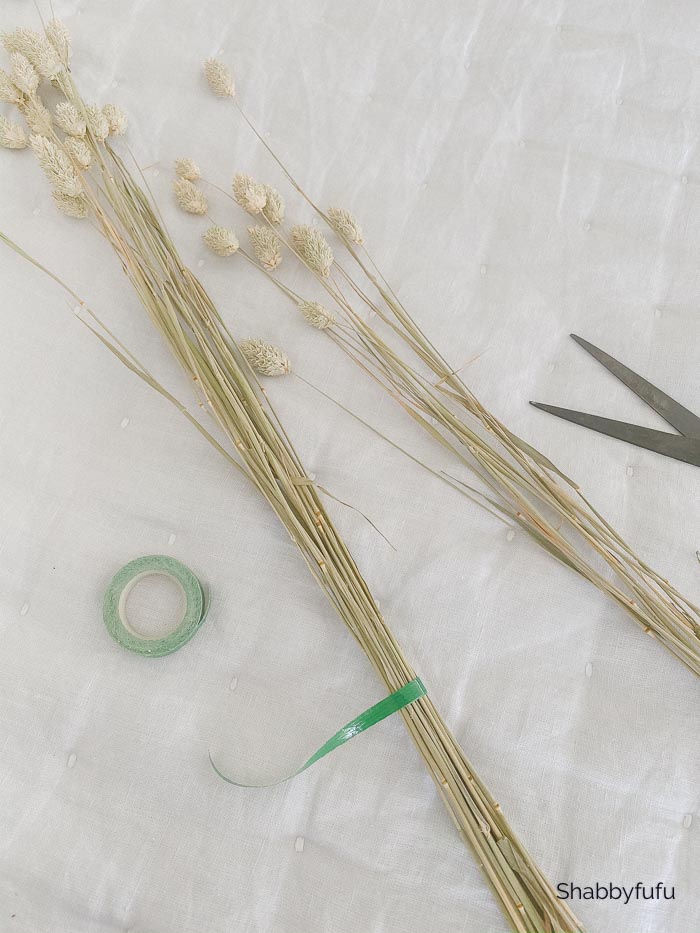
It works well to add your flowers in small bunches, rather than one by one. Grab a bunch and eyeball how tall you think you’ll need them to be. Wrap with a small amount of floral tape and cut the stems with either wire snips or strong scissors.
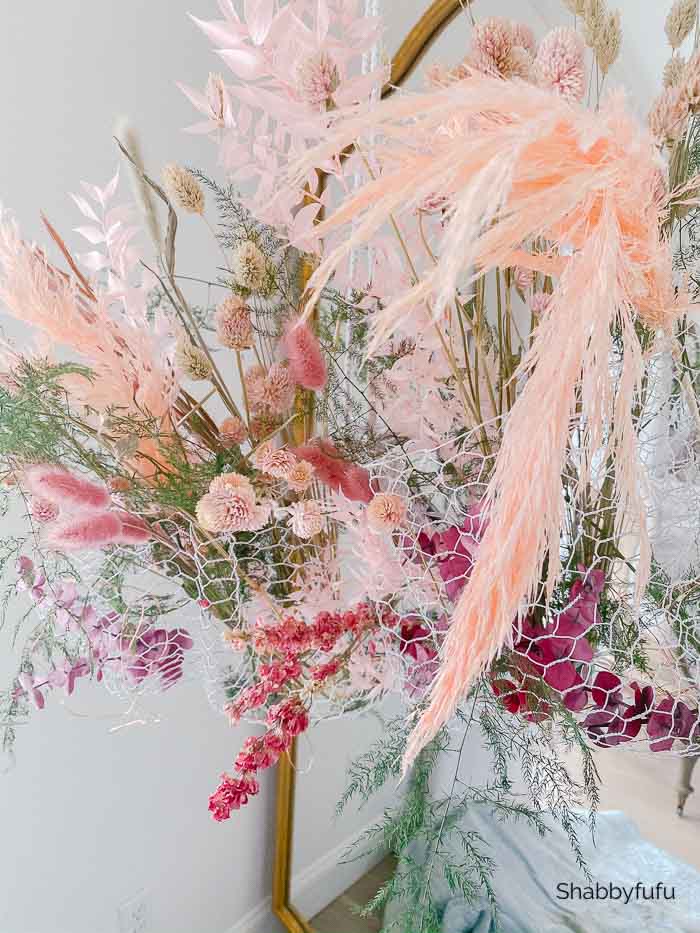
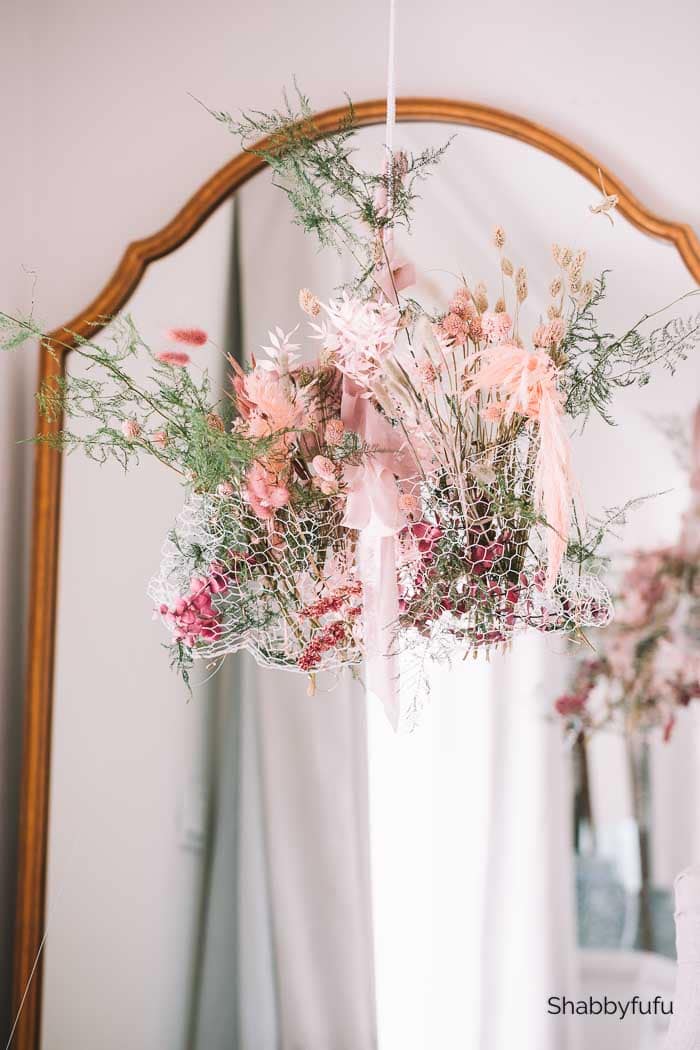
Just start adding your dried flower bunches as it looks good to your eye. I put some berry pink preserved eucalyptus inside my wire form. The other flowers were all added via the outside of the form by just poking them through. Step back from time to time and view your work. Turn the “chandelier” around and see how it looks from all sides.
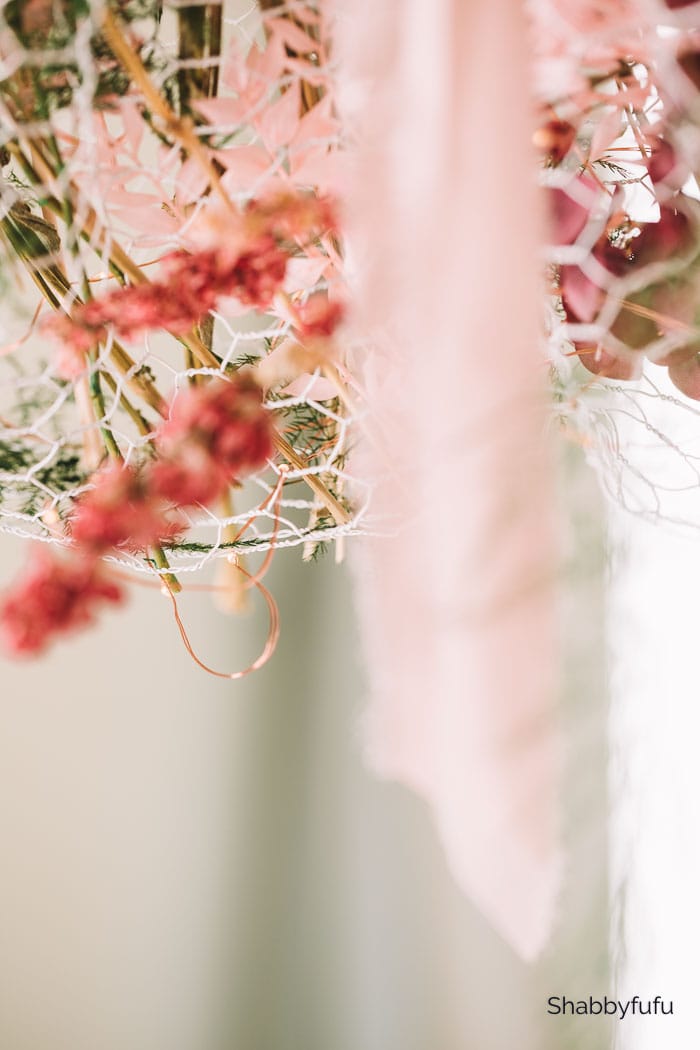
After I was satisfied with the look I trimmed the excess stems that were poking through. As a last step I added some beautiful pink silk ribbon that I had on hand. The entire process took me about an hour, start to finish.
If you love the look of this dried flower chandelier, I hope that you try this project! I have another easy DIY floral chandelier project that has been pinned thousands of times and you might like. Find that one here – How To Recycle An Old Lampshade Into A Floral Chandelier.
I love how pretty it looks at night!
Stick with me for some more dried flower projects coming soon and pin this post below so that you can keep track of it!
Love the combination of dried flowers you used to create the chandelier. Such varied colors and textures that make for a lovely and interesting creation!
Awww, thank you for that Pamela! I hope to move this one outside once it finally cools off!
Unique and beautiful! I love the pinks and neutrals together. Thank you, Janet.
Thank you Miche…I appreciate that you take time to leave me a comment! xo
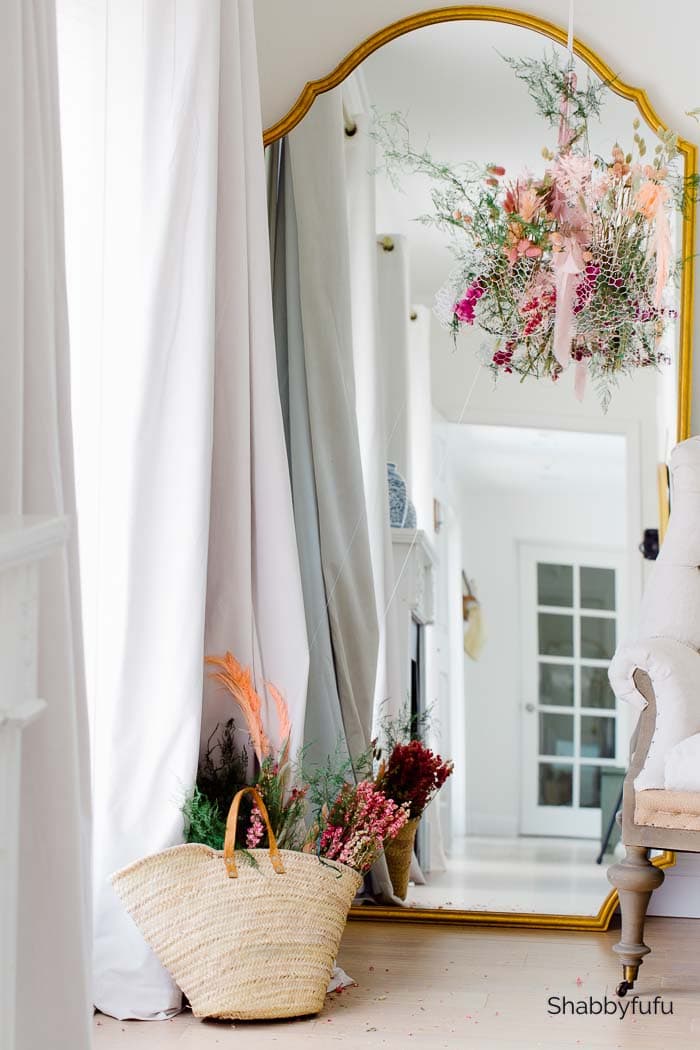
I was not seeing it at first, but as you added and pruned and primped, it started to make beautiful sense to me! And the finished project hanging in front of that gorgeous mirror just blew me away! Such a pretty, pretty piece being created with chicken wire and dried out florals…WOW!!! I envy your creativity Janet.
It was so much fun to make Odessa and of course, budget friendly! Have a great week
Love the soft hues of the dried flowers. Very creative chandy, Janet.
Thanks so much Lori!
I’ve never seen dry flowers that look this pretty! And I just love that you see it double through the reflection in the mirror.
So beautiful!! Where did you get that full length mirror? It’s exquisite.
Thank you Mary! It’s from Ballard Designs
I love this idea! The pinks and greens are so prety together.
Thanks Kim…a favorite color combo of mine!
Just beautiful arrangement. The colors are so exquisite together. Your talent is
Outstanding .
That’s so unique and beautiful! Thanks so much for sharing!
Janet, the softness of this is beautiful and the reflection through the mirror makes it even richer. Thank you. I learn so much from you on our shared blog and on FB💙
Very original, I love the flower you pick and the colours are stunning.
Loved the tutorial, Janet! So pretty!
Oh my goodness Janet. That is STUNNING!!!! I love how free and natural everything looks together. So beautiful
Of course, another gorgeous project from you, Janet. Thanks for sharing and getting my creative juices flowing. This is absolutely stunning!
This is so beautiful! Great idea forparties:
So pretty with the neutral and pink. I remeber my mom had dried flowers and grasses too.
So pretty Janet! The soft colors with the twinkle lights at night I’m sure is gorgeous! I wonder if adding some tulle or velvet ribbon through the wire might give it an even more elegant dainty feel?
Your craftiness always inspires!
Thanks Lori! I sold this one but that would have been a great idea!
I have usually used pinks with other pastels or whites; I’ve never used it with neutrals; I really liked it. I would love to see the chandy at night or dusk!
I love pink wherever I can use it…but in small doses. I sold the chandelier, not sure if I have any night photos but I’ll look!
I’m going to try and do the lampshade one. Now I need to decide color and the ribbon.
That sounds amazing! Picking the perfect color and ribbon will really make it your own. Can’t wait to see how it turns out!