How To Build An Outdoor Fire Pit With A Cover
This post may contain affiliate links. For more information, please see our disclosure policy.
This outdoor fire pit with a cover is an easy project for beginning and experienced DIYers alike. Keep warm outdoors in the cold months and use as a coffee table in the warmer part of the year!
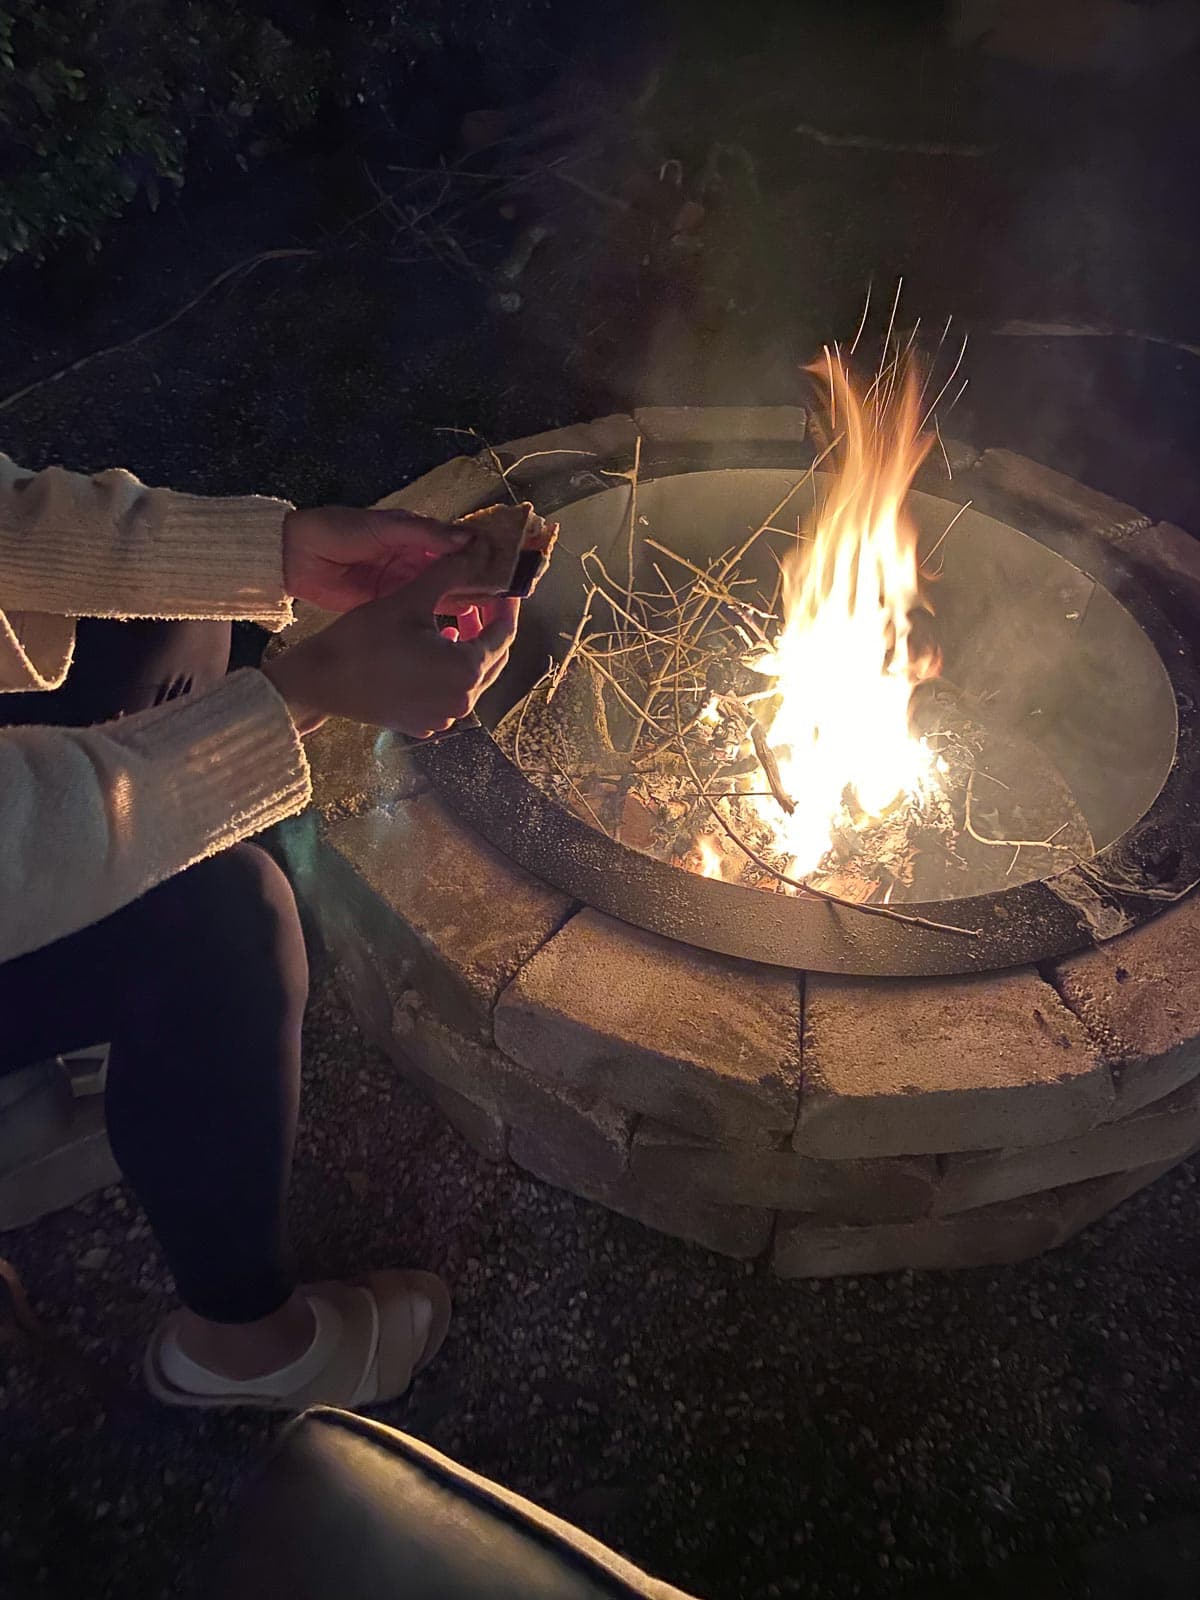
Although it’s not cold very often where we live, we do enjoy those evenings in the winter when we can be outdoors (sans profuse sweat 🤣). During the holidays with the family here, we did have a cold spell for a week and decided to build this easy garden fire pit. A cover was something that I felt necessary for several reasons. There can be critters around here at night and we felt that they would be safer when poking around. Once we snuff the fire with either water or dirt, we pop that lid on and not only does it prevent any issues but looks better aesthetically!
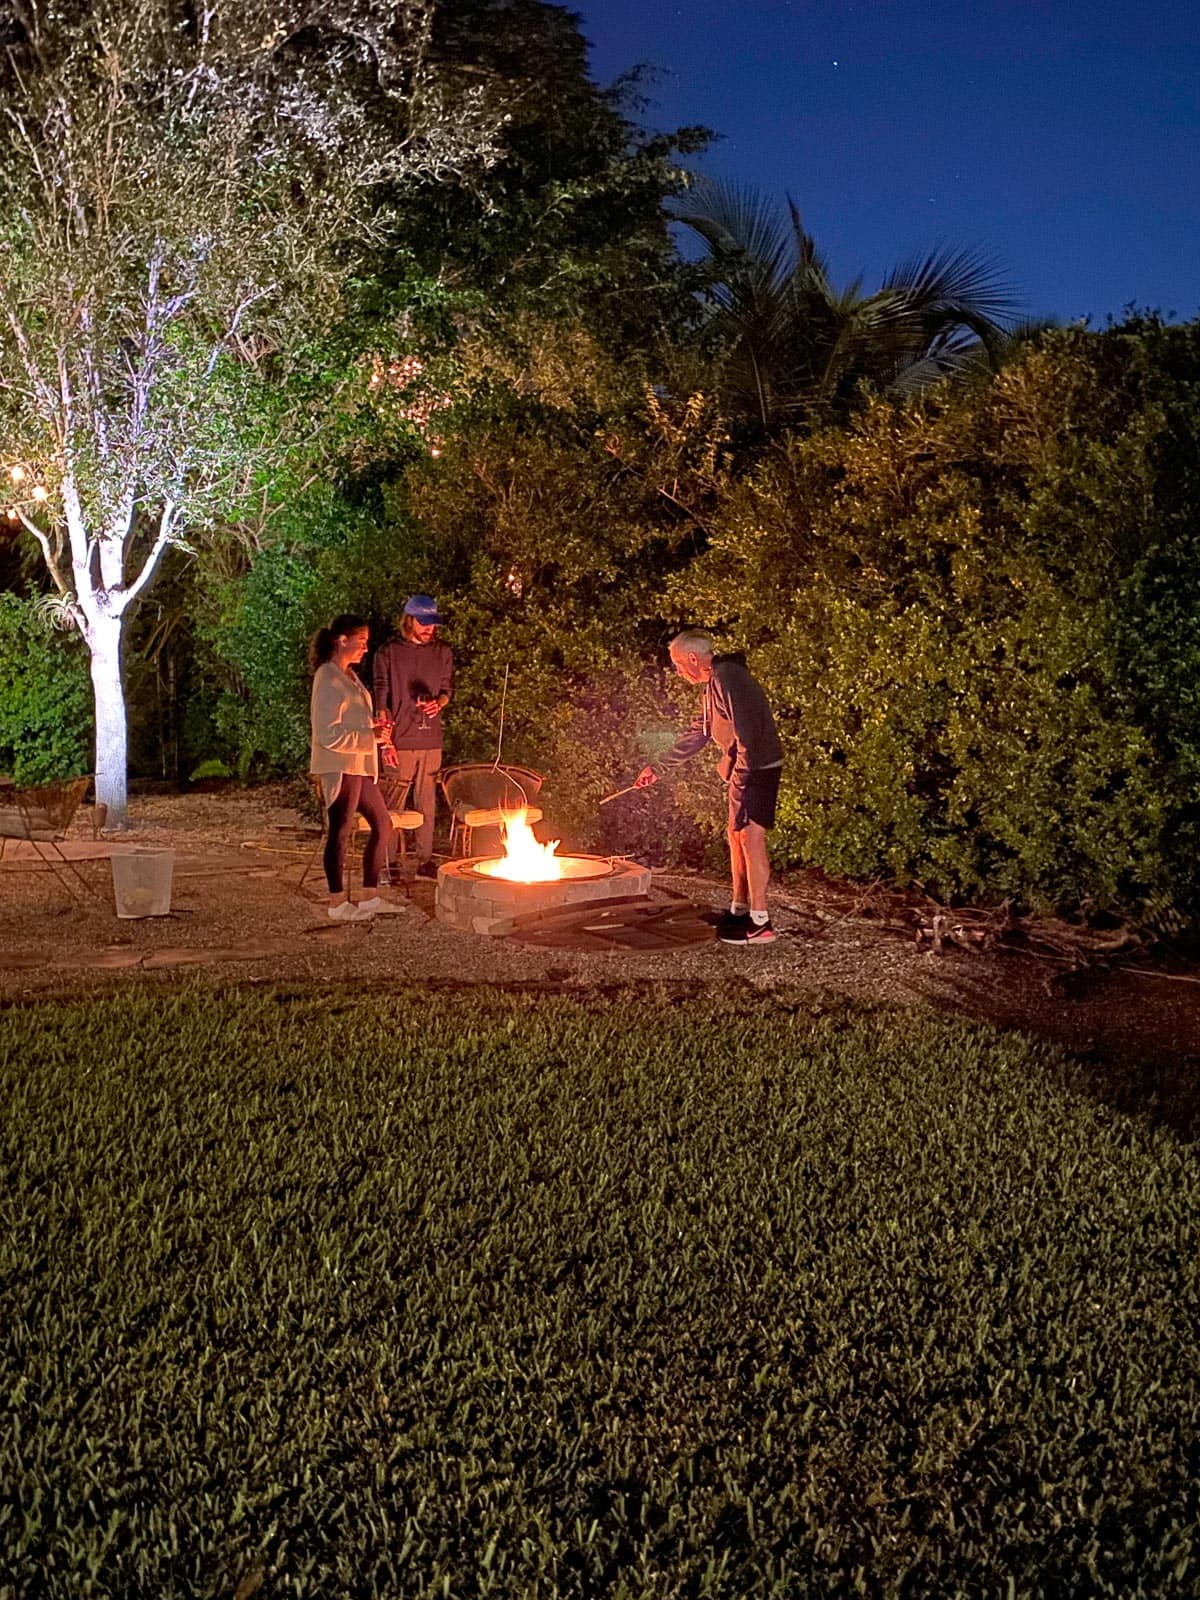
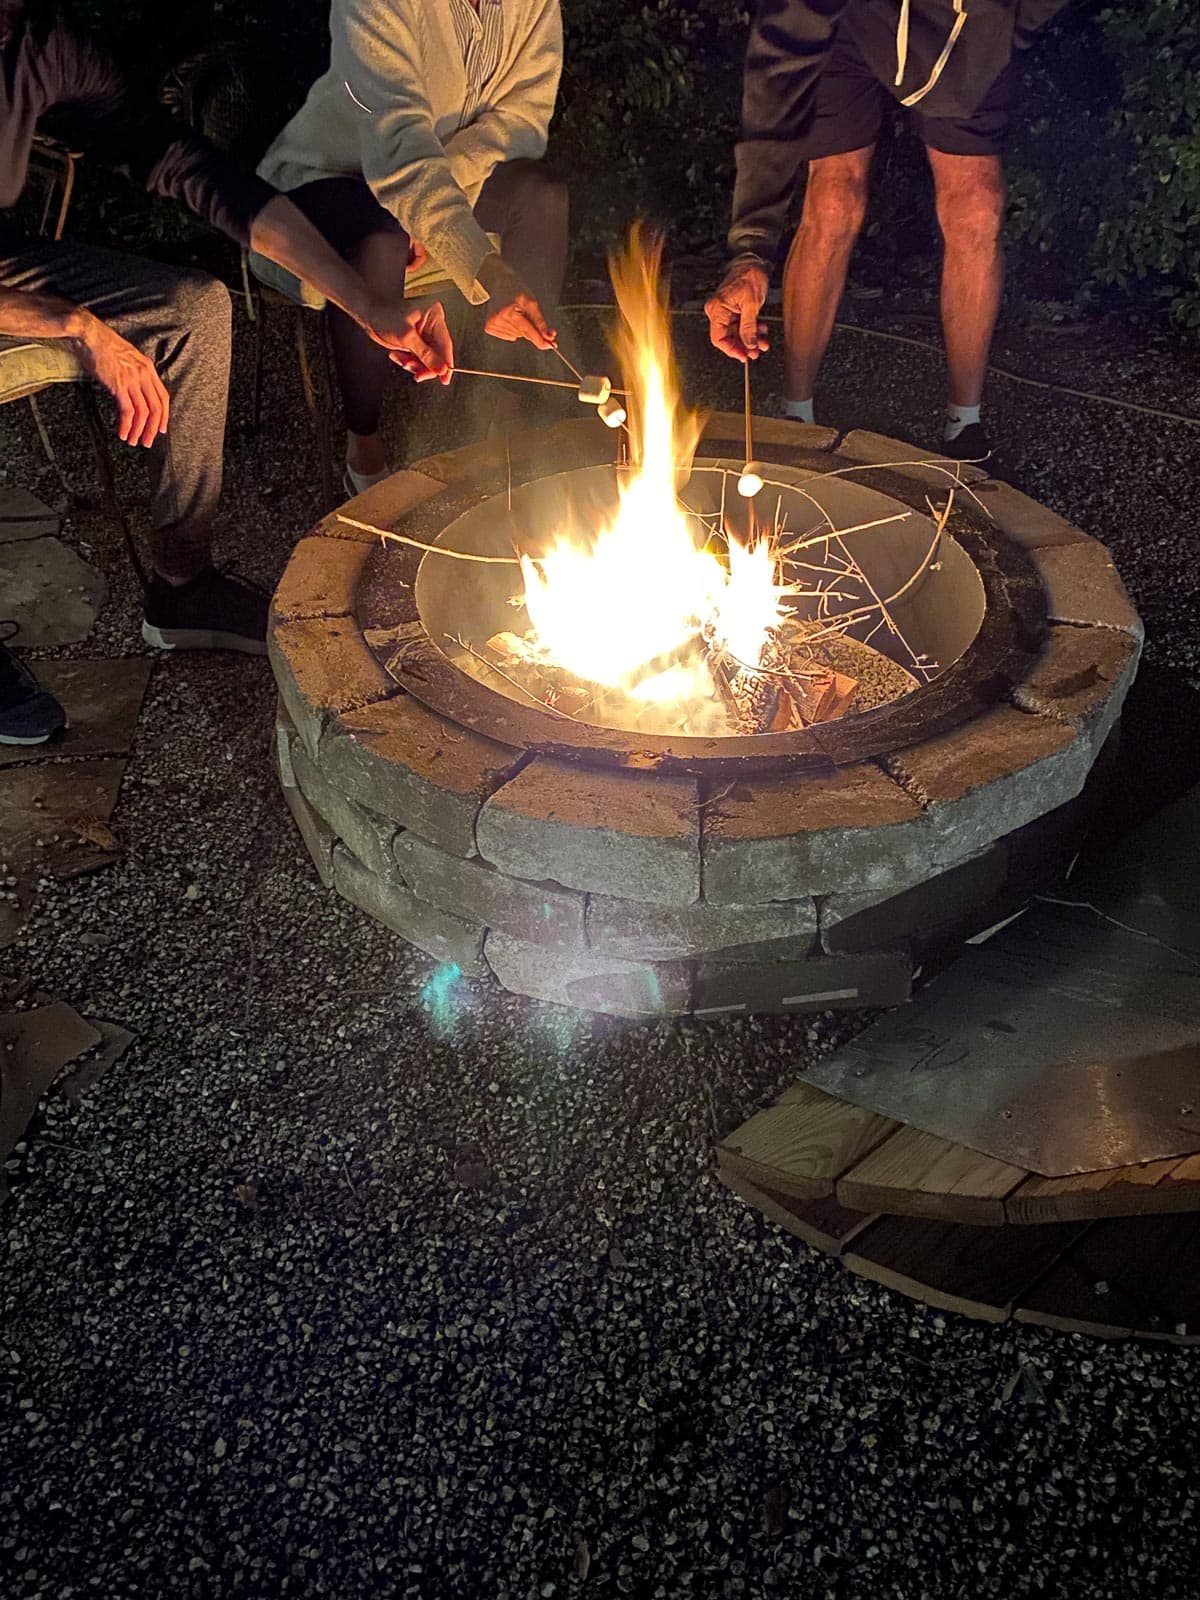
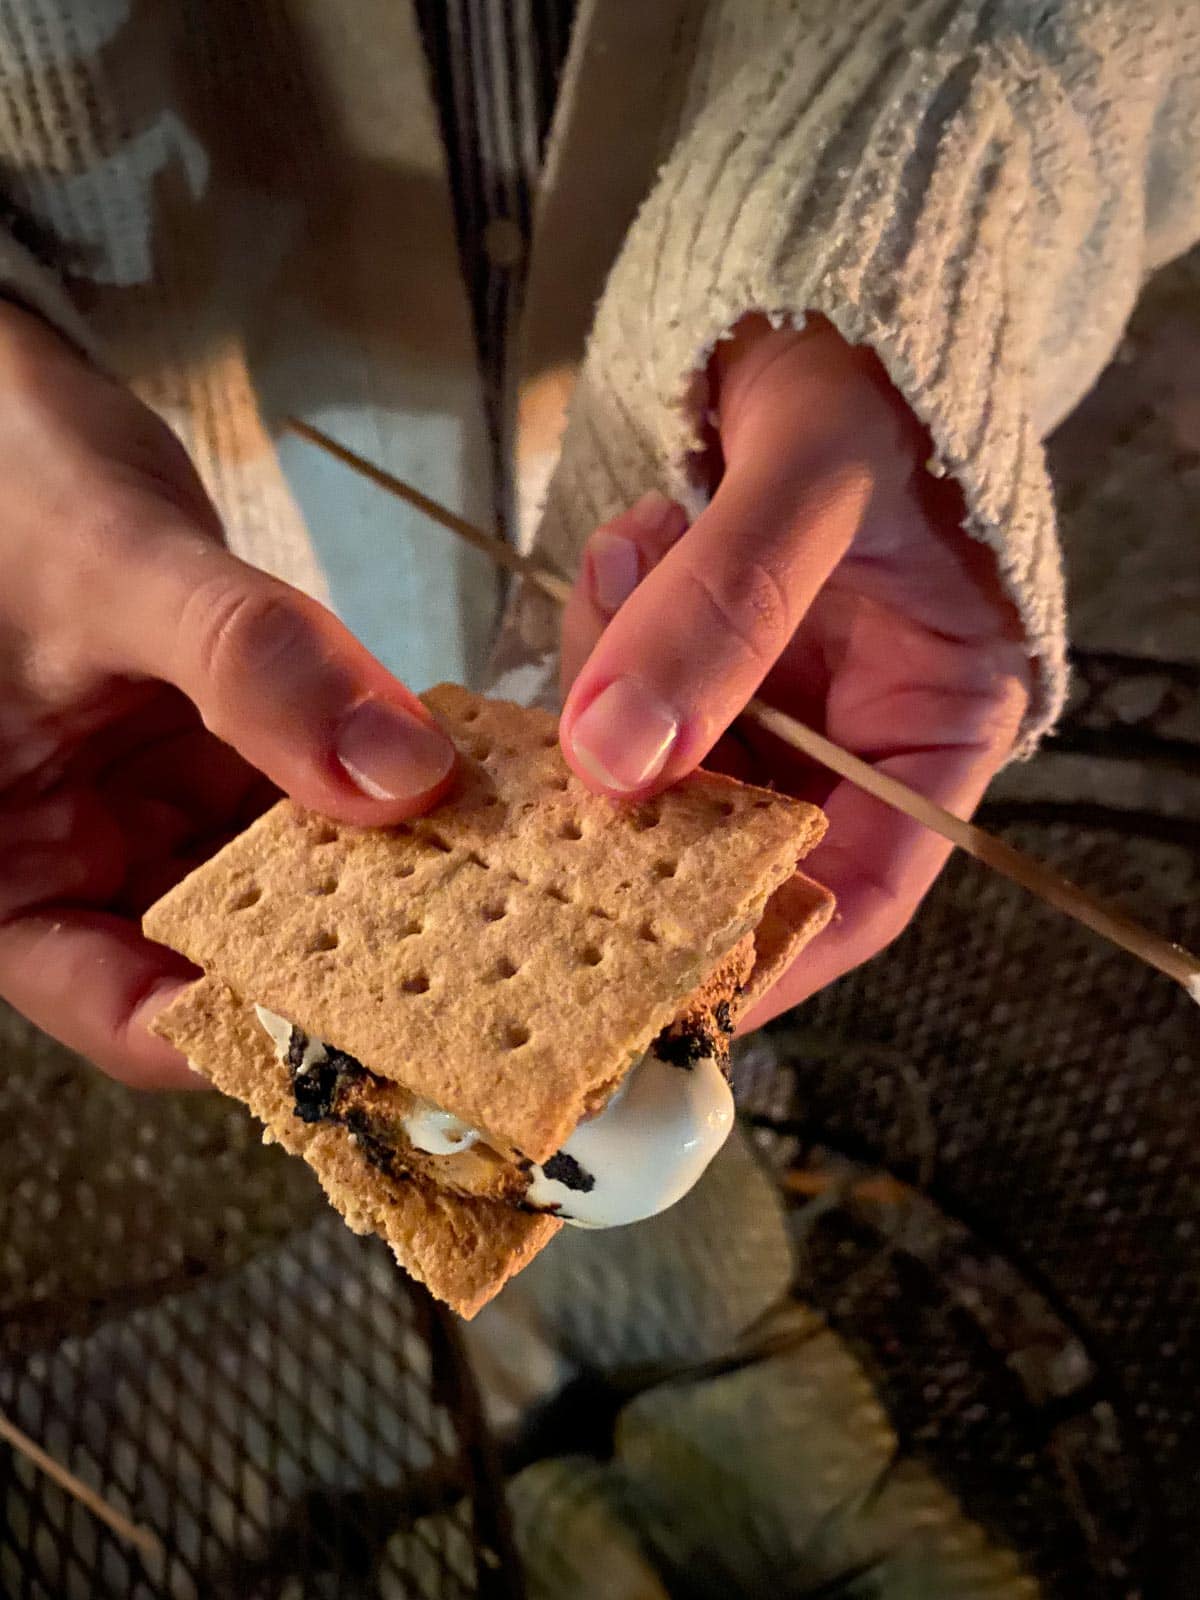
Here we were with some of the family roasting marshmallows and making s’mores…yum!!
Let’s get into the DIY build process and be sure to bookmark this if you think that this project is in your future.
This is a paid post in behalf of Spectrum Brands but the work and opinions expressed here are my own.
Outdoor Fire Pit With A Cover DIY
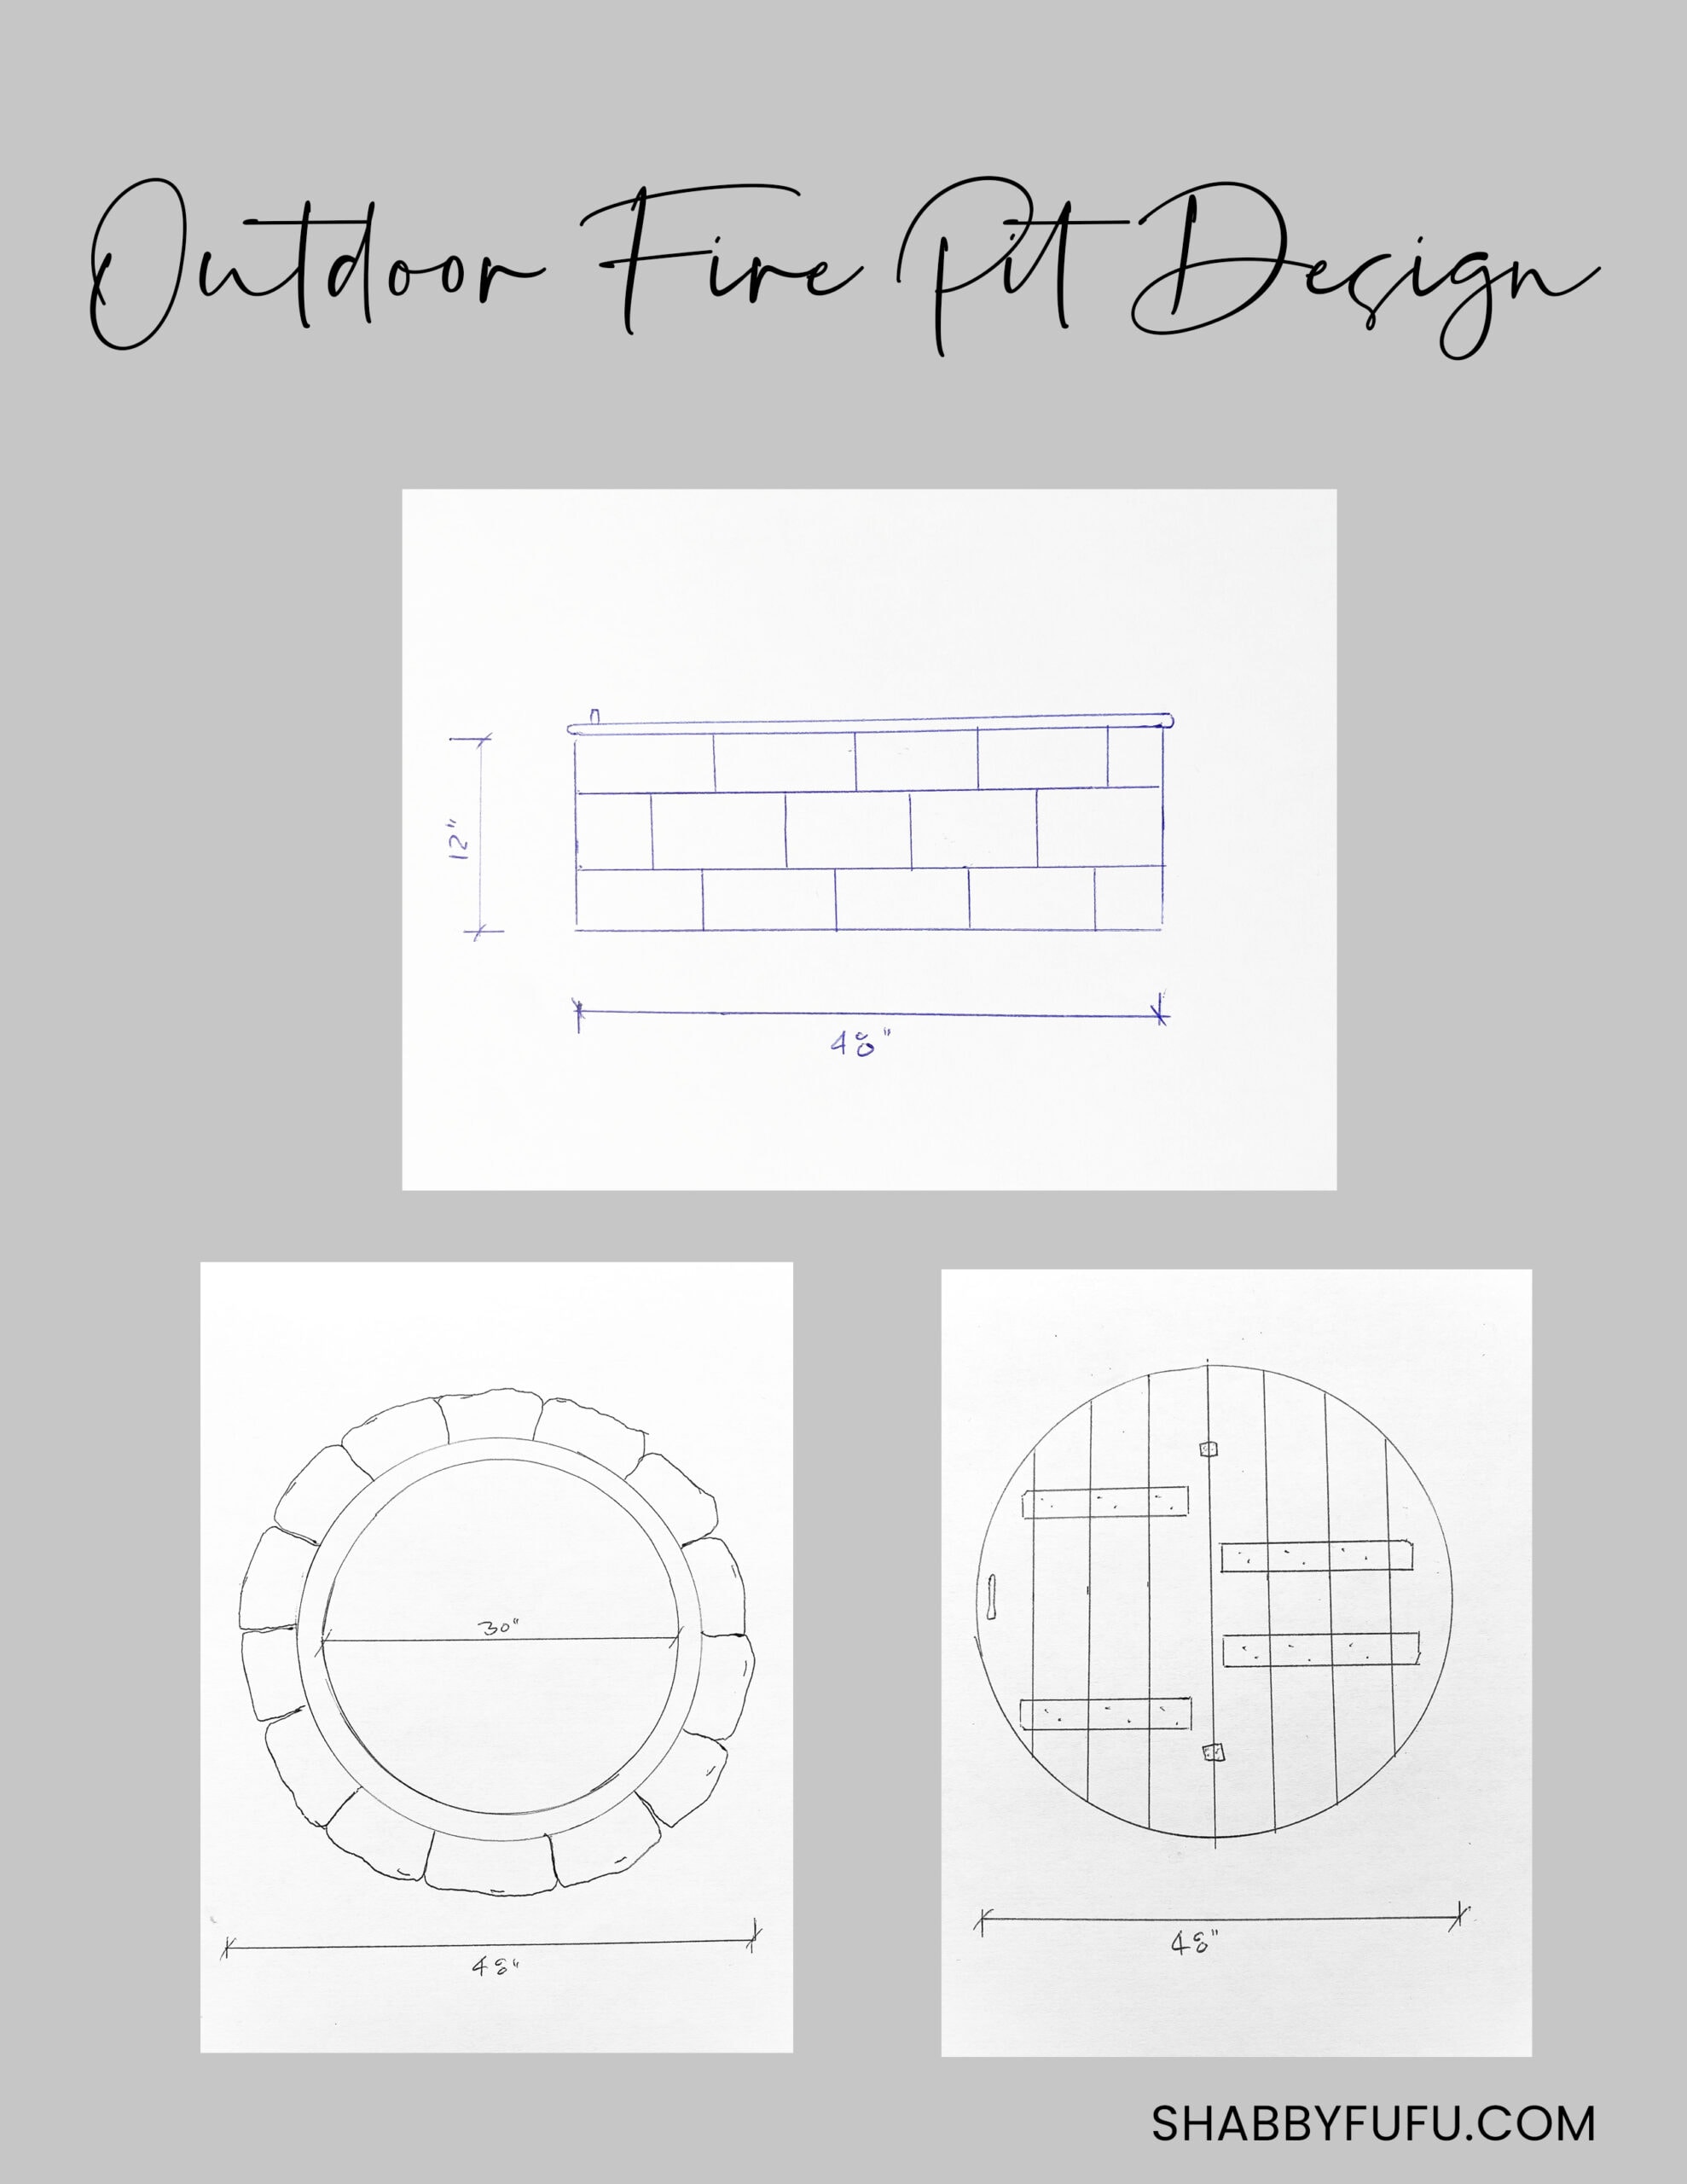
All of our projects here start with a plan that we sketch out. It’s so helpful to envision and feel free to print this out!
Materials
- 36″ Metal Fire Pit Insert Liner
- 52 pieces of 4″x 11.75″ x 6.75″ concrete retaining wall block
- Four – 8′ – 2 x 6’s (pressure treated pine)
- One – 8′ – 1 x 3 (pressure treated pine)
- Two – 36″ x 24″ pieces of metal sheeting (stainless steel)
- Two – National Hardware Back Flap Hinges
- One – National Hardware 8 1/2″ Arched Gate Pull
- 1 1/4″ Exterior deck screws
- Early American Stain
Tools
- Chop saw
- Jigsaw
- Screw Gun
- Screwdriver
- Wrench (open end)
- Pair of metal snips
- Tape measure
- Marker
- Pencil
- String
- 60 grit Sandpaper
DIY Fire Surround Instructions:
Step 1 –
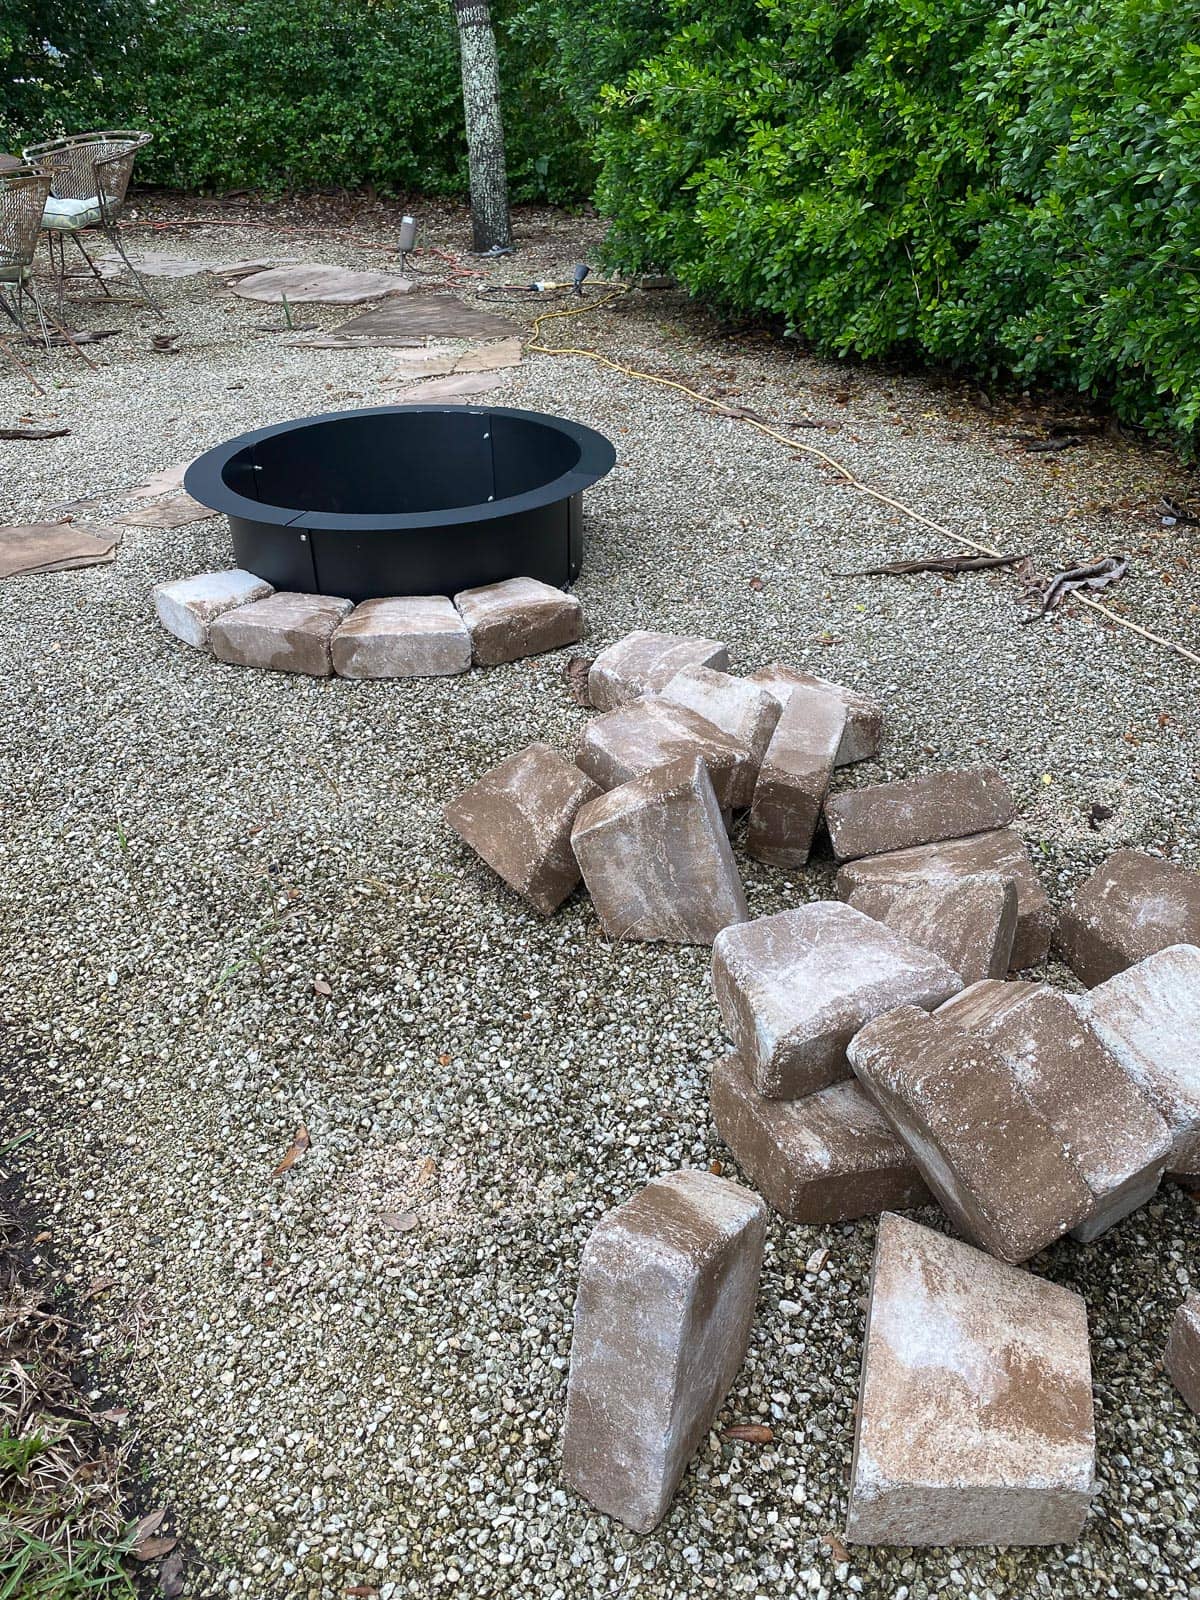
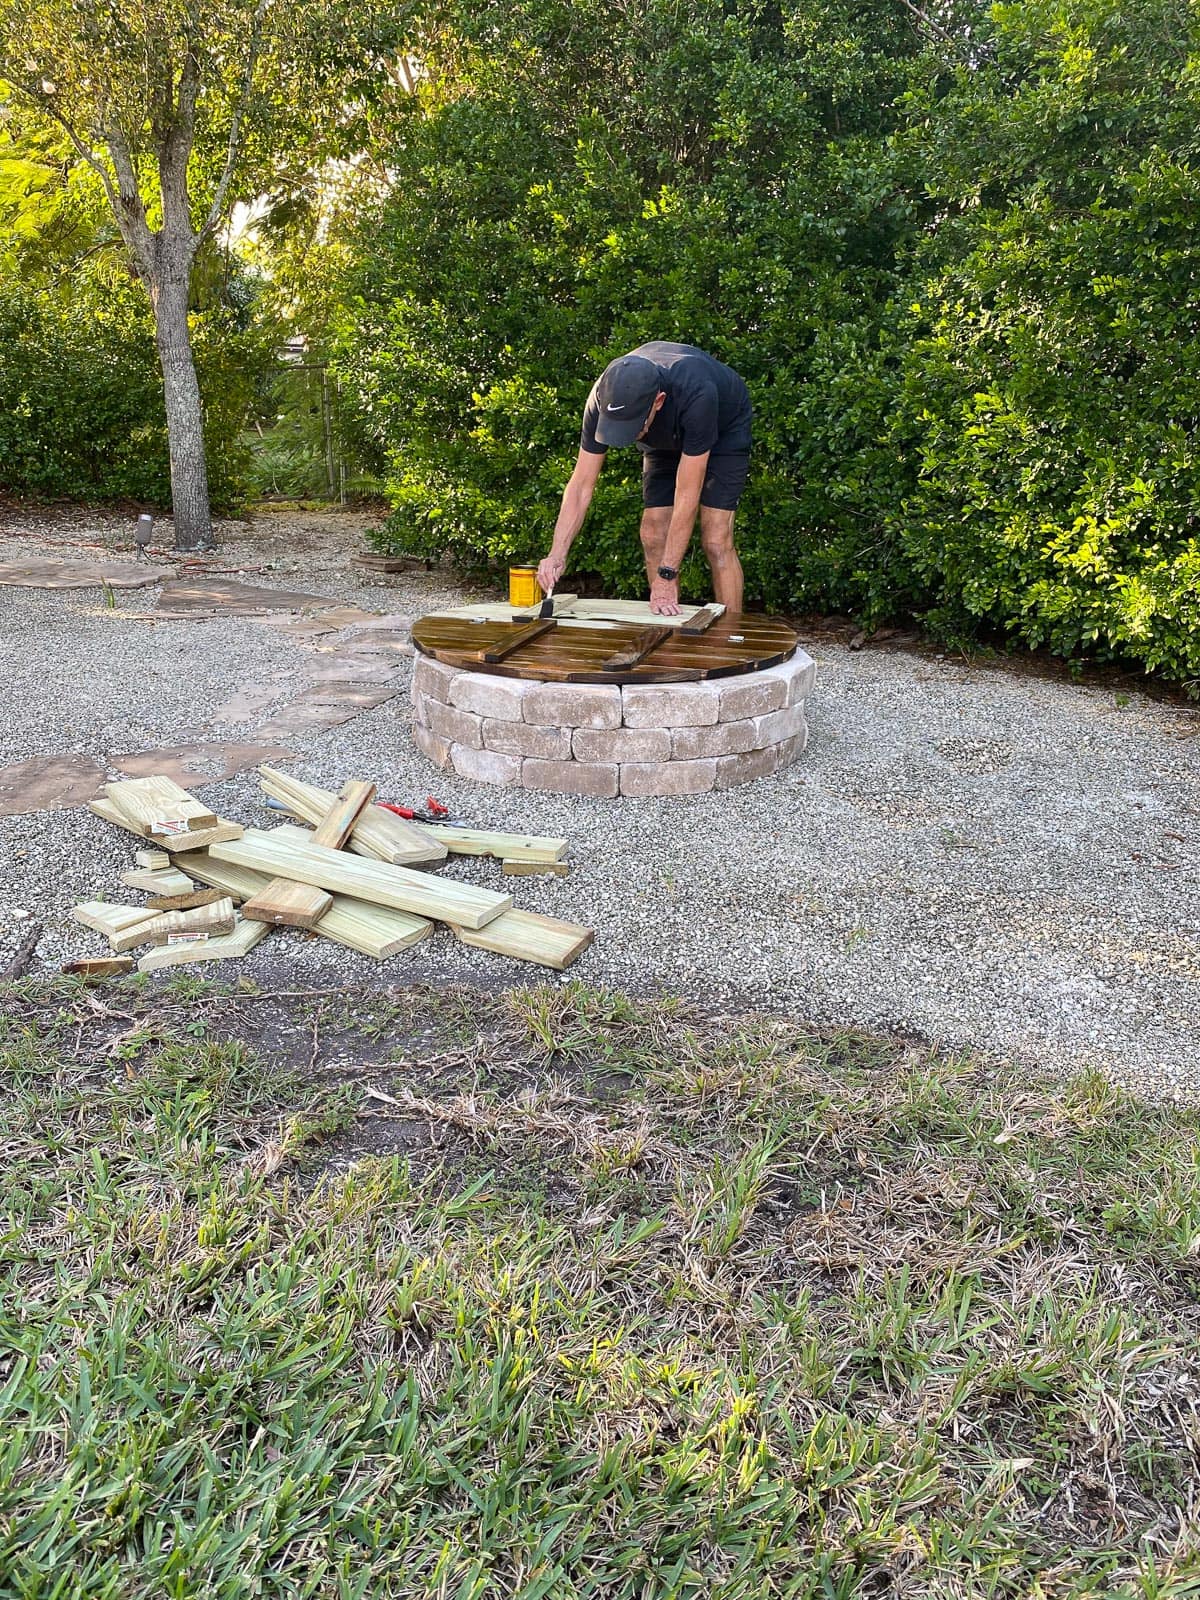
Determine where you want to build your fire pit. Make sure that it’s at least 6′ away from any existing landscaping or structures and on flat ground. We built ours over a portion of our existing pea gravel patio area towards the back of our garden. Be sure to build your outdoor fire pit on a surface that will not burn (gravel, dirt, rock, etc).
Step 2 –
Assemble the metal insert with a screw driver and wrench. I don’t have an image of assembly, but it’s easy!
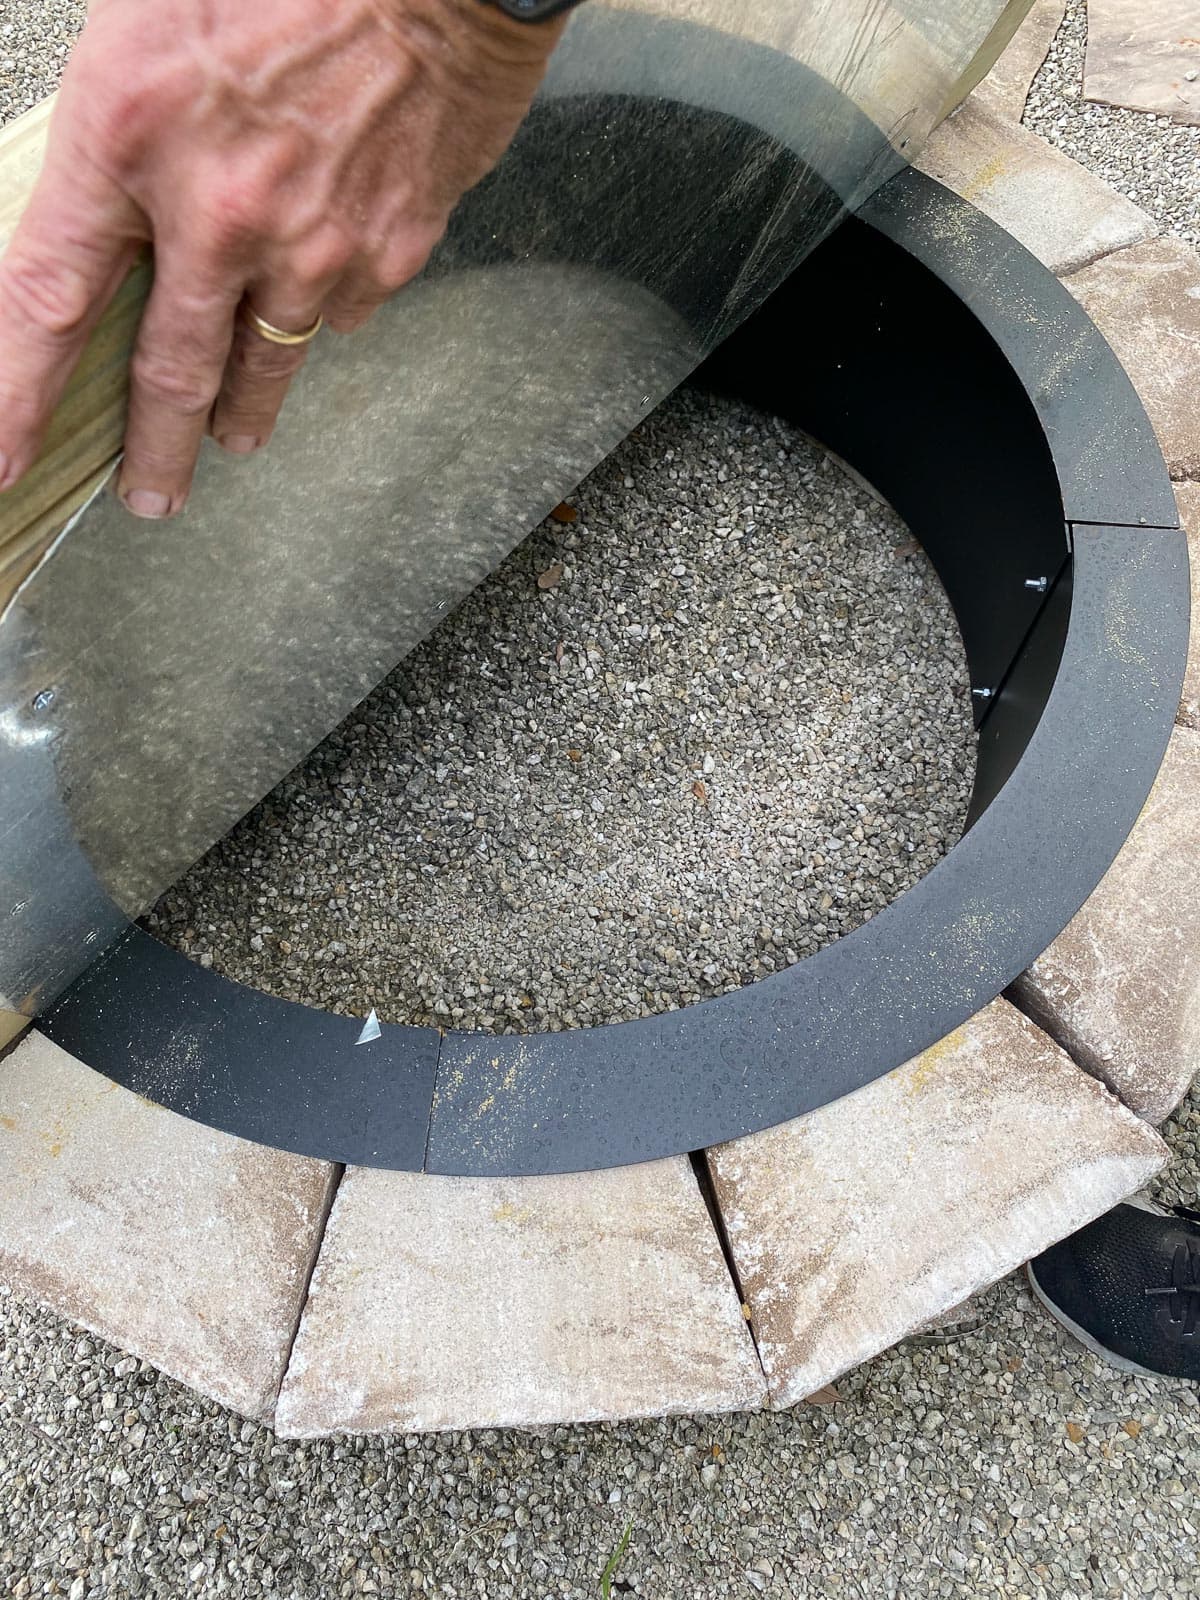
Step 3 –

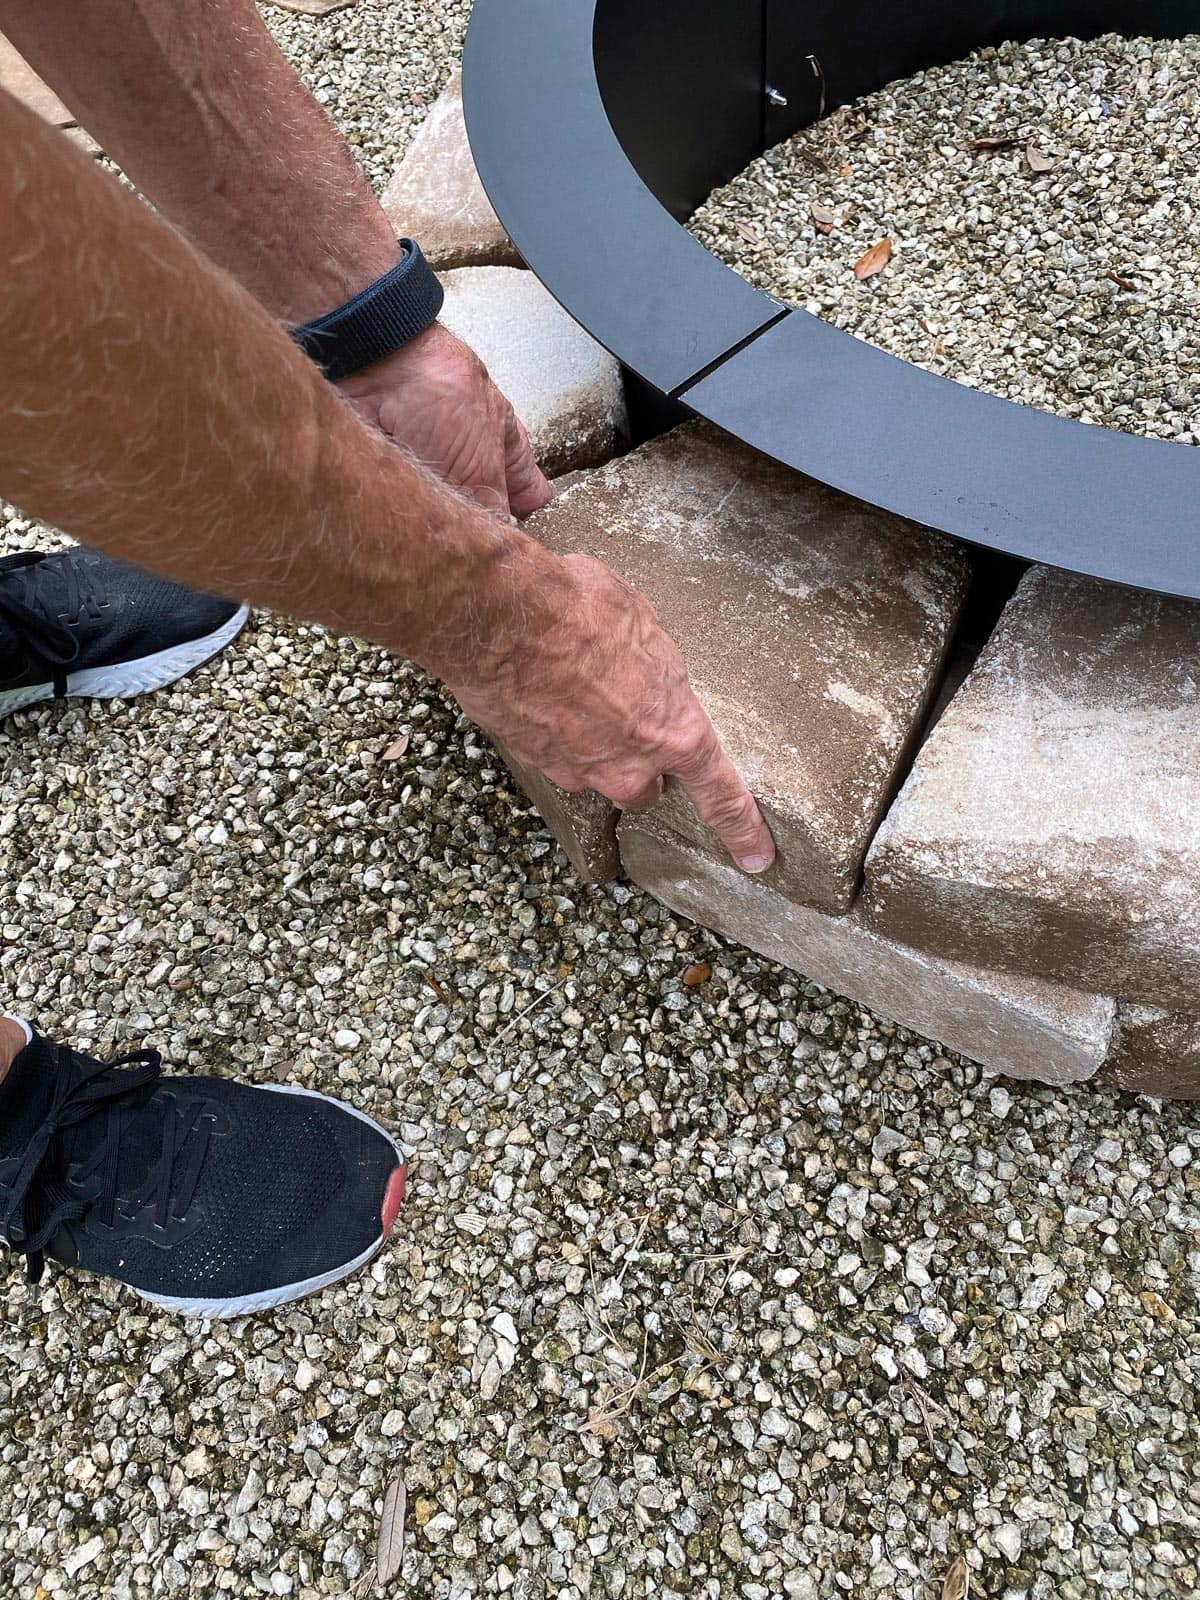
Start placing the brick around the perimeter of the metal fire insert. Each layer requires 13 brick to go around the circumference of the fire pit insert. We built this DIY fire pit to be 3 layers tall, but you can add more layers if desired.
DIY Outdoor Fire Pit Cover Instructions
Step 1 –
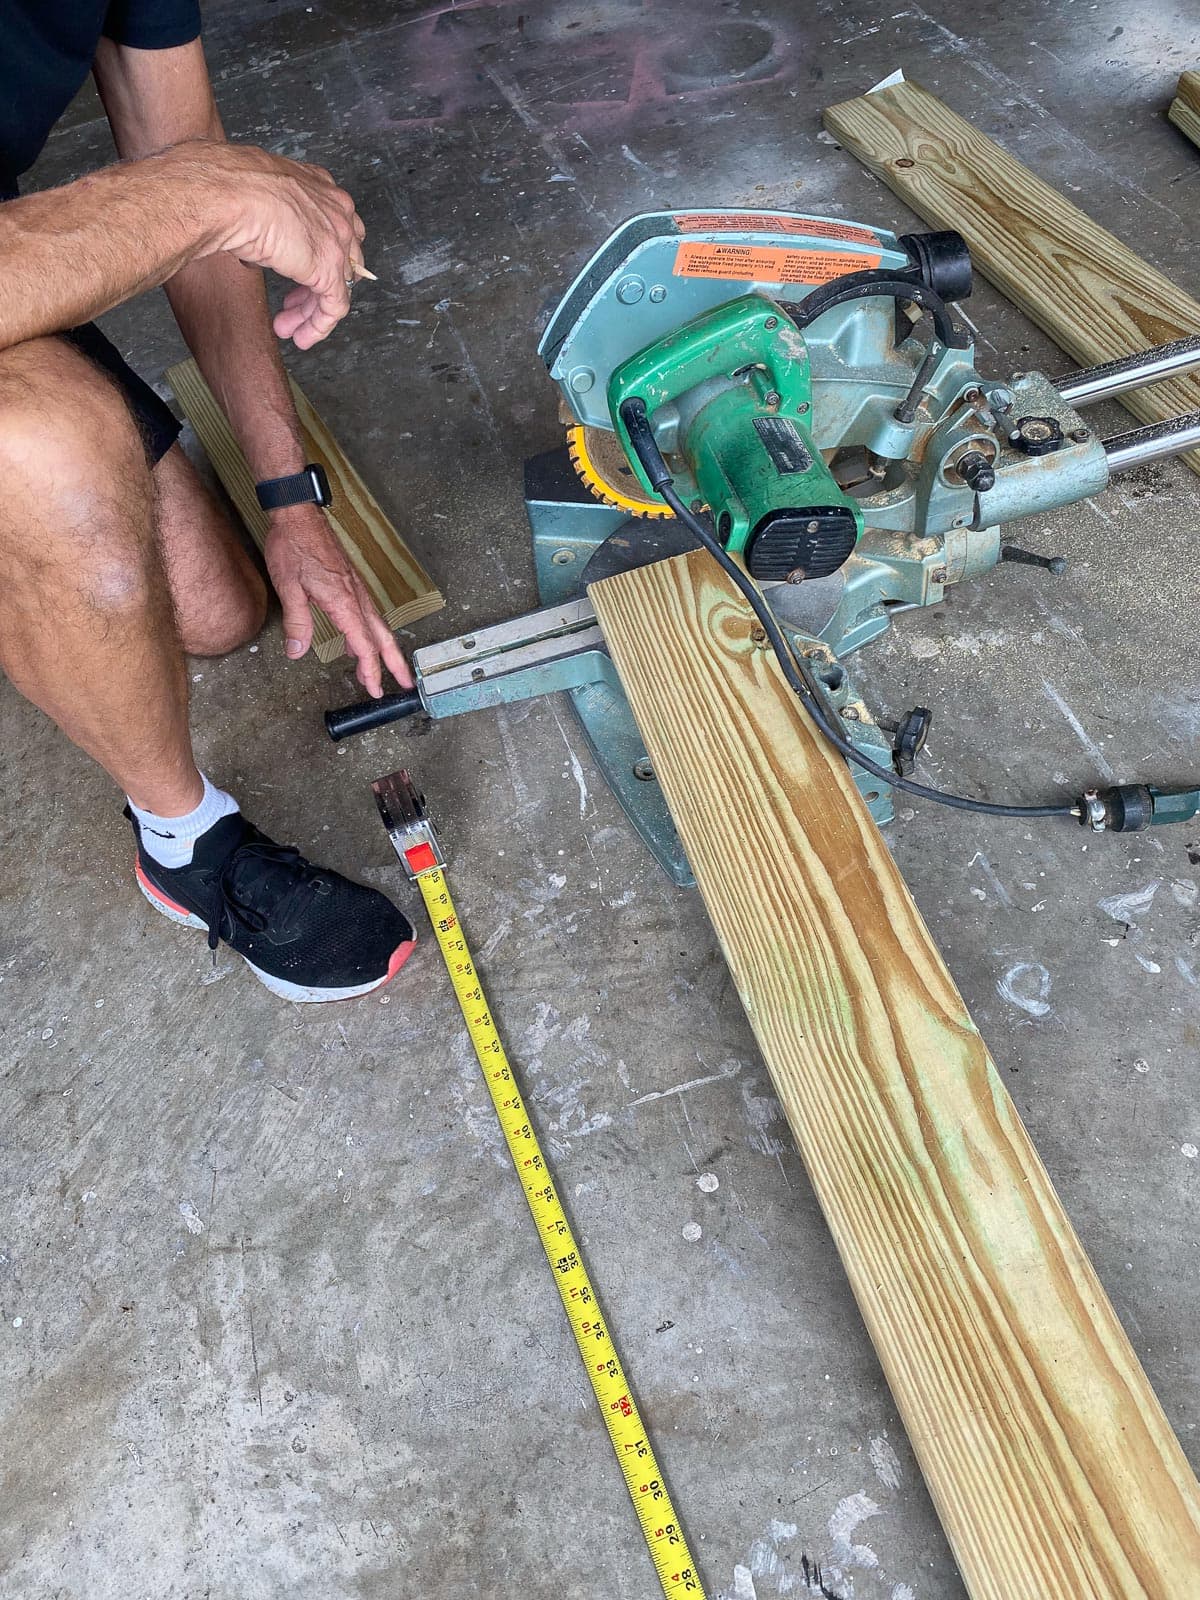
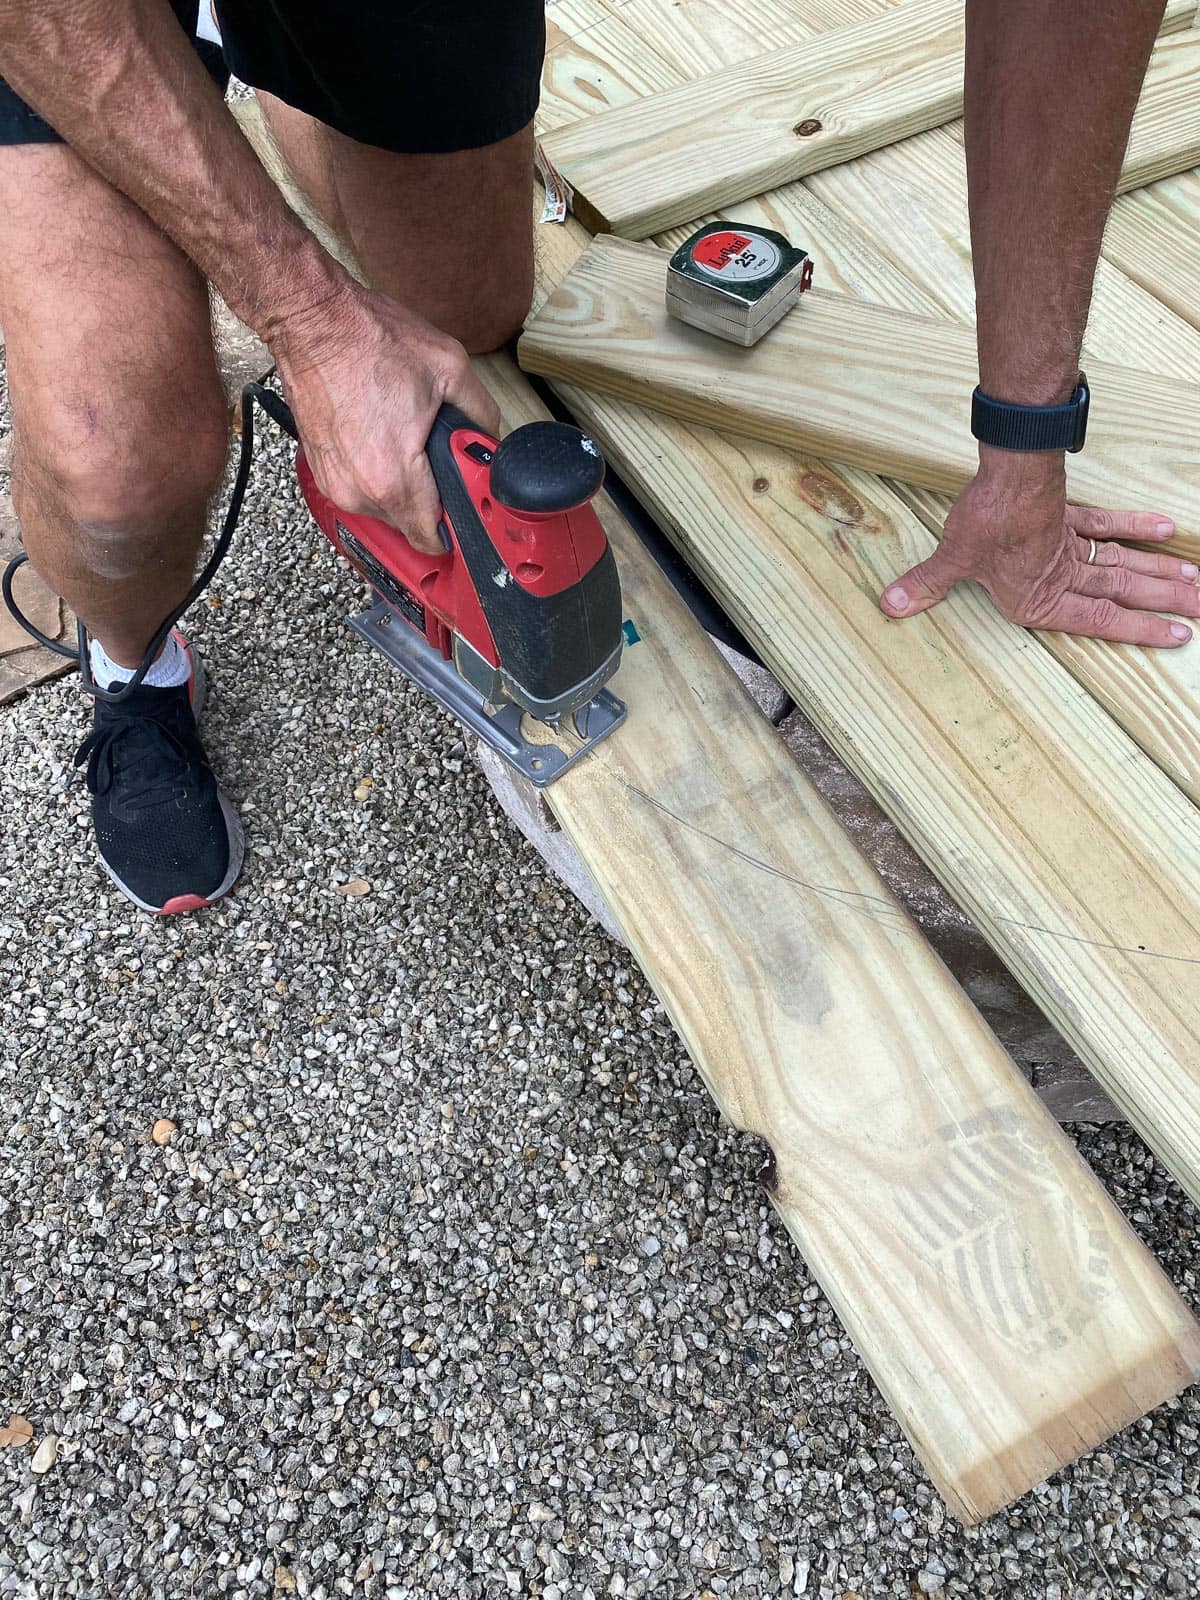
Cut four 8′- 2 x 6’s in half with a saw. You will then have eight pieces measuring 4′ long. Cut the 8′ – 1 x 3 into four pieces that will be 2′ in length.
Step 2 –

Place the eight pieces on top of the fire pit, completely covering the top. Place the four 1 x 3’s on top to determine their final length. They will need to be trimmed with the jigsaw.
Step 3 –
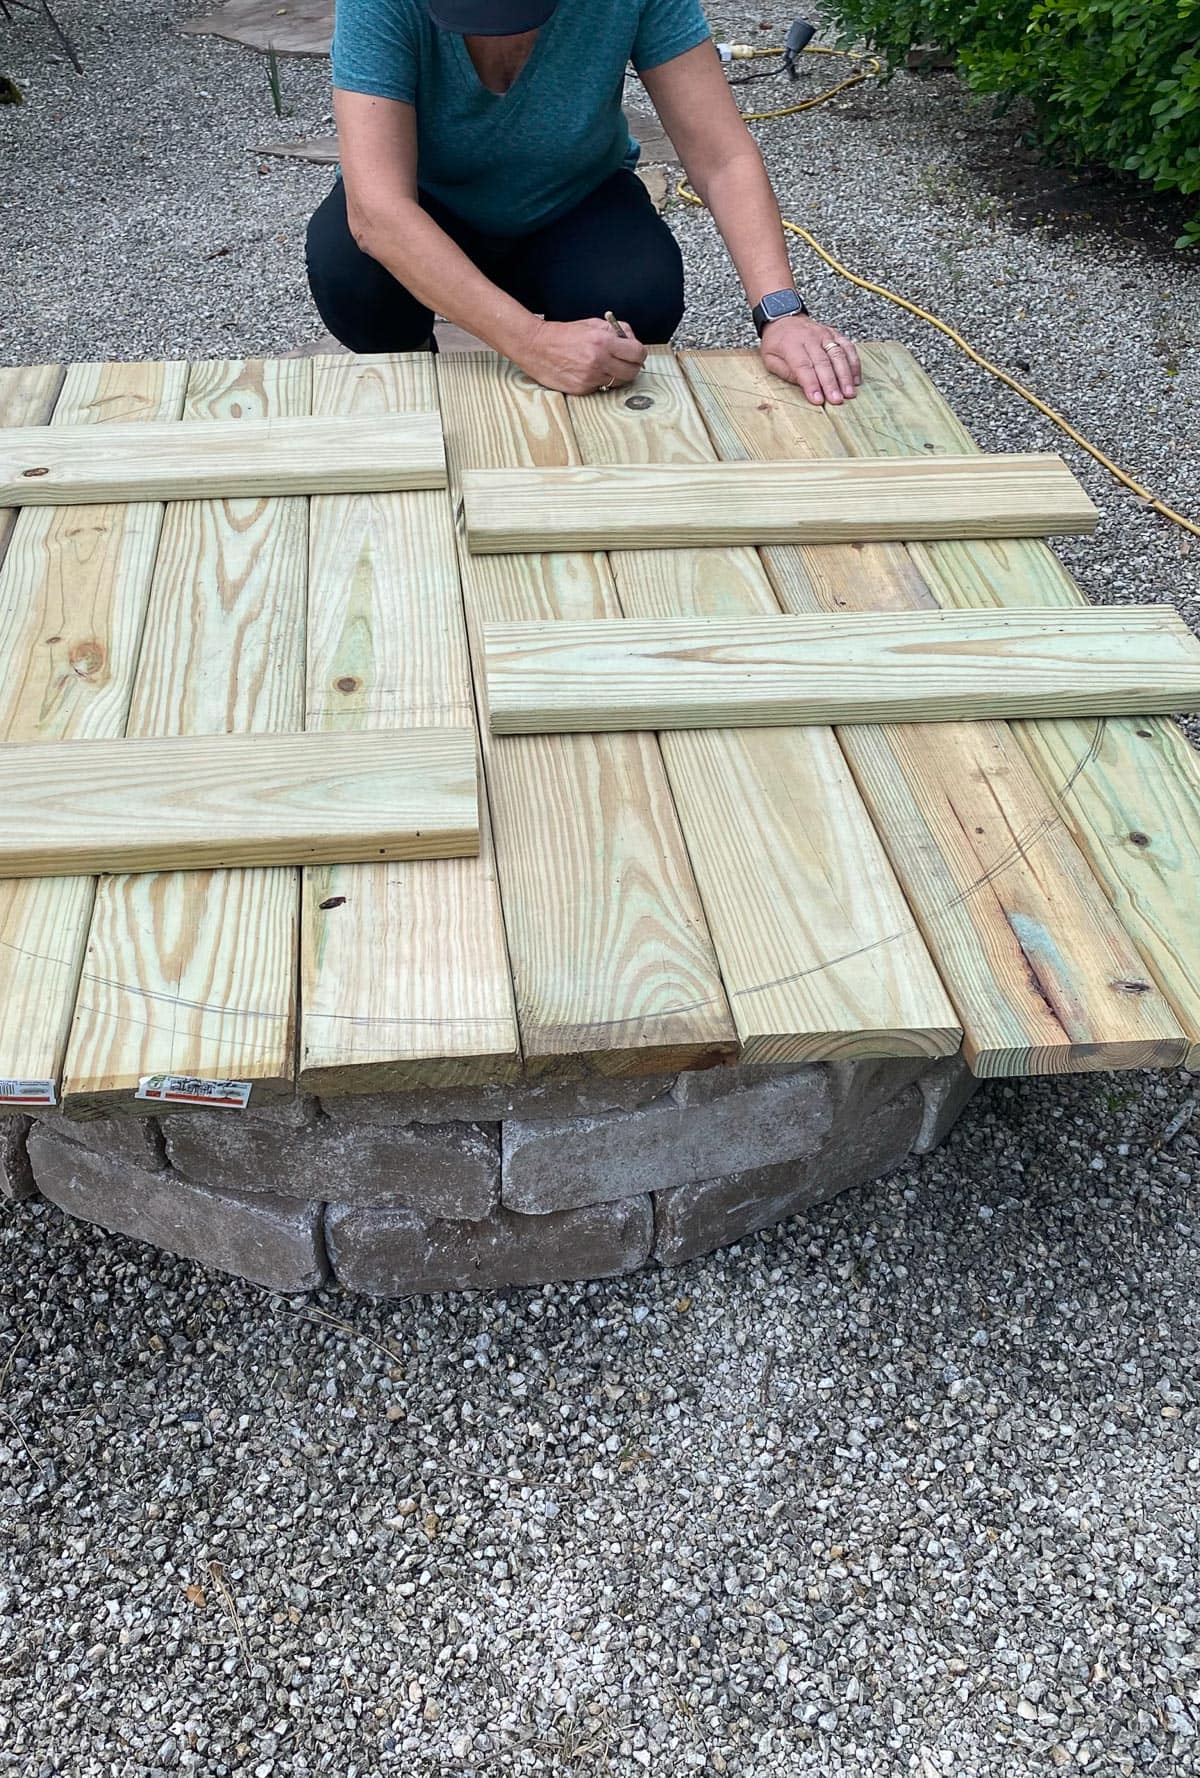
Find the center of the wood that you’ve now placed on top of the fire pit using your measuring tape.
You will then need a short length of string and a pencil to mark a radius around the edge to round off the wood for the top.
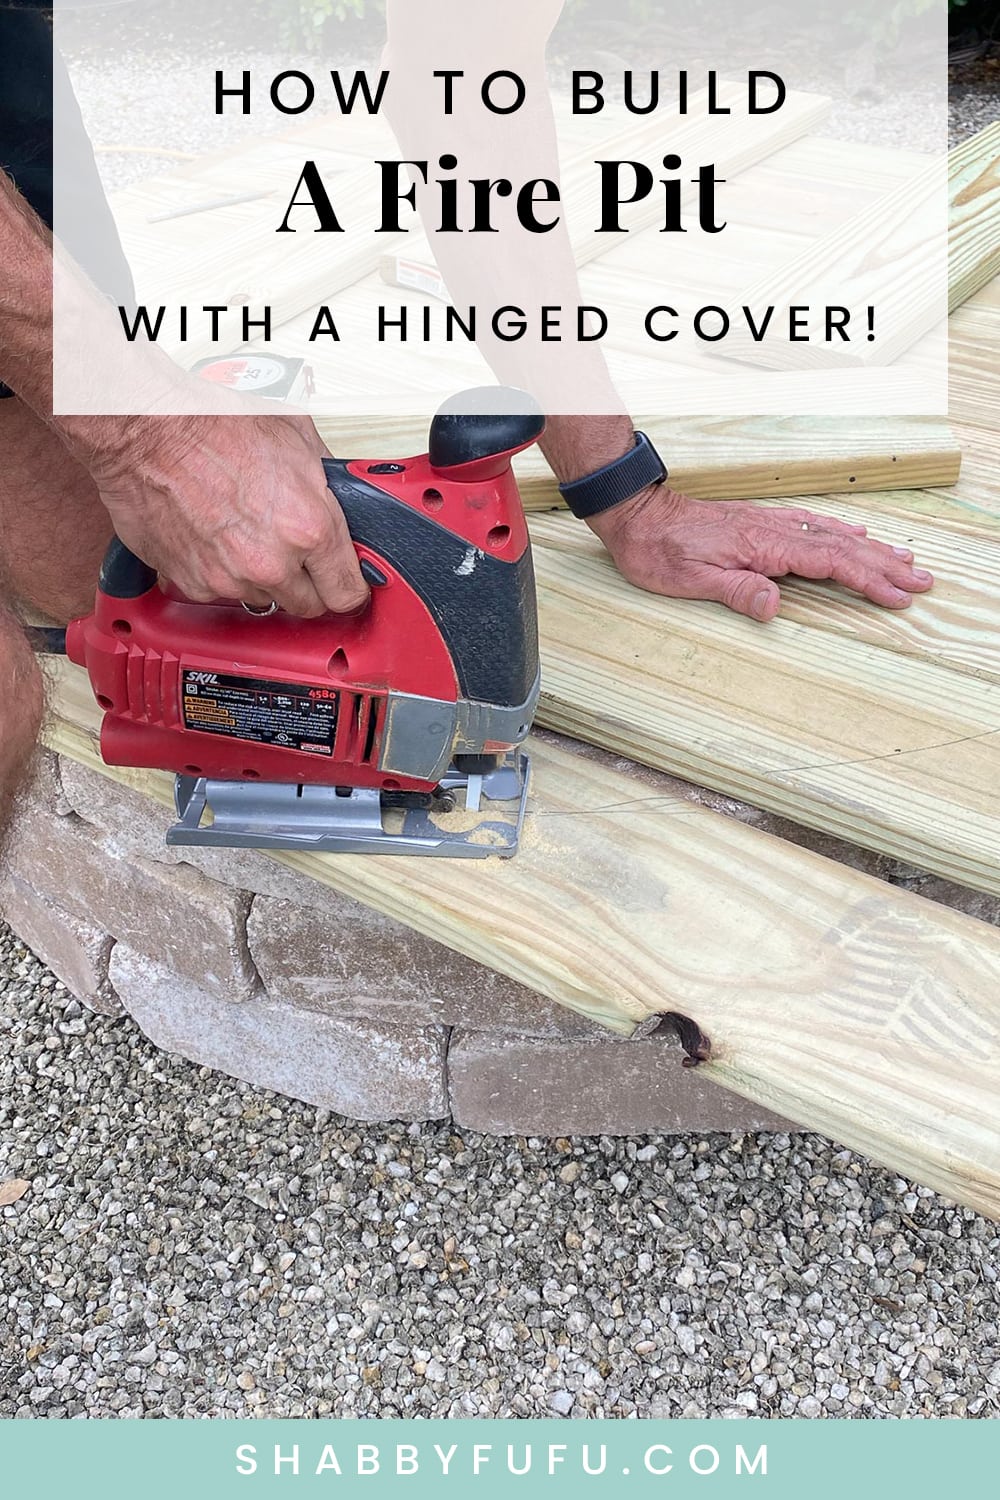
Step 4 –
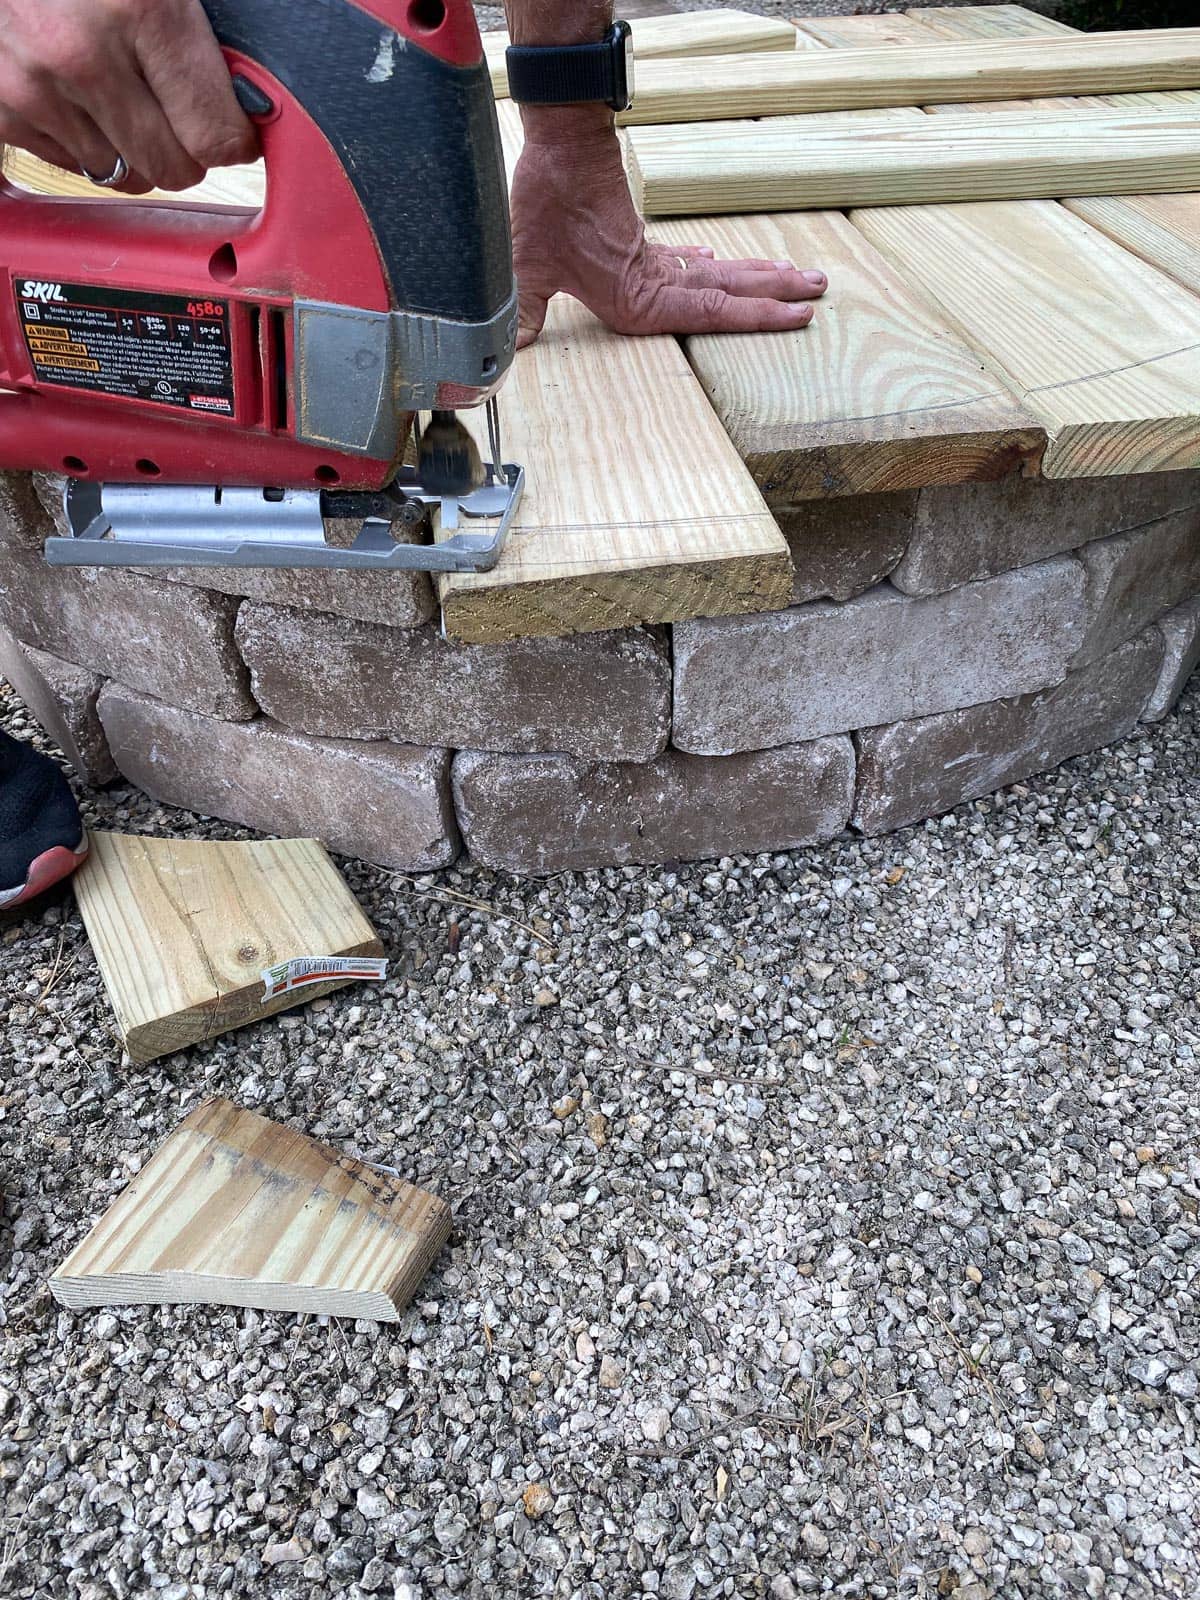
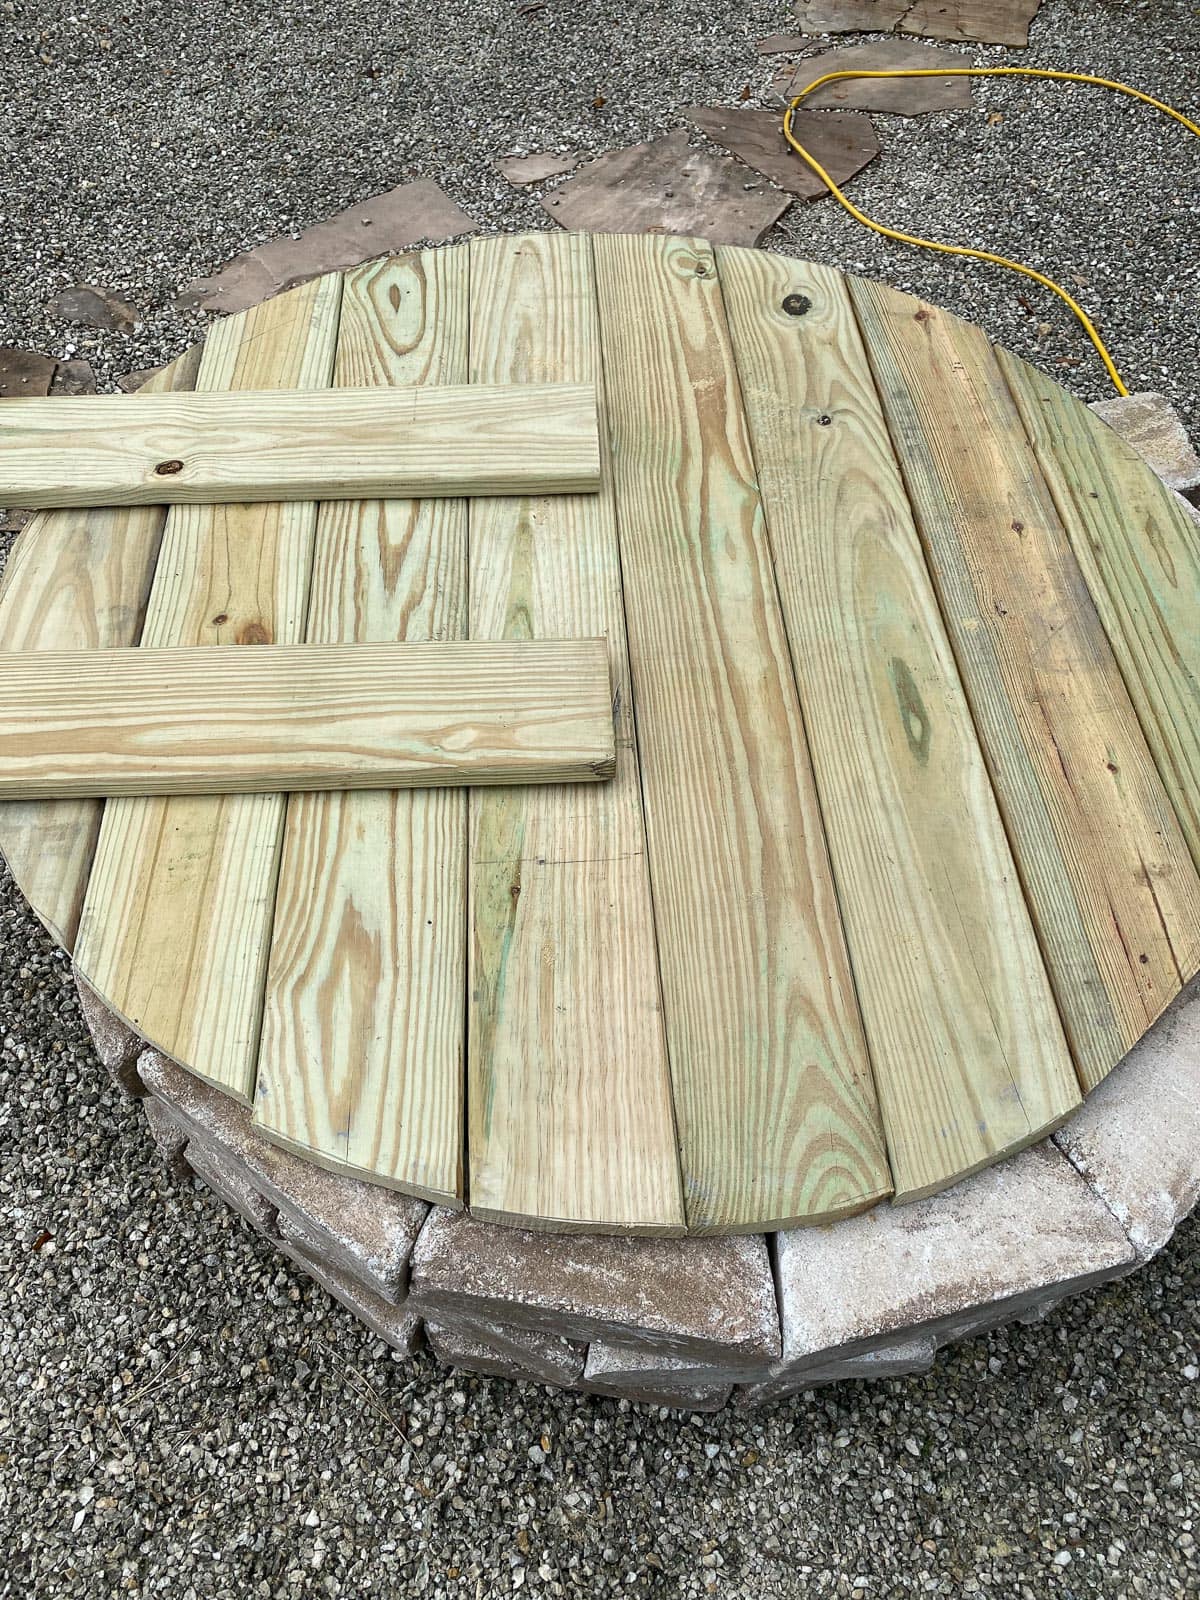
Using a jigsaw, cut the radius of the wood that you’ve marked around the edge of the fire pit. Trim the 1 x 3’s to match the edge.
Step 5 –
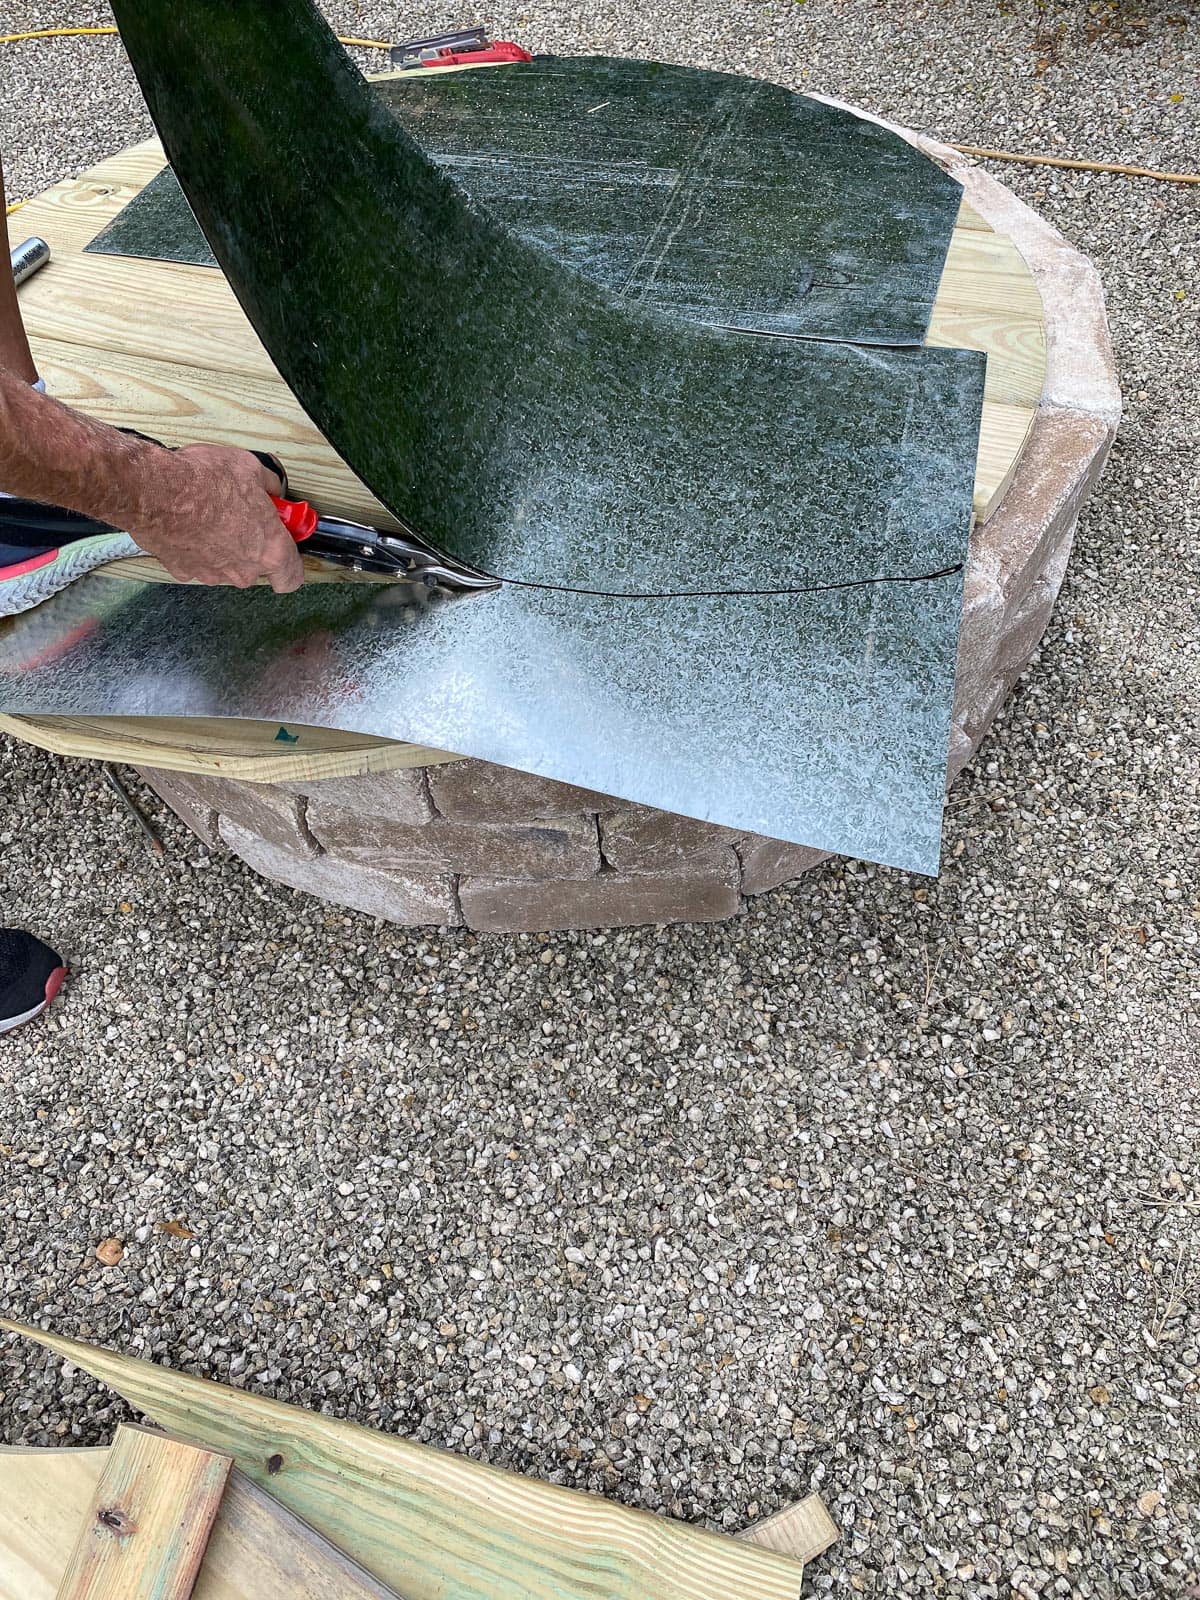
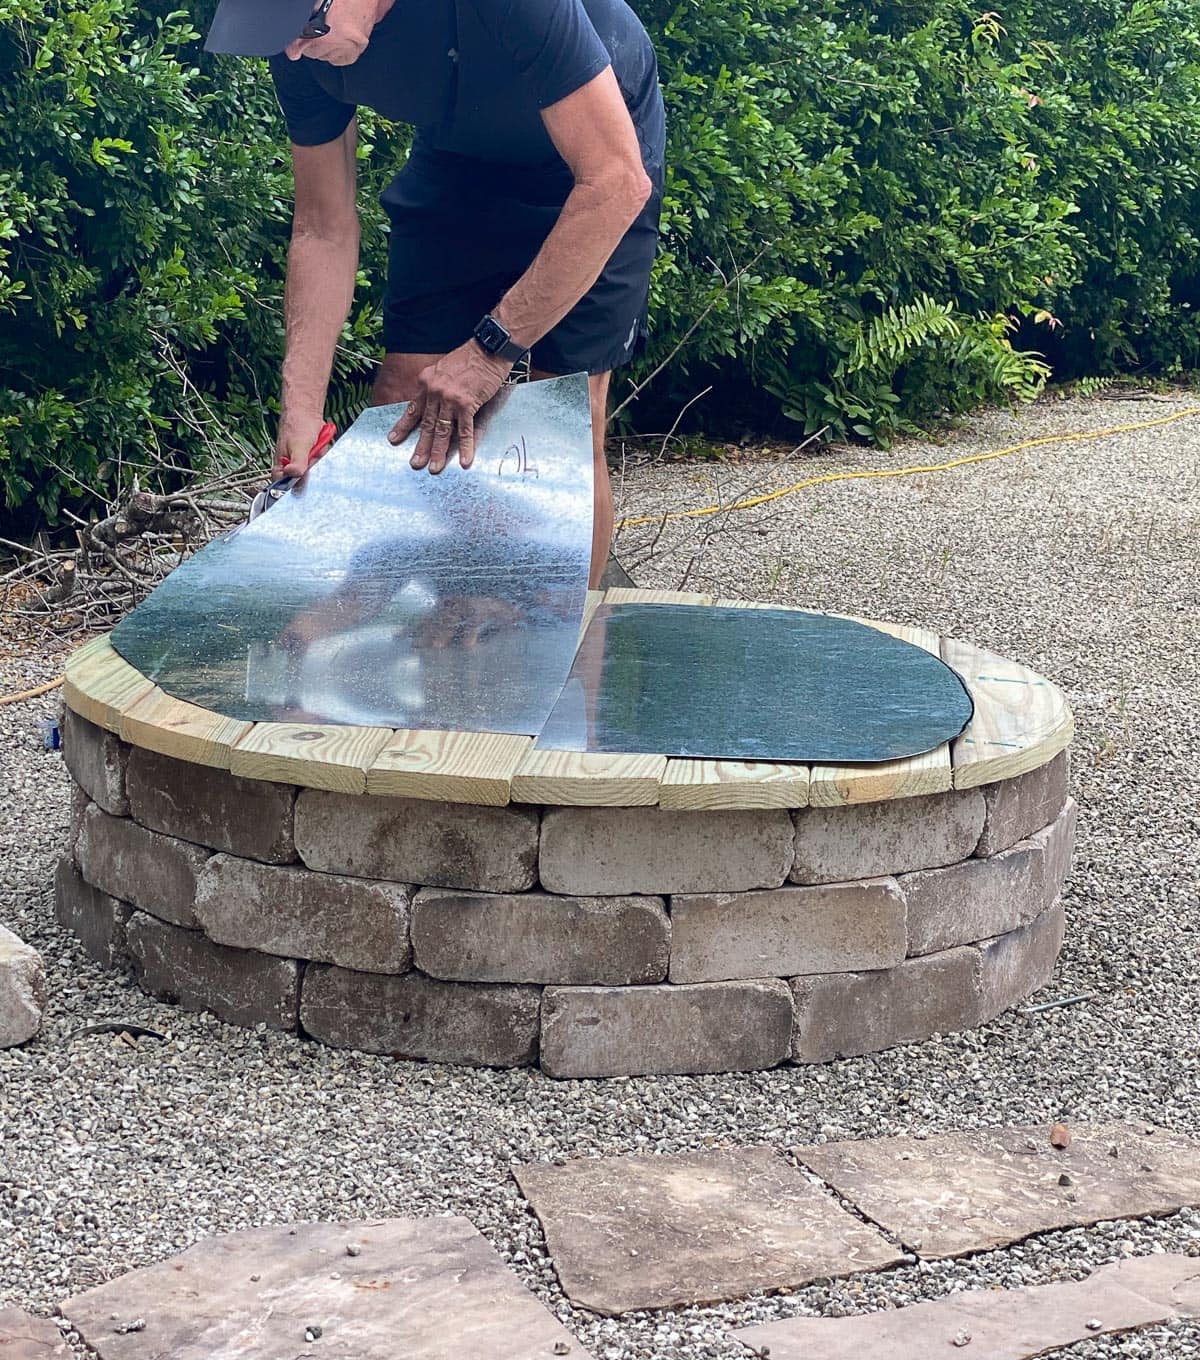
Turn the top over. You’ll then be attaching the metal sheeting to the underside of the wood. Measure the metal sheeting and mark with a marker to match the radius of the top. The metal sheet will need to cover the inside of the fire pit only. Attach with the same screws that you’ve been using in this project.
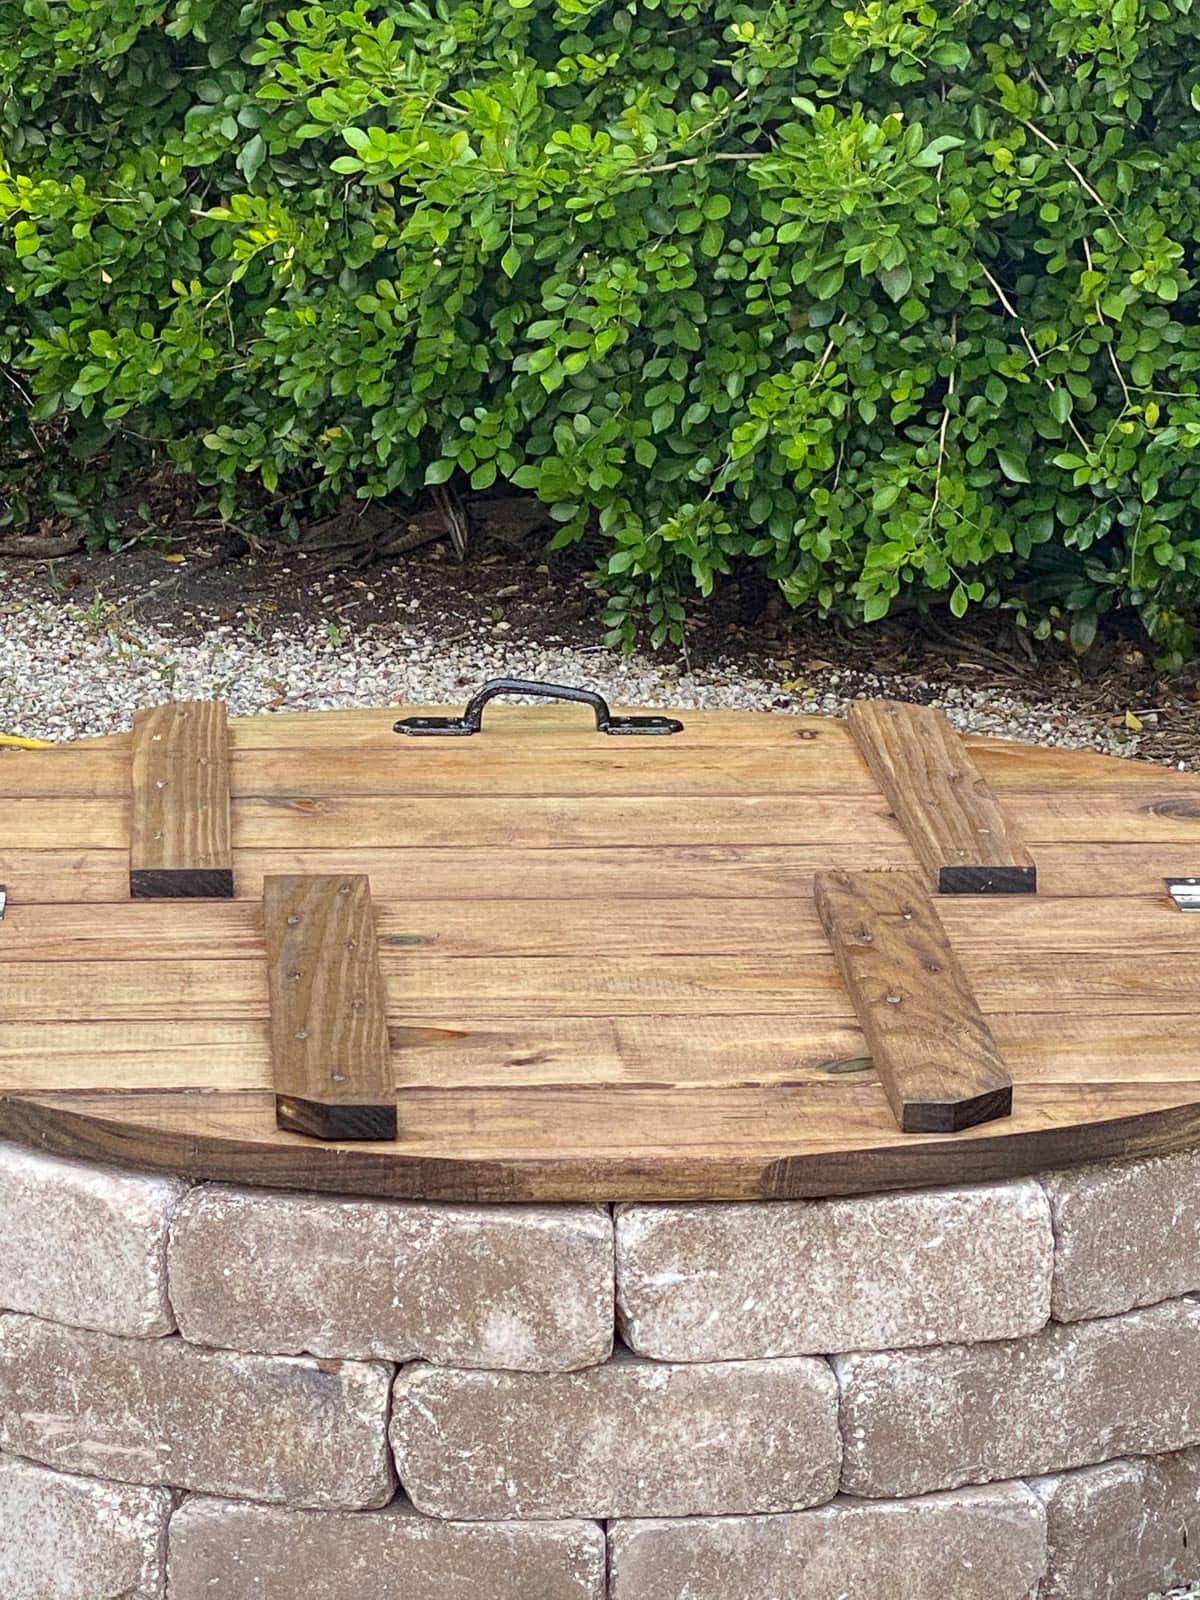
Step 6 –
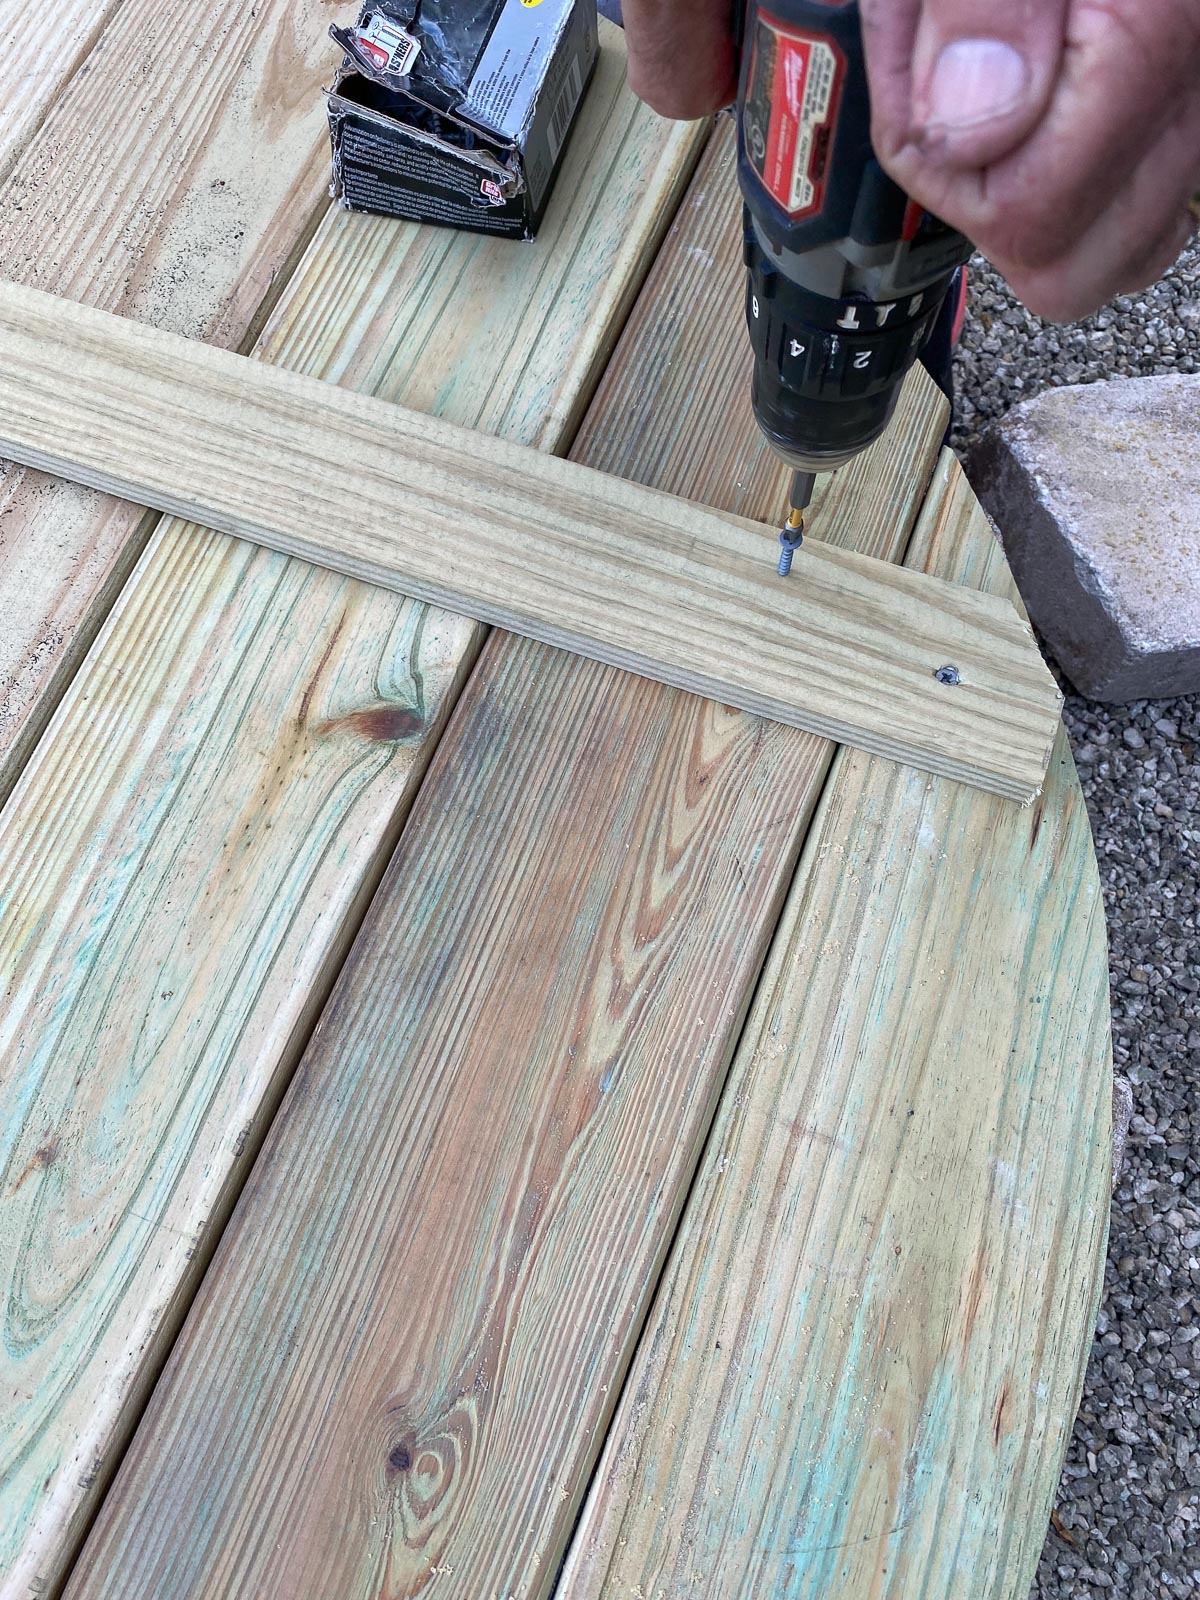
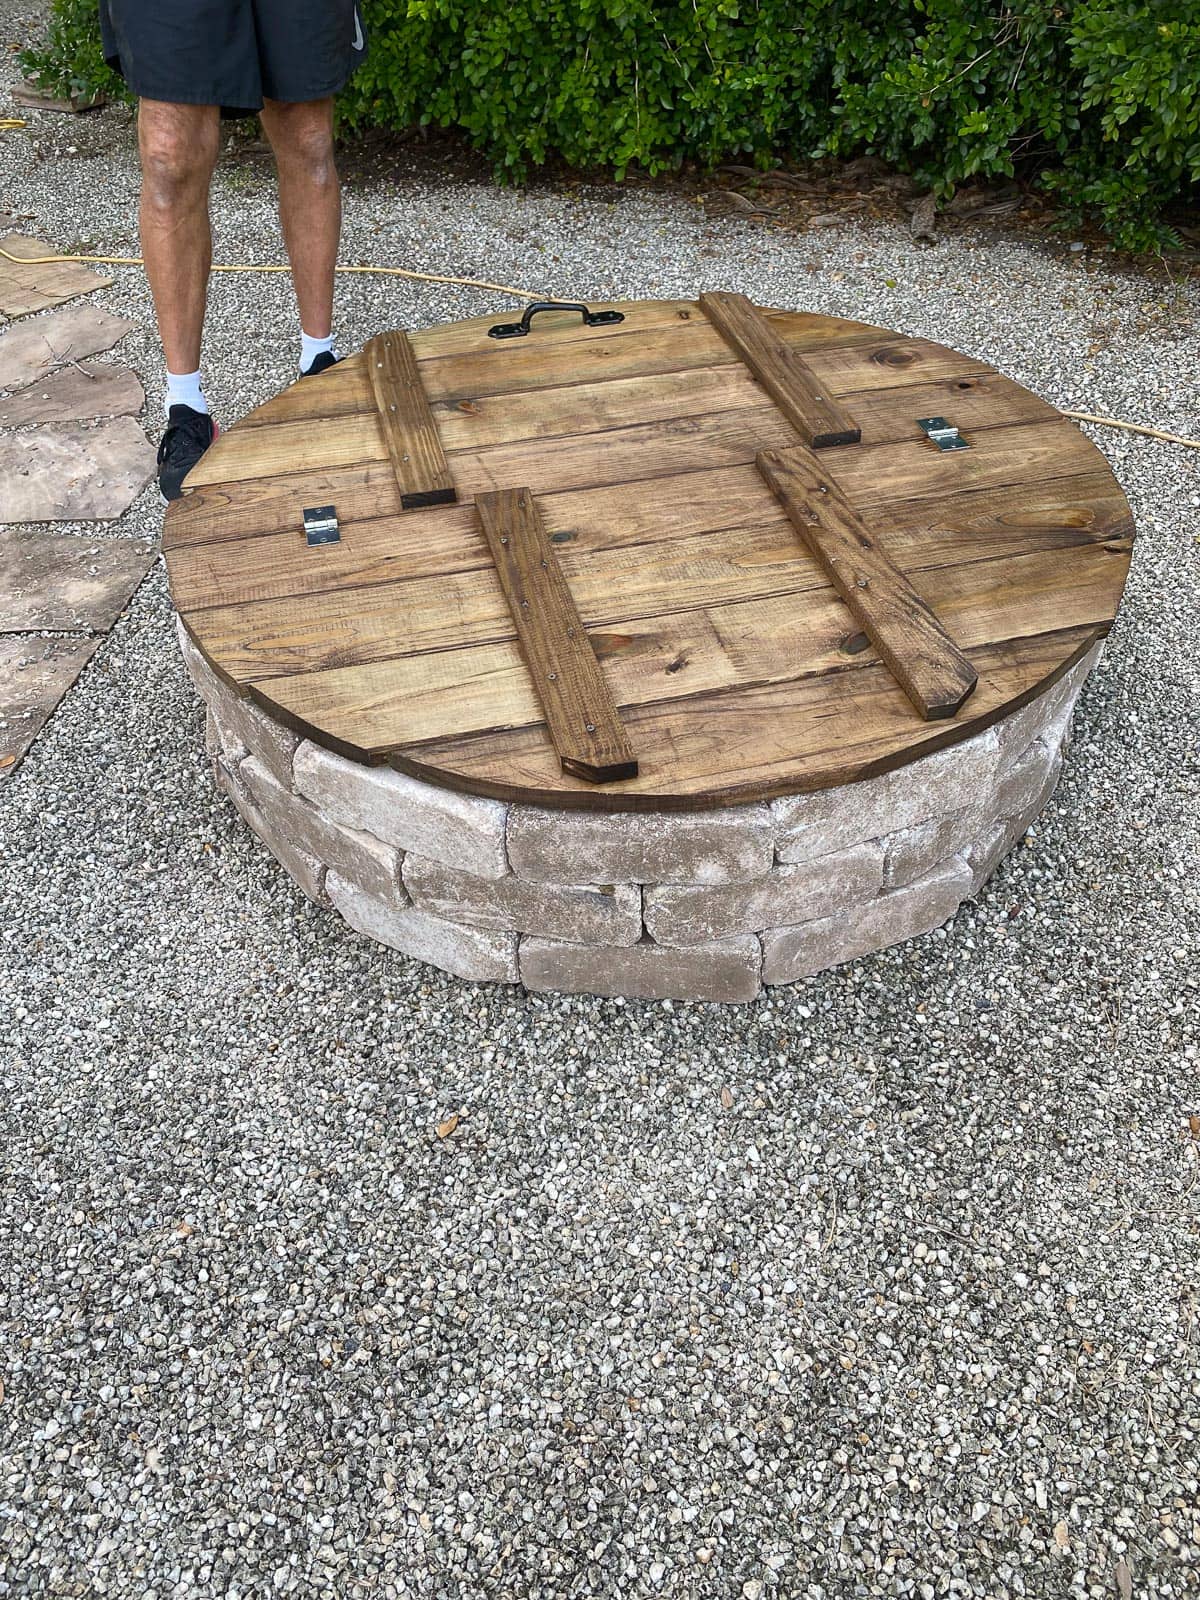
After you’ve attached the metal to the underside of the top, flip it over. Attach the four 1 x 3’s to the 2 x 6’s with 1 1/4″ deck screws. Be sure to offset the 1 x 3″s. NOTE: The top will be hinged so you don’t want the wood to overlap.
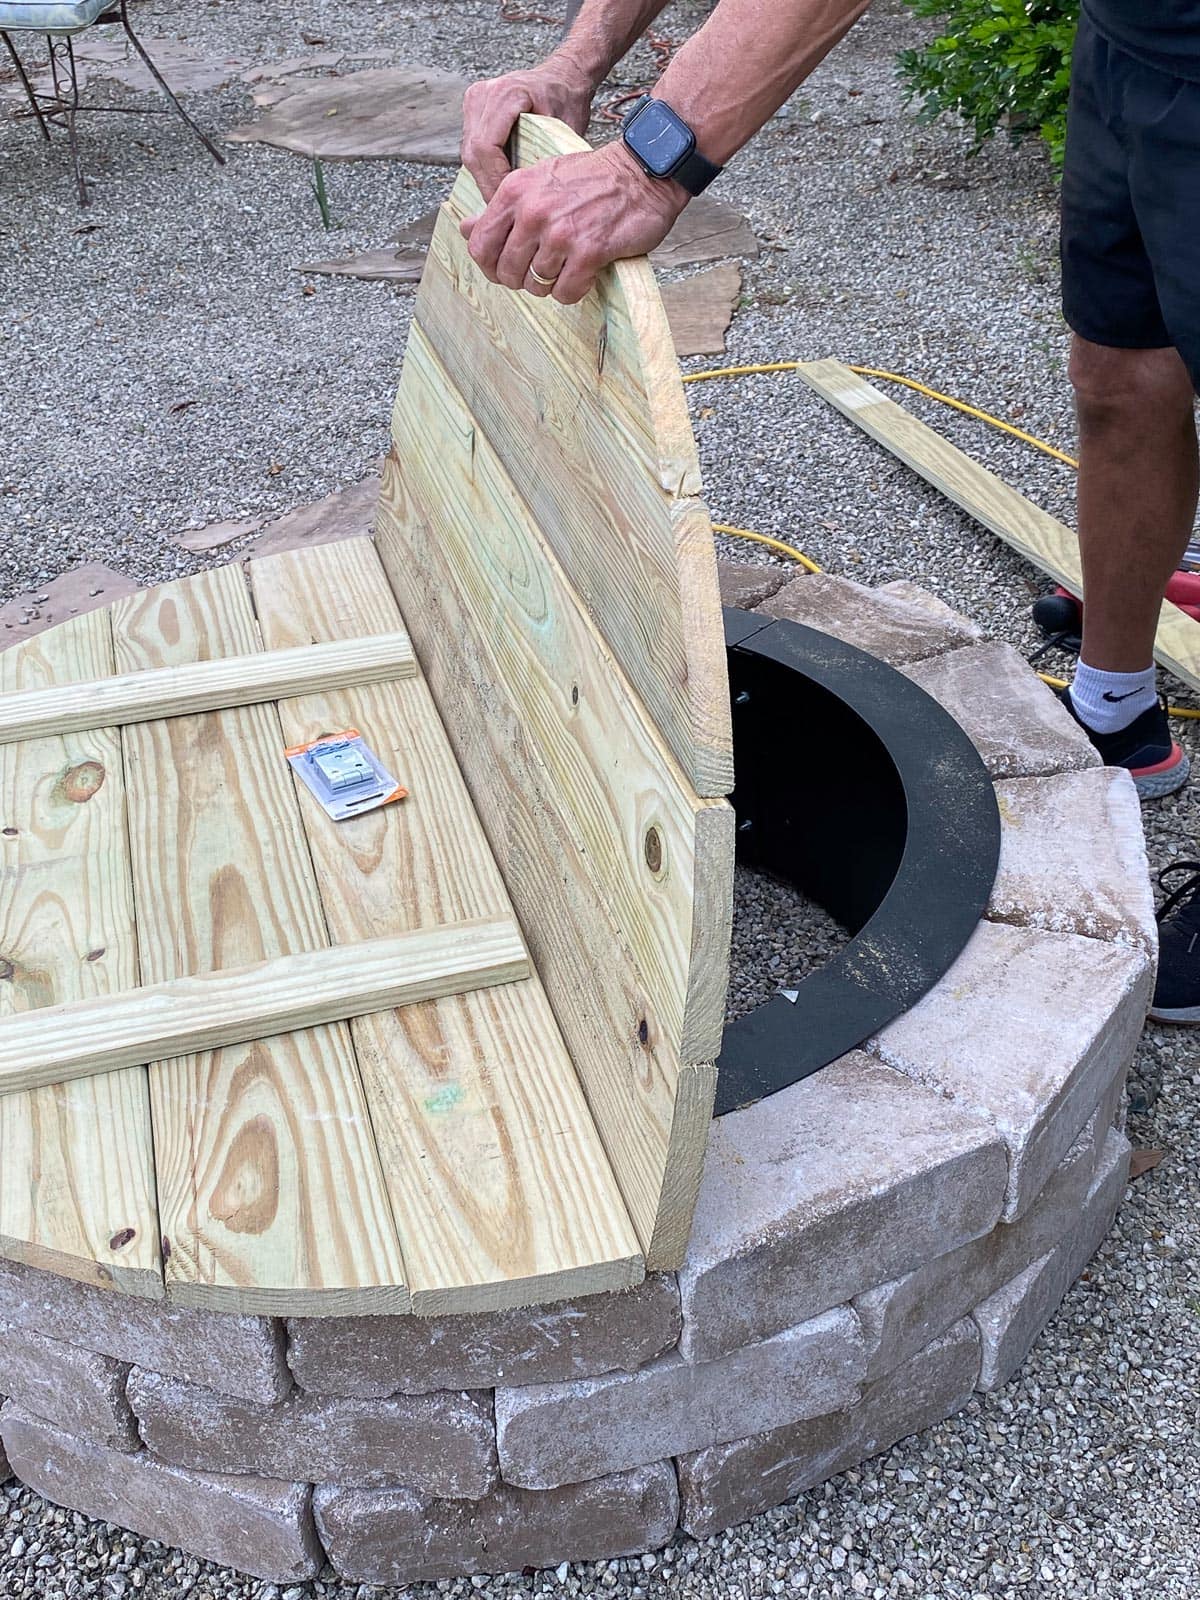
Step 7 –
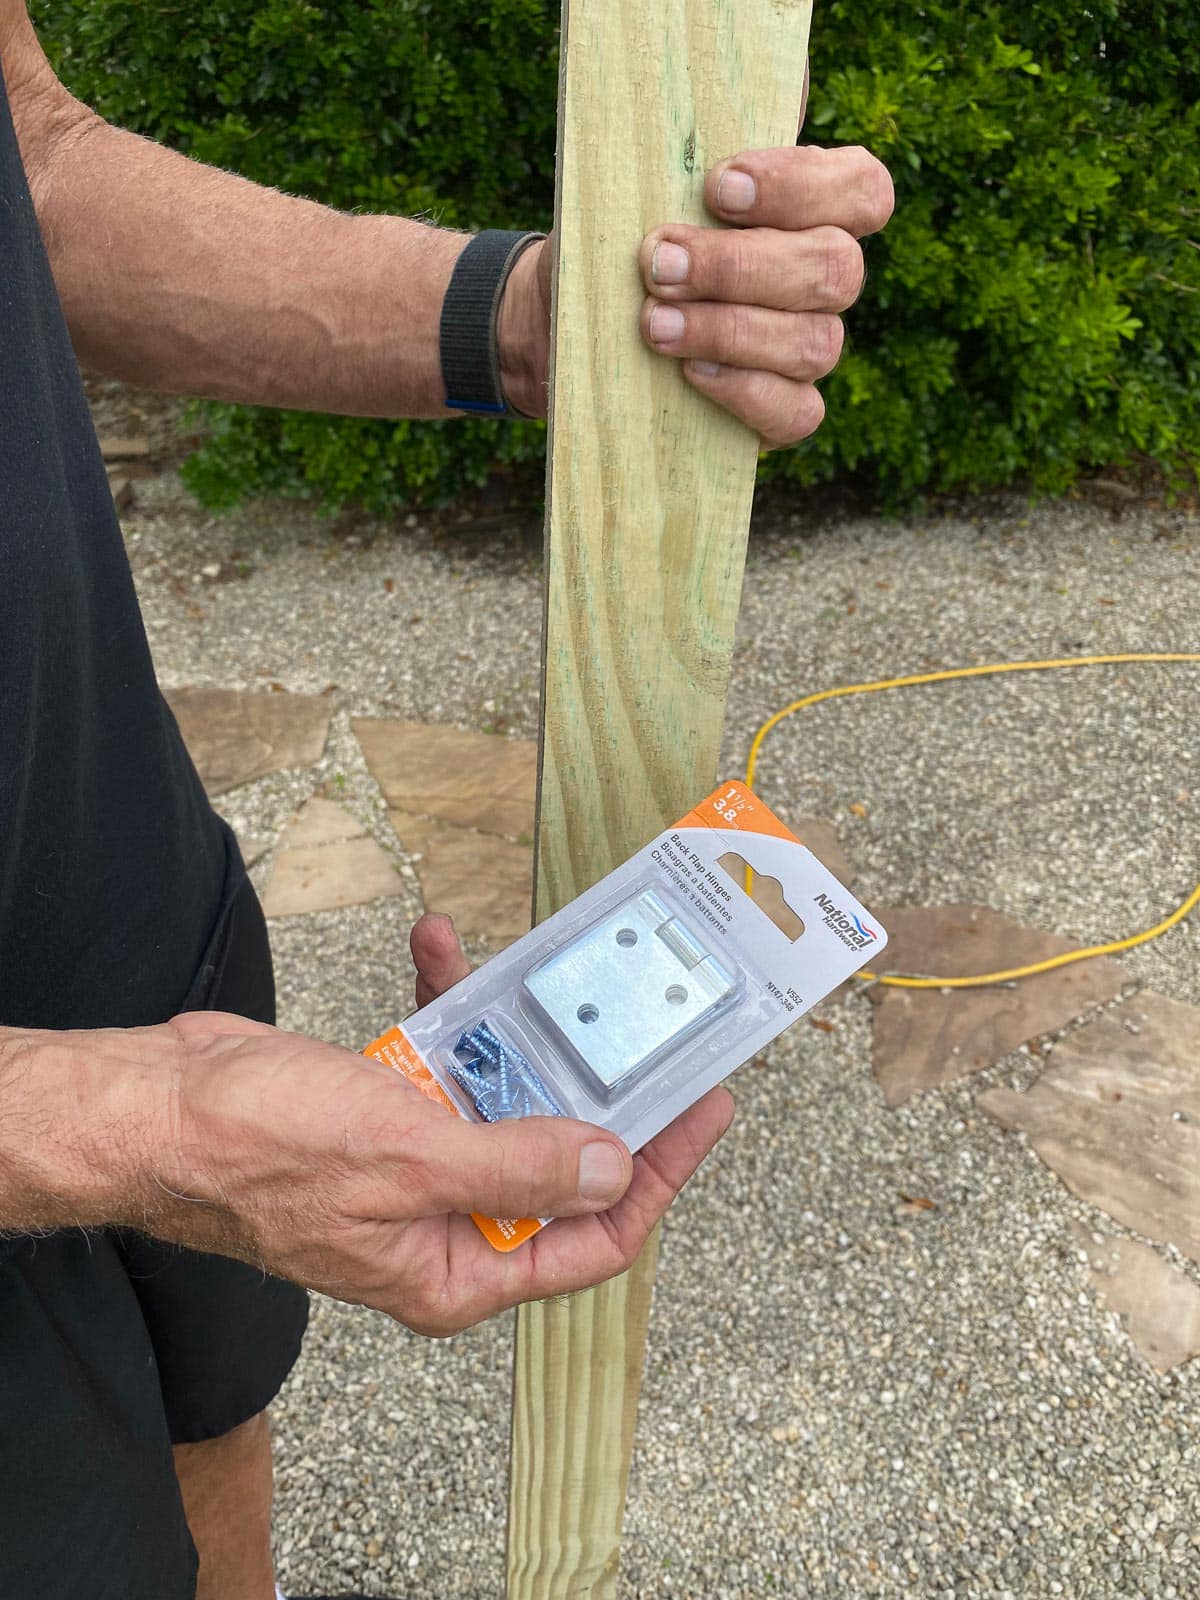
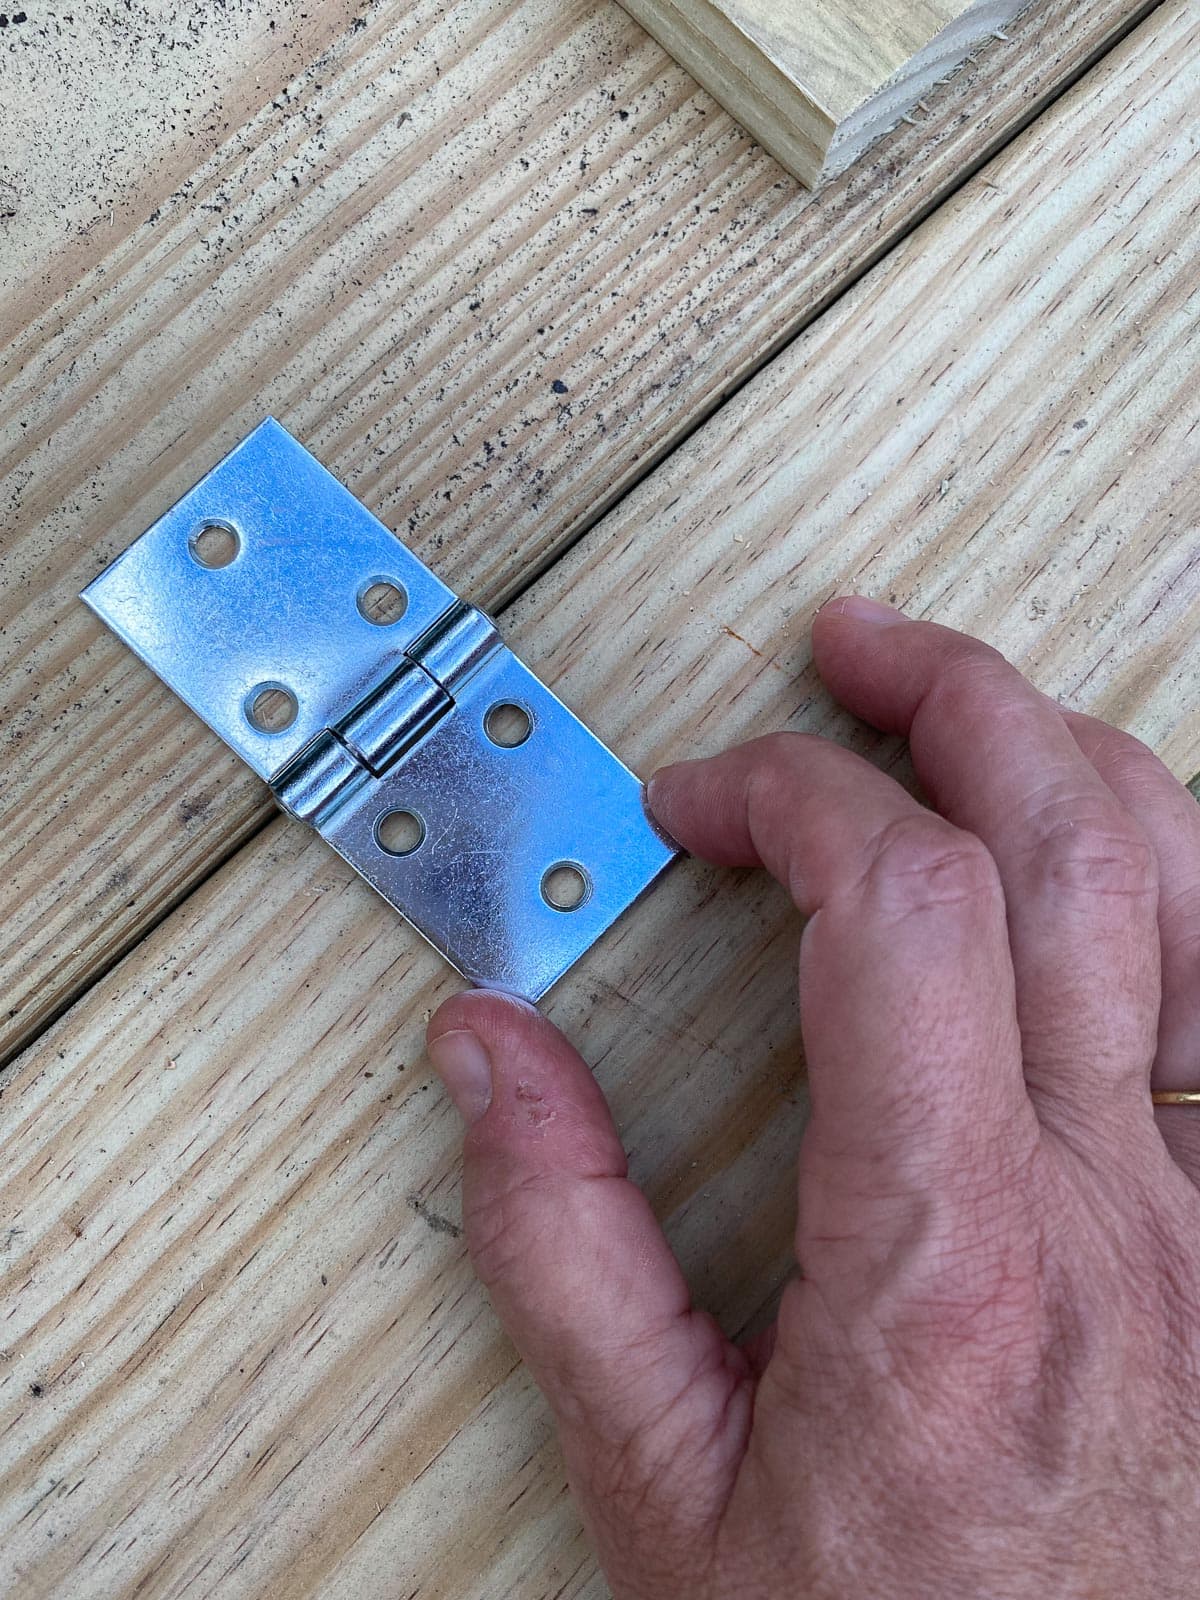

Attach the National Hardware Back Flap Hinges to the top center. By attaching this way you’ll be able to access the outdoor fire pit without removing the lid!
Step 8 –
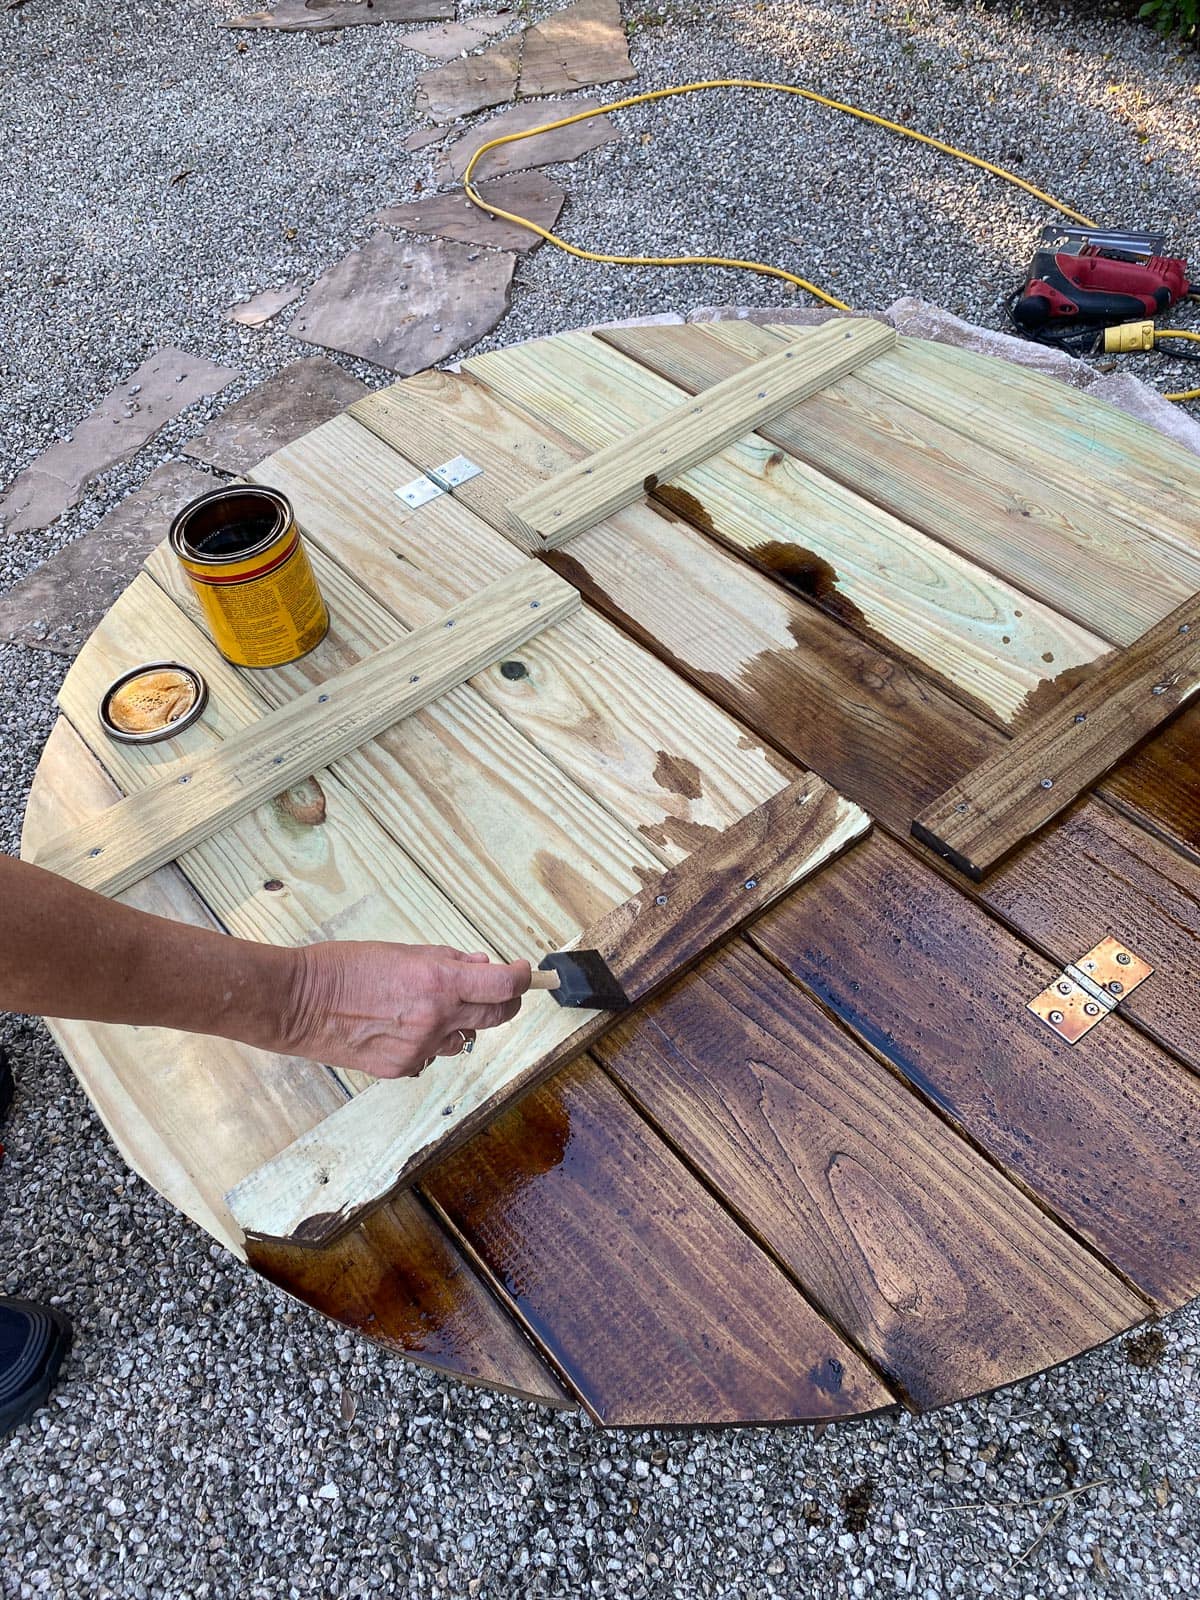
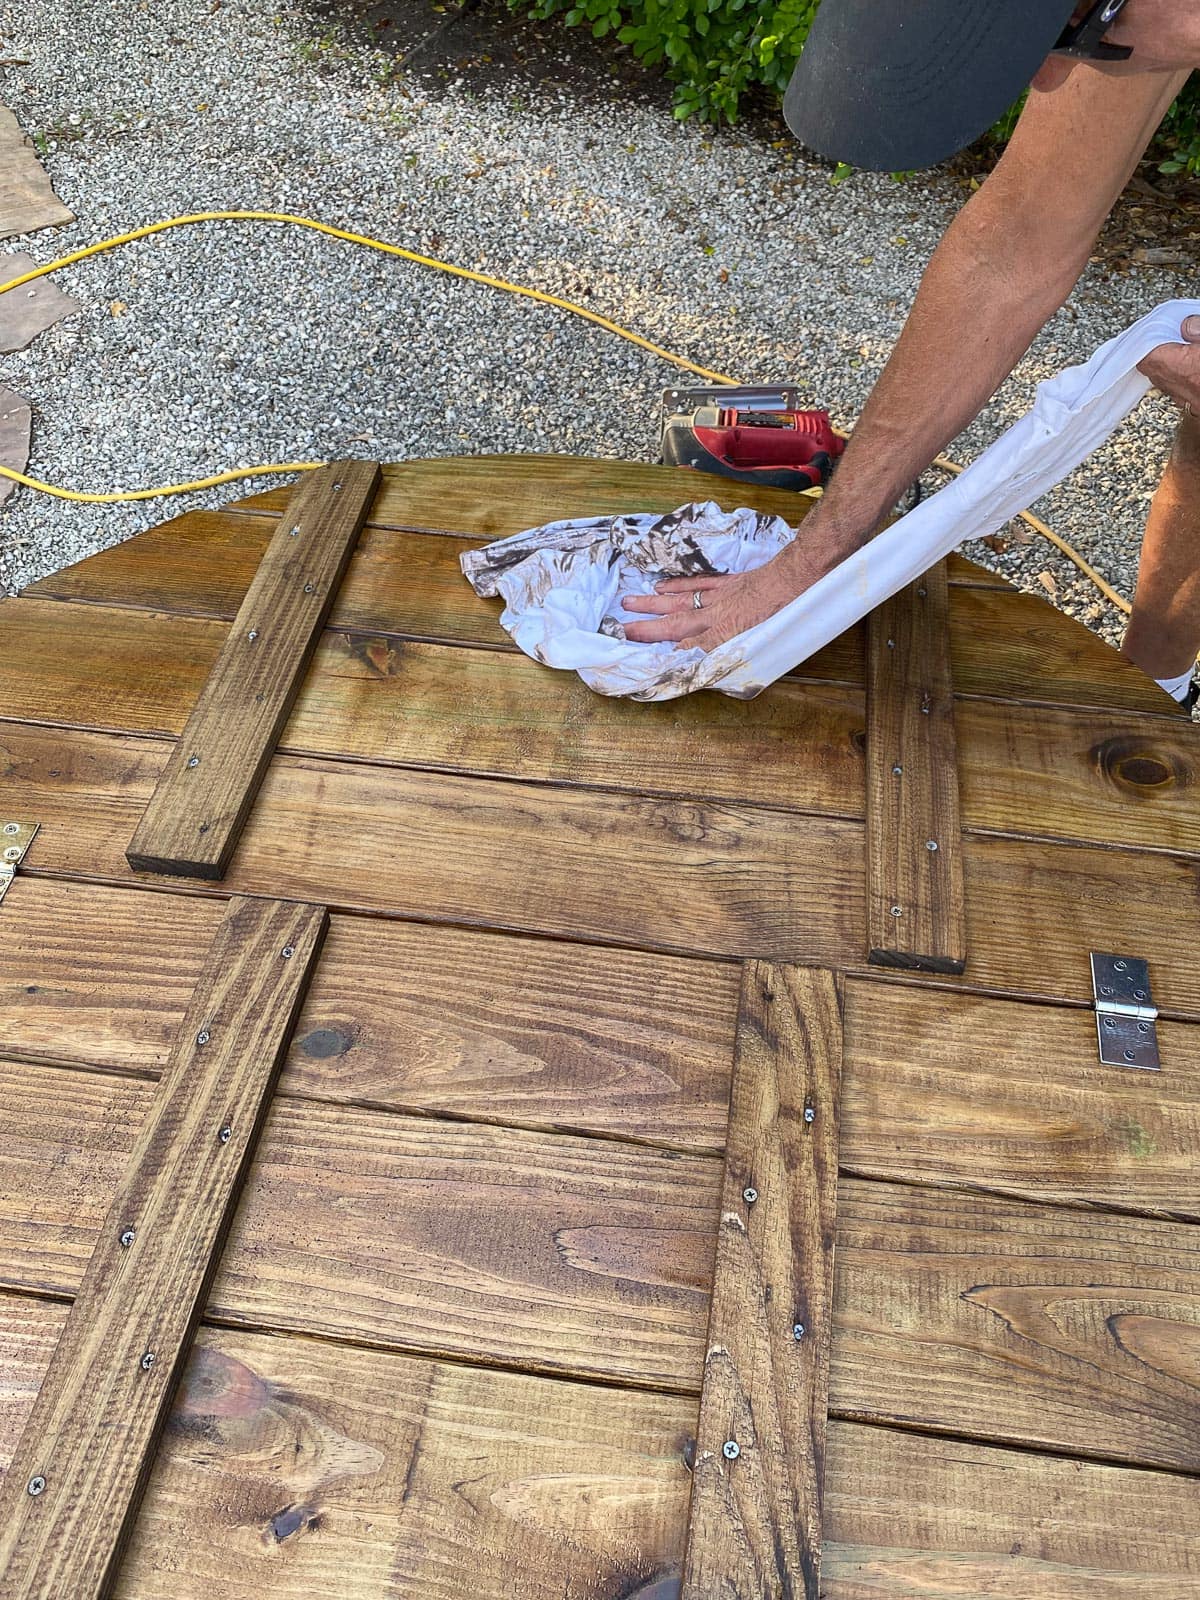
Stain or paint the top to protect the wood, as desired. We brushed on an early American stain and wiped it down.
Step 9 –
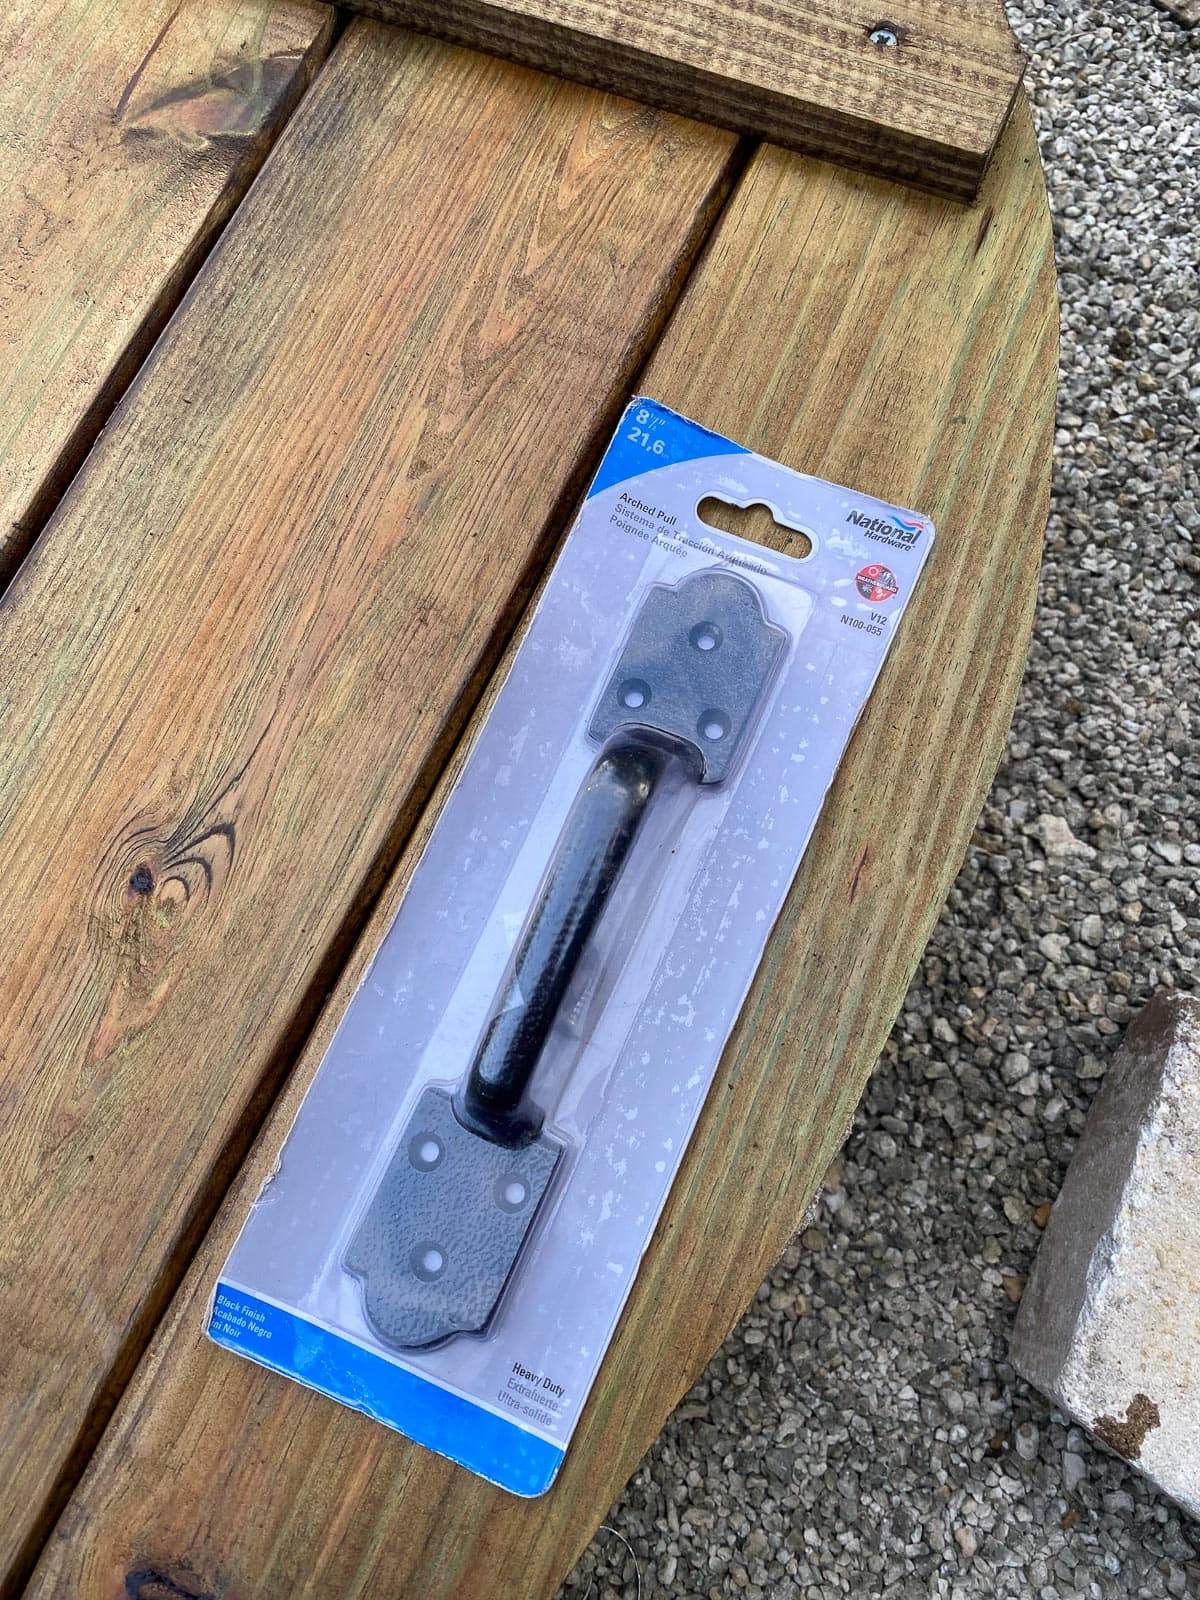
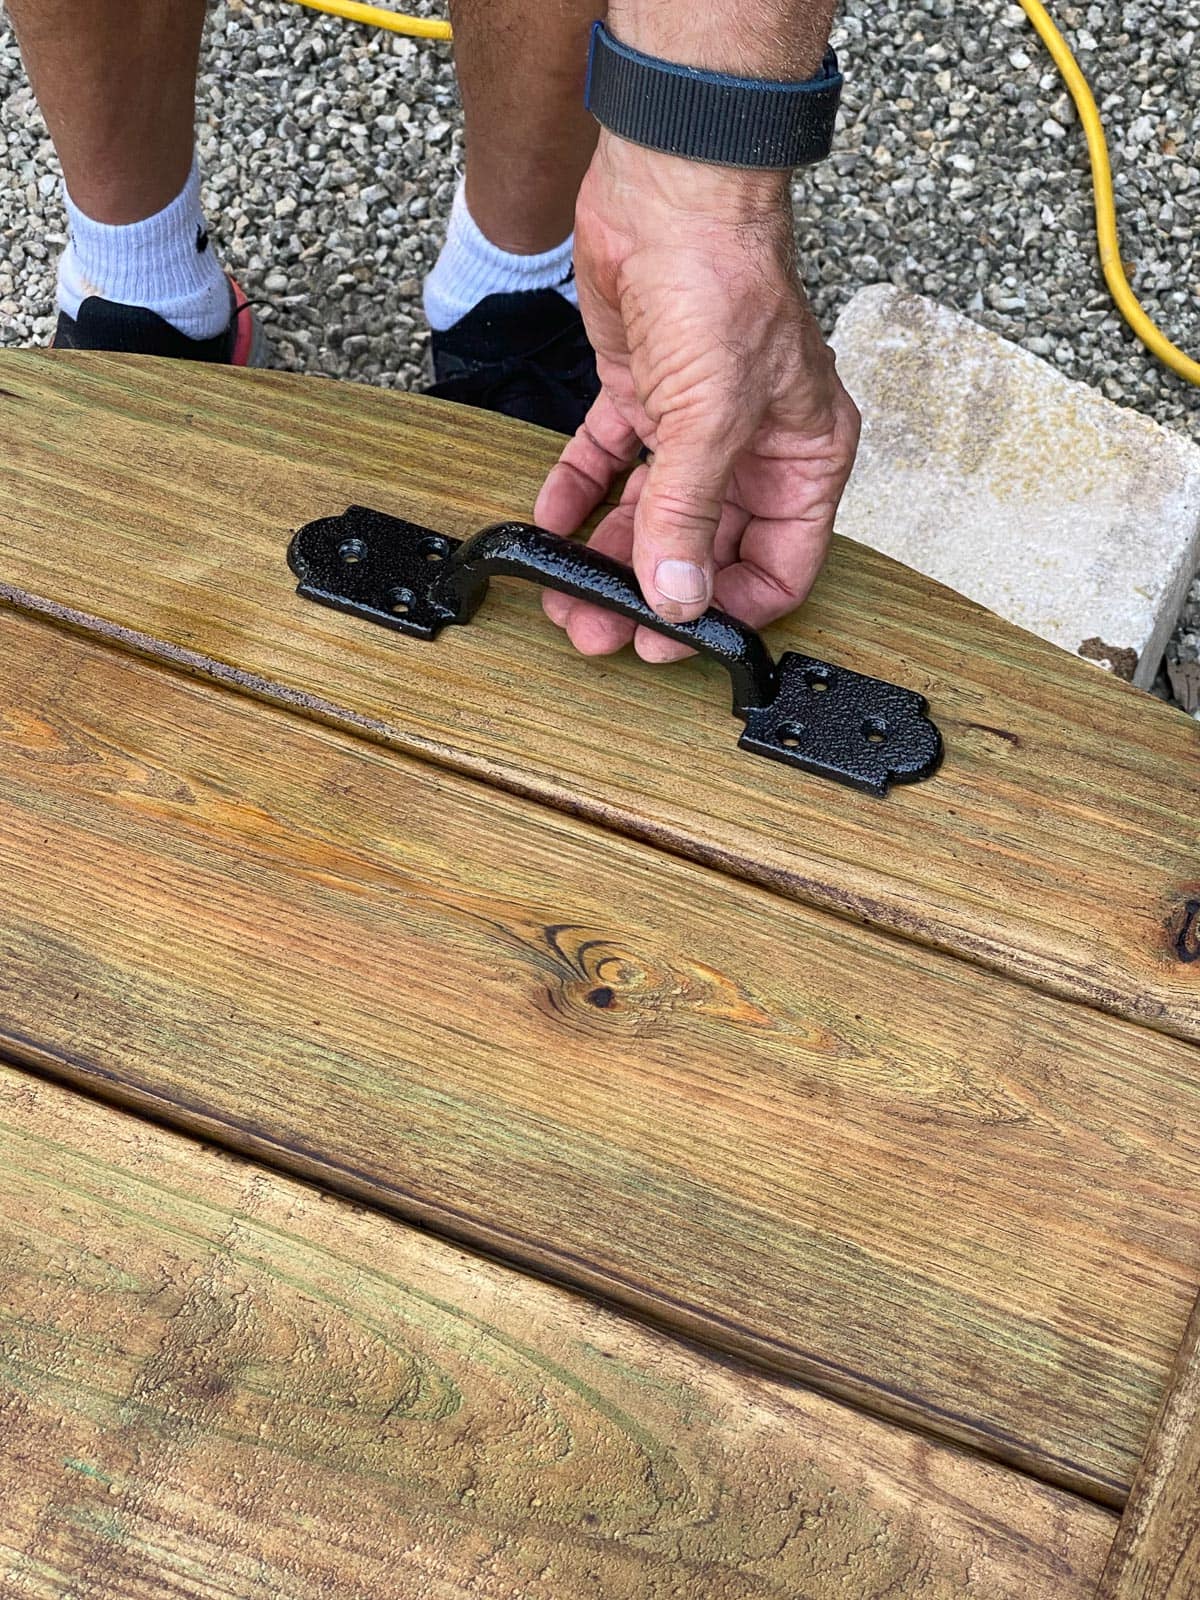
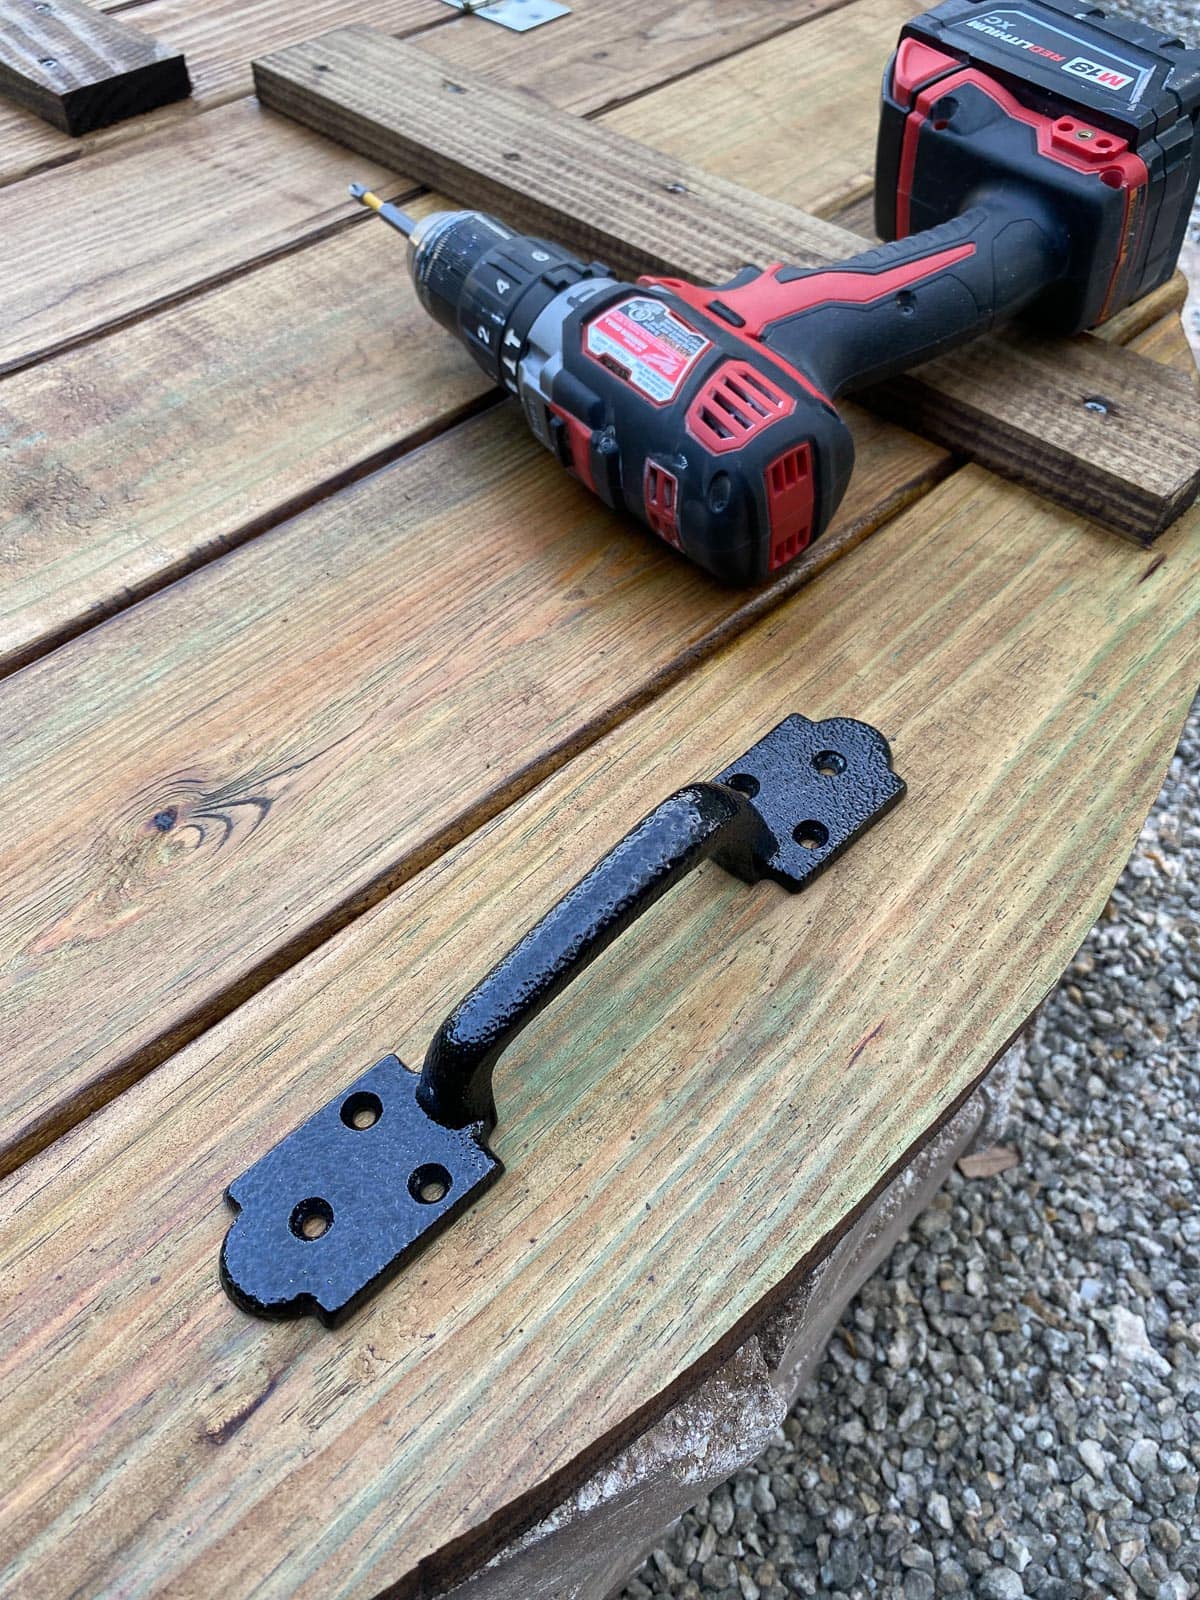
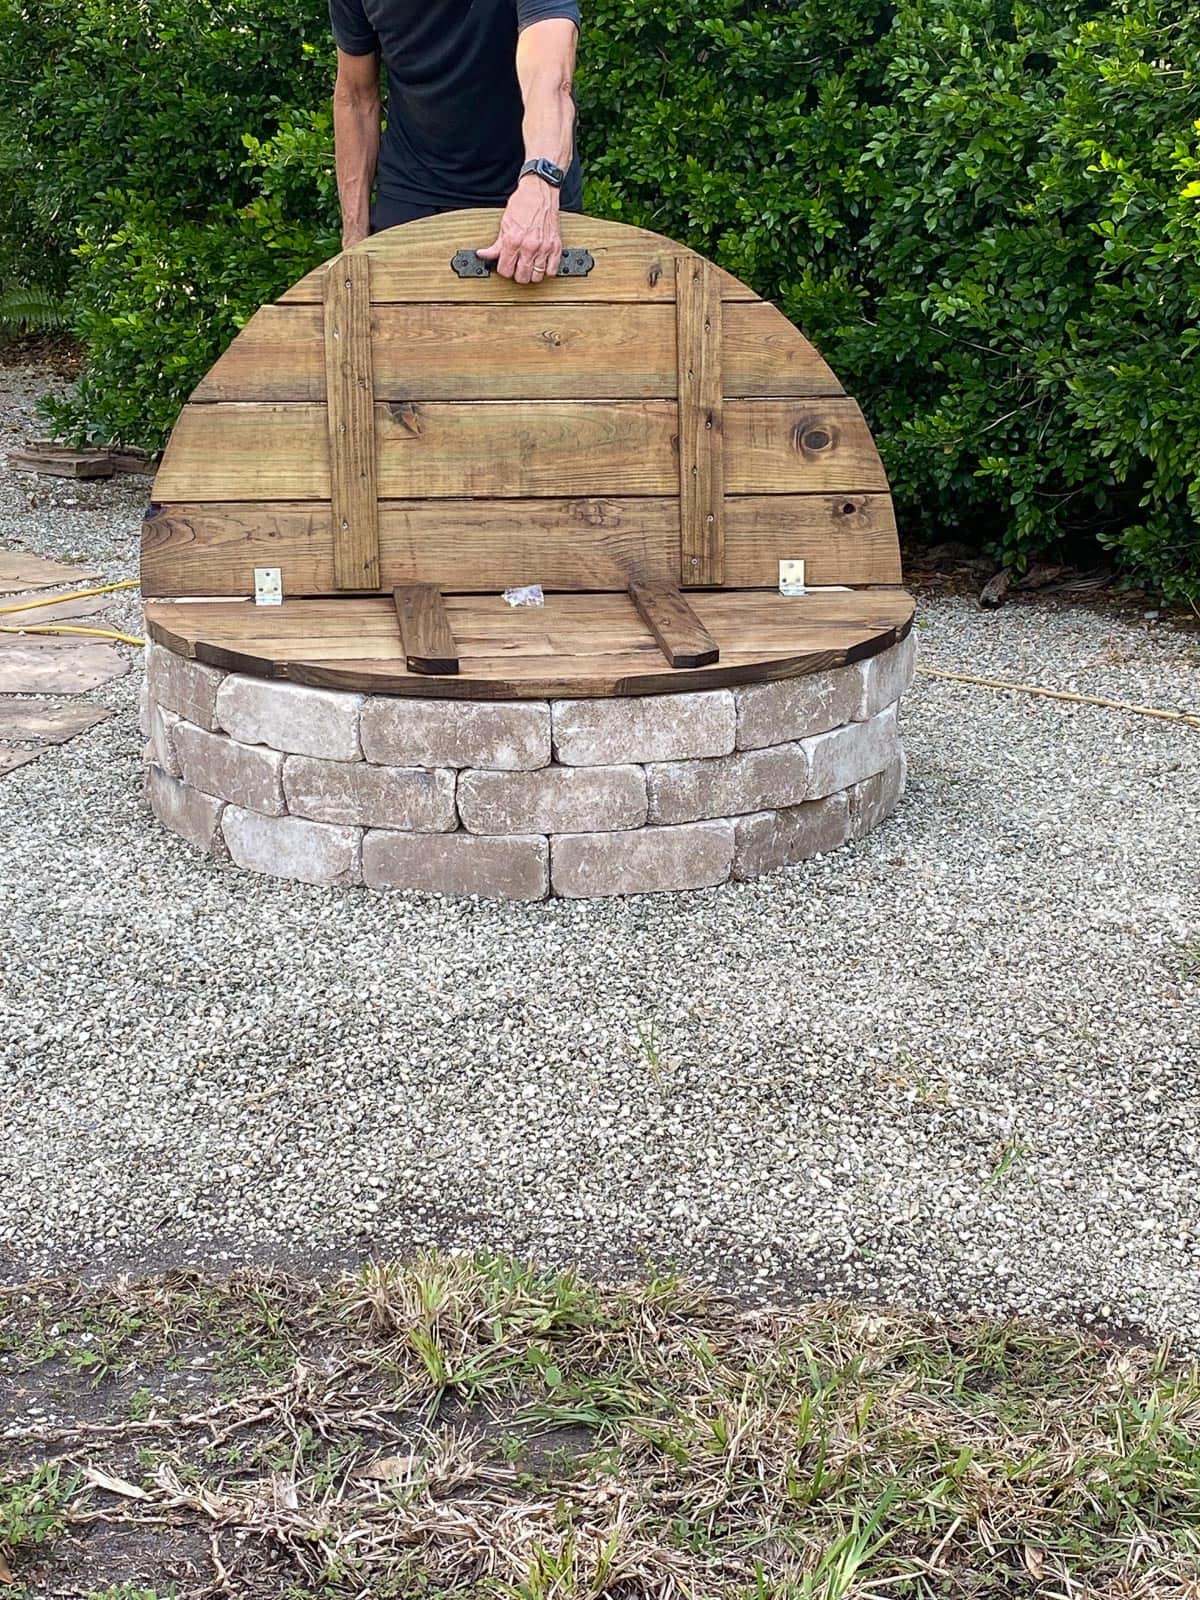
Attach the National Hardware 8 1/2″ Arched Pull to one side of the top. You could use two handles if preferred.
As you can see, the lid is hinged and the National Hardware Pull helps when you want to move the lid on or off!
Such a fun project for the whole family and one that requires no maintenance over the years. A night of s’mores!
BONUS! – How To Make The Best Fire Starters
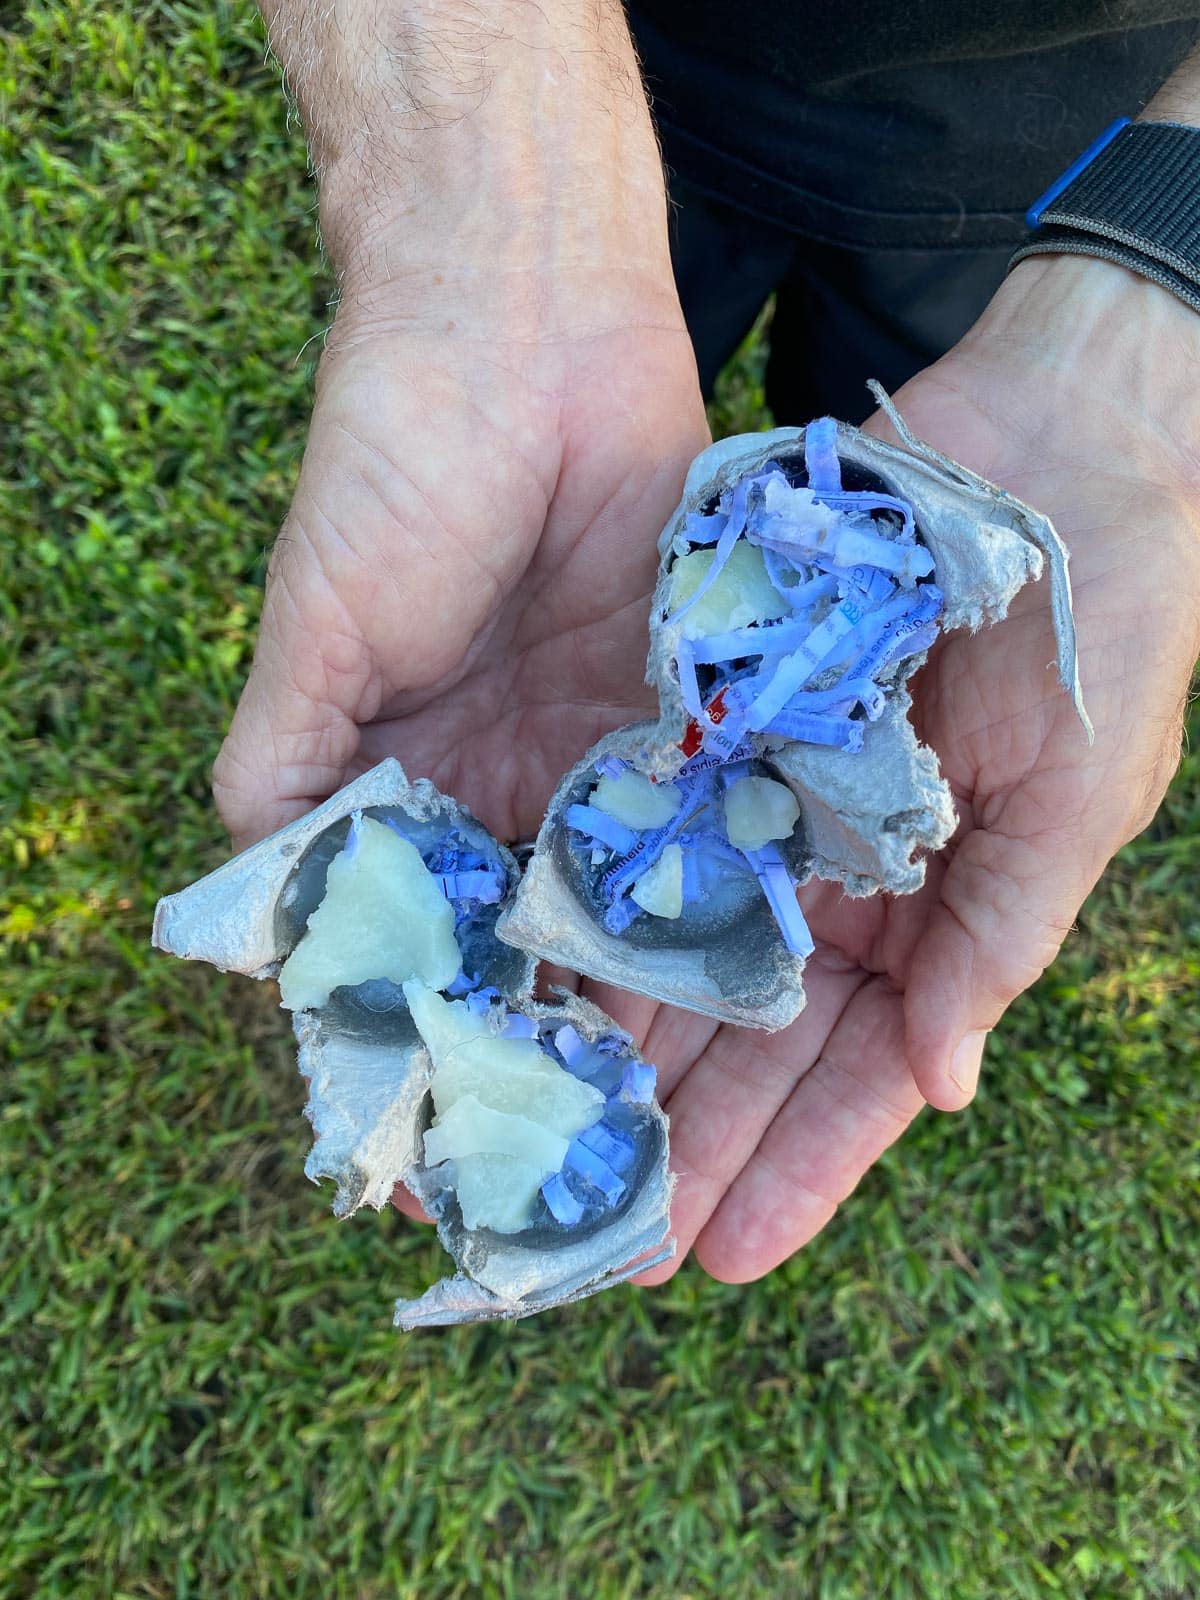
This is what we did when I was a girl scout leader and it’s the best way to start a campfire! Fill an empty cardboard egg carton (not styrofoam) with either dryer lint, sawdust (save from cutting your wood!) or shredded paper. I used a combination of dryer lint and paper shreds. Heat up plain canning wax in a double boiler and once melted pour over each filled egg holder. Once the wax is cooled and dry, cut the sections apart. You’ll need 2 or 3 in your fire pit and we put them under the kindling. Light the fire starters and you’ll soon have a clean burn and glorious fire that needs only fresh wood logs as the night goes on!
PIN THIS POST!
Such a great idea. I will be saving this for a summer project.
We have really been enjoying this since our evenings are cooler right now Renae. Happy New Year!
Thank You I will definitely make one we use a metal one now but I really love how this one looks
Great to hear Gail! This is multipurpose and can be used as a coffee table of sorts. Really not too difficult to make!
This turned out so super cute! I love that it’s functional, I think it was a great idea to make the lid for it and aesthetically it’s awesome looking as well! Thanks so much for sharing all the steps, the plans and the fire starters I’d say bring on this s’mores!
Thanks Dee…it’s a great little project and that lid is keeping the critters out!
Thank you for sharing. I’ll try to do one soon.
This is great fire pit idea.Seems pretty easy to make. I love the top, many don’t come with tops
Thanks Maria…it’s been cold at night and we’ve been enjoying using the fire pit!
This DIY guide for building a fire pit with a cover is so helpful! I really appreciate how practical the cover idea is—it’s perfect for keeping things clean and protected between uses. One of my favorite ideas for fire pits is to incorporate seating walls or benches around the pit for a cozy, communal vibe. Your post has definitely sparked some new inspiration for making my backyard both functional and beautiful—thanks for sharing!
Thank you so much! I’m so glad you found the fire pit guide helpful. Adding seating walls or benches around the pit sounds like such a cozy idea—perfect for gathering with family and friends! It’s always fun to find ways to make outdoor spaces both beautiful and functional. I’d love to see how your project turns out!