Scandinavian Style Christmas Tree – DIY
This post may contain affiliate links. For more information, please see our disclosure policy.
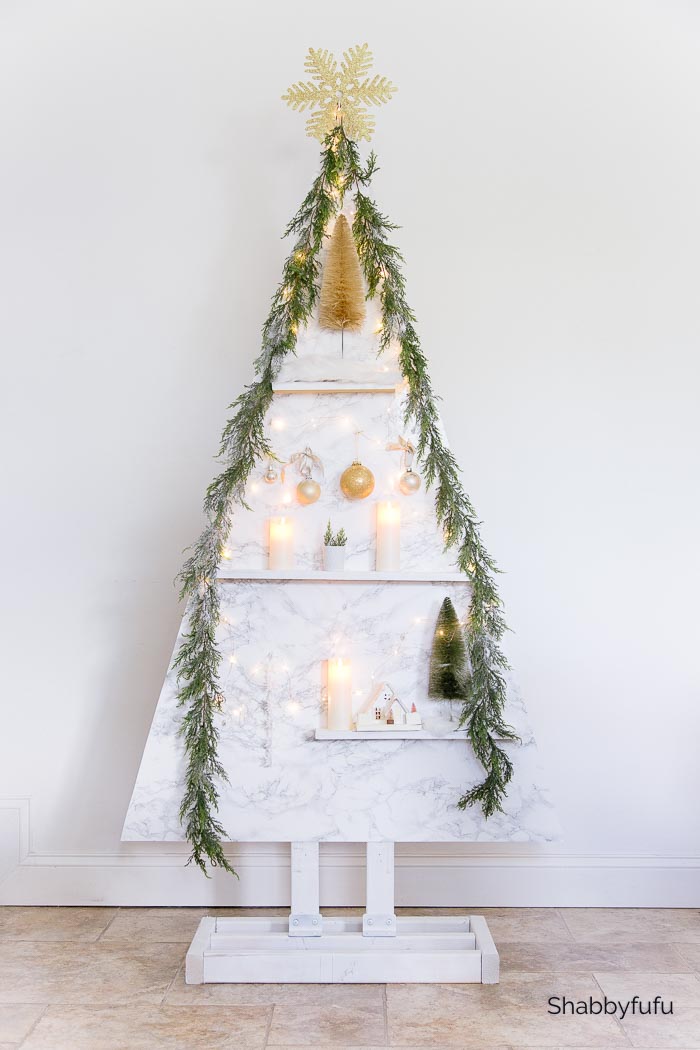
A Scandinavian style Christmas tree made out of wood! Create this in any size or style from farmhouse to vintage or elegant chic and we will show you how!

This year’s holiday decor in my home has been undergoing some change and yet I’ve always been a fan of simple white in design! We have a big blank wall in the living room that clearly needed a statement piece. You see this wall when you walk into our home and it’s especially important during the holiday season to have a large standout piece to look at!
This is a paid post in behalf of Spectrum Brands but the opinions expressed here are my own.
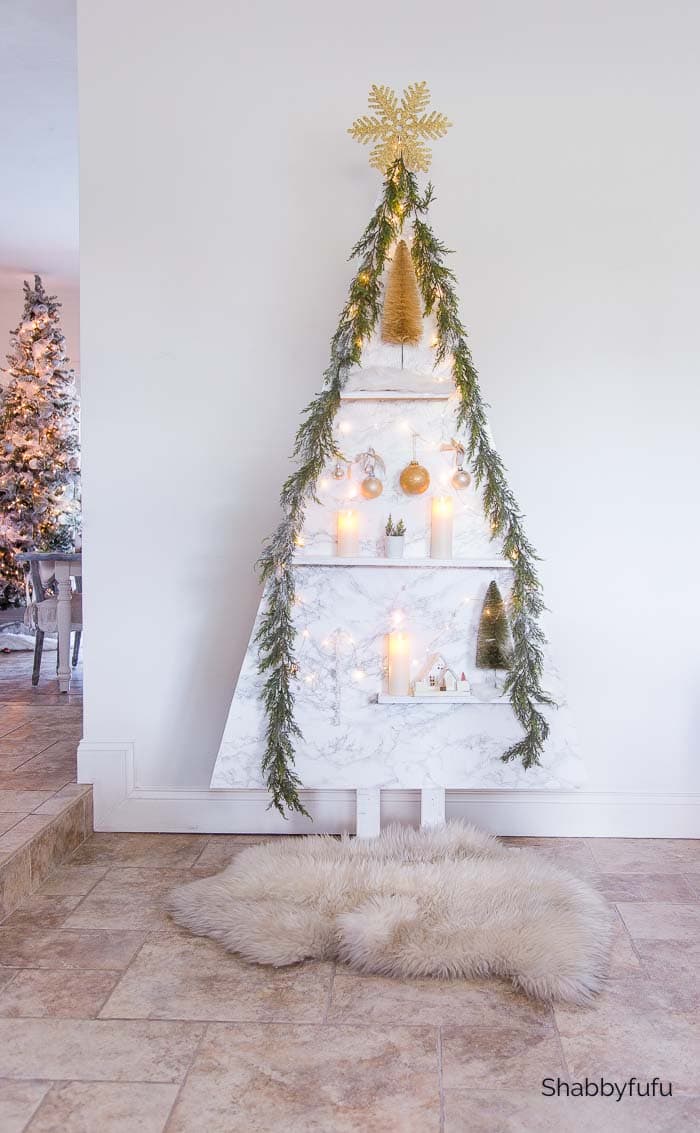
This year I’m all in for an elevated elegant look (on a budget) with lots of white and gold. It was especially important to carry that look through in this large scale Scandinavian style Christmas tree project!

Being the practical person that I am I wanted a design that can be changed in upcoming Christmas seasons. This one can and has endless possibilities to adapt to any color or style! I can totally see a coastal Christmas with blue ornaments and tiny shells. Whereas I wouldn’t leave it out all season, how about as a temporary backdrop for a holiday celebration like this one?!
What inspired me to make this Scandinavian style Christmas tree was in my craft closet. In my organizing quest I found a roll of marble look contact paper that would be perfect! Unquestionably an upscale look on a budget and Scandi style…yes please!

Before I show you more finished looks, I’m going to teach you how to make this project below! You will need to have a knowledge of how to use power tools and use proper safety precautions when you do this DIY project.
Scandinavian Style Wood Christmas Tree DIY
Materials:
- 2 – National Hardware Wide Corner Braces
- 12 – 3/4″ National Hardware Cup Hooks In White
- 1- sheet 3/16” plywood door skin
- 2 – 8 foot 2 x 4
- 1- 8 foot 1 x 4
- 1 – roll of marble look contact paper
Tools:
- Chop Saw
- Circular Saw
- Screw Gun
Instructions:
Measure And Cut
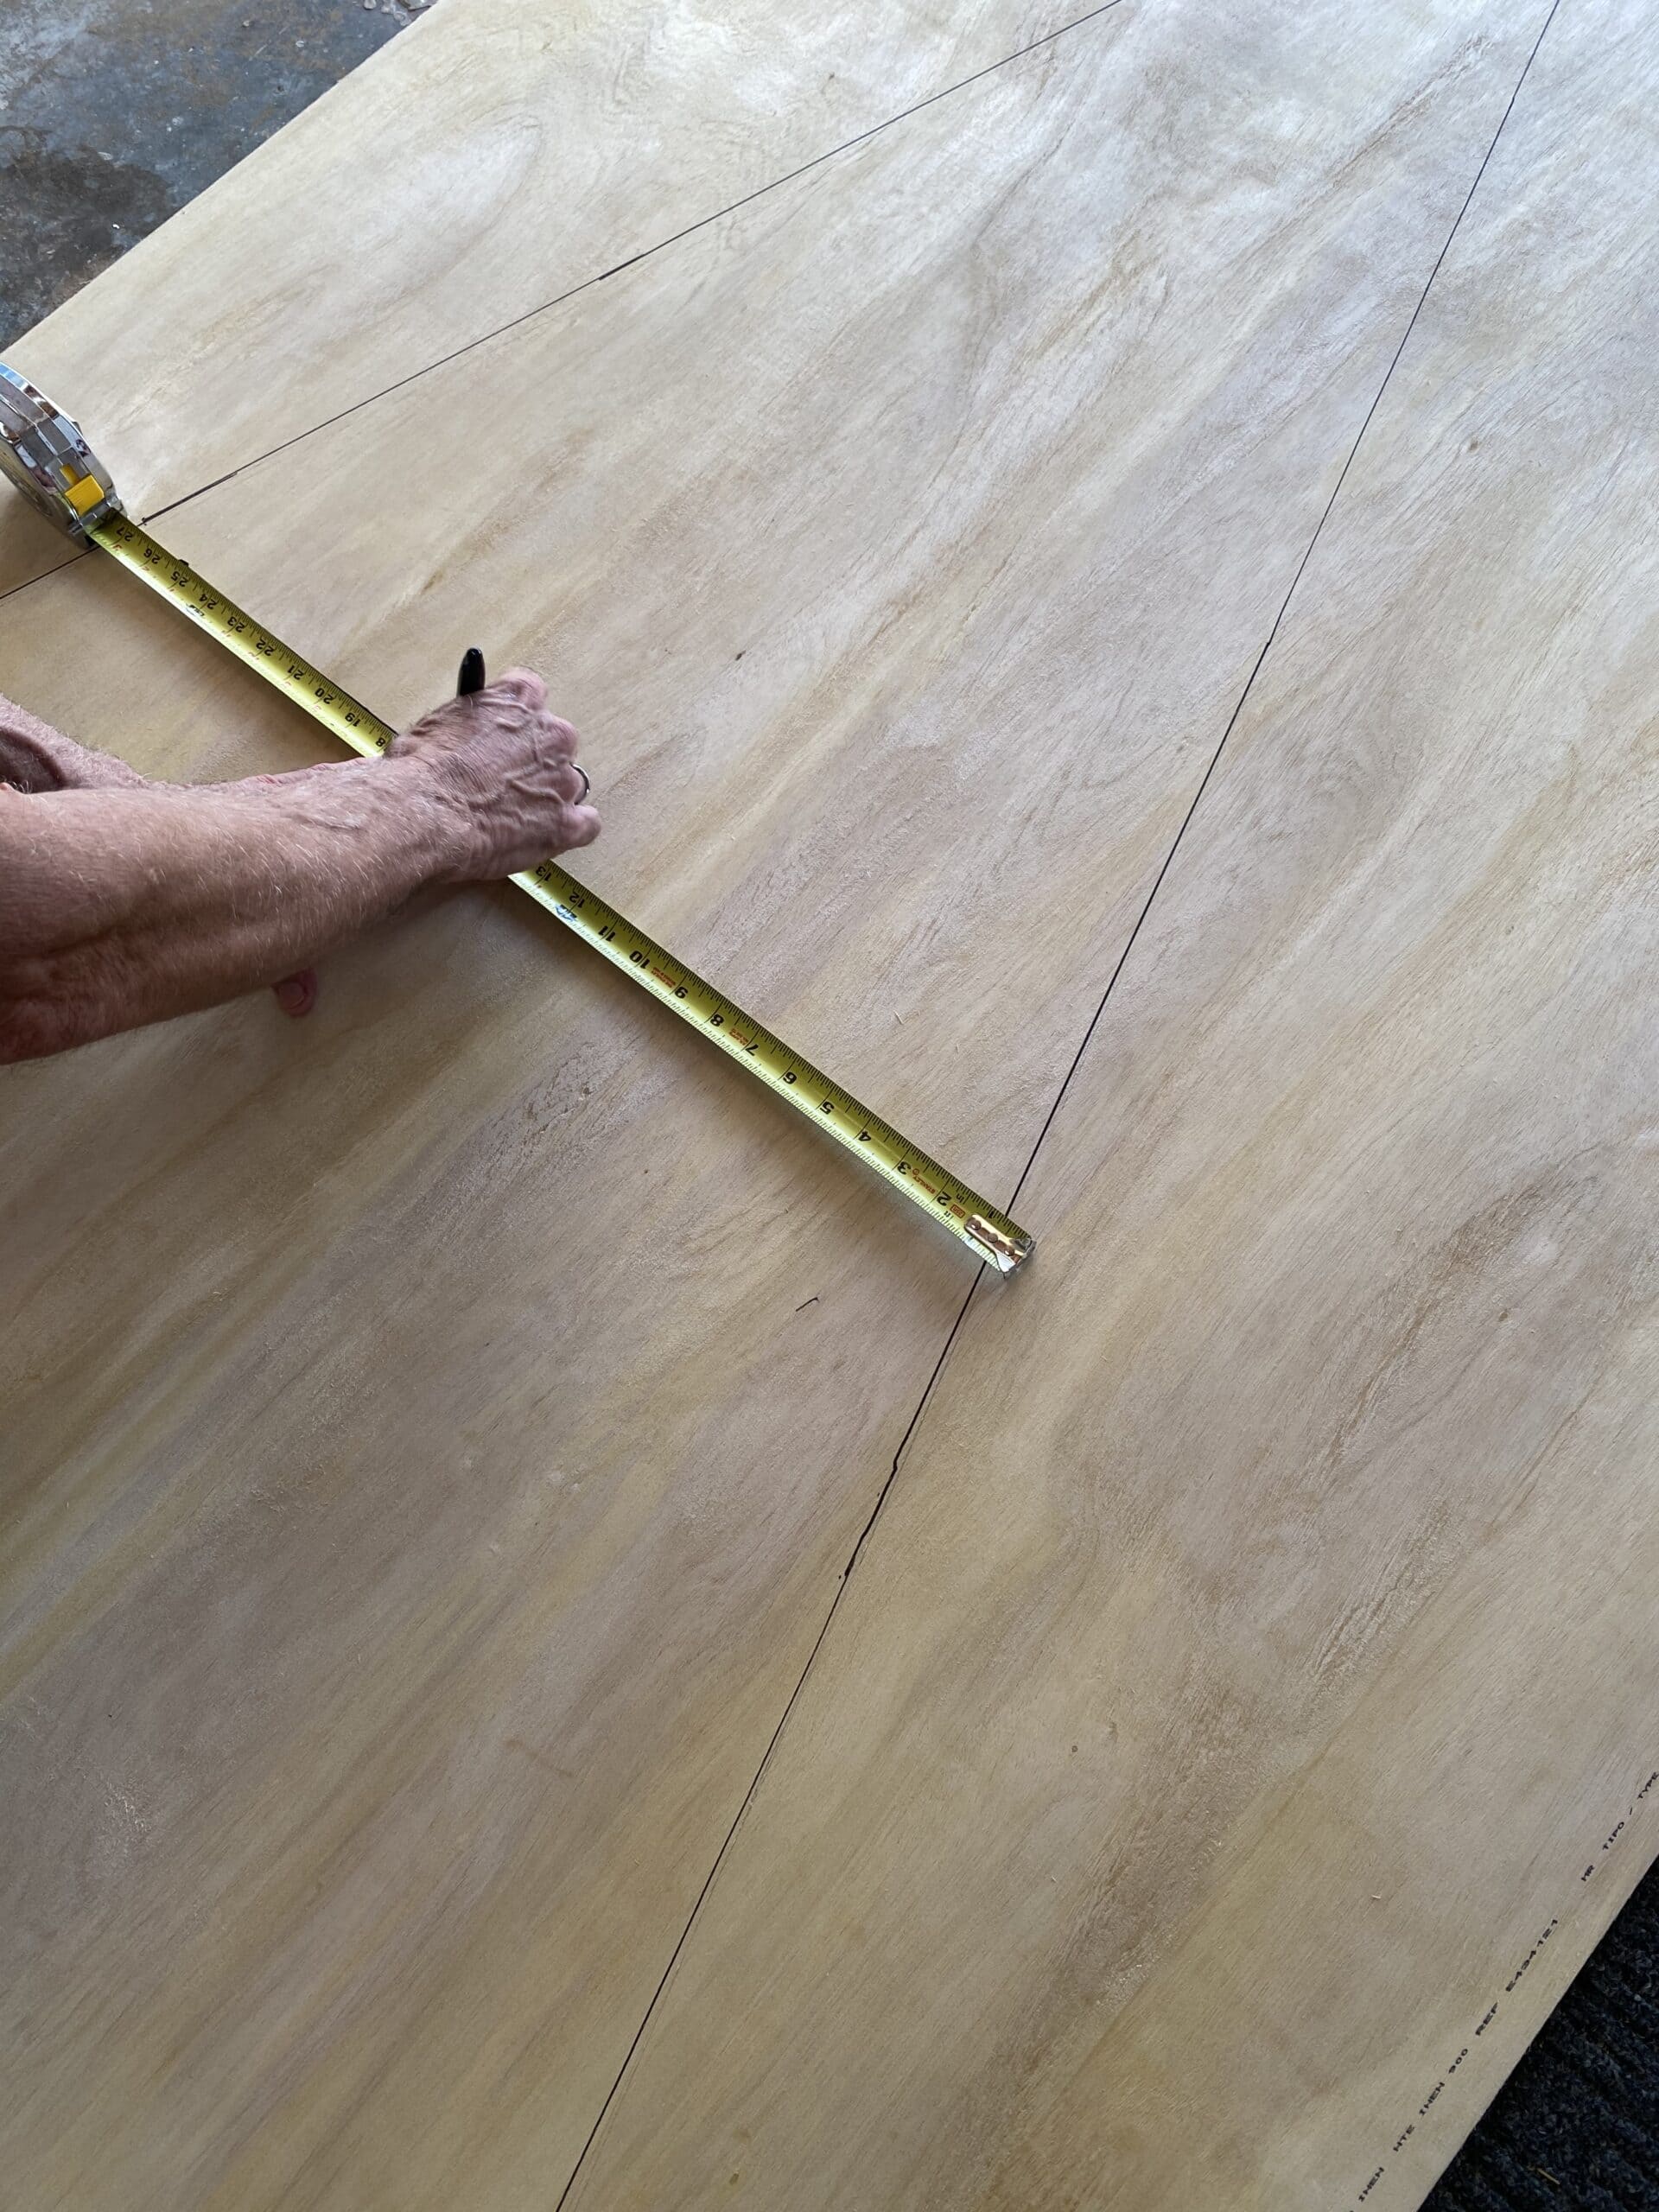
- Decide how tall you want your Scandinavian style Christmas tree to be. We wanted to make a real presence with this one and it measures over 6′ on the stand. To get a perfect triangle, start by measuring the width at the bottom for the base. We measured out 40″ and then measured up 5′ from the bottom in the middle. Then we divided 40″ in half to get 20″ on each side and traced down to the base along the outside. Once traced in pencil we went over it with a marker so that we could easily see where to cut.
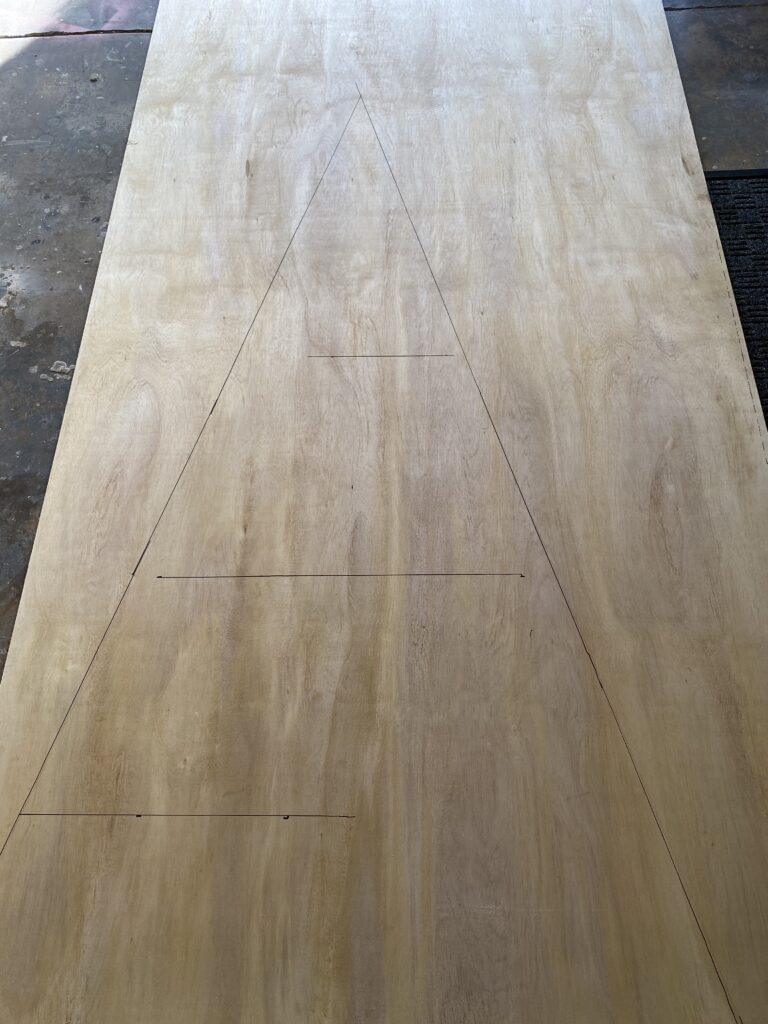
- We planned on adding 3 floating shelves out of the 2 x 4 wood and marked for placement where we felt they would look best. The shelves were going to be screwed on from the back through the wood, so we marked it on the backside. When you measure for shelves it’s important to make sure that your lines are straight and level!

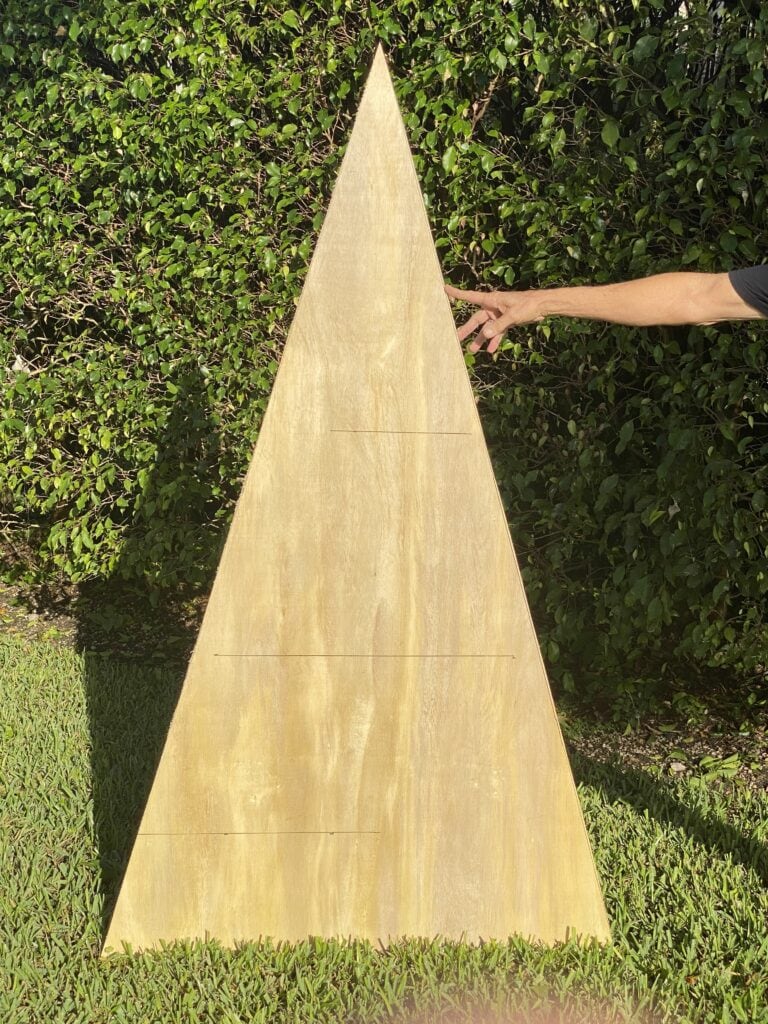
- The wood panel was placed on to the 2 x 4’s to raise it up, making it easier to cut with the circular saw.
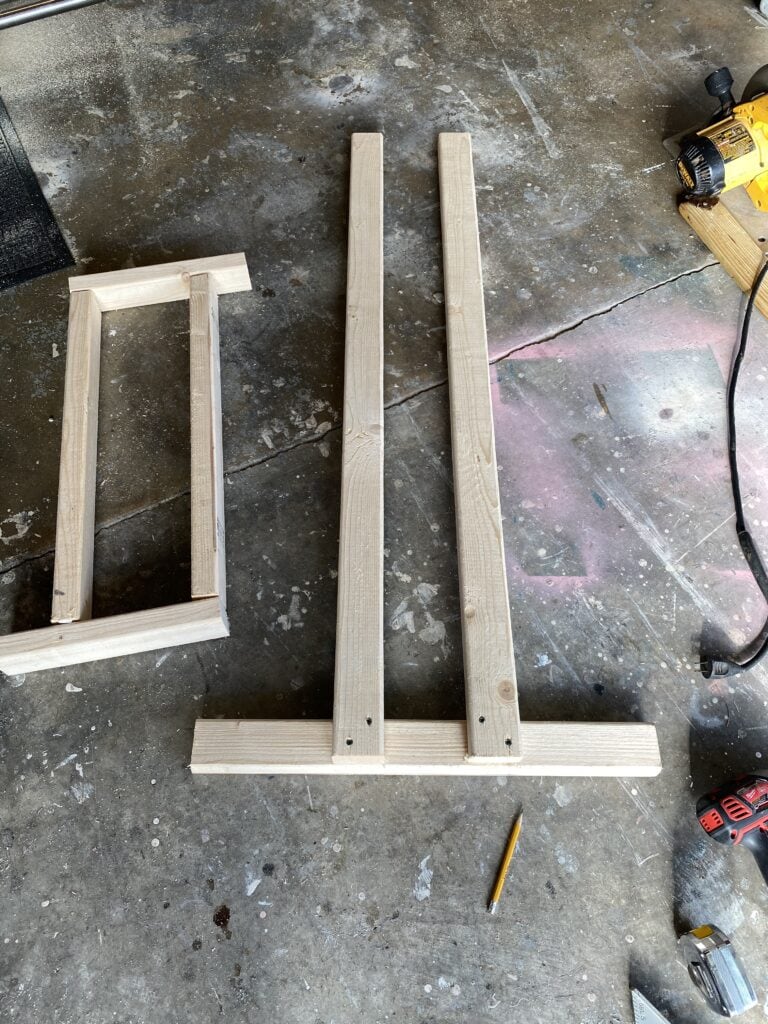
- Next we measured and cut the wood with a chop saw to build the base and the legs to attach to the stand. All the time we were building this we were dodging intermittent rain showers. Typical Miami weather!
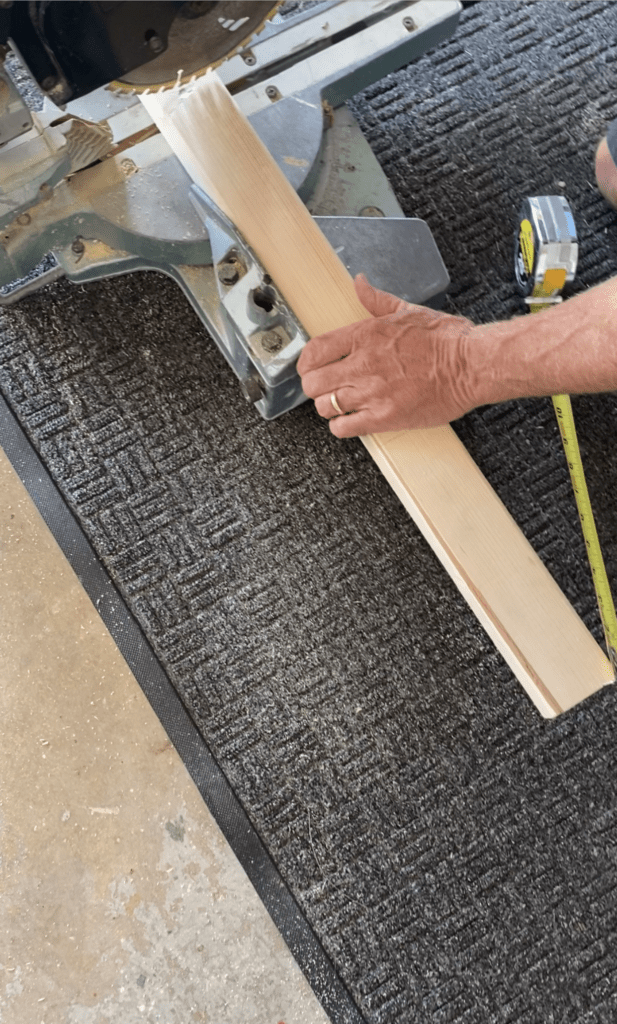
- We built the box a little more than half the width of the tree at 24″ and 12″ deep. This would give it a nice stable base that wouldn’t tip over.
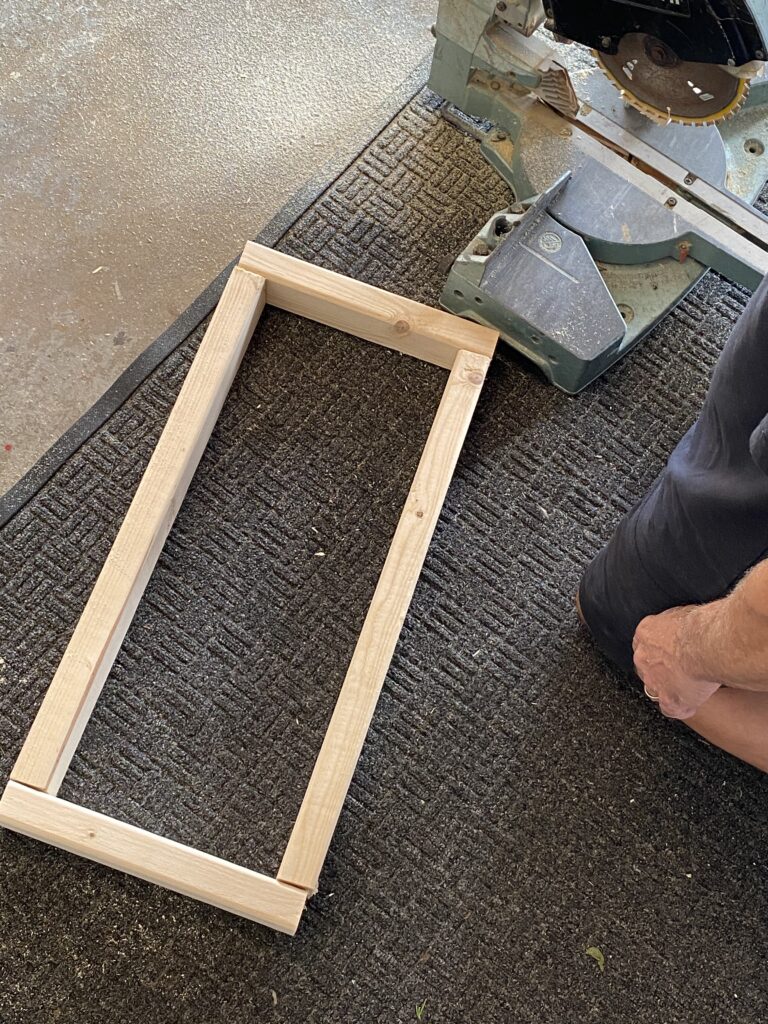
- Laying out the base before screwing it all together.
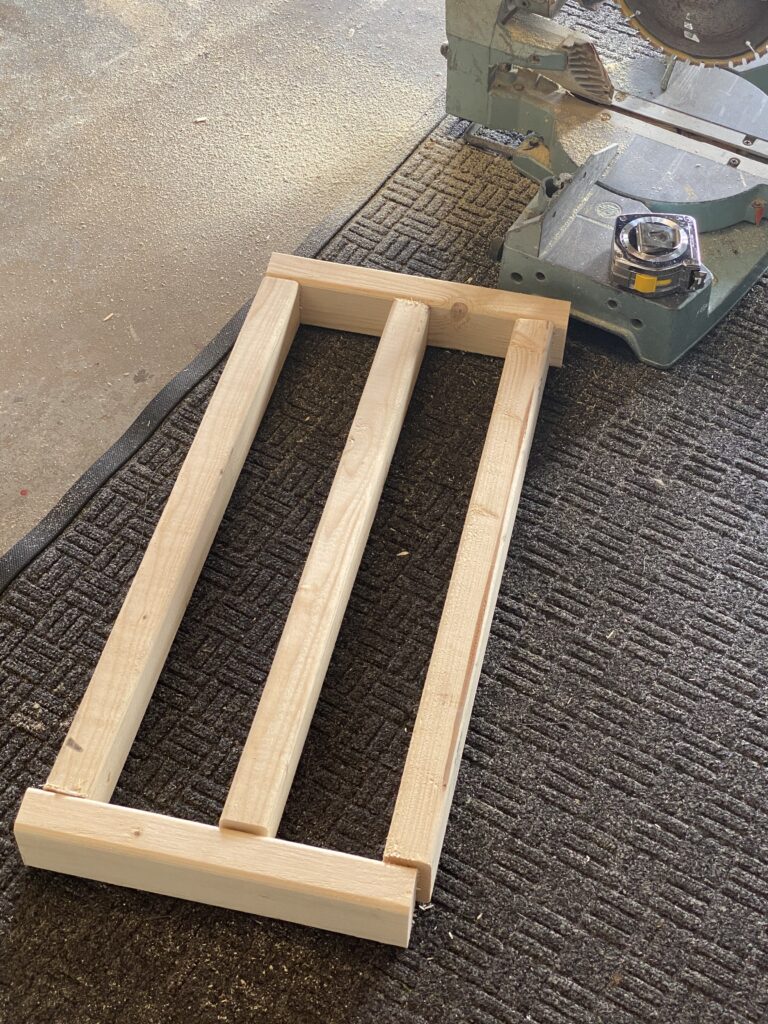
Assembly
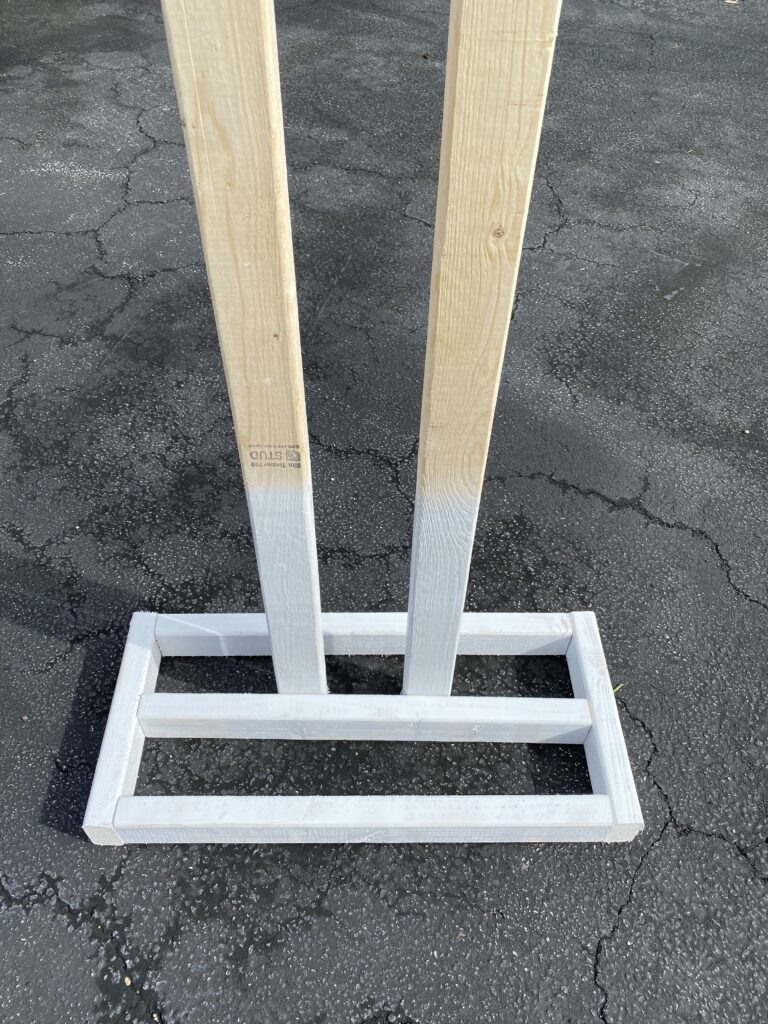
- Building the stand that would hold the tree and checking the angle of the holders to make sure that they are straight.
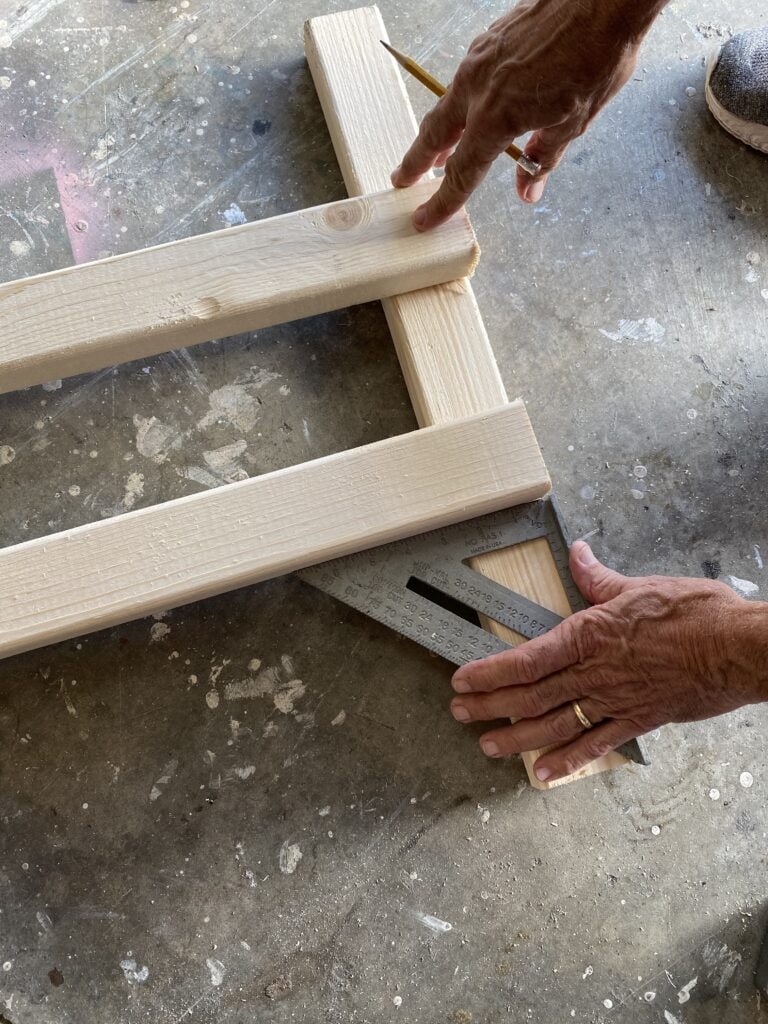
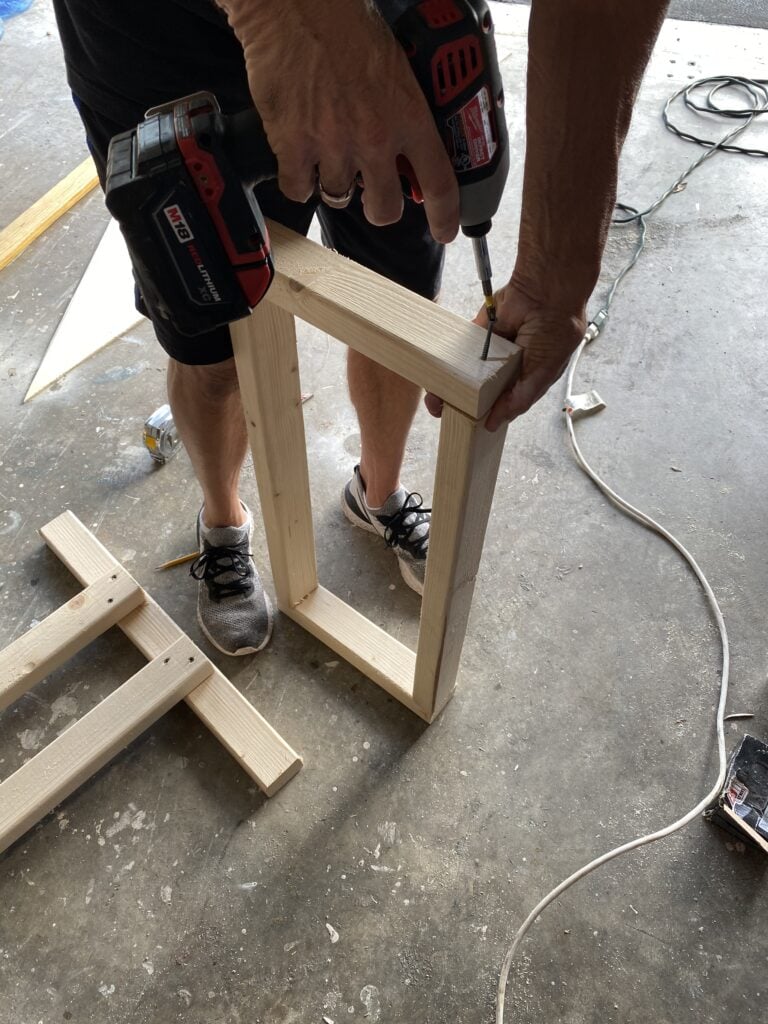

- Prior to assembly I spray painted the 2 x 4’s with white primer/semi-gloss paint. Then we used 2 1/2″ screws to attach the tree legs to the base.
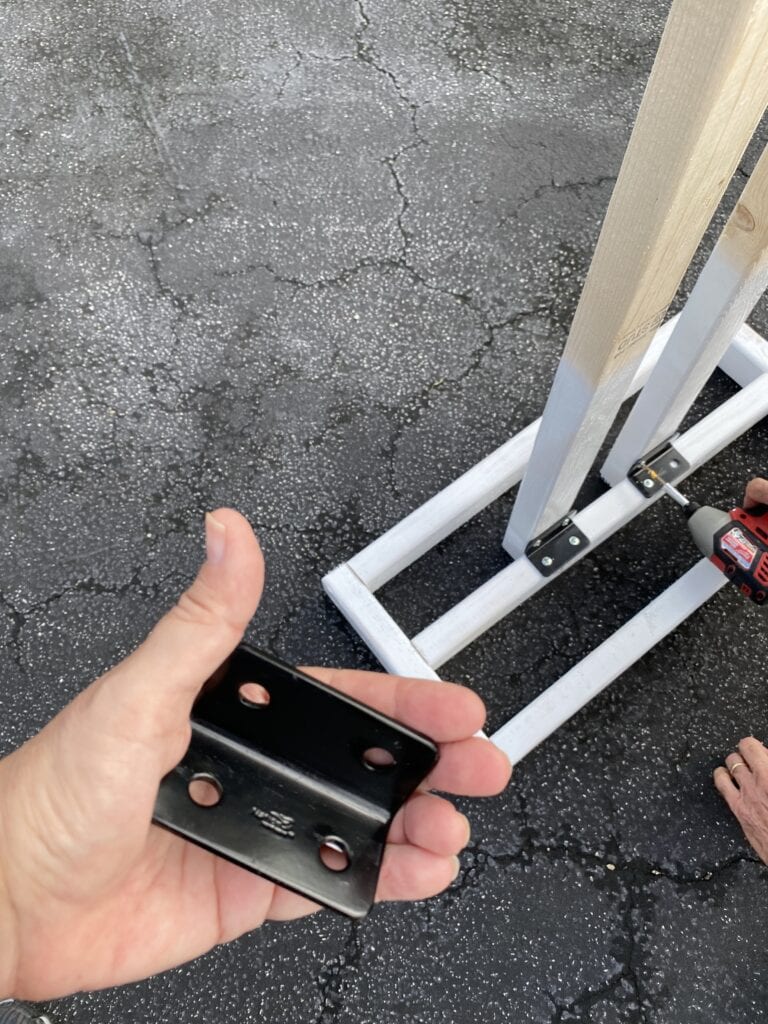
- The National Hardware Wide Corner Braces are decorative and enhance the look of the base! Afterwards I spray painted them white to blend into the Scandinavian style Christmas tree.

Decorate!
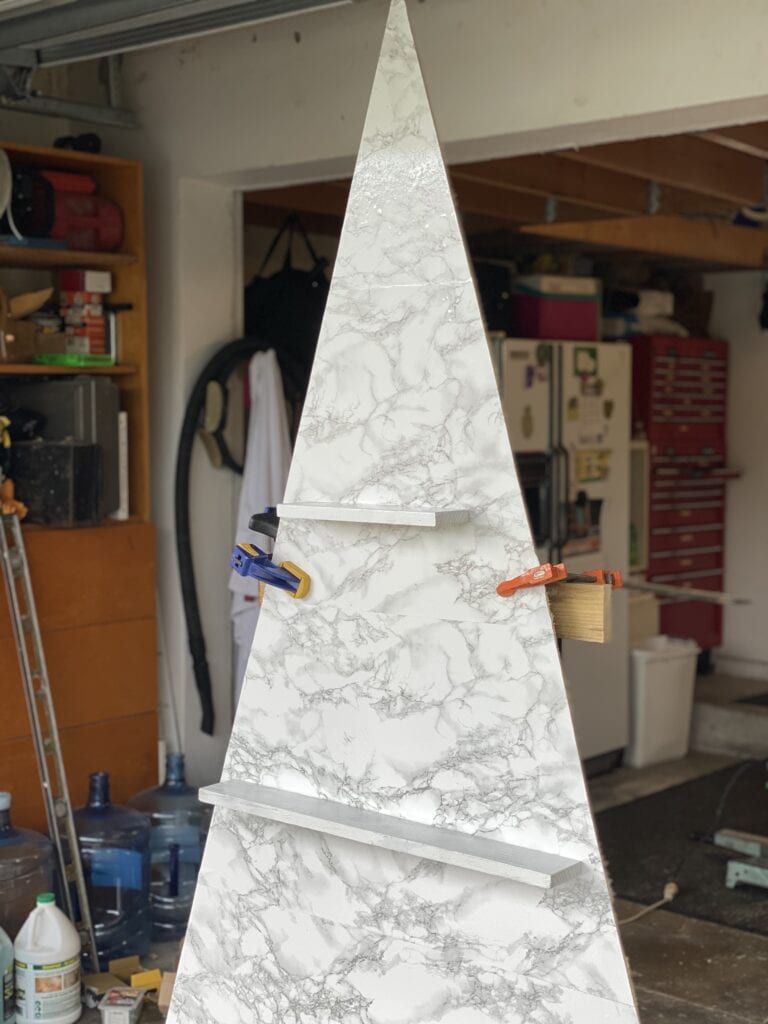
- The next step was to add the marble look contact paper to the tree shape. We applied it on the horizontal aligning the pattern and smoothed it out as we went along. After smoothing by hand it’s a good idea to use something like a soft piece of plastic to get out any air bubbles. * Make sure that you use something like this tool, otherwise you might scratch or tear the paper!

- Then we attached the floating shelves by screwing a 1″ drywall screw through the back of the plywood into each shelf. Next we screwed the tree onto the legs with 2″ drywall screws. We screwed directly into the floating shelves were we could. At the top there was no shelf so we glued with adhesive caulking and clamped until dry.

Final Steps!
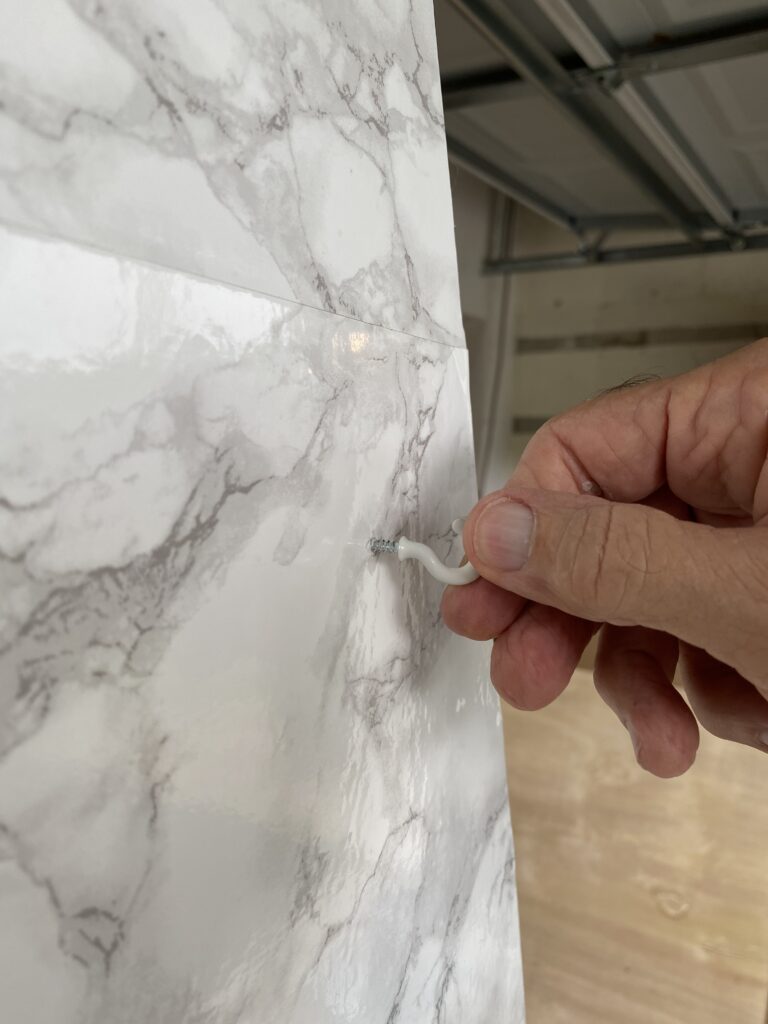
- Finally we were almost finished, but since this was going to be a Scandinavian style Christmas tree I needed a place to hang things! We used 12 of the 3/4″ National Hardware Cup Hooks In White

- We predrilled holes for the cup holders and that made it easier to screw them in.

- Because I’m a fan of asymmetry we added the hooks at varying heights.
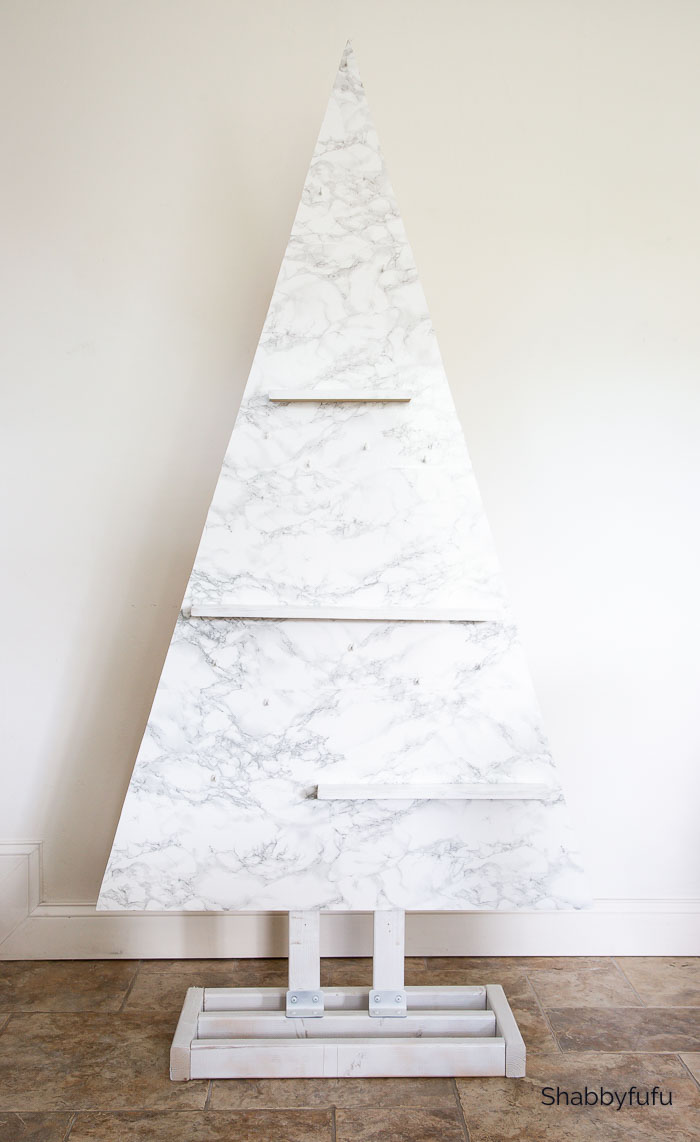
Time To Embellish!
The finished tree looks pretty bare but I had a vision of what it would look like! At this time I went fishing through the bins for just the right things.

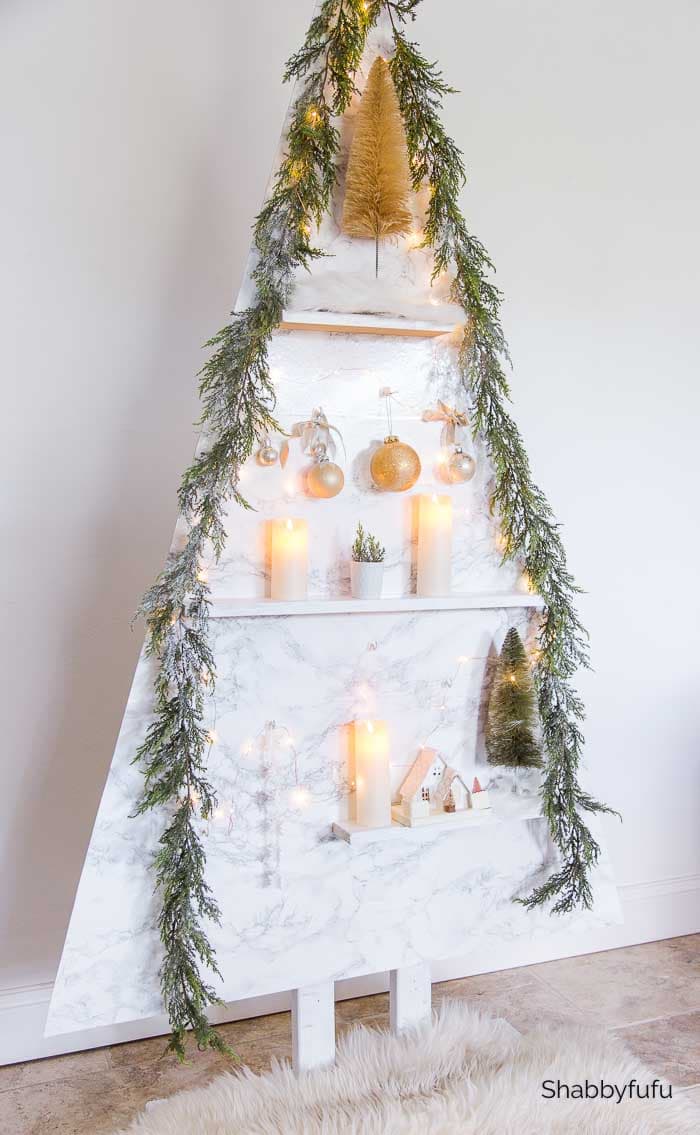
- The 3/4″ National Hardware Cup Hooks In White were perfect for wrapping the wire of these fairy lights around! That was the first thing that I did in decorating this pretty tree!

- In addition to the fairy lights I wove some faux cedar garland loosely around the perimeter of the tree. That gave the tree some structure and a frame, if you will. With a hook at the top I was able to add a star topper make out of glittered cardboard.

- Last but not least, I added bottle brush trees, some faux fur on the shelves, vintage ornaments tied on with antique French ribbon and faux candles. These final touches make a project like this one all worthwhile and I love the look!
I hope that you enjoyed this project and let me know…what is your favorite part?
PIN THIS Scandinavian Style Christmas Tree POST TO REFER TO LATER!

Fabulous indeed…I LOVE IT!
So glad that you like it Darlene!
Clever! If I were still creating/making things/stuff (which I am most definitely not LOL), I would be making three of these in 30″ versions to place on our entranceway hall table! I love the idea! Don’t you think a French-y version with my collection of Marie Antoinette – and crowns! – would make terrific displays? I could also see how somebody into retro-50s styling could do a real number with this idea and pattern!
All, I can say is that I’m so relieved I’m not going to have to go out to Home Depot and shop for carpentry materials today. I’m just going to enjoy the pictures of your (and your husband’s) work – which is more than enough! As I seem to say to you a lot: thanks for sharing!
Makes me so happy that you read my blog Tristan! Yes…this could be restyled in a number of ways and crowns (of which I have a few;-) would be amazing! Hope you two have a wonderful Thanksgiving holiday!
Mmmmmmmmmm what’s my favorite part (besides that whole thing 😉 ), how beautifully your chic Skandi tree frames your collection of gold ornaments. You always manage to take things to a whole new level of effortless elegance.
What a lovely comment Michelle and it means so much to me! Thank you!!
I would dodge rain any day to build something that beautiful Janet! So well done!
The weather here has been like Seattle lately…but a hot version, LOL! Thank you Sara…much appreciated!
Adorable and Pinned!
Thanks Miche…can’t you just see this restyled in a thousand different ways?!!
Wow – that’s great! I really love this look, and you guys are so creative! 🙂 Thanks for the really detailed tutorial – it makes it so much easier!
Wow, I am blown away i love. You did a great job, 🤣🤣🤣
Absolutely beautiful, Janet! I love the simplicity and all the gorgeous details.
Thanks for sharing the the tutorial, so I can make my own or something similar.
Have a wonderful Thanksgiving weekend.
Love the scandi look! Definitely a change from your other gorgeous trees! As always beautiful