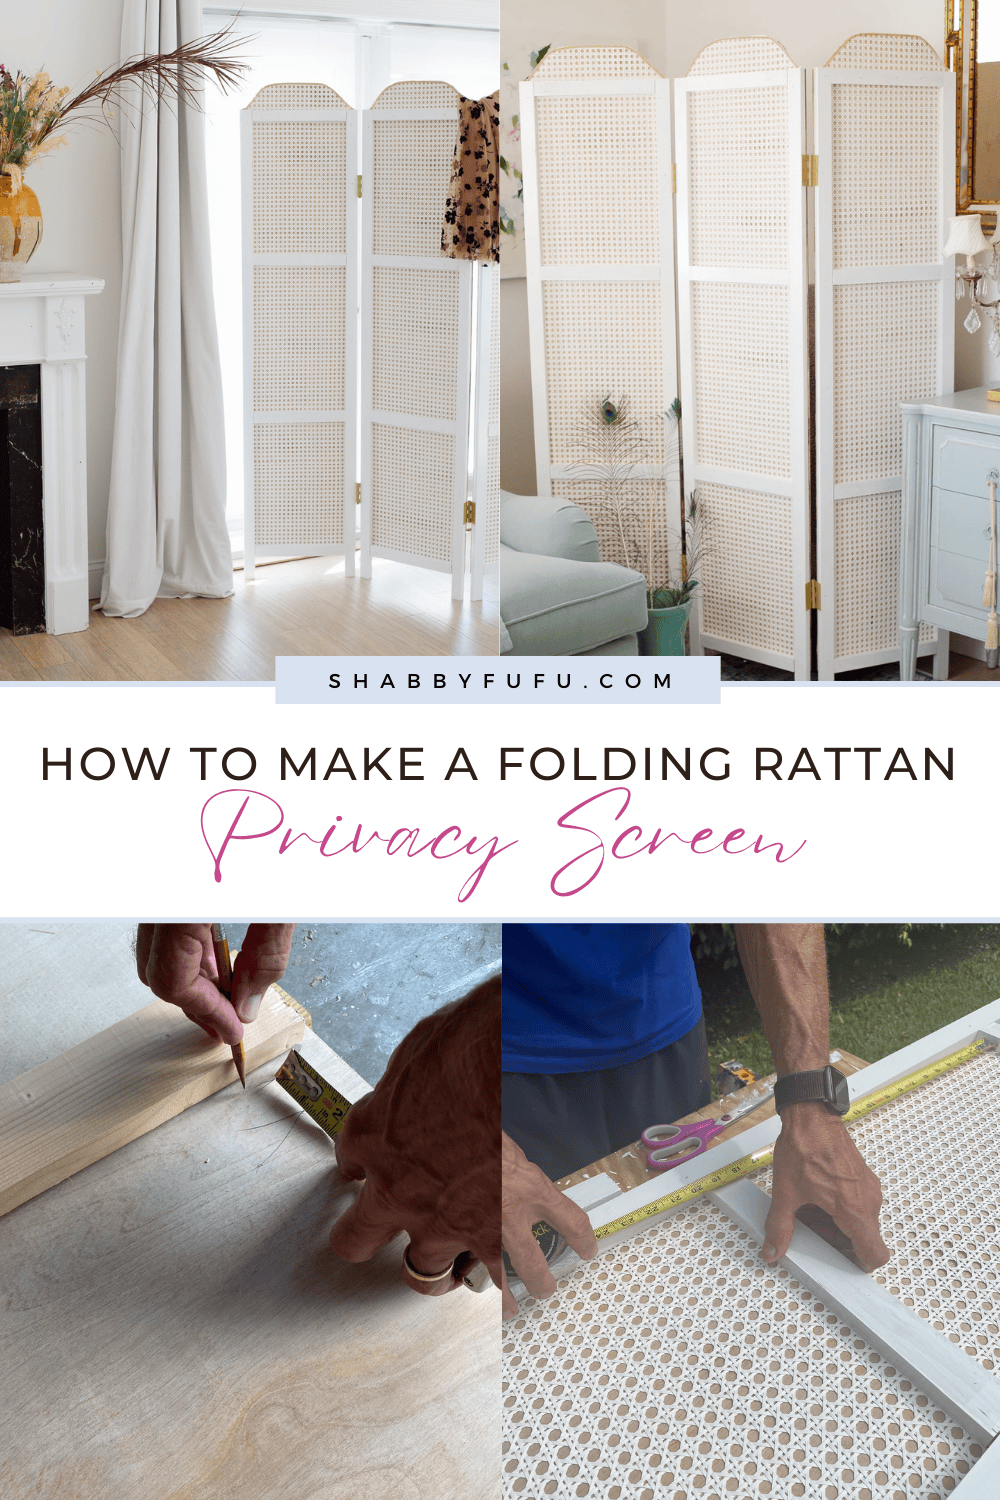
DIY – How To Make A Folding Rattan Privacy Screen
This post may contain affiliate links. For more information, please see our disclosure policy.
In this post you’ll learn how to make a folding rattan privacy screen. As our home lacks storage, I’m kind of obsessed with privacy screens and now have 3 that hide my stashes of stuff! They are quite versatile and can be used as room dividers as well in open concept living. They are easy to move around for various needs.
You can often find privacy screens at thrift shops, yard sales and antique stores, but this is an easy project to make on your own!
Uses For a Folding Privacy Screen:
- Provide privacy for guests
- Screen off an area for storage
- Fill a room corner that is simply empty
- Divide two rooms in an open concept area of your home.
- Separate a portion of a room at home or office.
This is a paid post in behalf of Spectrum Brands but the work and opinions expressed here are my own. As always, use the proper care and safety equipment when working with power tools.
How To Make A Folding Rattan Privacy Screen
MATERIALS:
- One – 4 x 8 sheet of 3/8″ birch door skin
- Nine – pieces of 8′ long 1″ x 2″ wood strips
- Piece of cardboard
- White interior paint (satin or gloss)
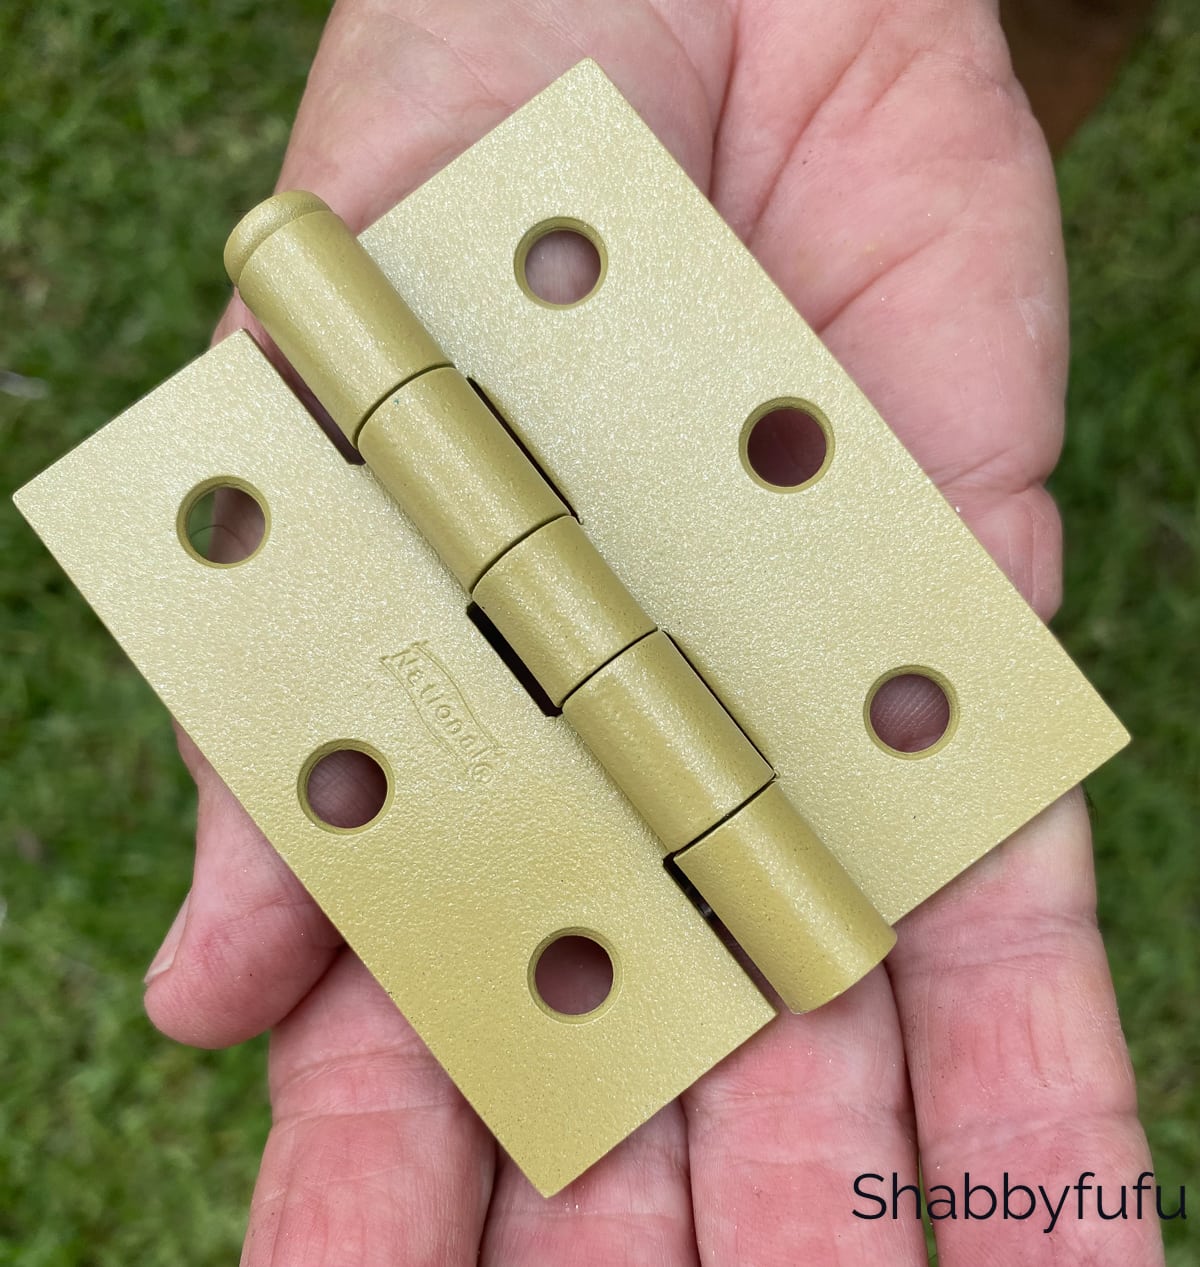
- Four – National Hardware 3″ Door Hinges (Satin Brass)
- Plastic rattan cane webbing – 18″ wide
- Can spray adhesive
- Ribbon (or rope)
TOOLS:
- Chop saw (or circular saw)
- Jig saw
- Nail gun (or hammer & nails)
- Screw gun (or Phillips screwdriver)
- Measuring Tape
- Clamps
- Cardboard
- 80 grit sandpaper
- Razor knife
- Hammer
- Scissors
- Pencil
- Paint Brush
- Hot glue gun
INSTRUCTIONS:
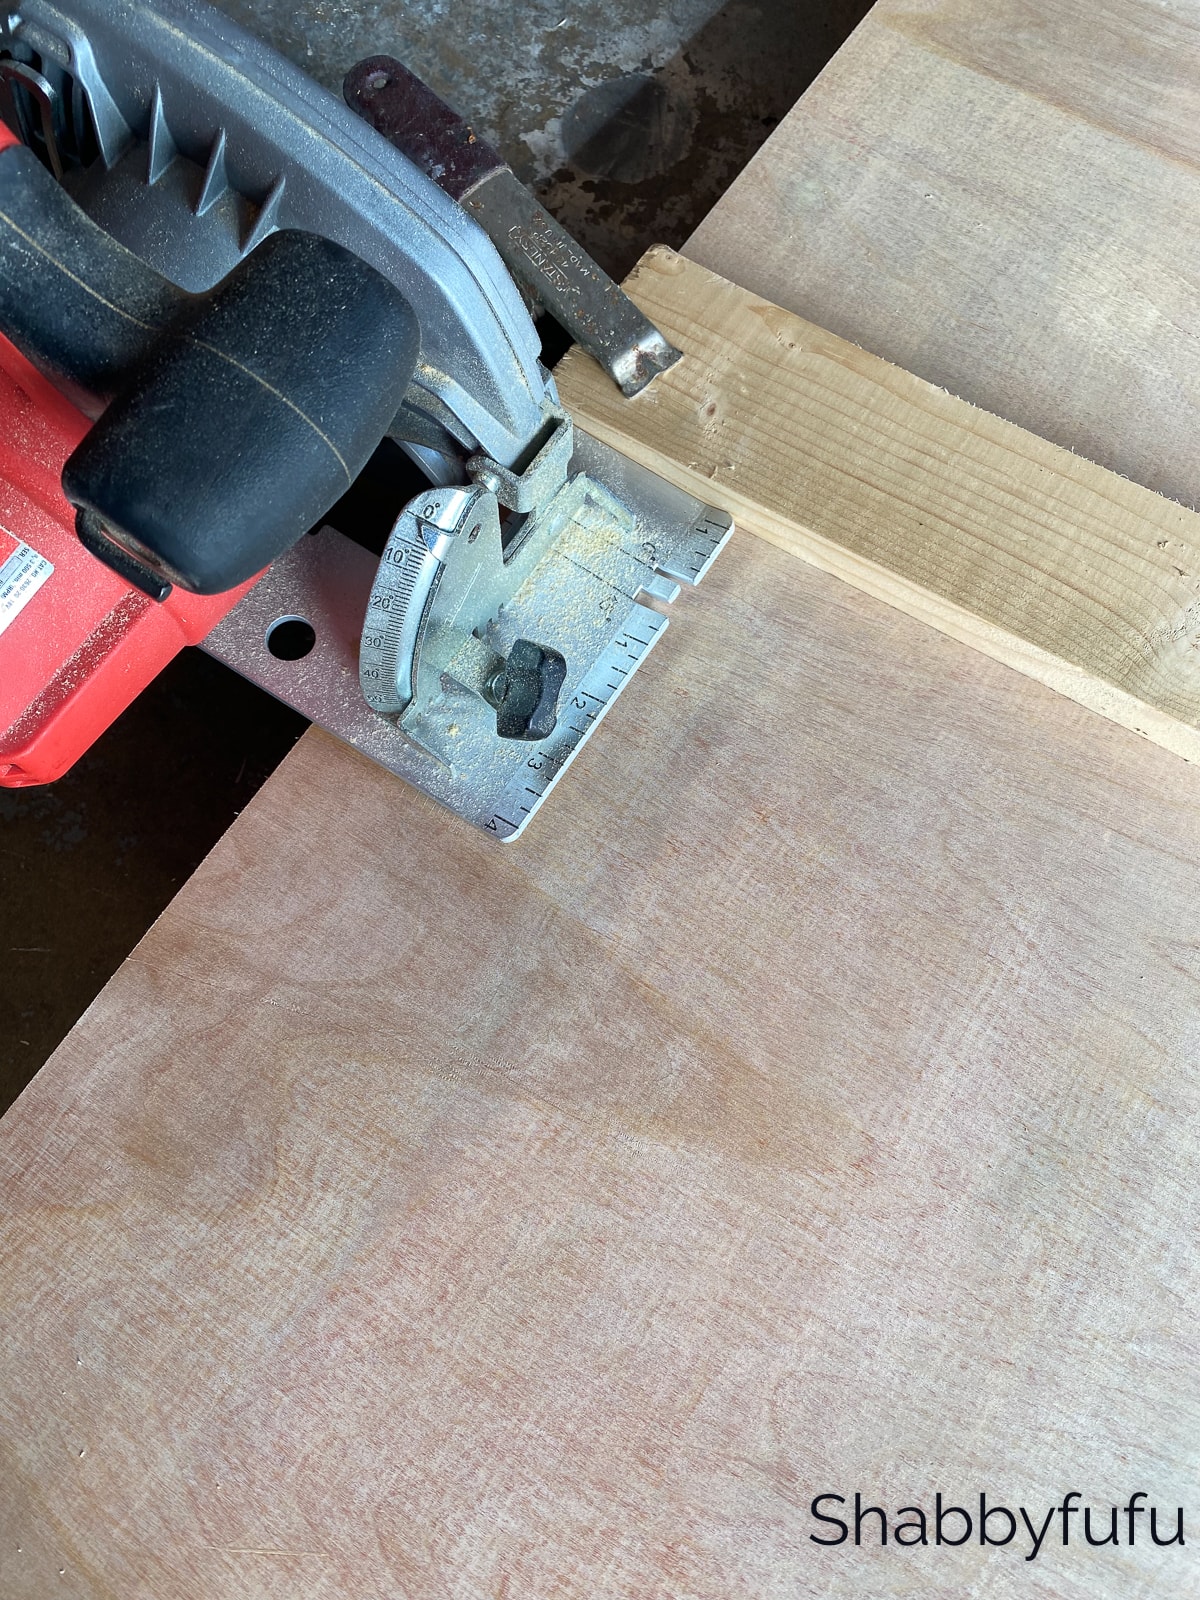
STEP 1 –
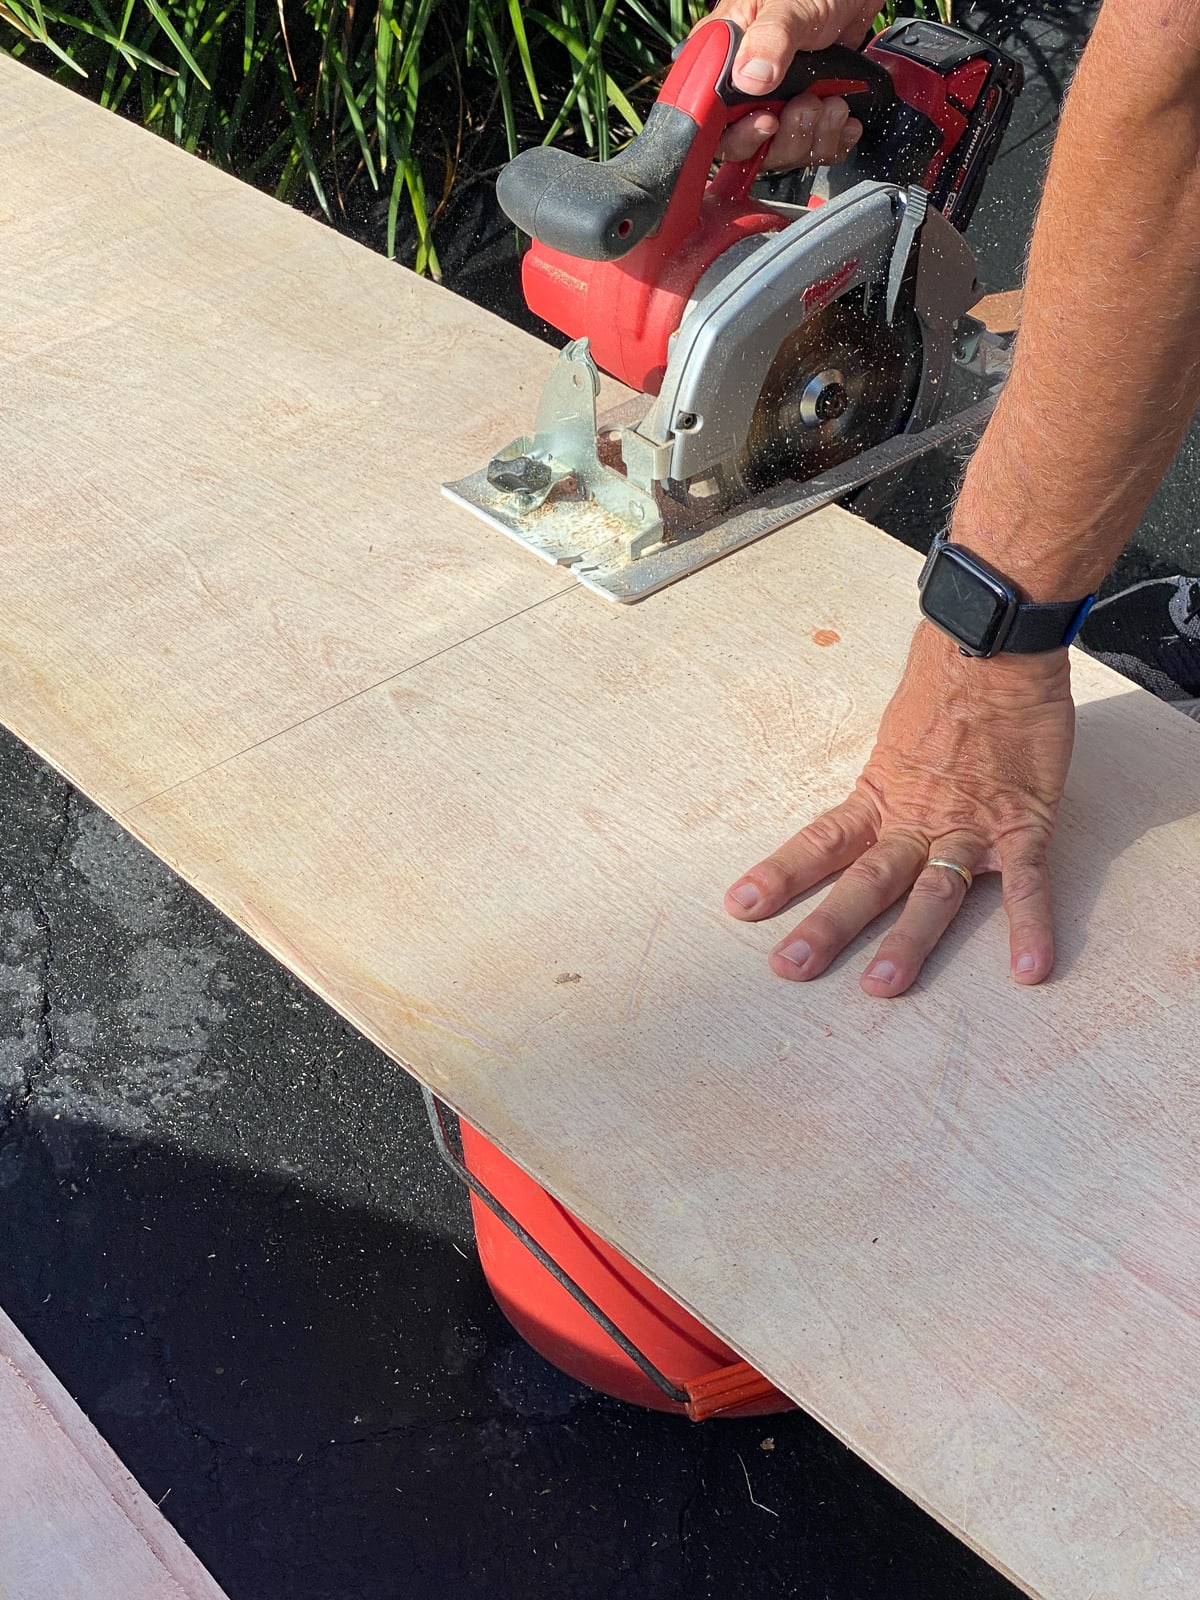
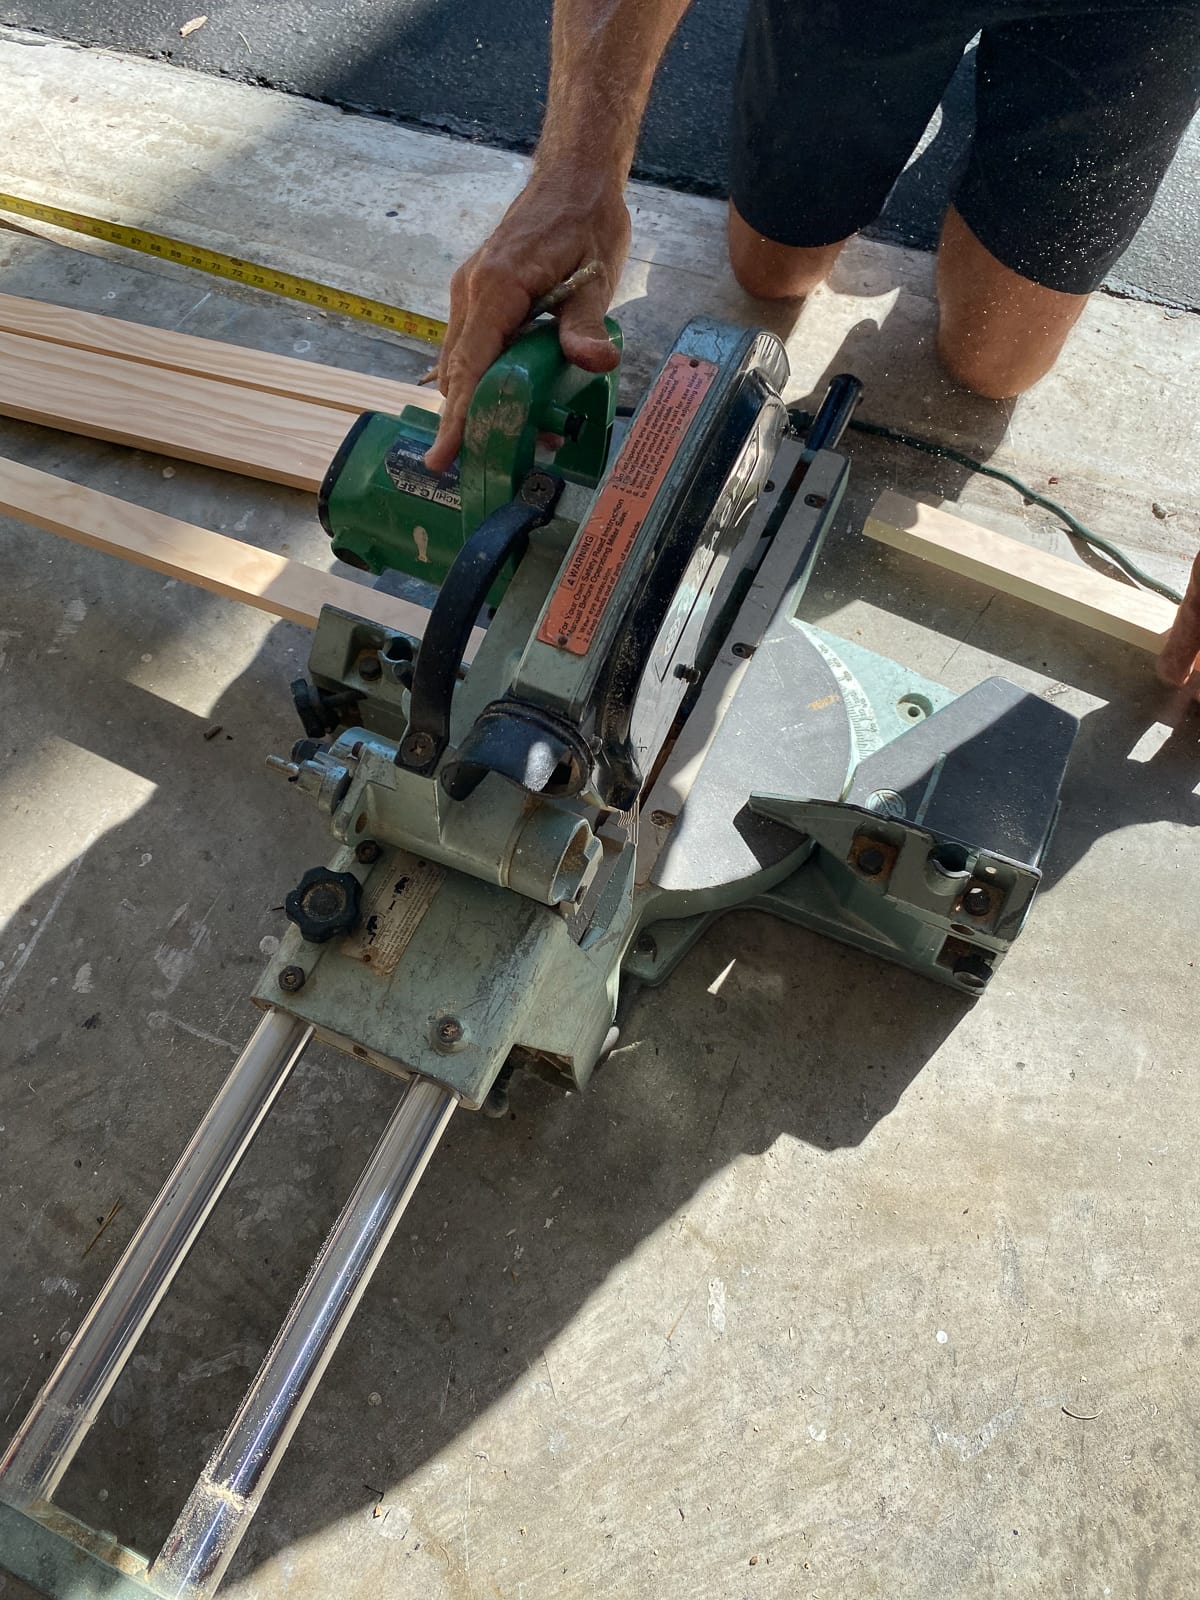
Measure and cut the plywood into 3 pieces that will be 16″ x 96″ long. Use a straightedge to assist in cutting the panels in a straight line with your circular saw. Clamps will be helpful in holding the straightedge in place. Use a circular saw (also known as chop saw) to cut the panels.
STEP 2 –
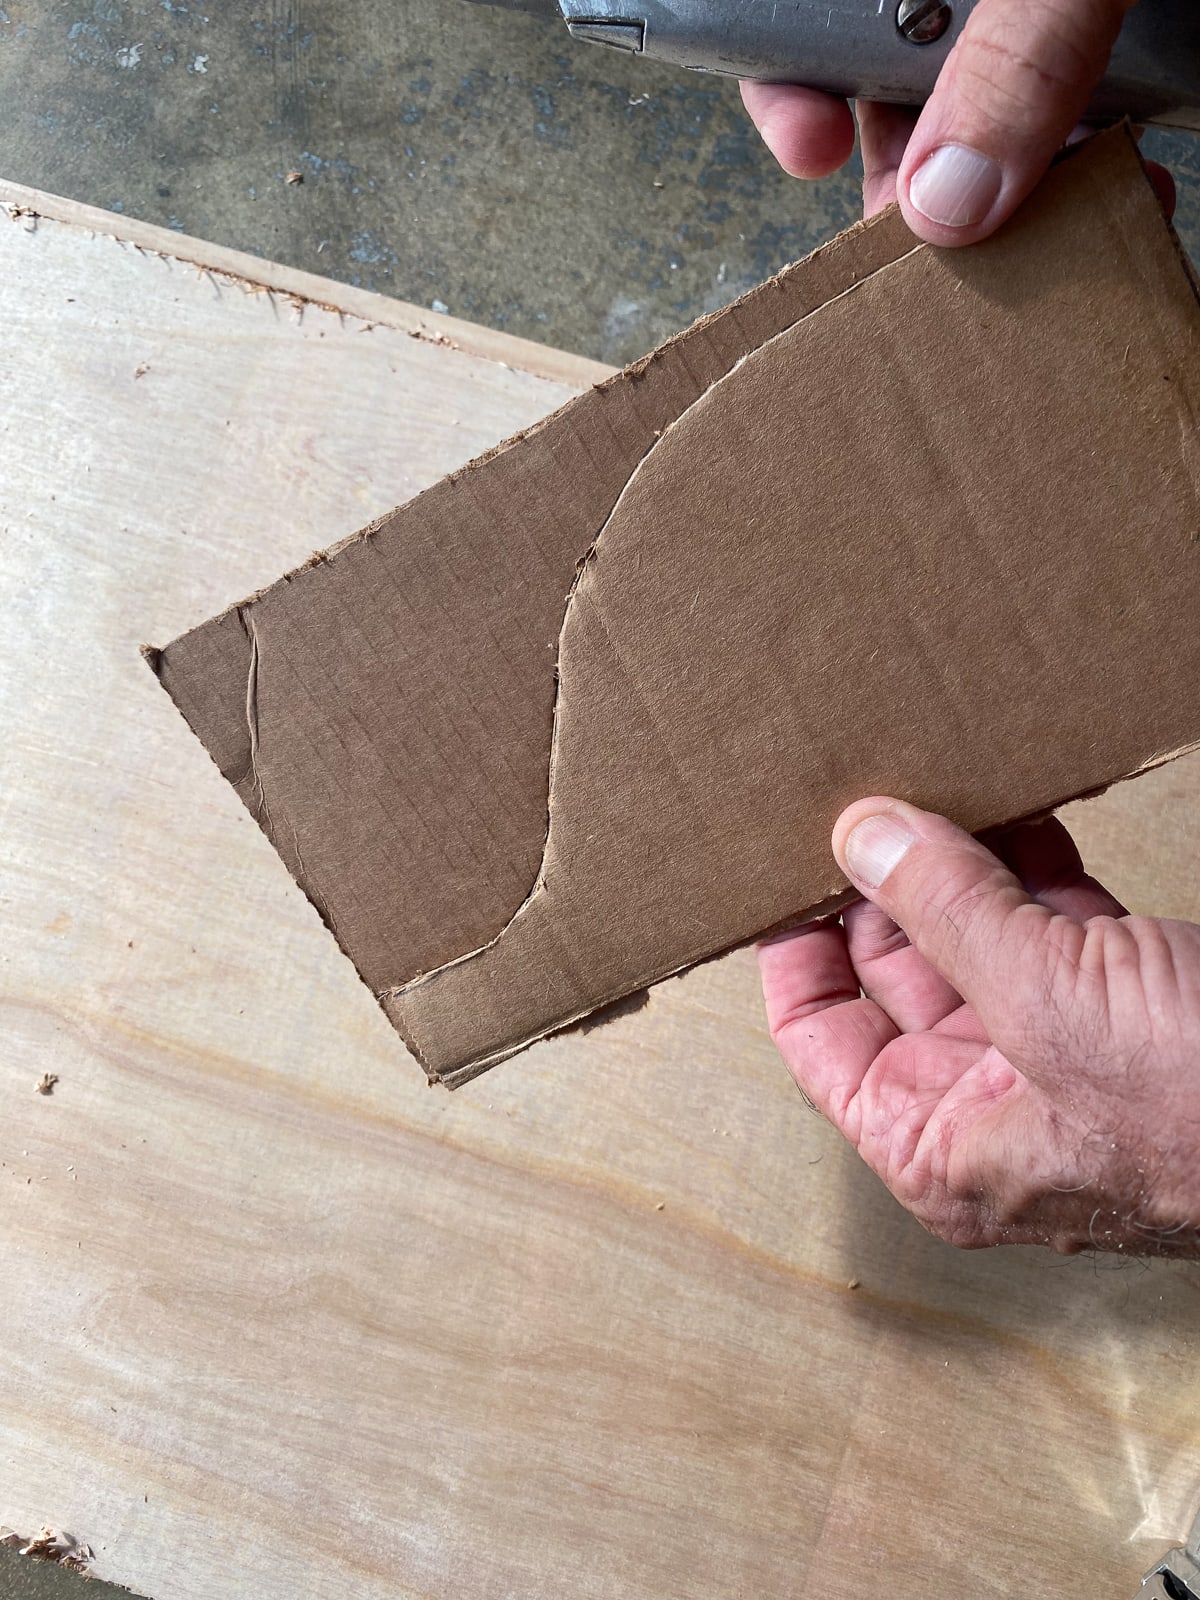
Create a template using a piece of scrap cardboard to your desired shape for the top of the screen panels. Trace and cut out the template.
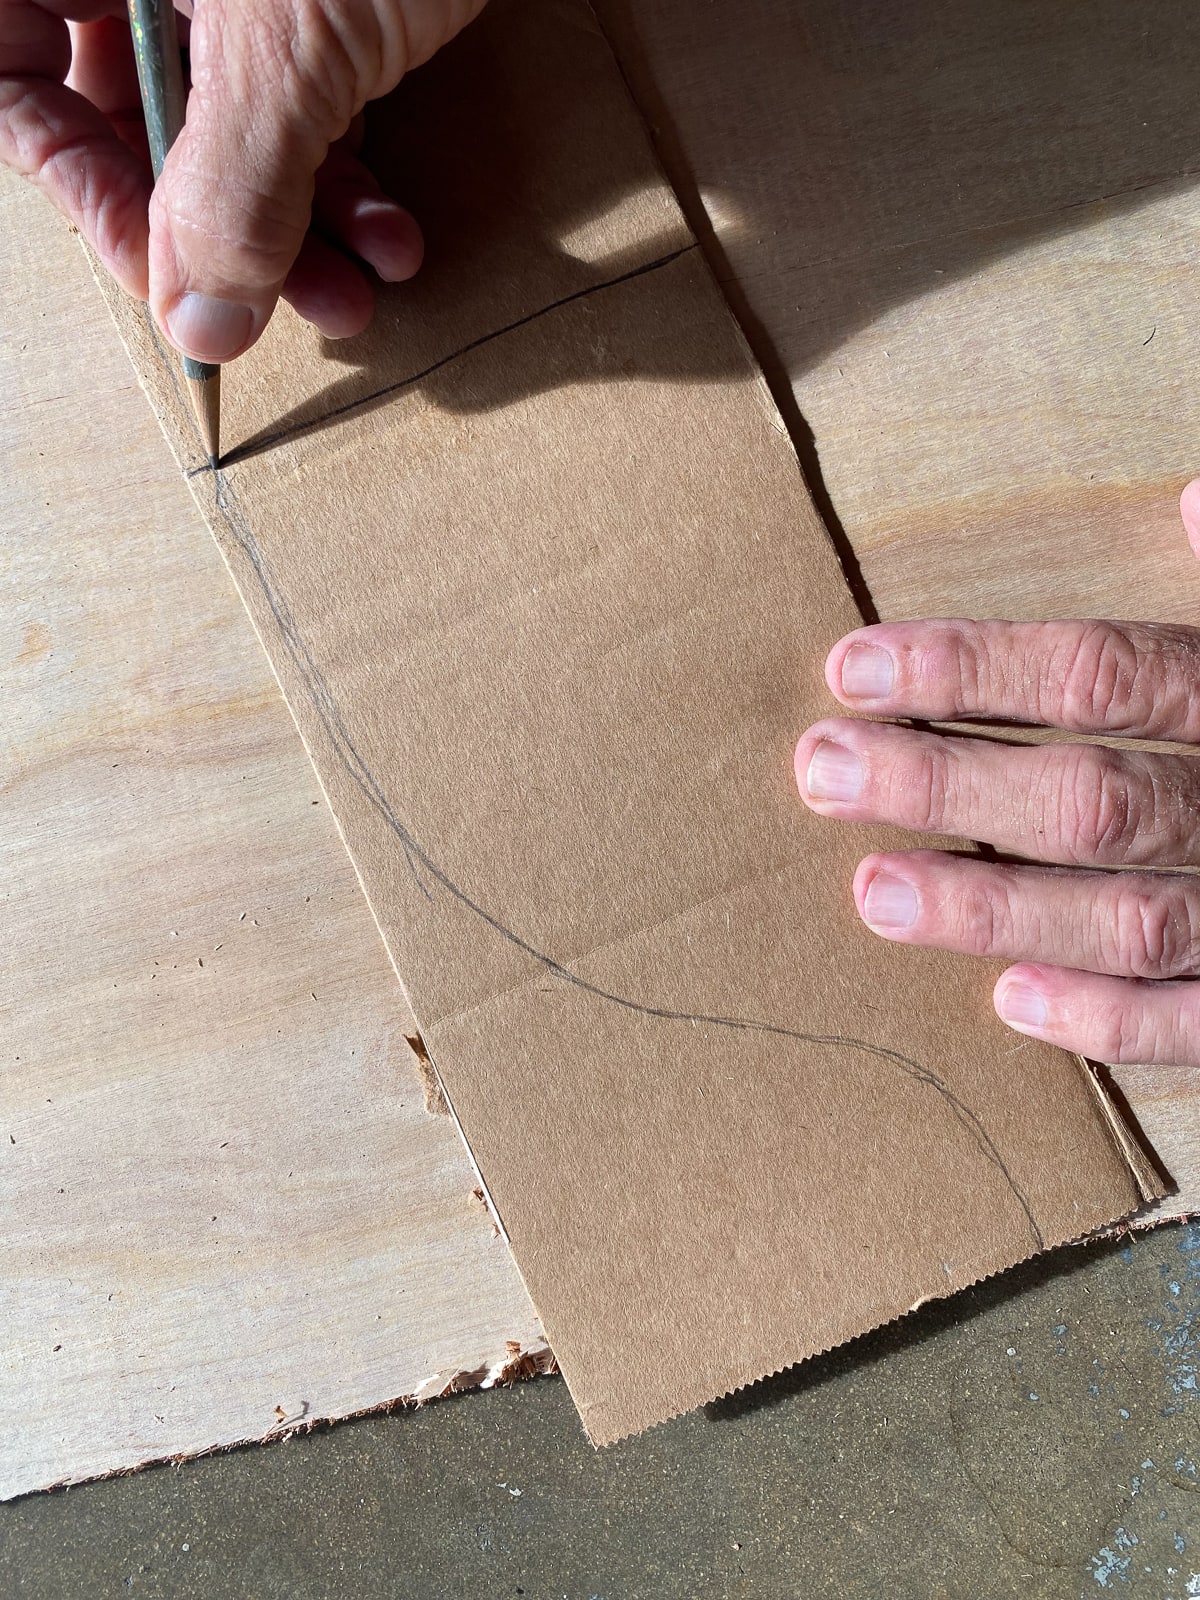
*TIP* Fold the template in half after you have drawn the first half. Trace on your cardboard to make the shape even, as shown in the photo.
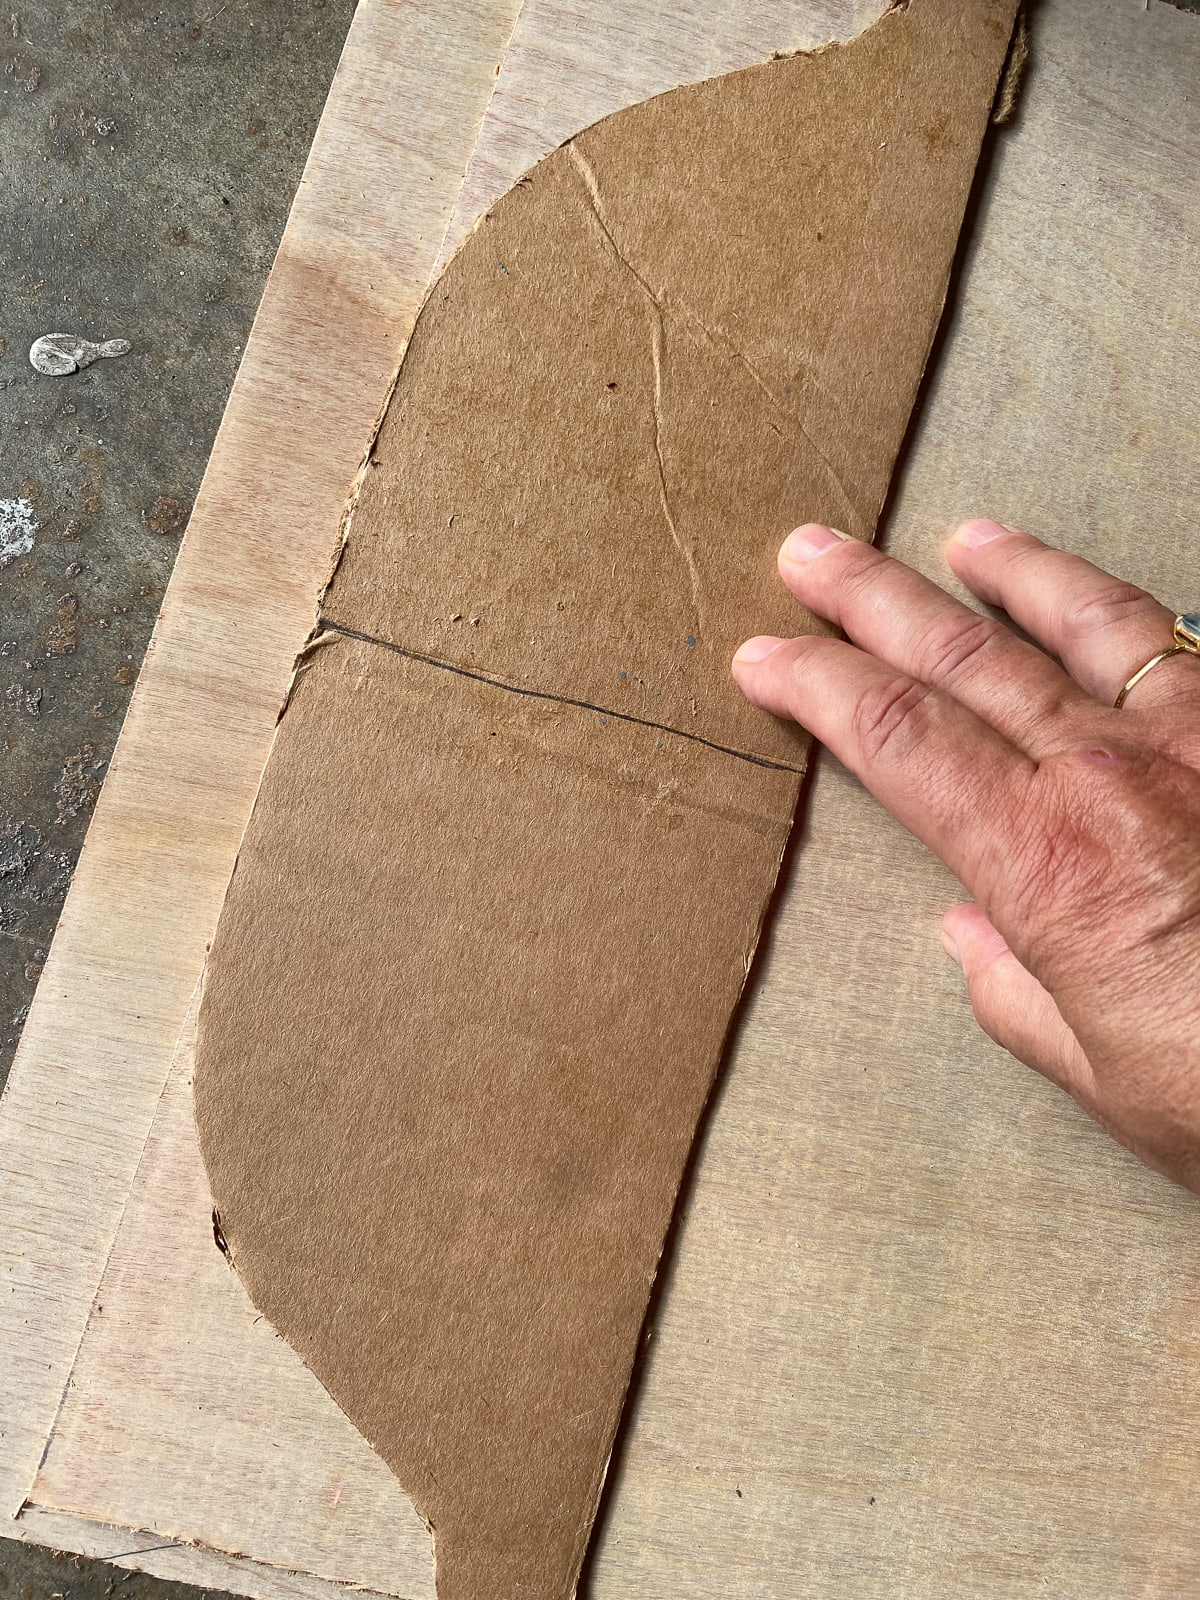
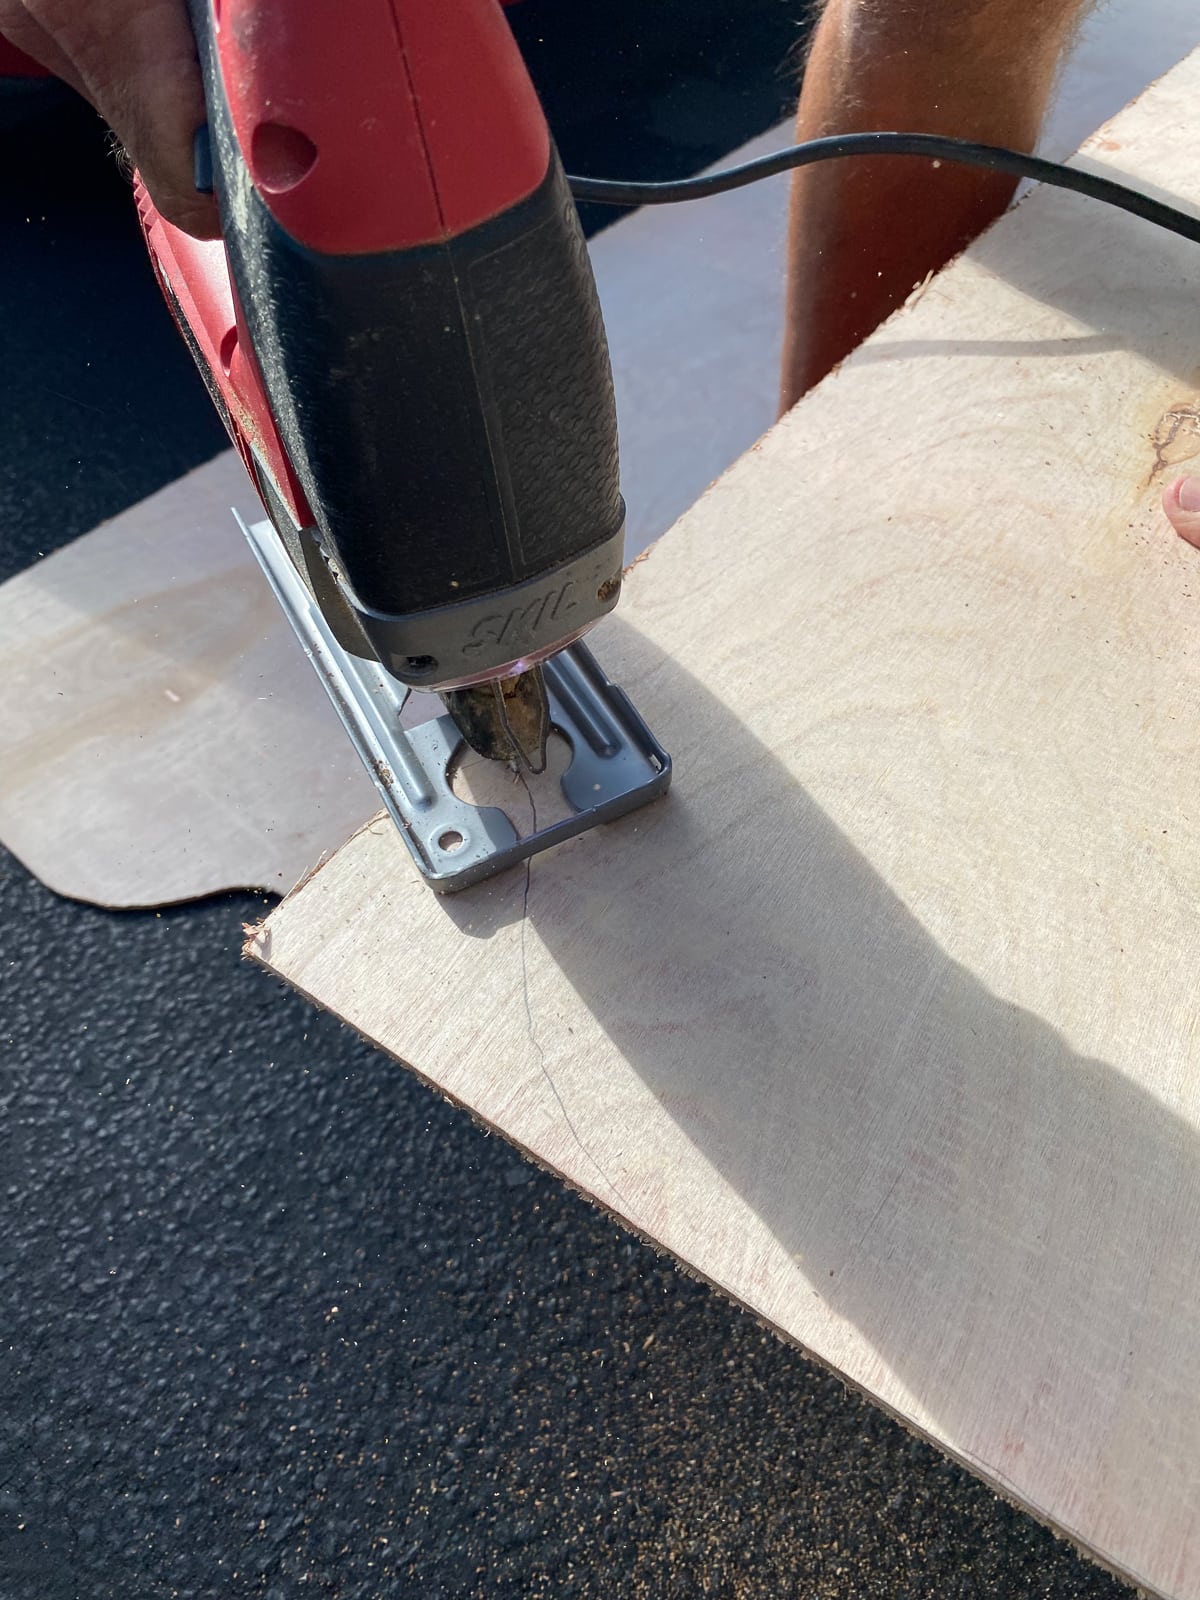
STEP 3 –
Trace the template pattern onto the plywood. Use a jigsaw and follow the pattern on the plywood to cut to size.

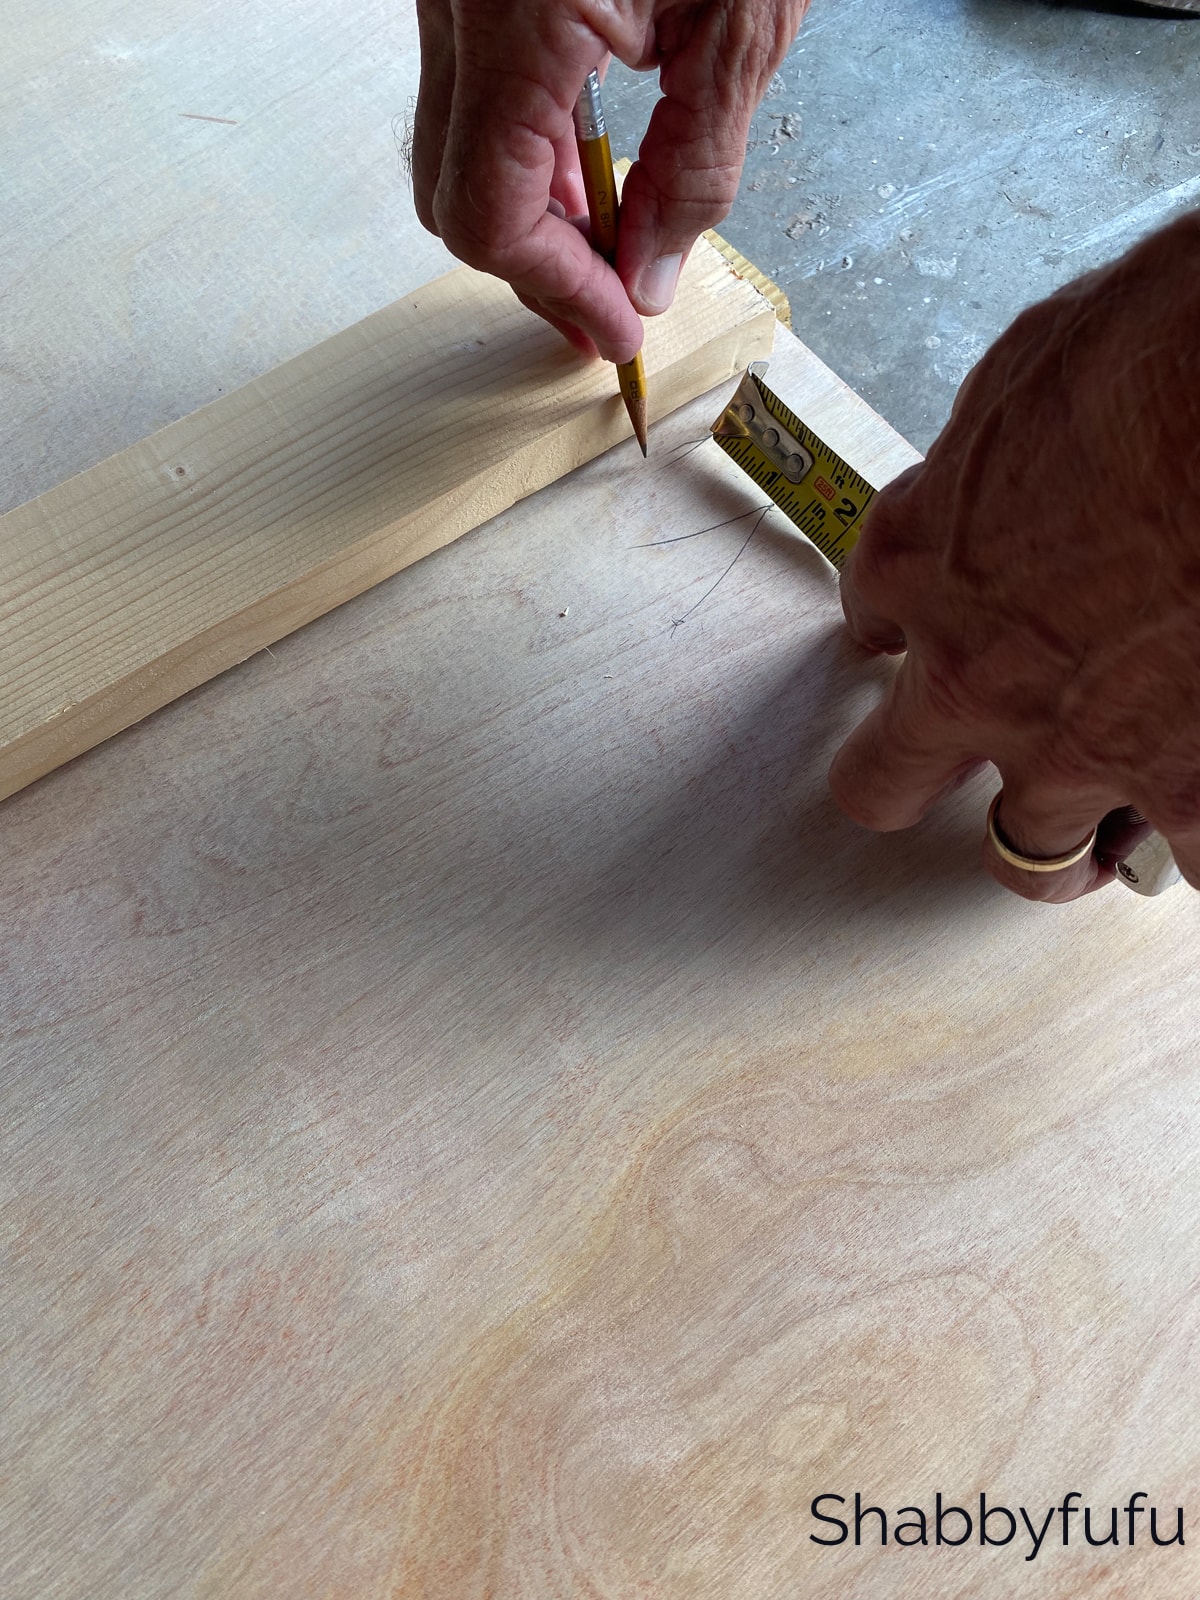
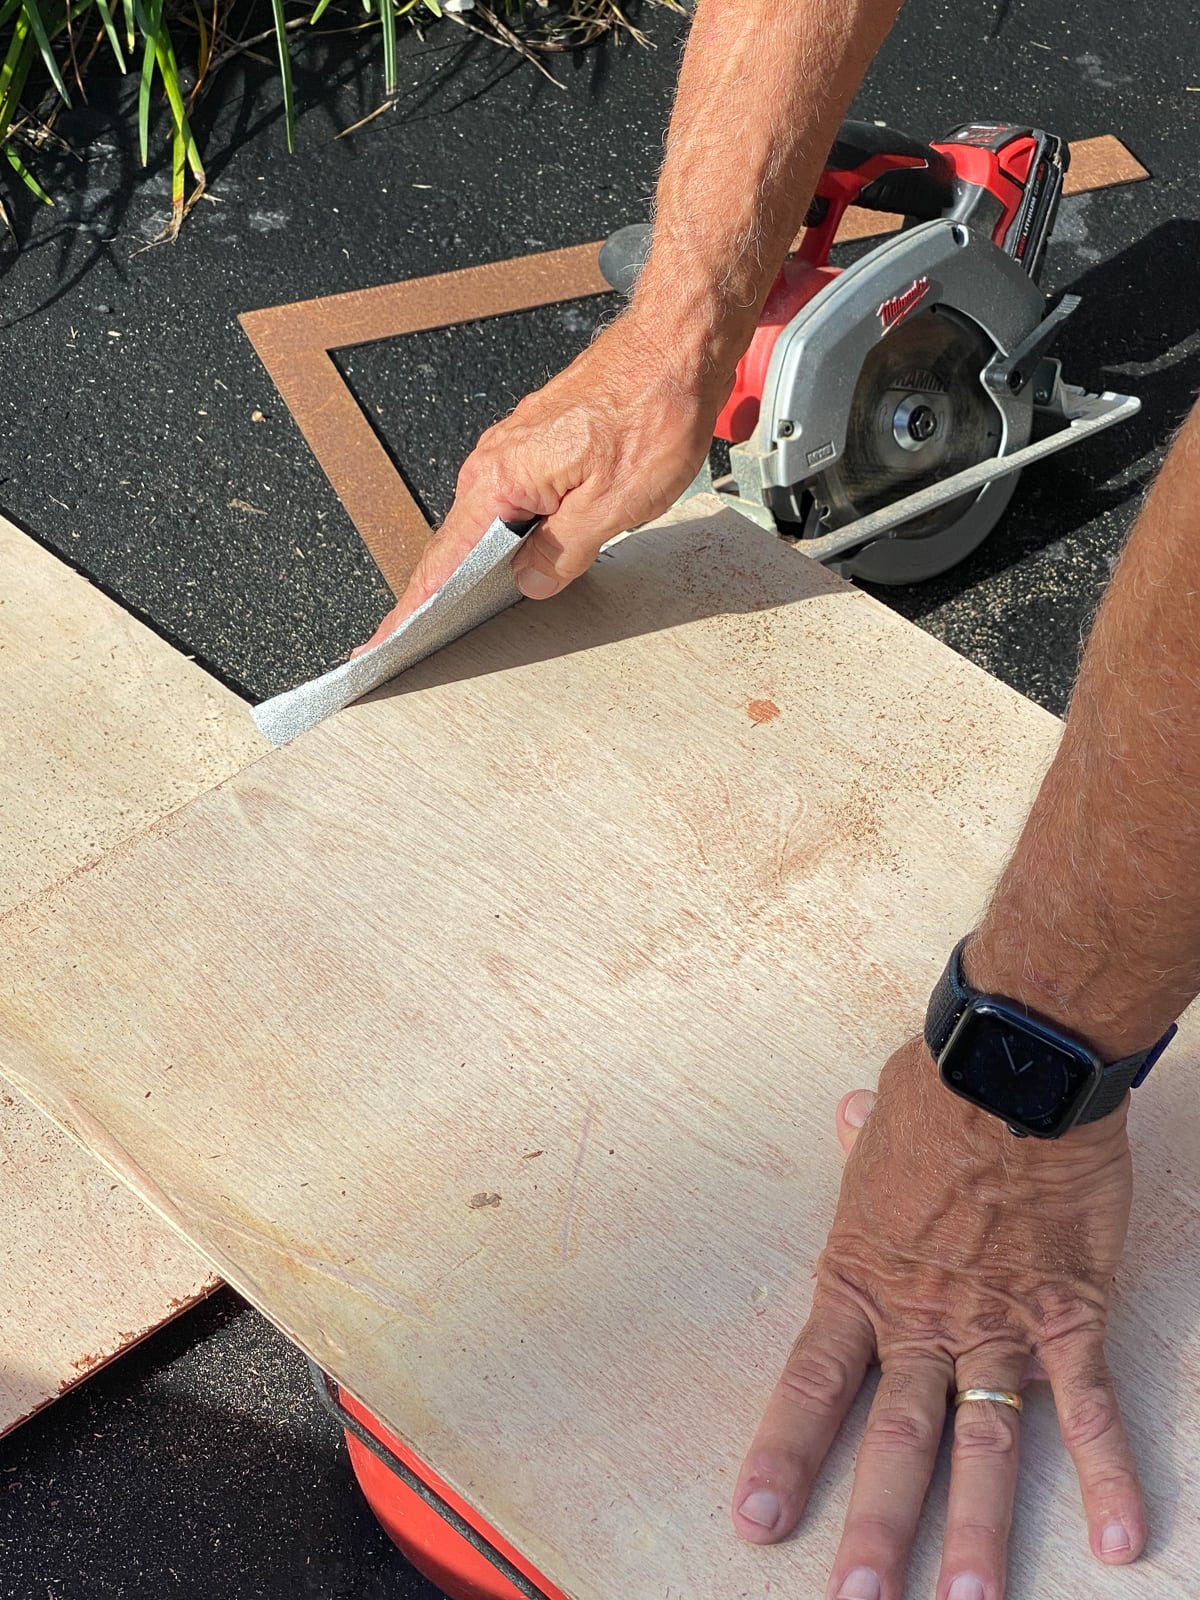
STEP 4 –
You’ll want to determine how tall you would like your folding rattan privacy screen. Measure and cut to 66 1/2″ which we found to be a great height for the screen. Sand rough edges with 60 grit paper.
STEP 5 –
Next cut six wood strips to measure 66″ long. Cut twelve pieces to measure 13″ long.
STEP 6 –
Layout the cut strips on the plywood to help visualize how the panel will look.
STEP 7 –
Paint all of the wood strips.

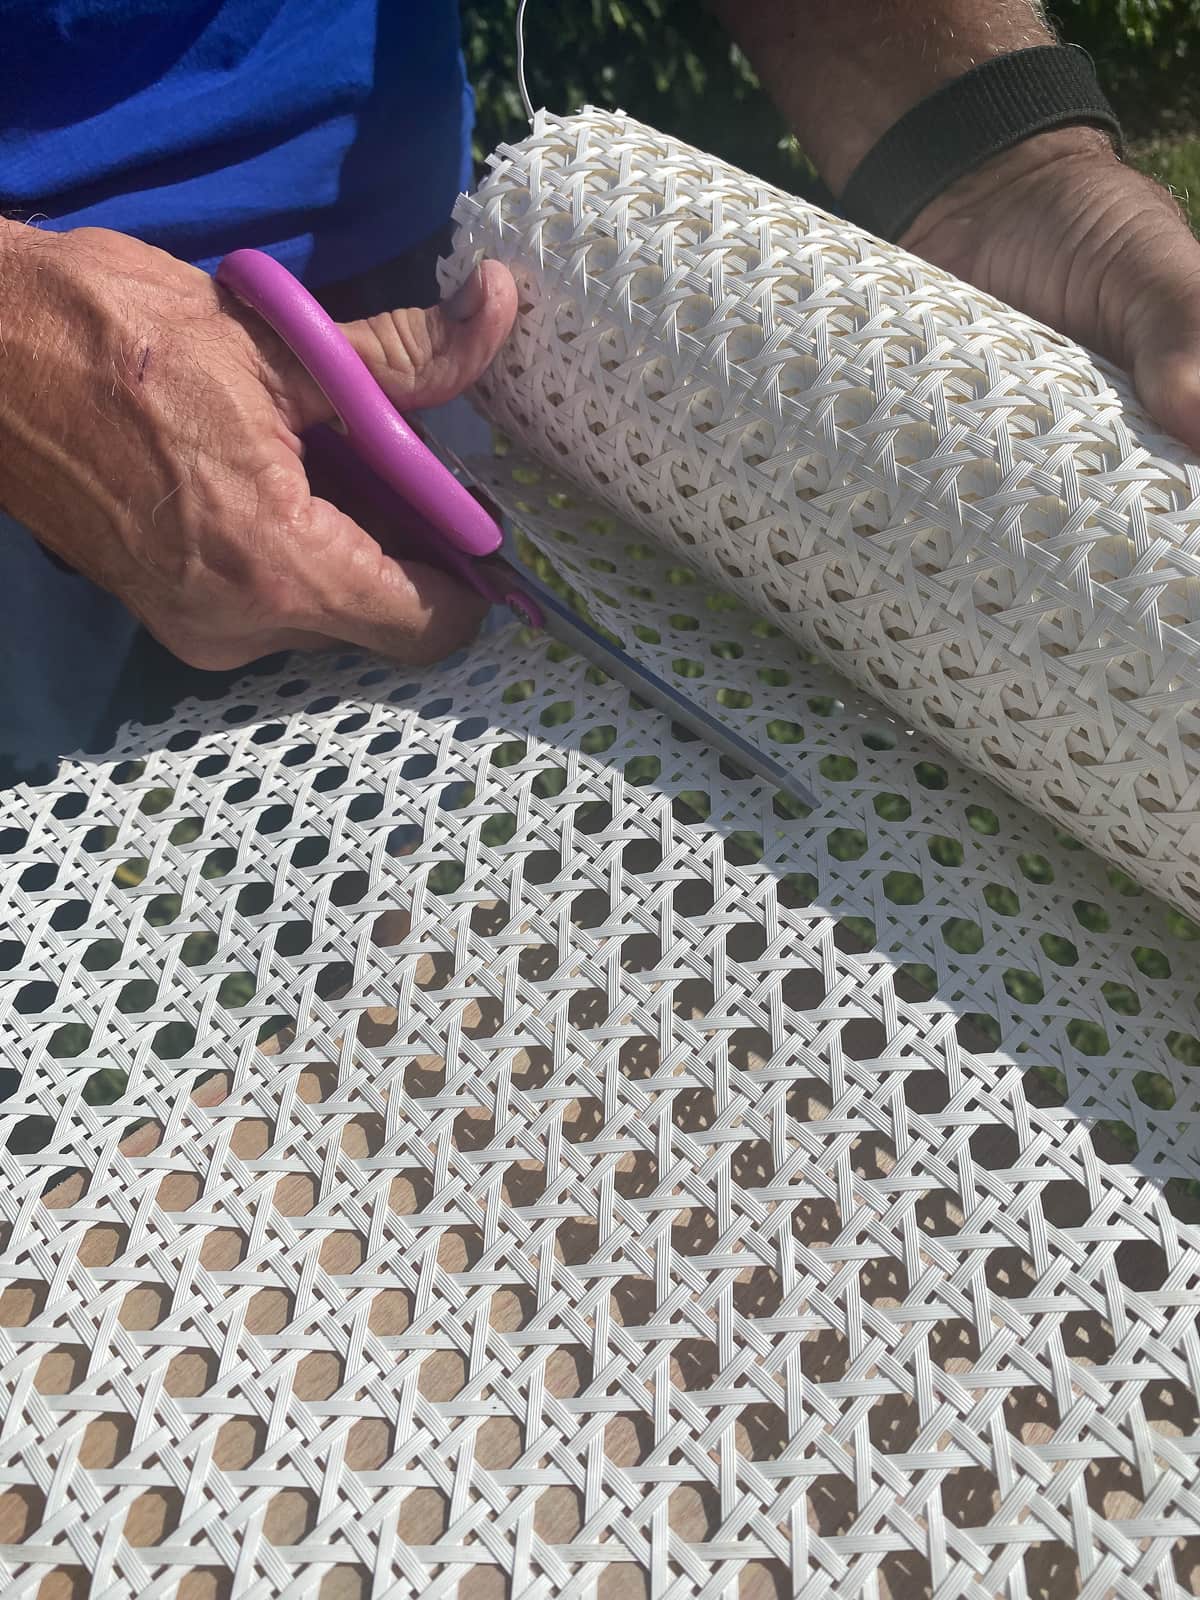
STEP 8 –
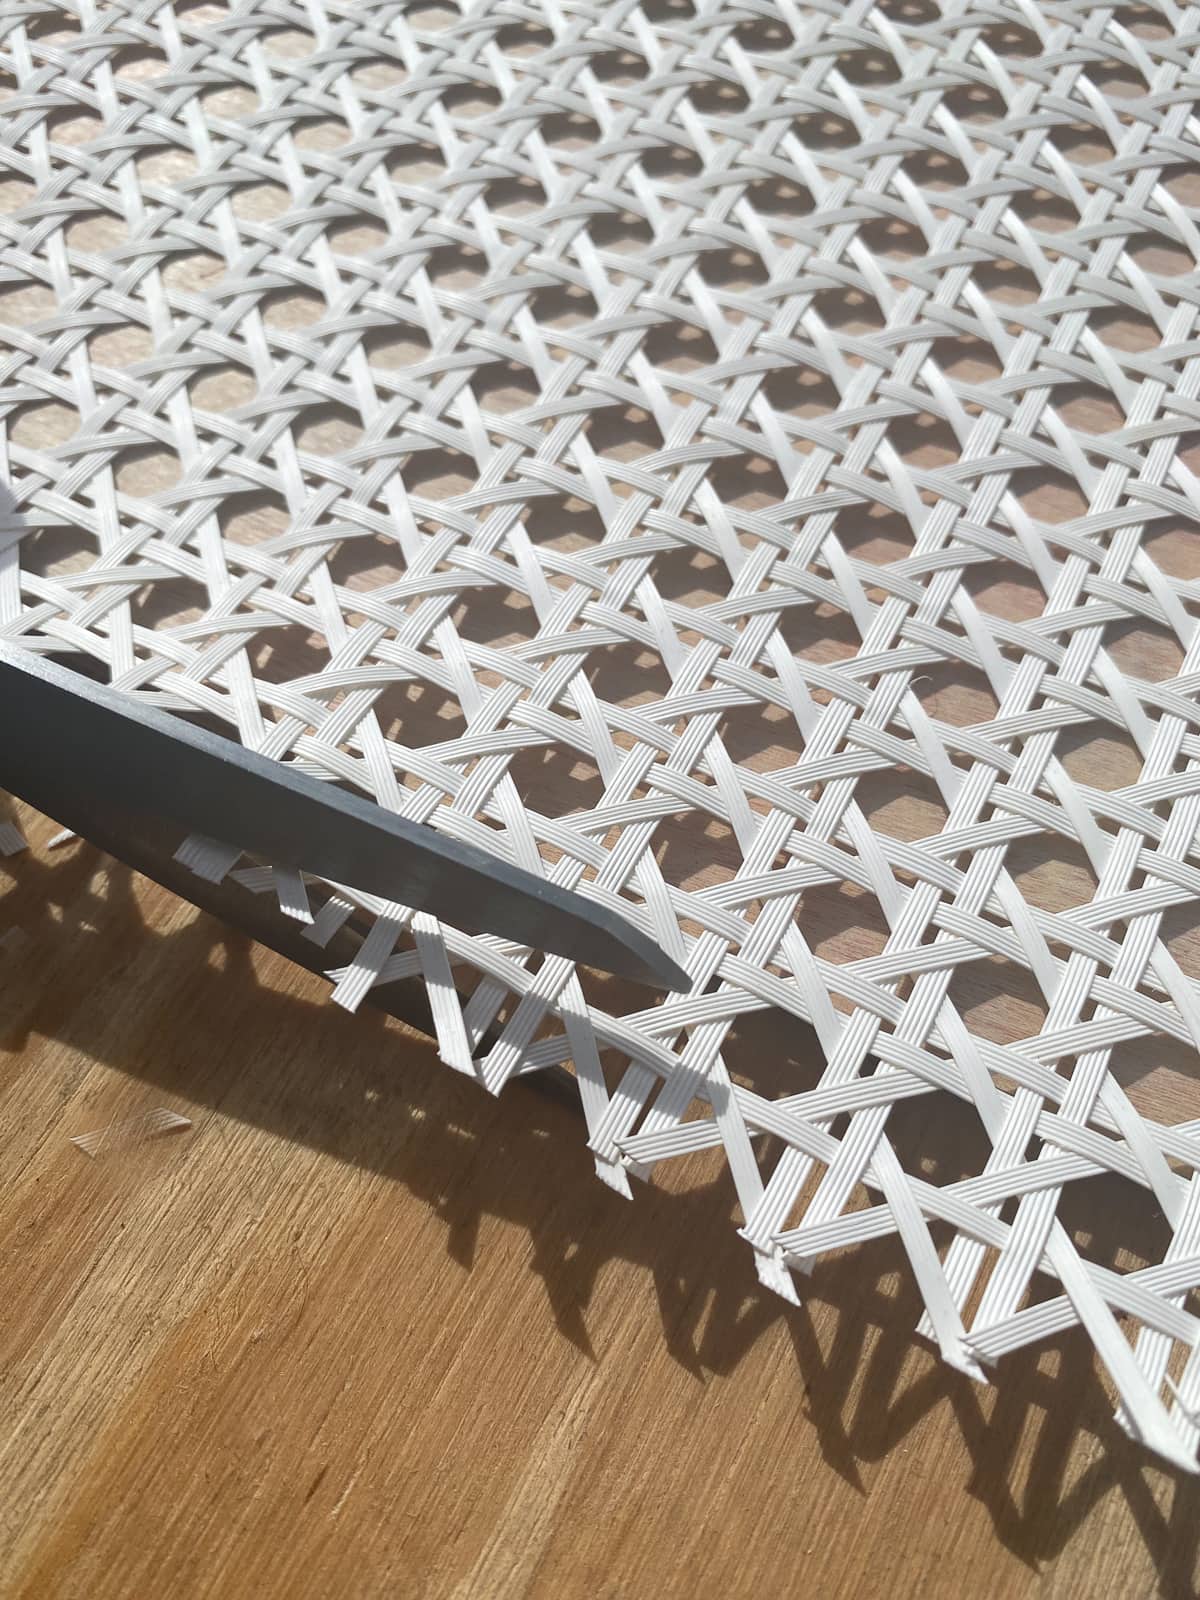
The plastic rattan comes in rolls which you’ll want to unroll. Since this is plastic, there is no need to soak as you would do with authentic rattan. Place the rattan on top of one panel, making sure that it full covers the panel. Then, cut to size. Next trim the side of the rattan so that the width is slightly less than 16″.
STEP 9 –
Spray adhesive glue onto the plywood using a light touch. Immediately affix the rattan in place. Spray glue dries very quickly!

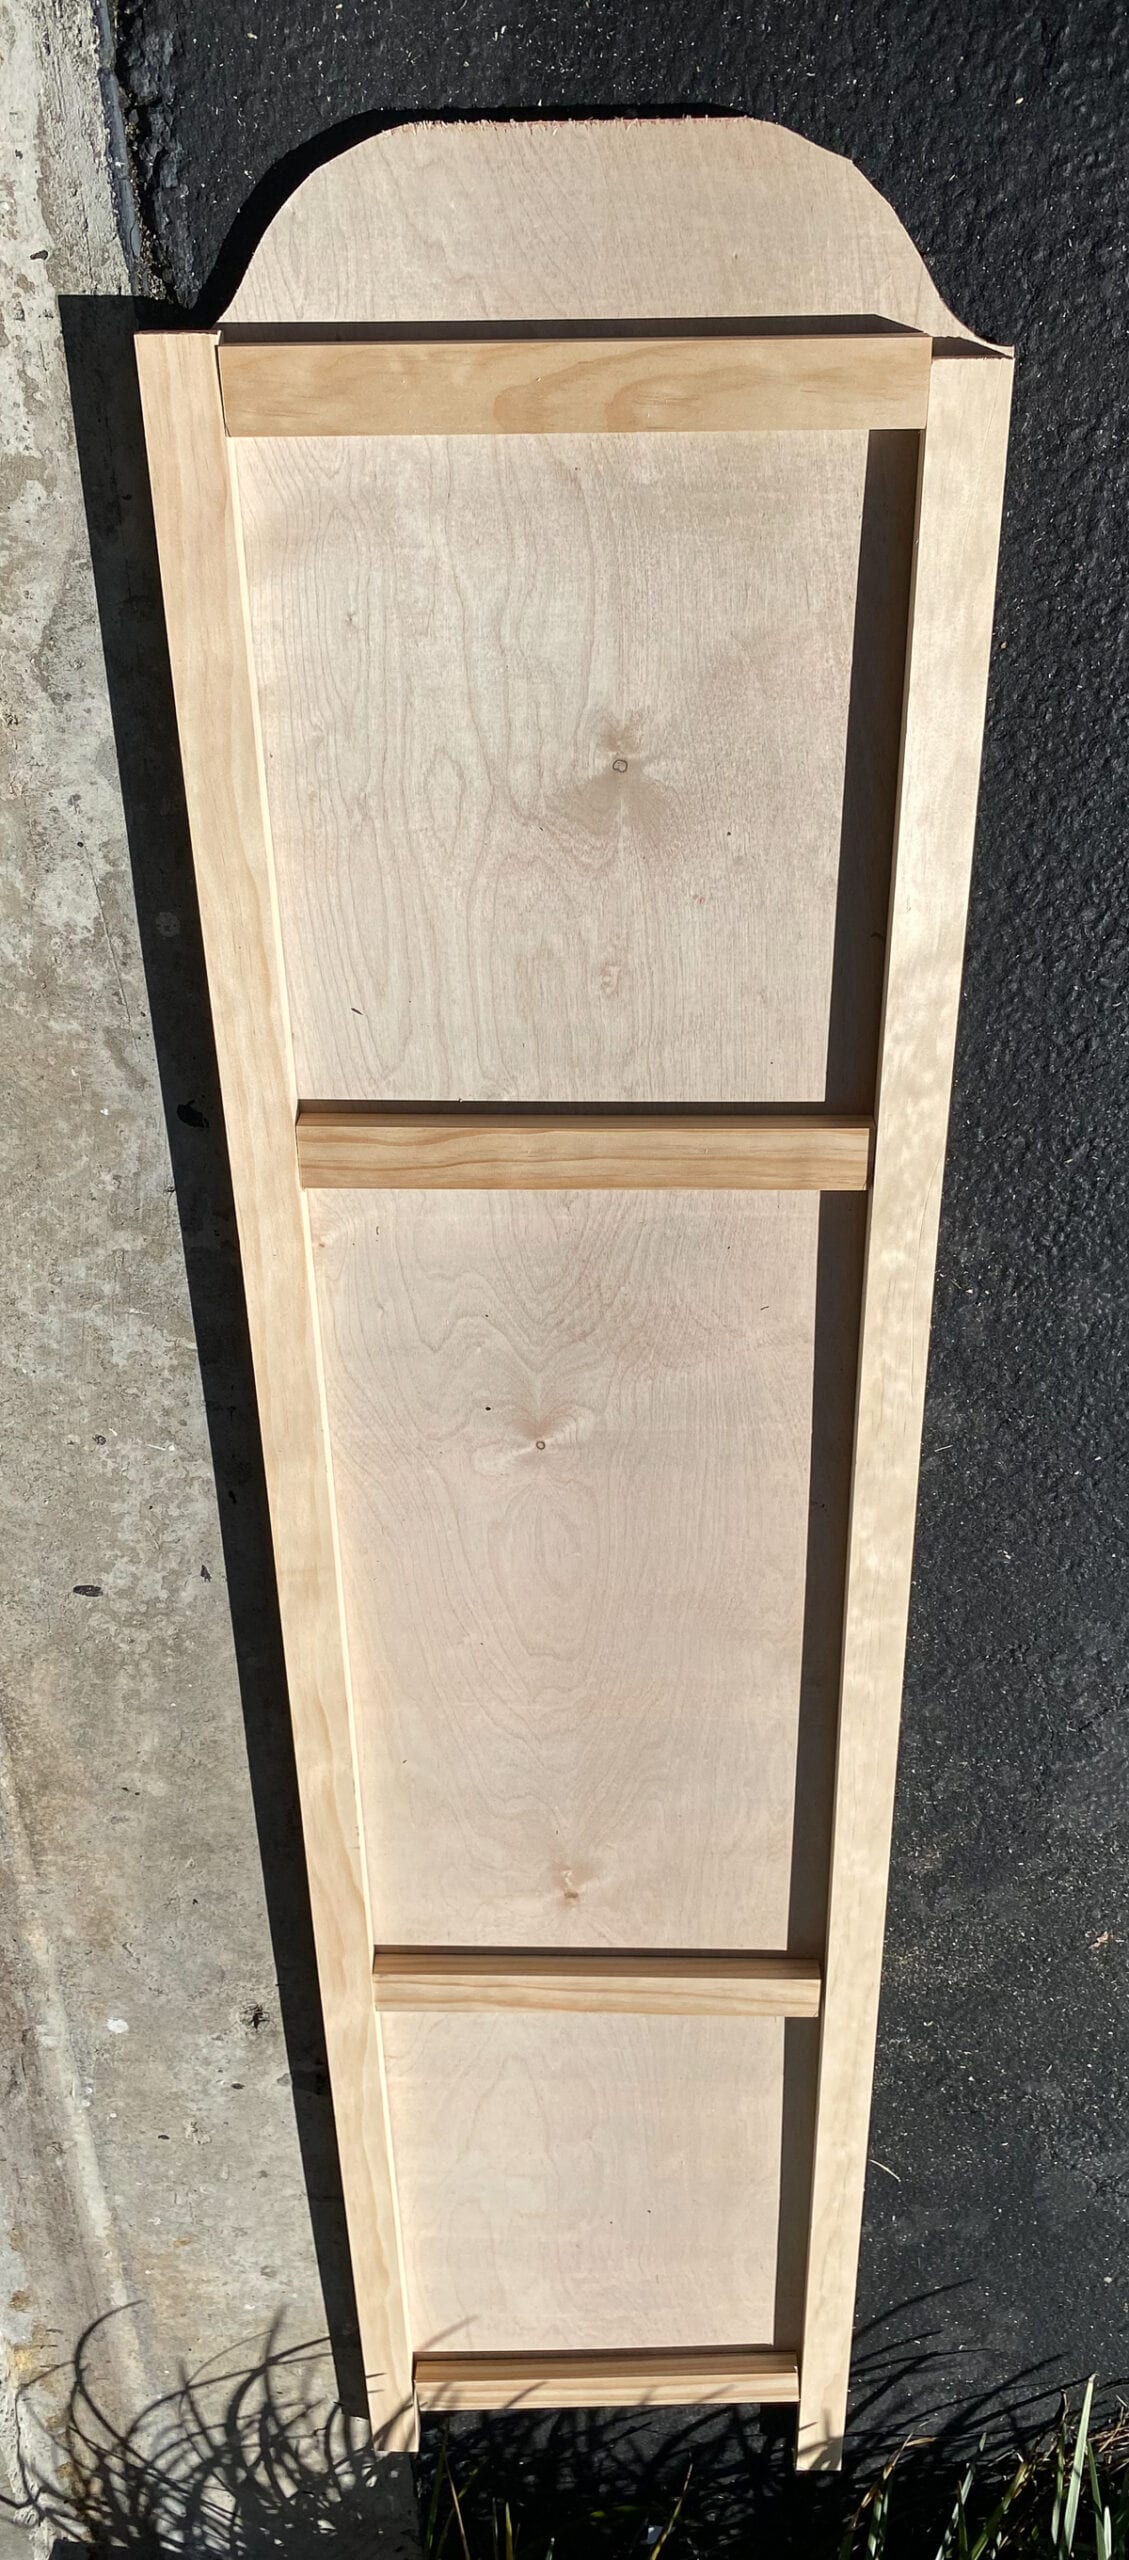
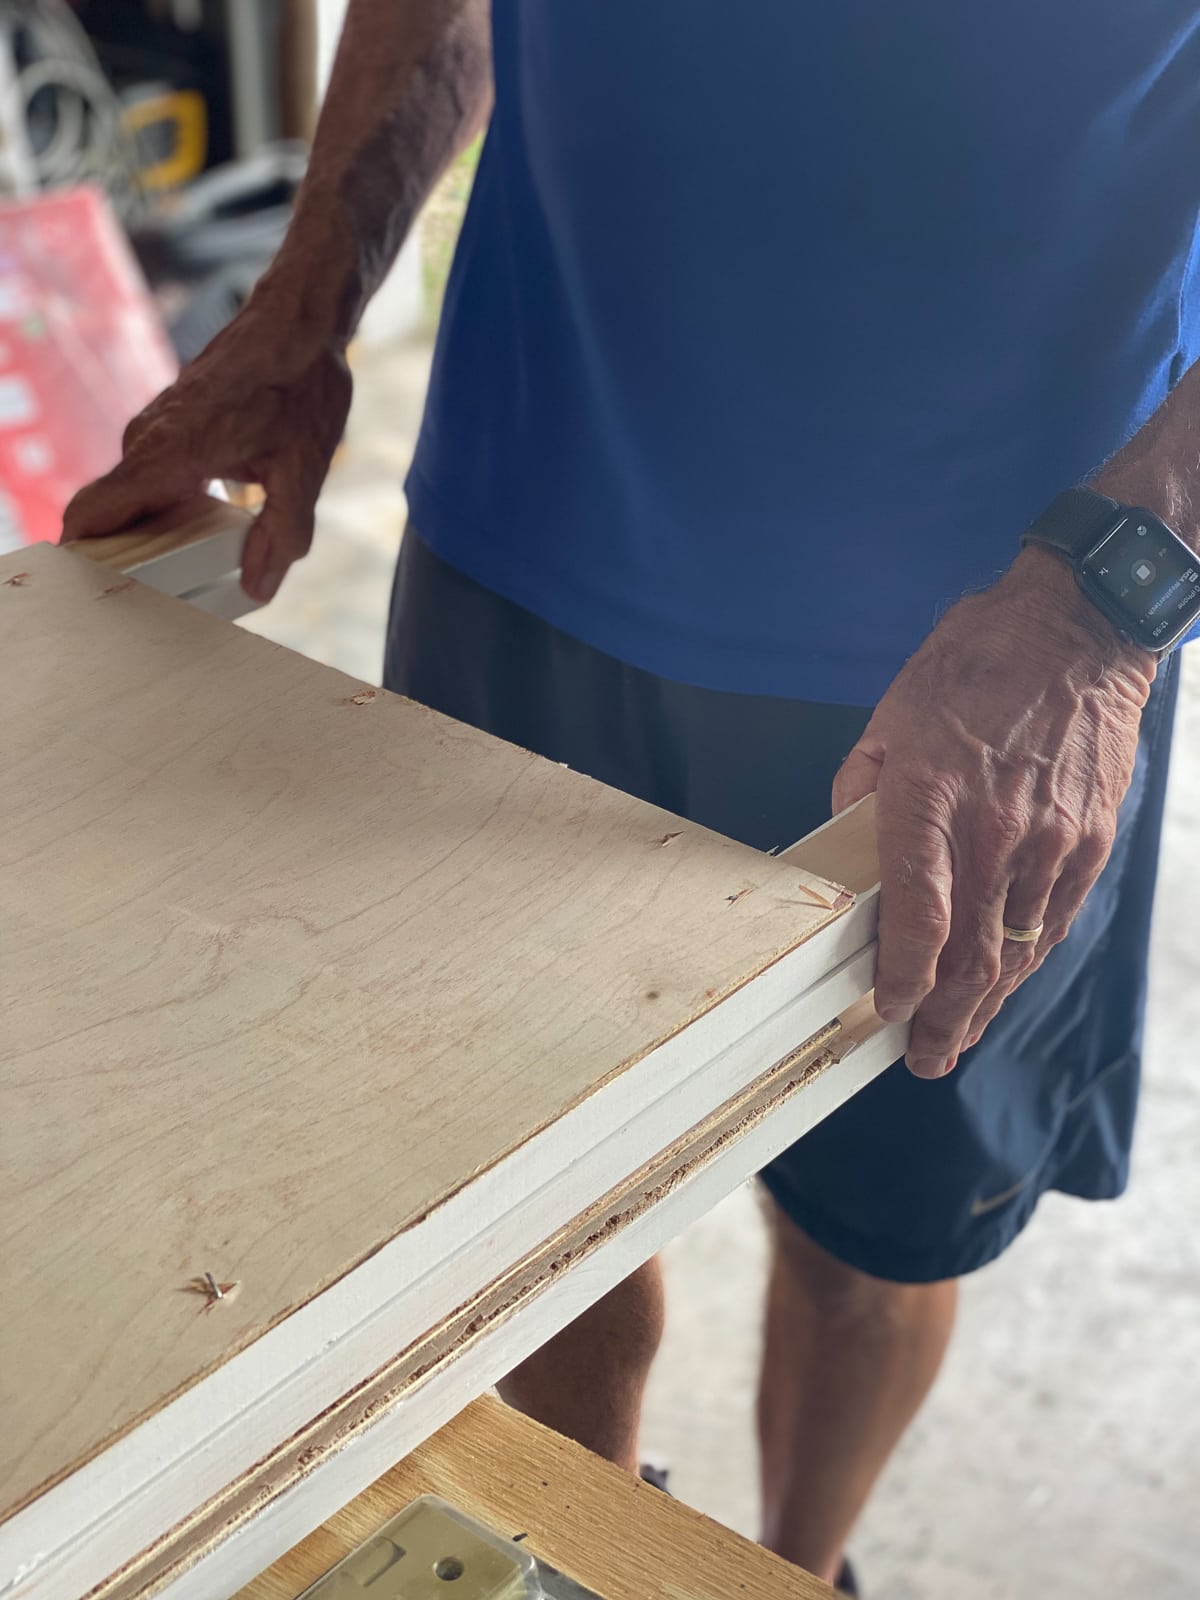
STEP 10 –
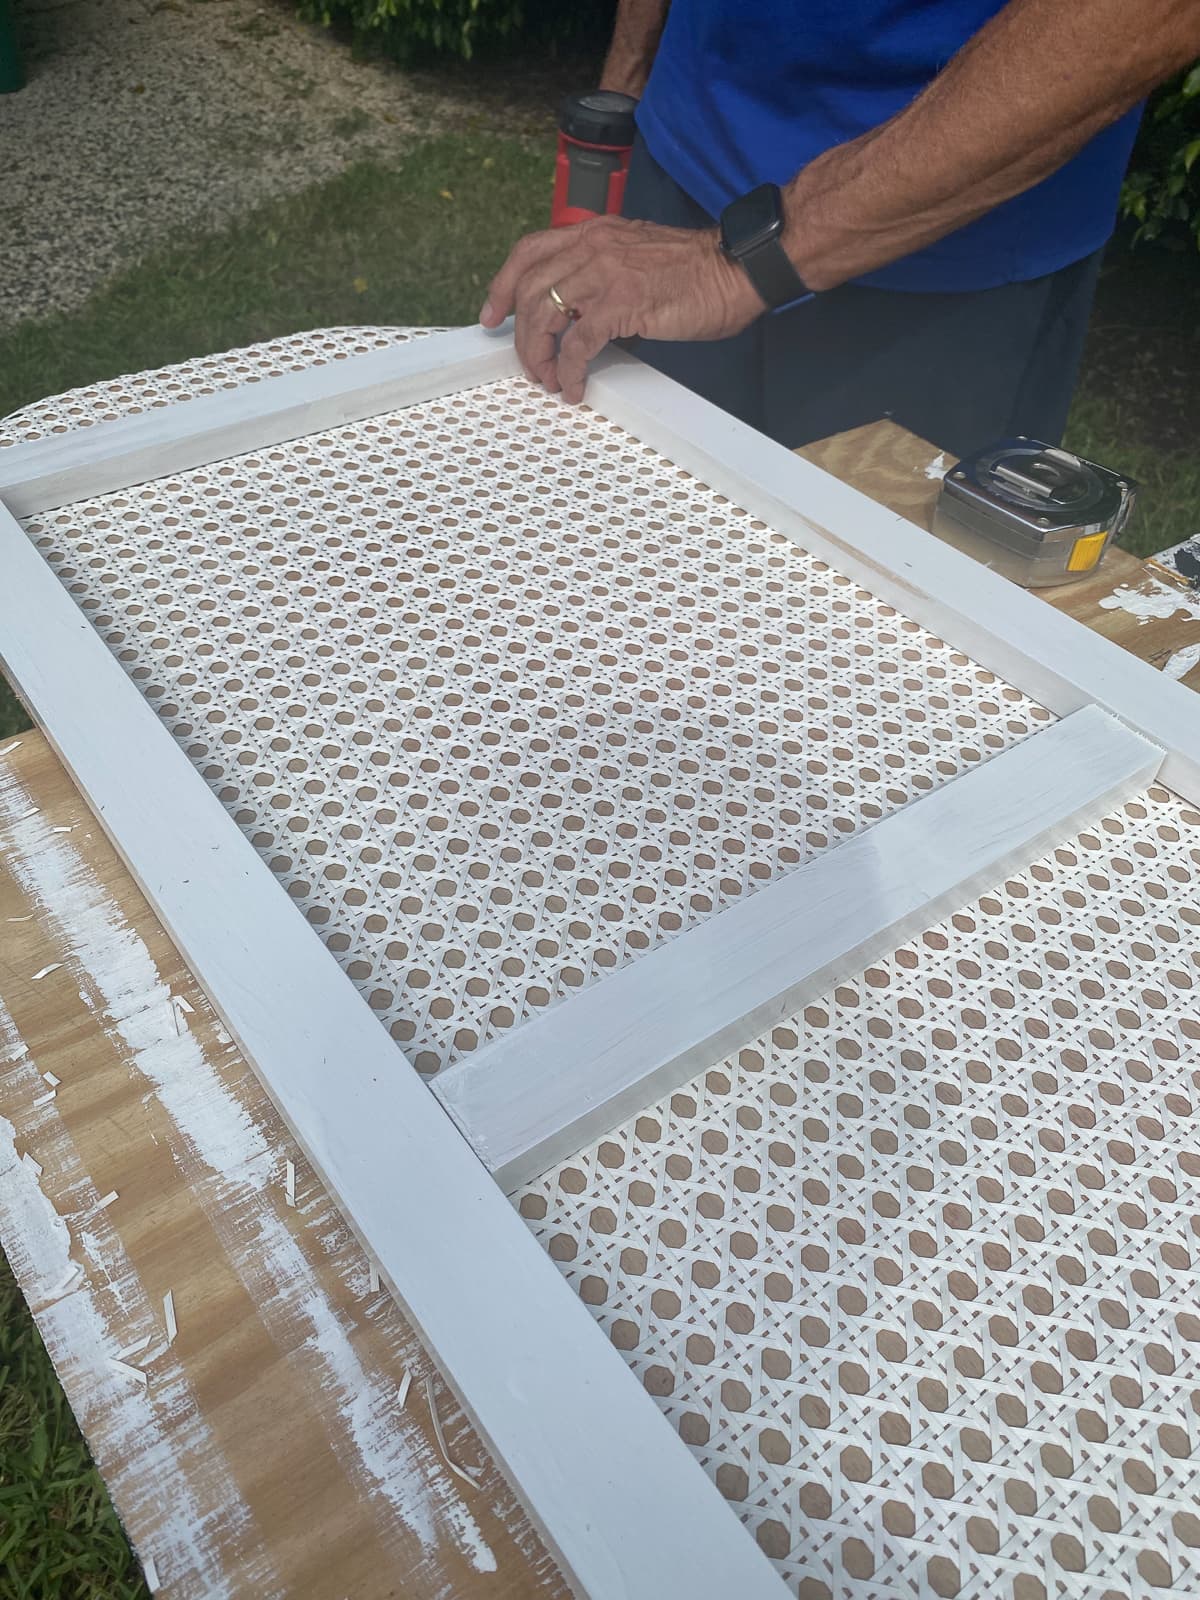
Place wood strips on top of the rattan, including the interior strips. The long strips should be placed flush with the edge of the plywood. The strips should be placed so that they align with the top end of the scroll design. They will then protrude approximately 4″ from the bottom of the panel on both sides. This will create elevated legs. Attach with a nail gun or small finish nails. The nails will protrude on the back side of the plywood. Use a hammer to bend them over. If you wish to finish off the back side, a piece of fabric can be applied.
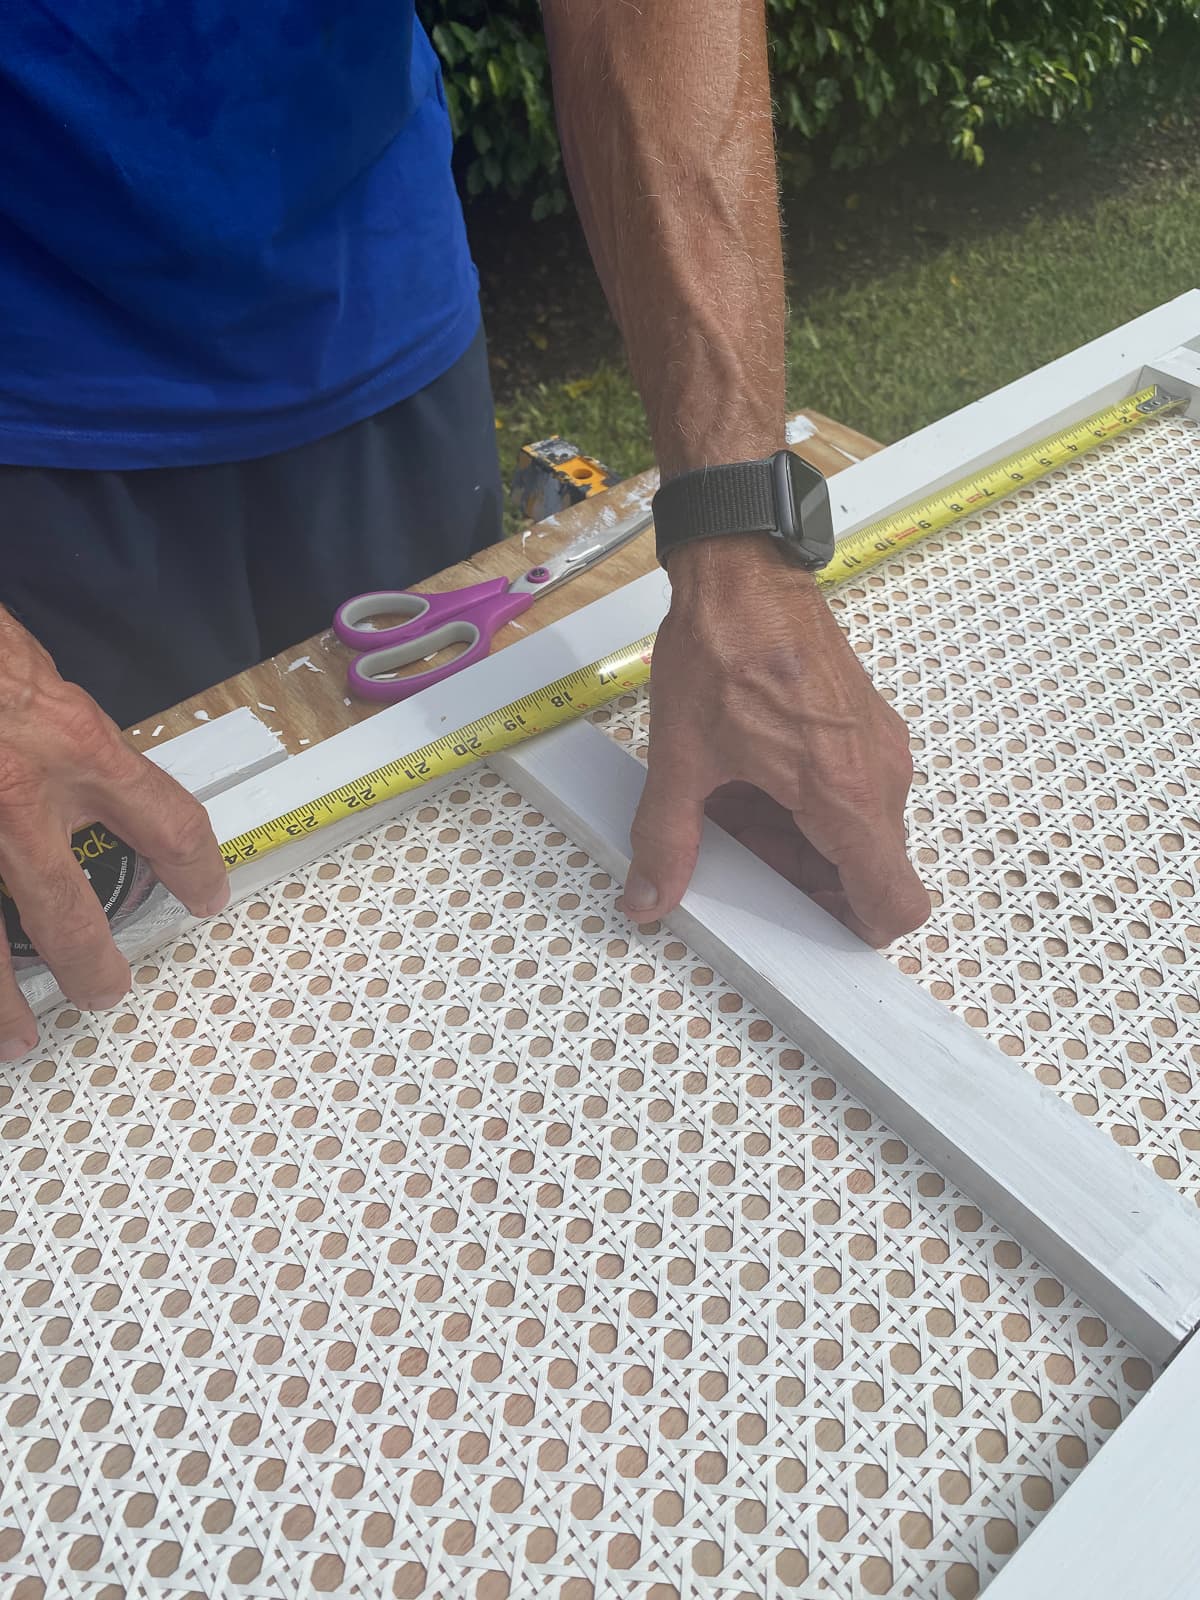
The small strips can be placed wherever you desire on your folding rattan privacy screen. We placed our 18″ from the top and bottom. Check your measurements and then nail in place with a nail gun.
Follow this procedure two more times to create a total of 3 panels.
STEP 11 –
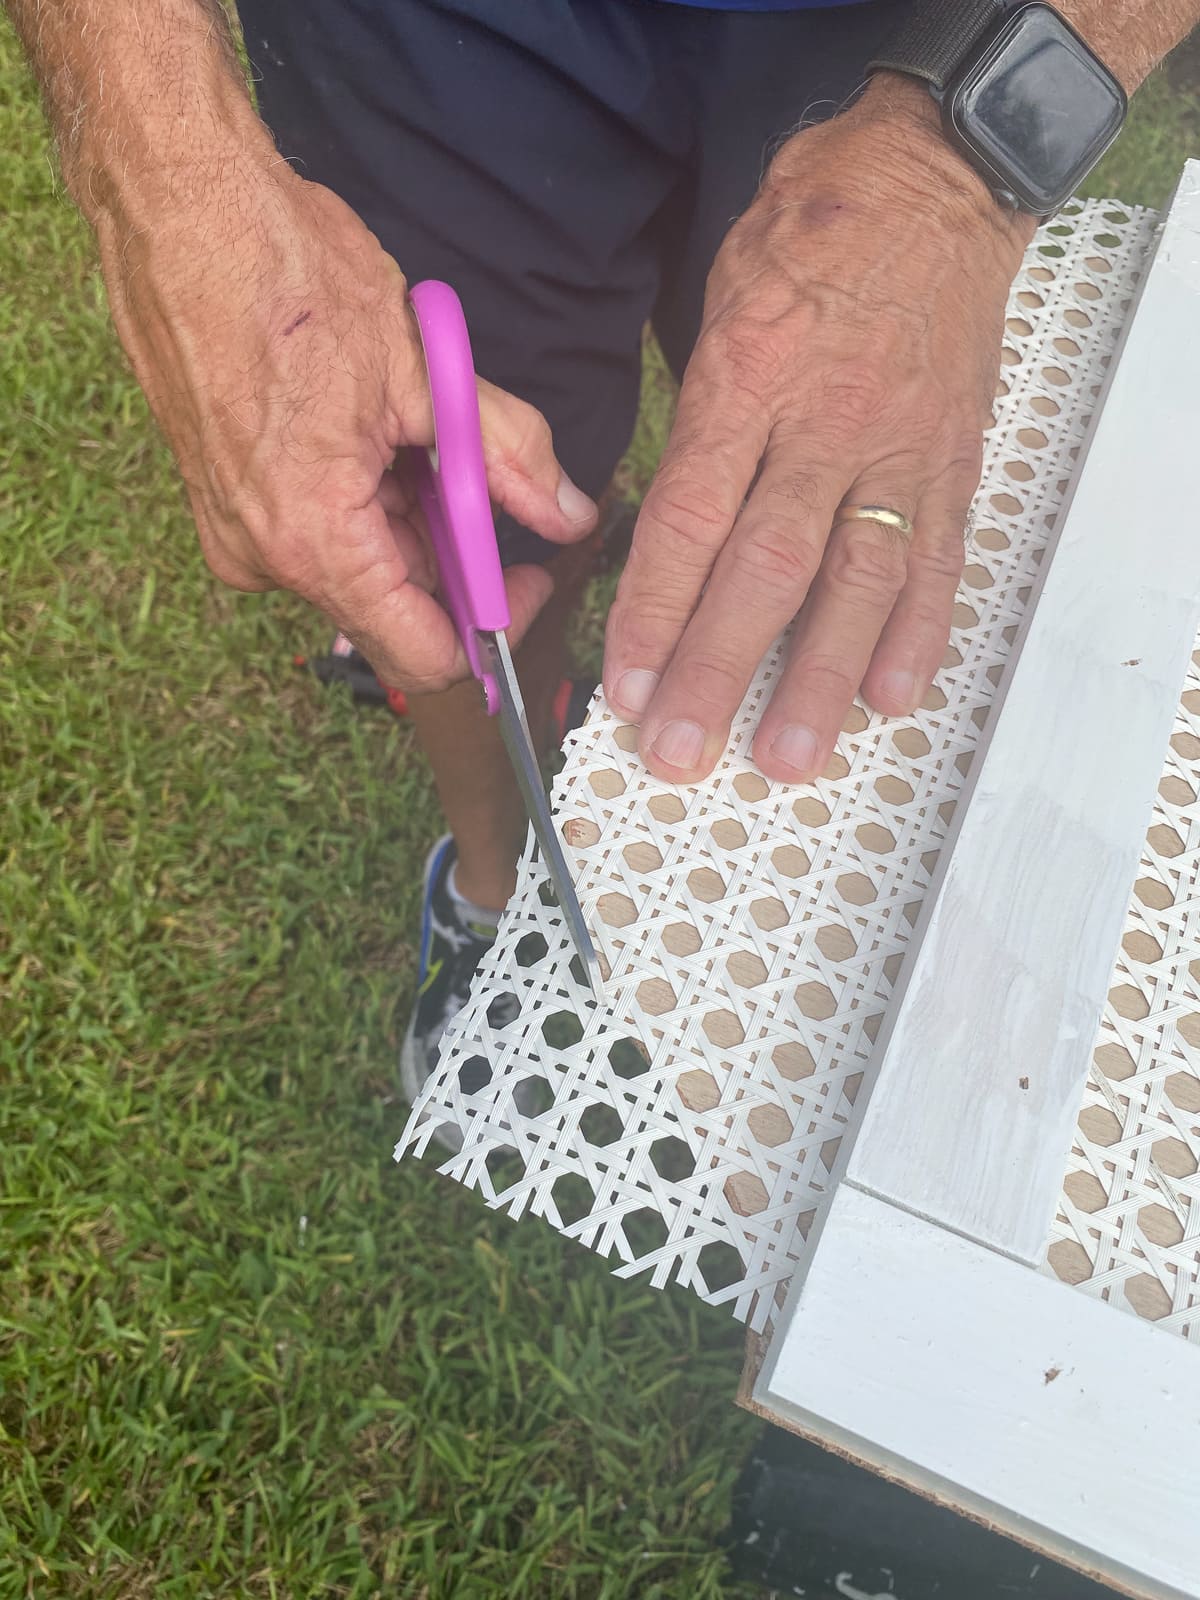
Now you’ll trim the top of the rattan to match the edge of the scrolled panel.
STEP 12 –
Next using the National Hardware 3″ Door Hinges (Satin Brass) and a screw gun, take 2 panels face them back to back. Attach with a screw gun with the screws provided in the package.
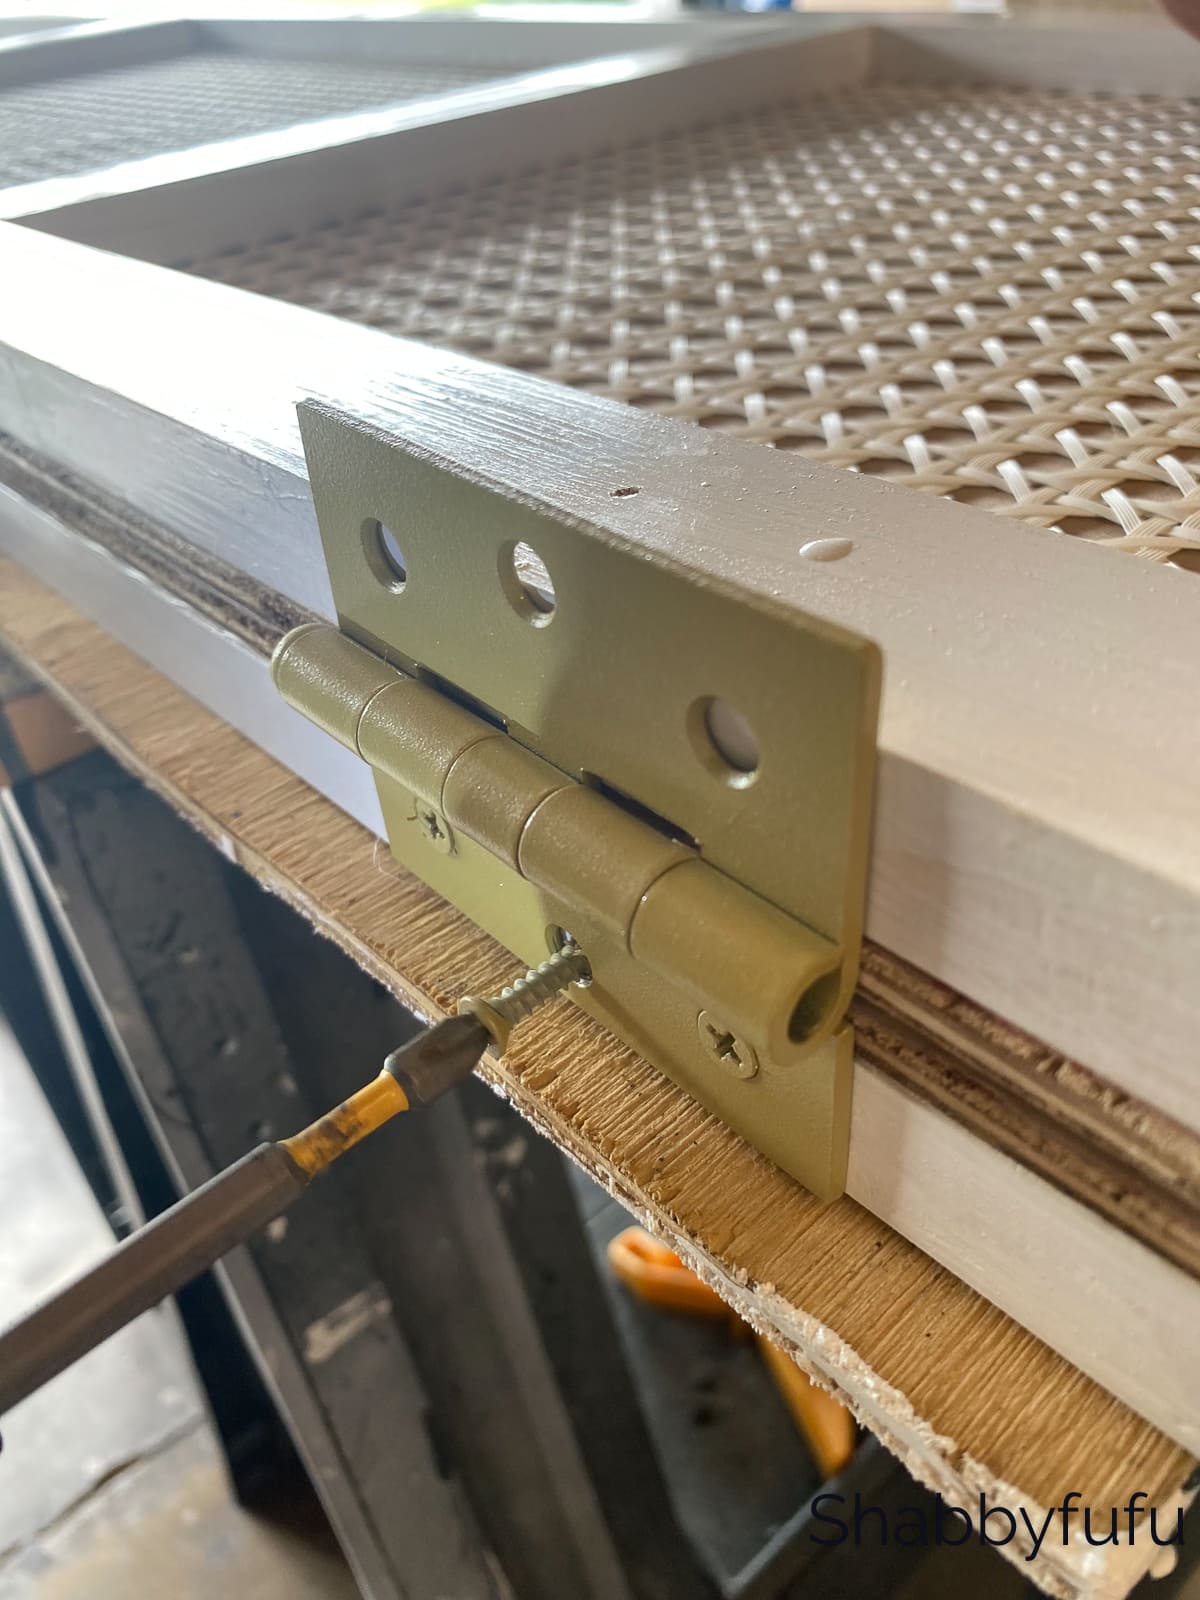
STEP 13 –
Take the 3rd panel and place it face up. Attach using the National Hardware 3″ Door Hinges on the opposite side.
STEP 14 –
To cover the raw edges of the rattan, add some decorative ribbon or rope with a hot glue gun.
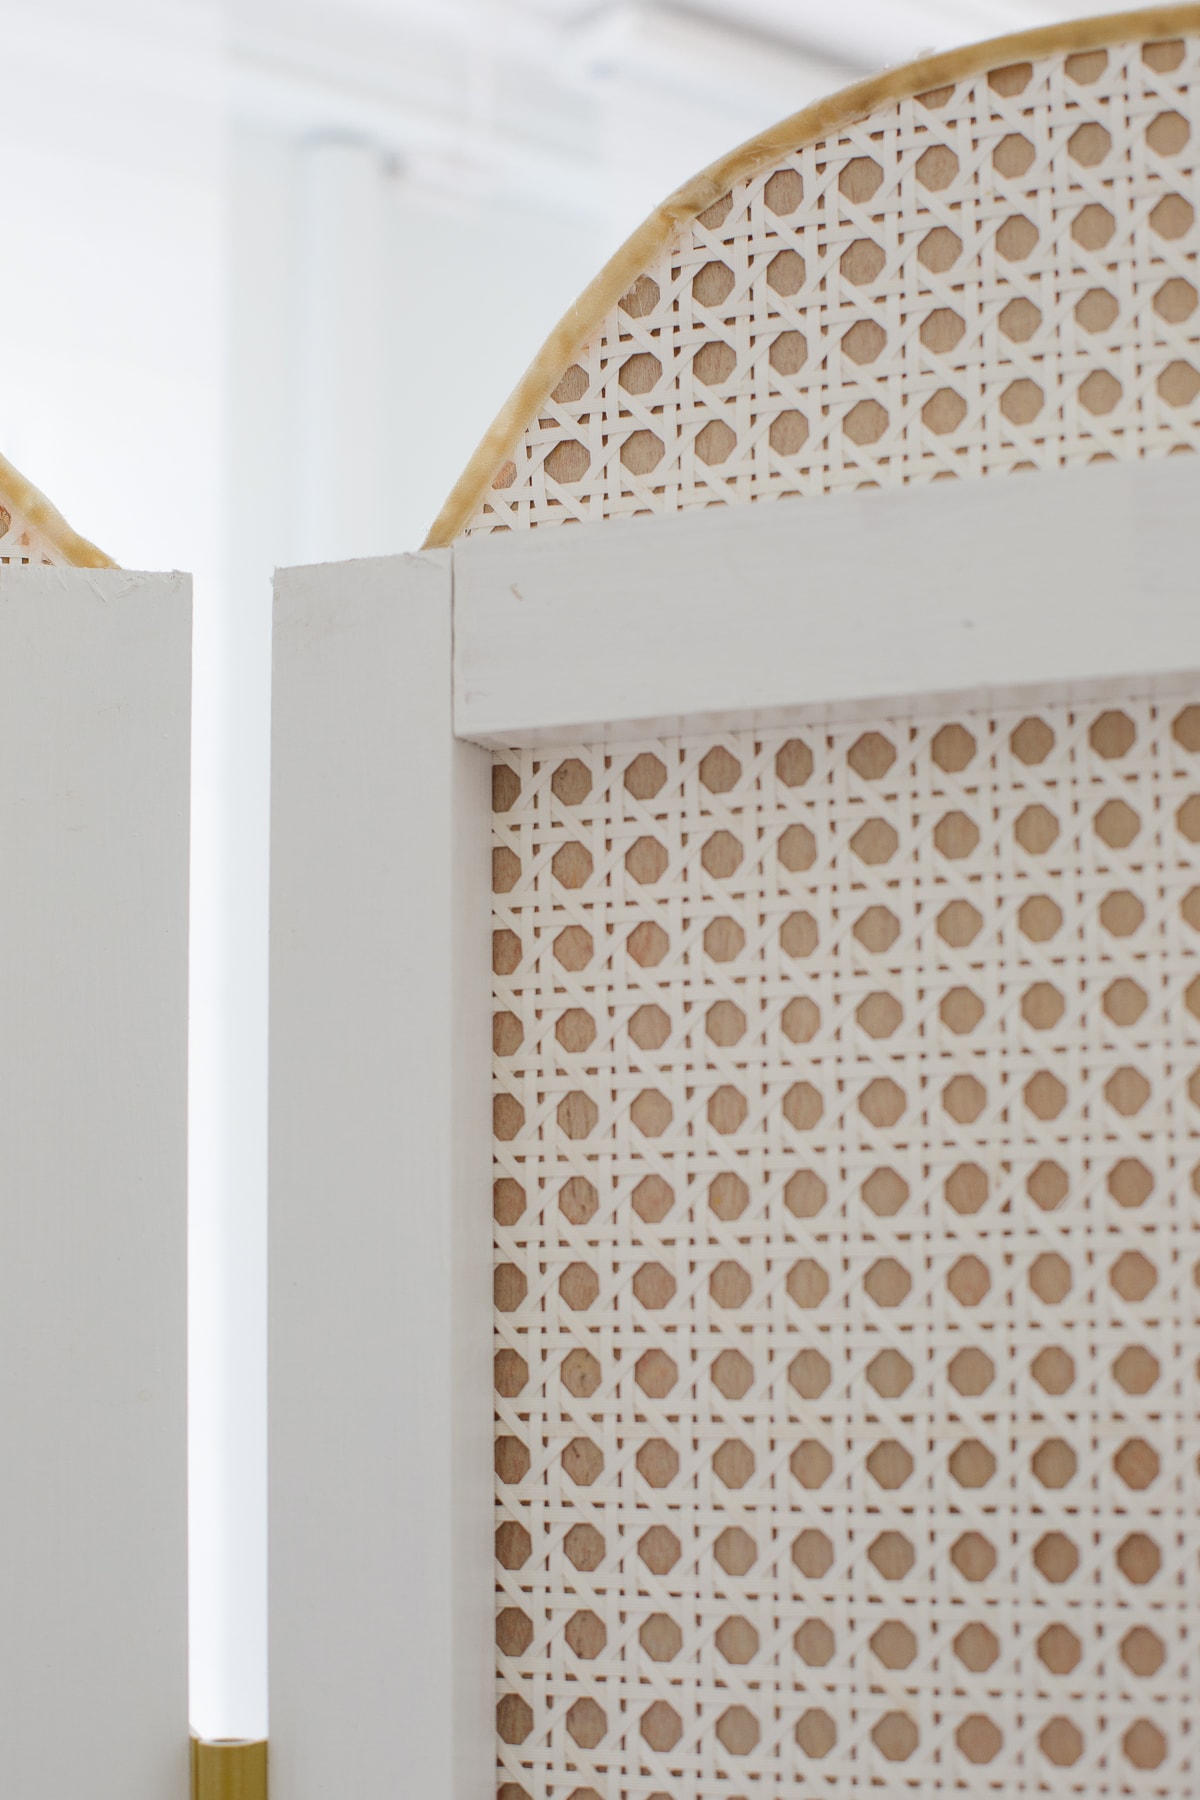
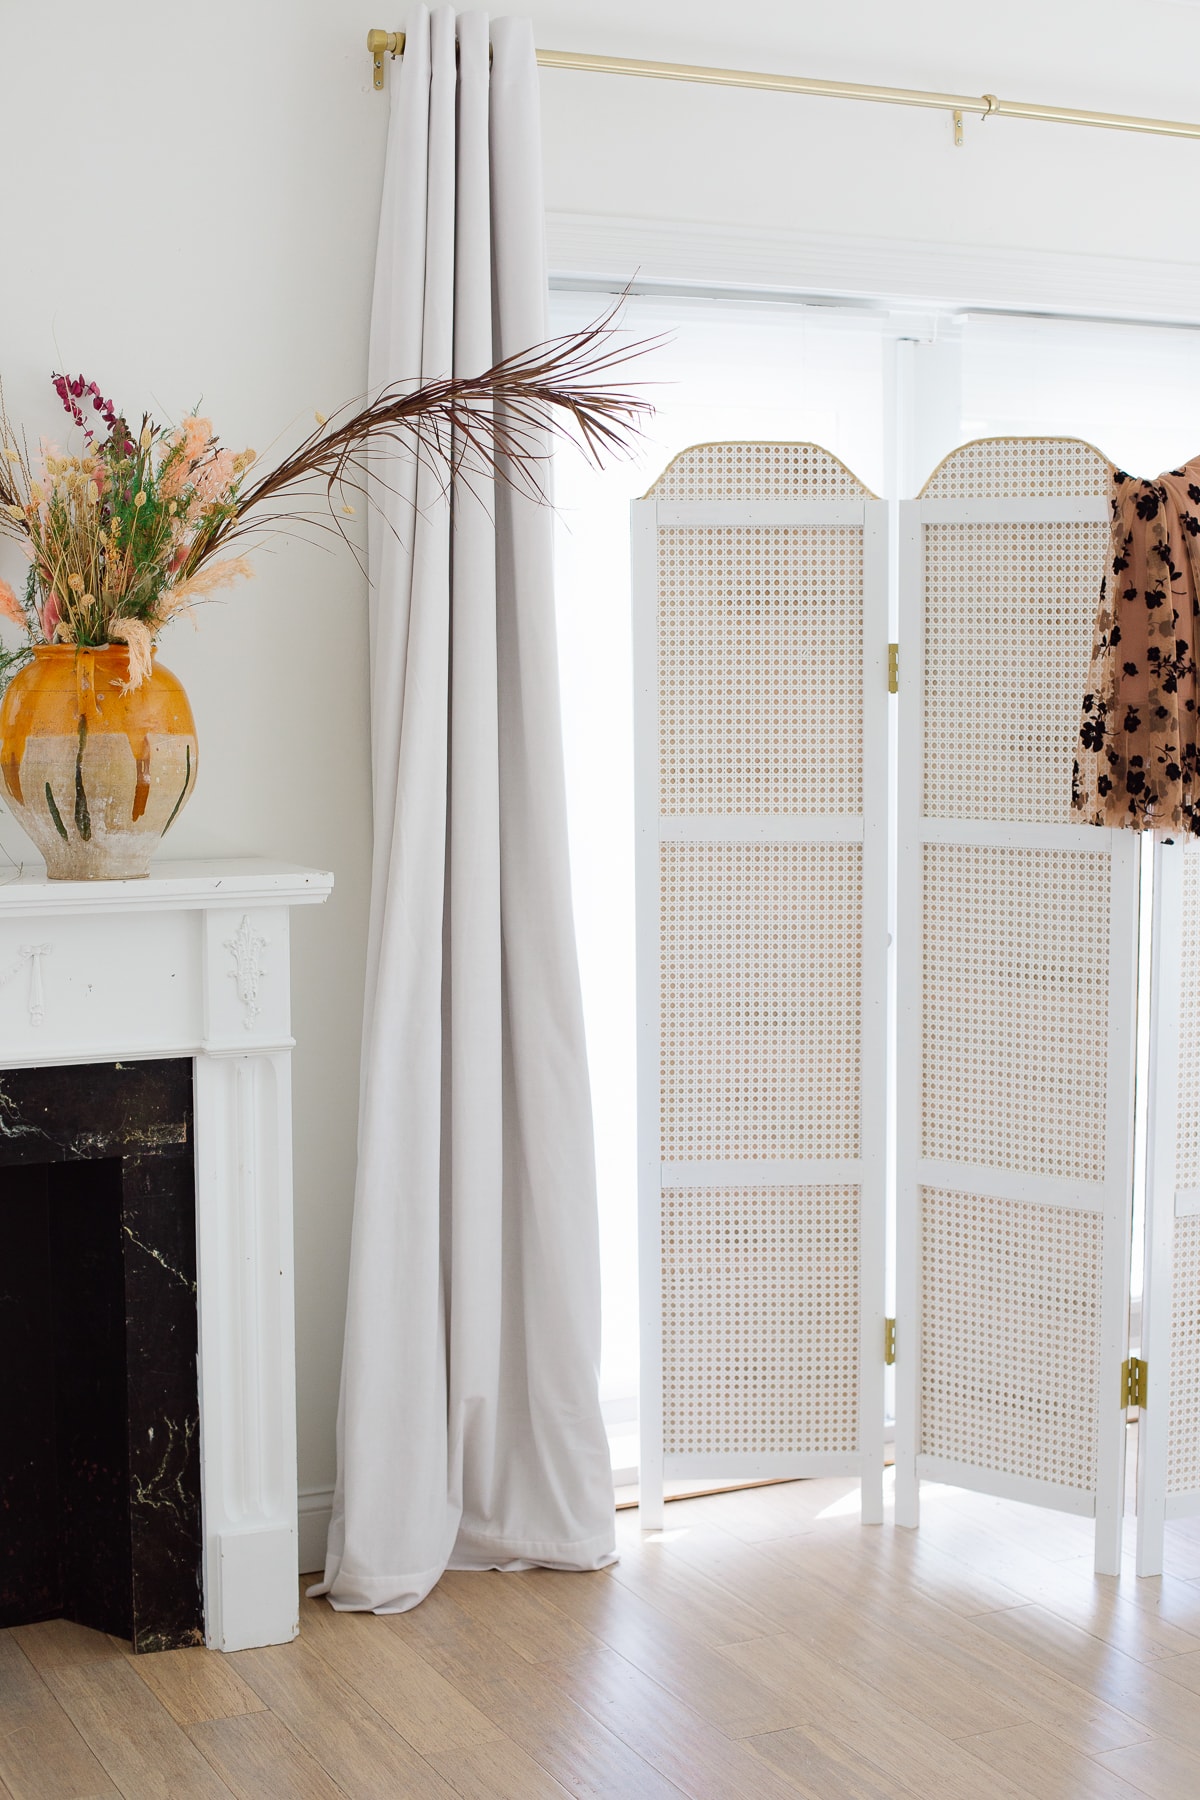
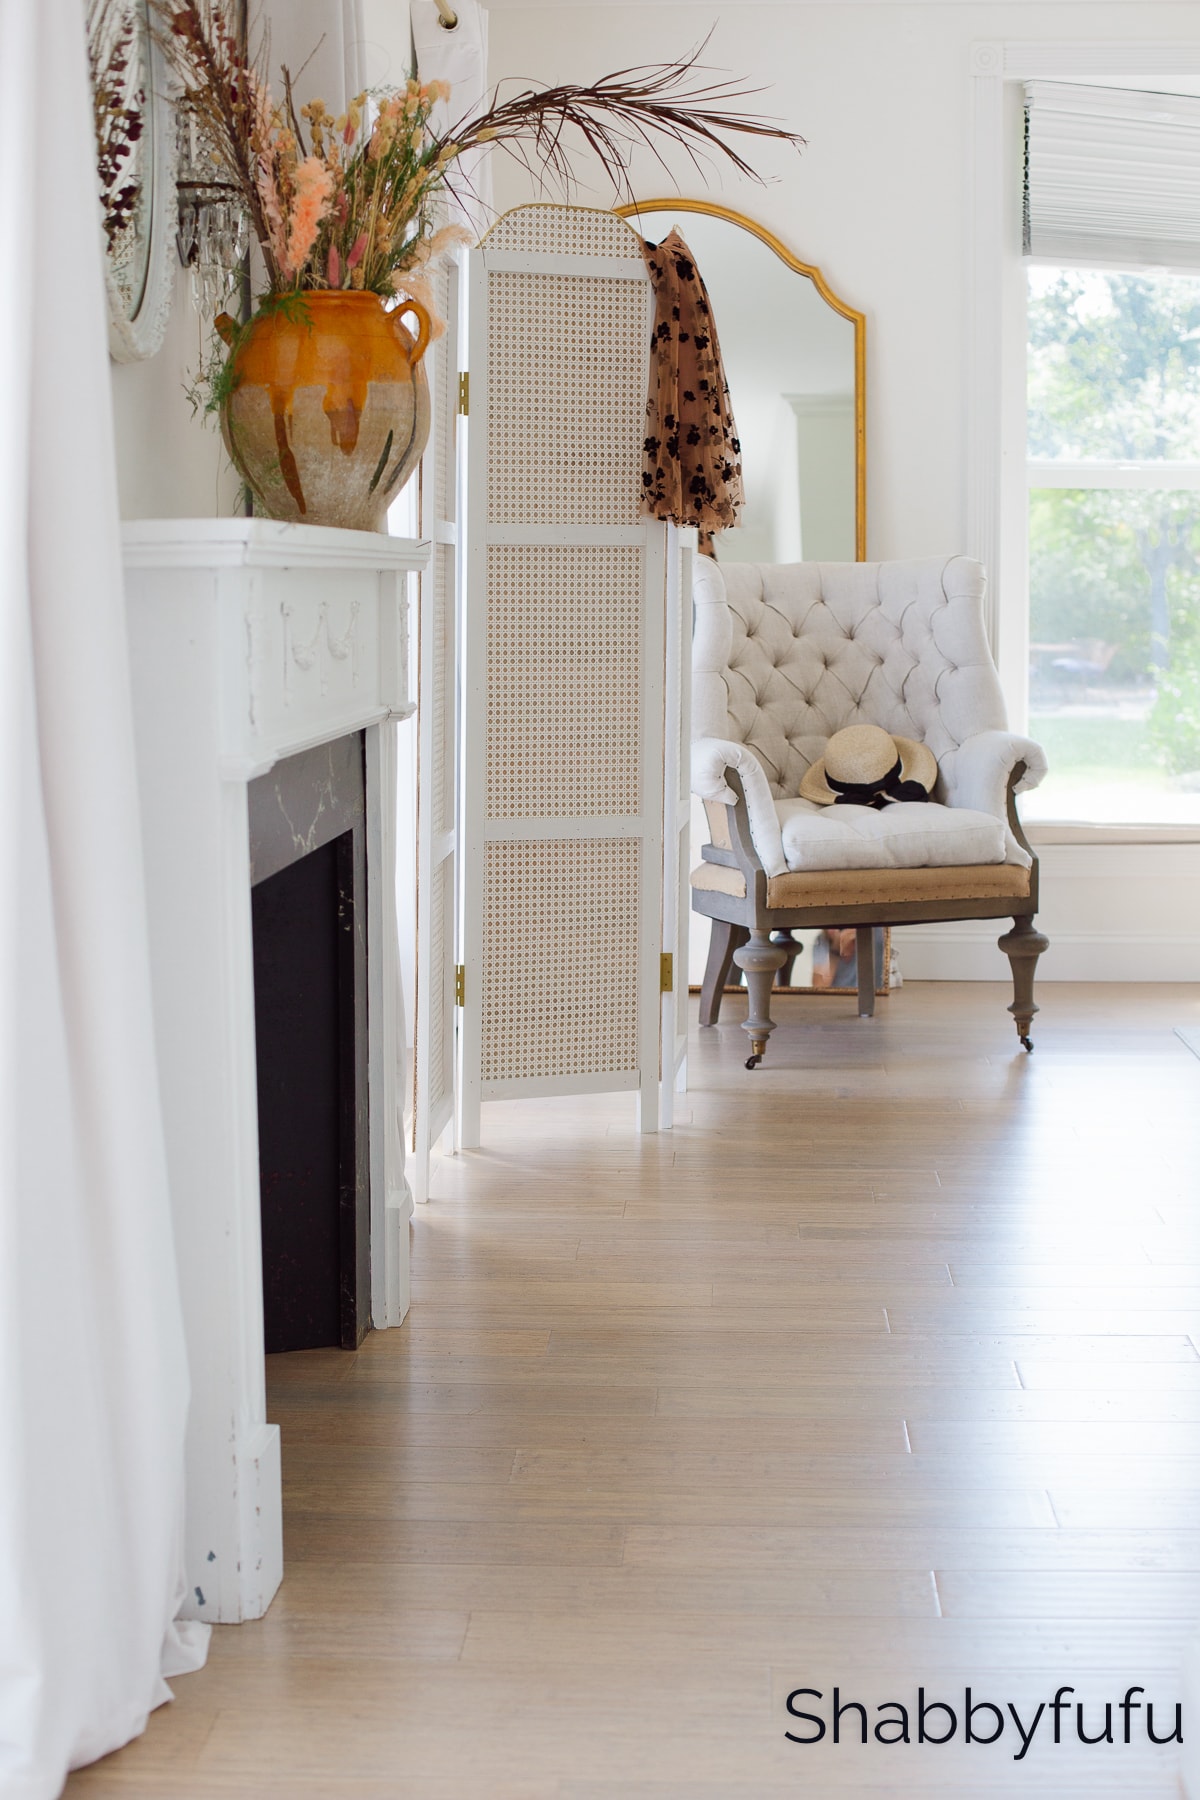
The Finished Folding Rattan Privacy Screen!
In a corner of our primary bedroom where I plan on placing a clothing rack for extra storage. This way I don’t have to look at it and can hide the area for a serene look.
I may move it to my home office/guest room to store some of my styling stashes!

This project cost us around $265 in total. Considering that these rattan screens can often go for a lot more in designer stores online I’m thrilled to have it! A project like this one could also be made using door panels in a similar style for less. Will you be making one?
If you enjoyed this post, check out the How To Make A Lattice Screen Diy
NOT READY TO MAKE THIS YET? PIN IT FOR LATER!
What a beautiful screen! Once I get my home built love to try making it. Your husband did a great job.
Thank you so much Maria! Actually I designed it and we built it together, but I had to take pics so you don’t see much of my hands lol
Sooo pretty!
Thank you Susan, perfect for our FL decor!
Janet, you and your husband are a great team, working and designing together you are an amazing pair for sure !! Thank you for sharing your knowledge with us. I really love your website, so informative and so very beautiful too. Jayne
Jayne, you truly made my week…thank you so much!