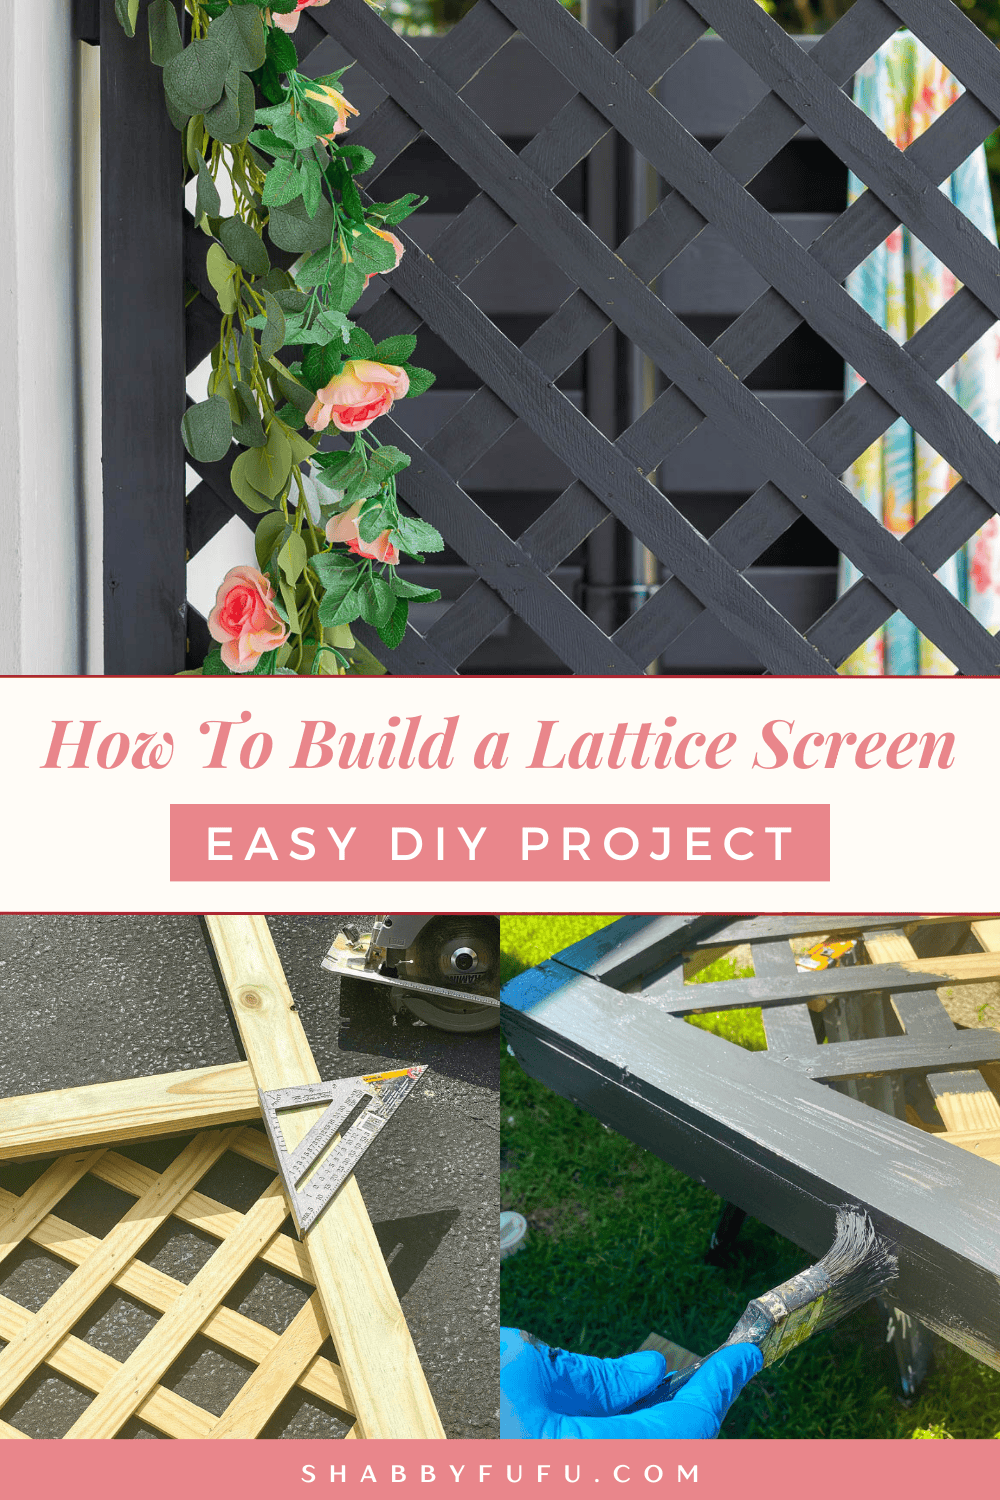
How To Build A Lattice Screen – Easy DIY Project
This post may contain affiliate links. For more information, please see our disclosure policy.
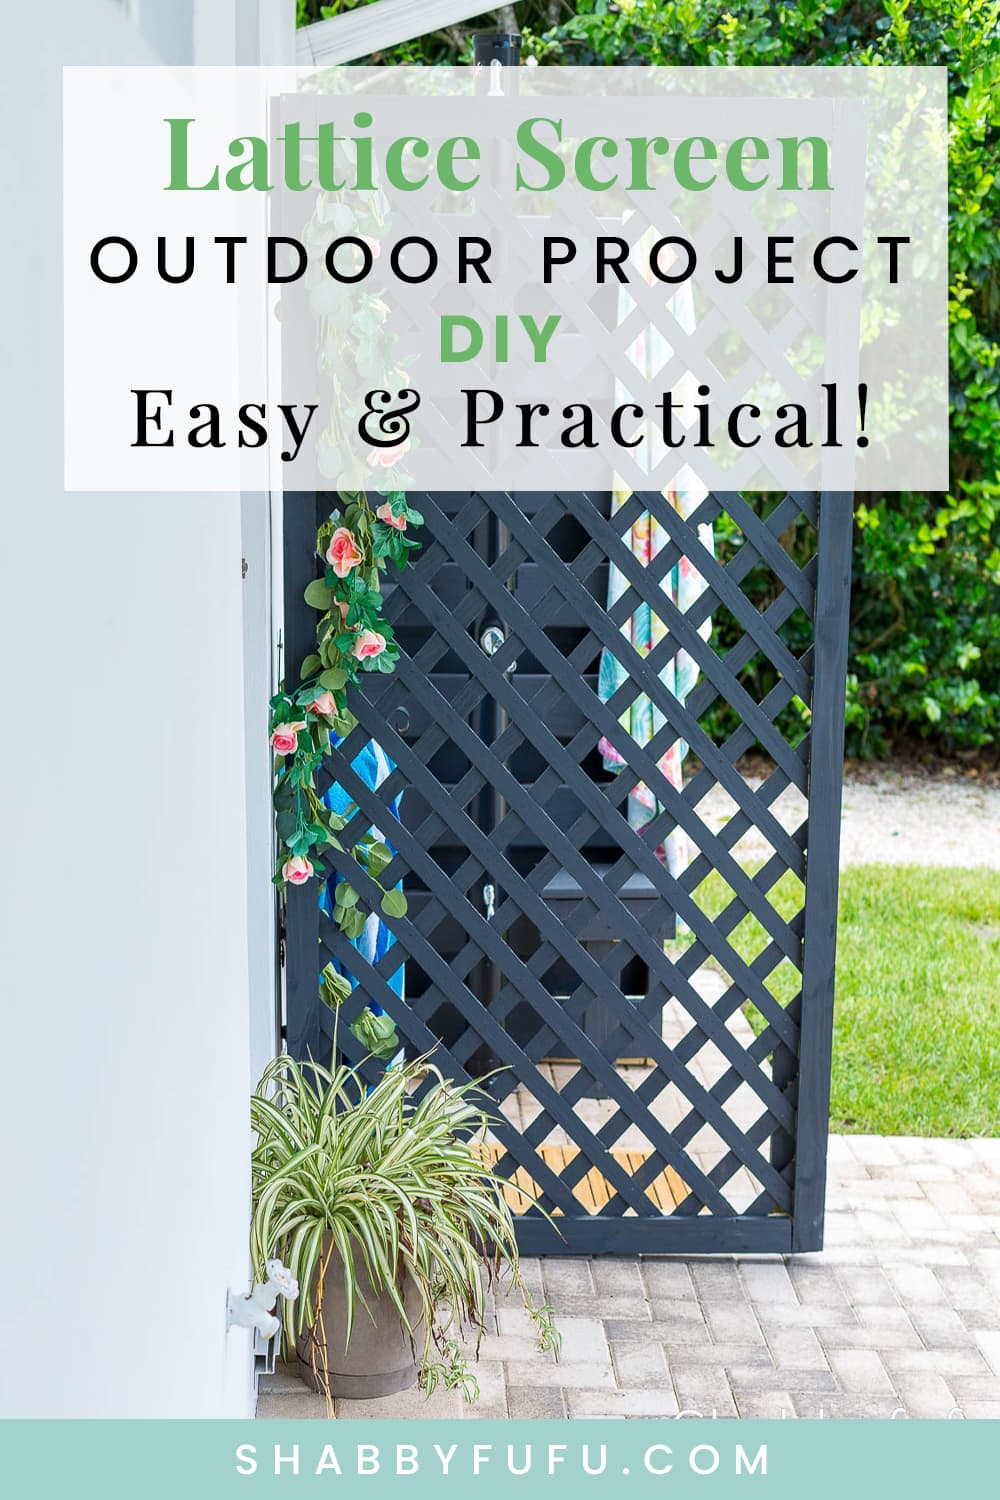
Do you have something to hide? In this post you’ll learn how to build a lattice screen! Hide some of the items outside of your home that perhaps aren’t the most attractive to look at. This is an easy to do DIY project, so let’s get into it!
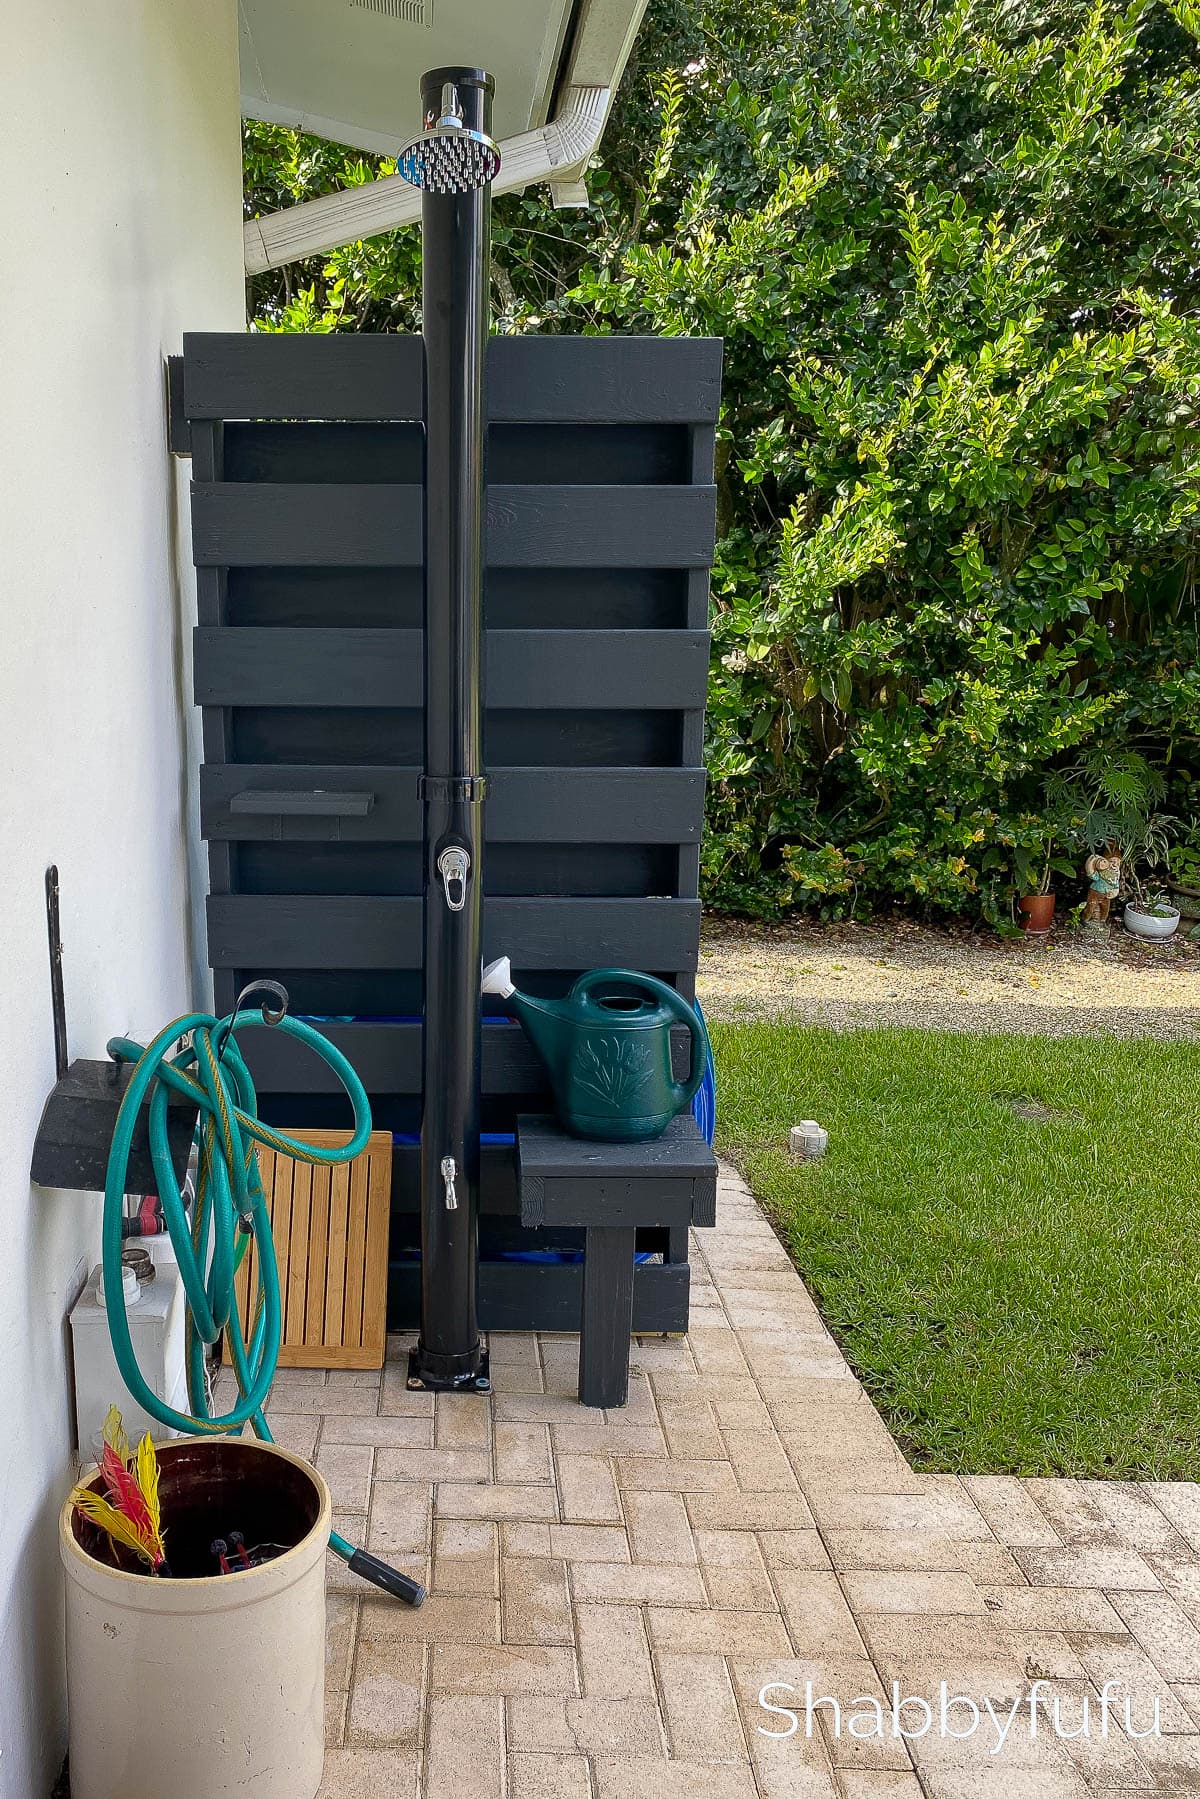
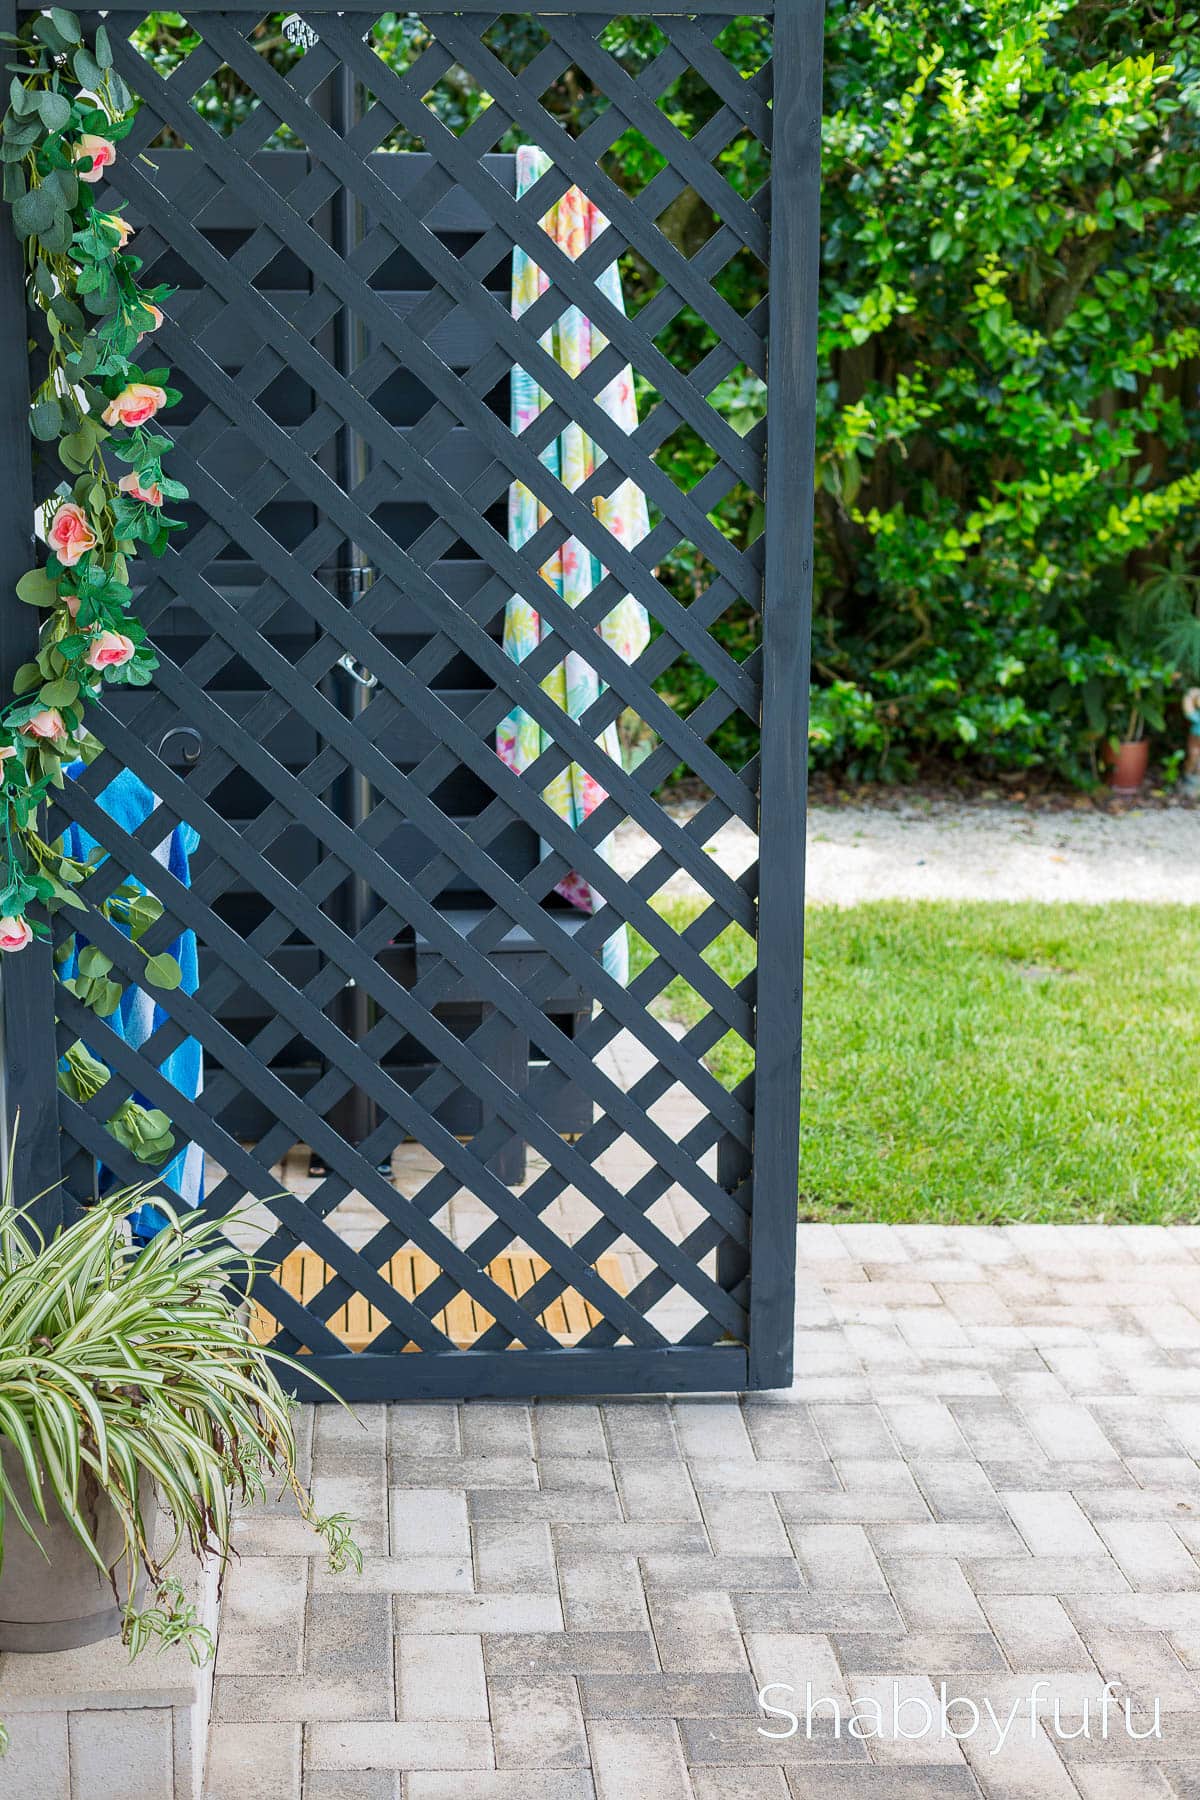
We all have things like trash cans, air conditioning units and just general outdoor “stuff”! In our case we recently built an outdoor shower (see this post) and decided to shield it from the patio view. That’s the beauty of a project like this one. It’s quite versatile, relatively inexpensive and a beginner level woodworking project.
This is a paid post in behalf of Spectrum Brands but the work and opinions expressed here are my own. As always, use the proper care and safety equipment when working with power tools.
We decided to camouflage the outdoor shower for several reasons. One reason was for the sake of privacy. Secondly, while sitting out on the patio to relax we didn’t want to look at the shower and all of the necessities that we store around it!
Build A Lattice Screen – DIY
MATERIALS:
- One – sheet of 4′ x 8′ lattice
- Six – 1 x 3 – 8′ pressure treated pine
- Four – 6′ pressure treated fill-it strips
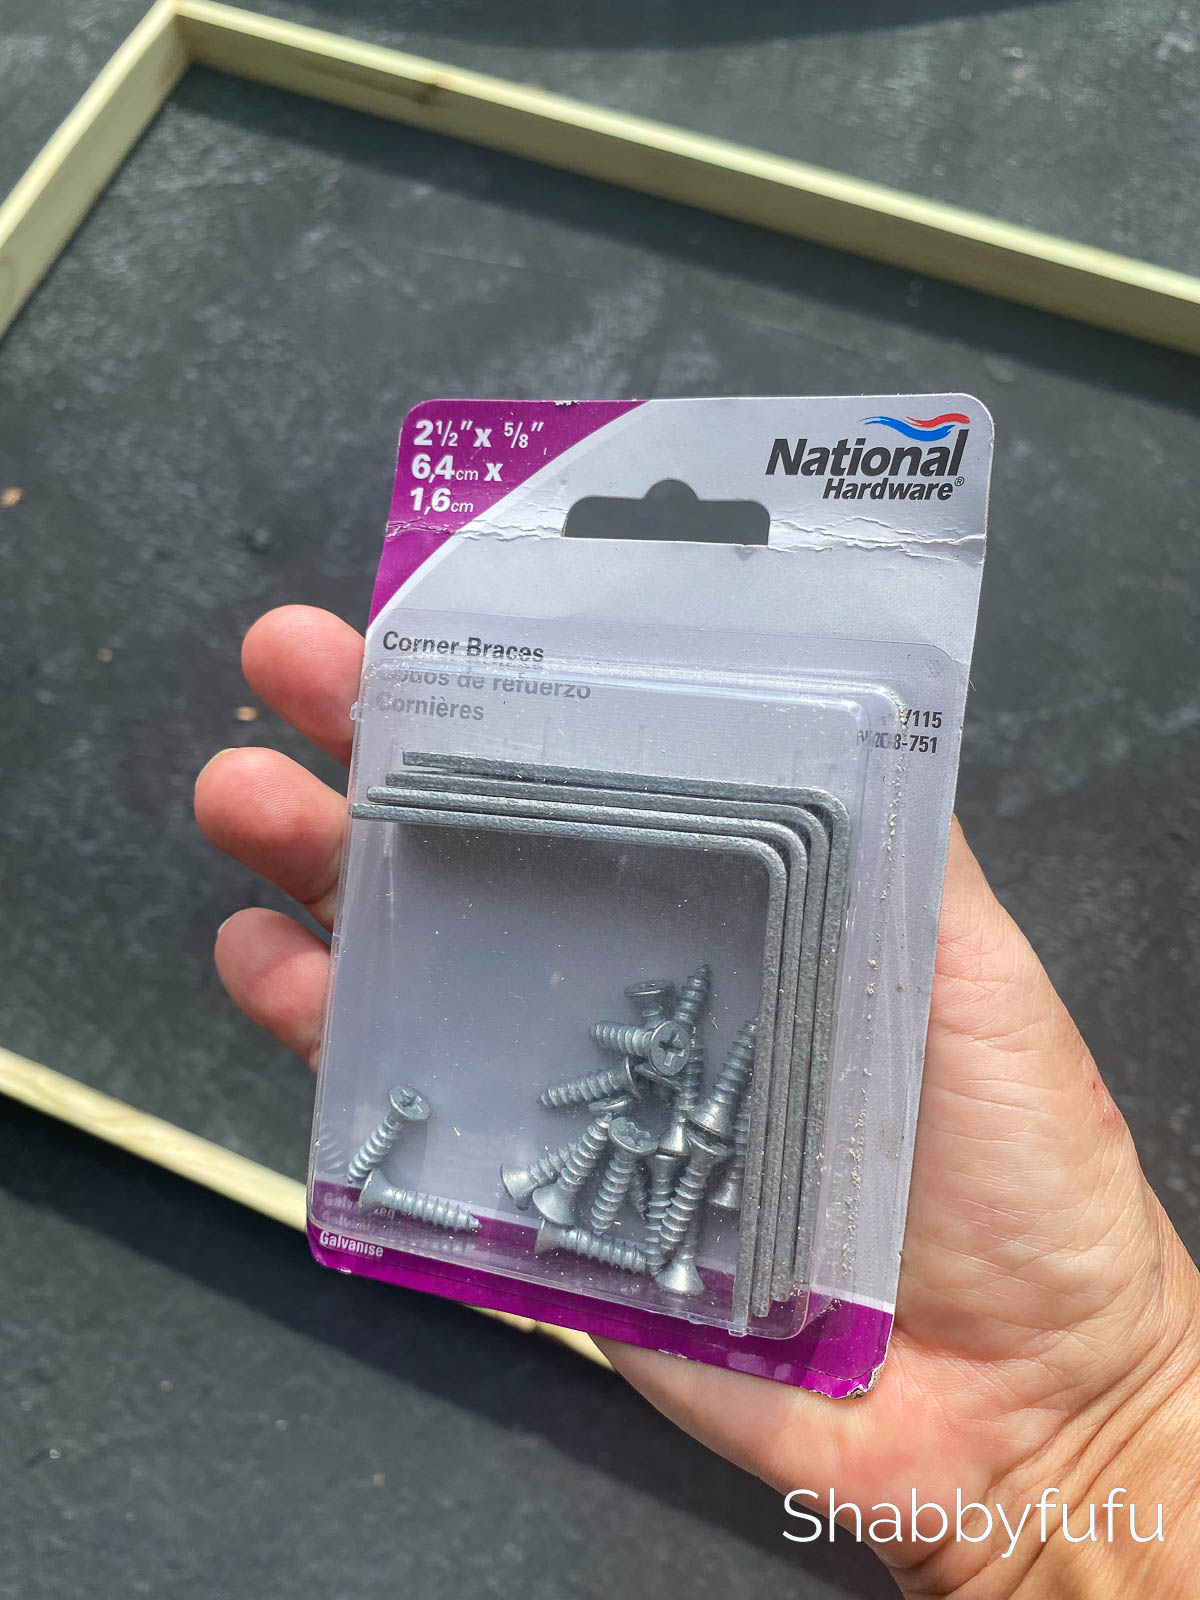
- Seven – National Hardware 2 1/2″ Corner Braces (Galvanized)
- 1 5/8″ Deck Screws
- 1 1/4″ Deck Screws
- Concrete Screws
- Wood Stain Or Paint (Optional)
TOOLS:
- Circular Saw
- Screw Gun
- Level
- Speed Square
- Tape Measure
- Pencil
HOW TO BUILD A LATTICE SCREEN INSTRUCTIONS:
BUILDING THE SCREEN
STEP 1 –
Measure the area that you want to build a lattice screen for. Once you have decided on the size that you want for the screen, measure the lattice itself.

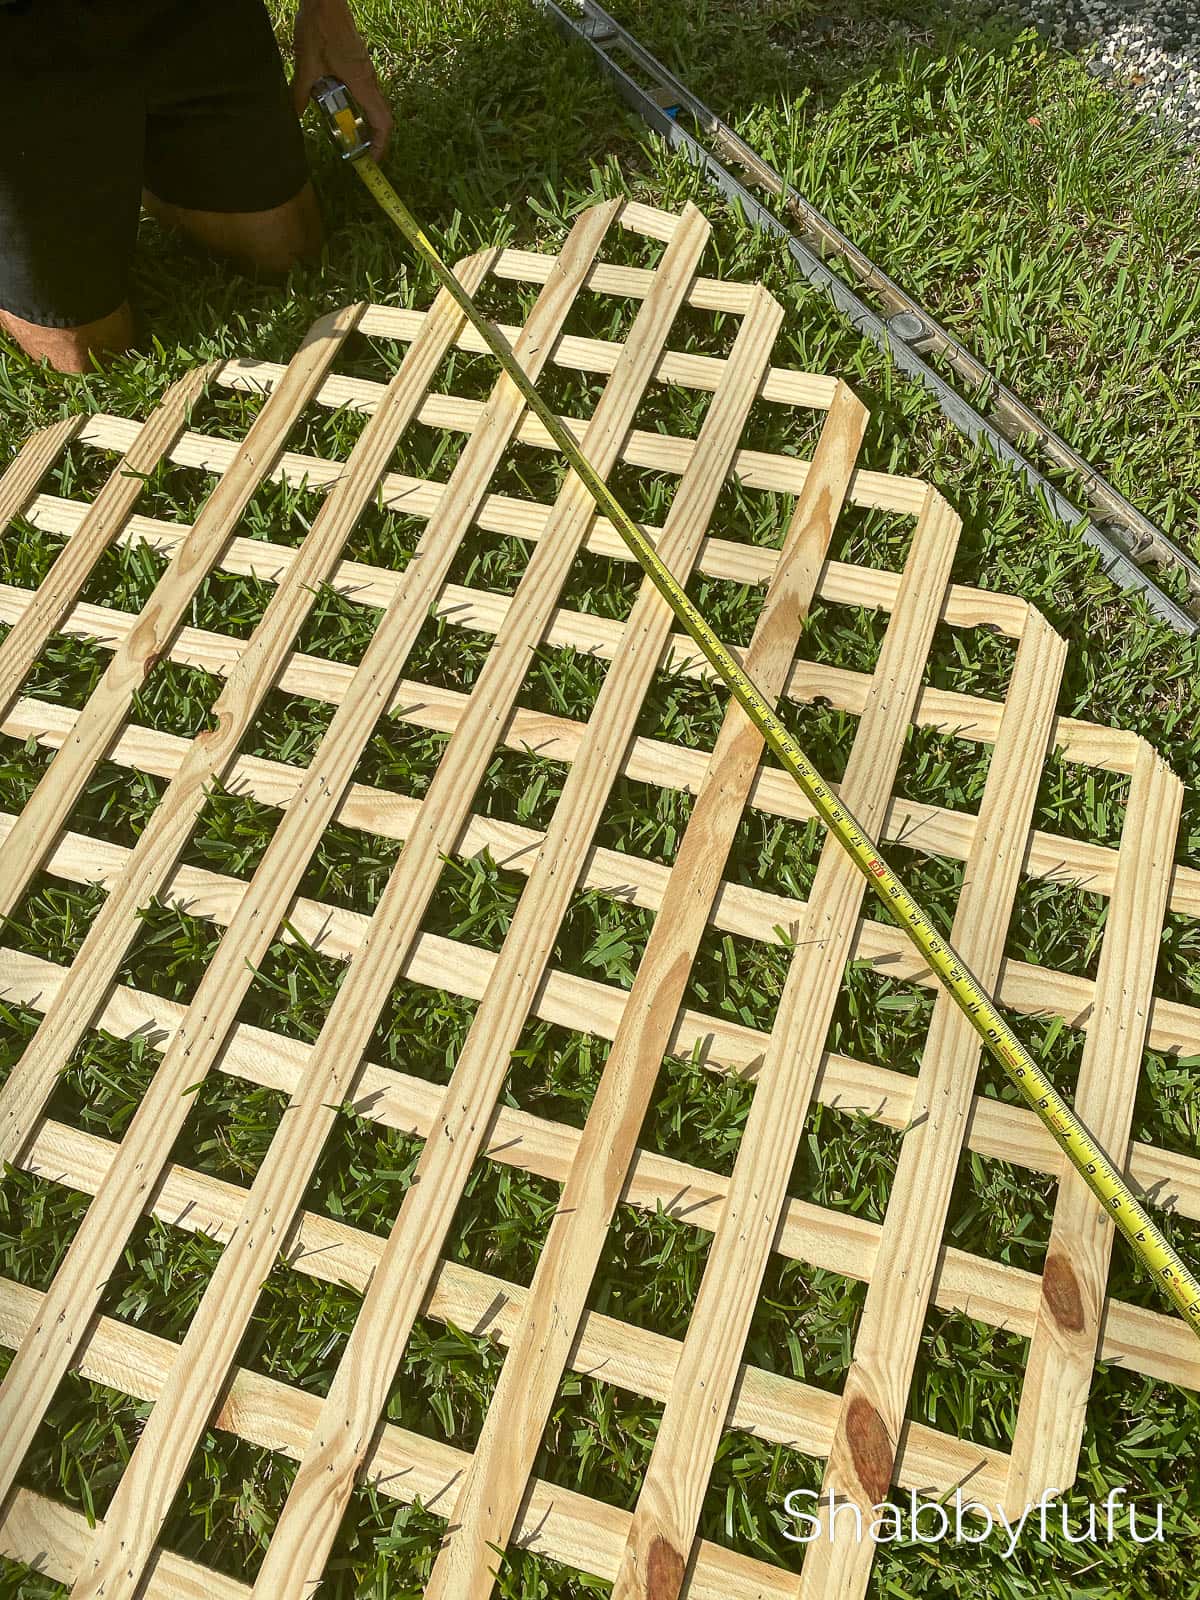
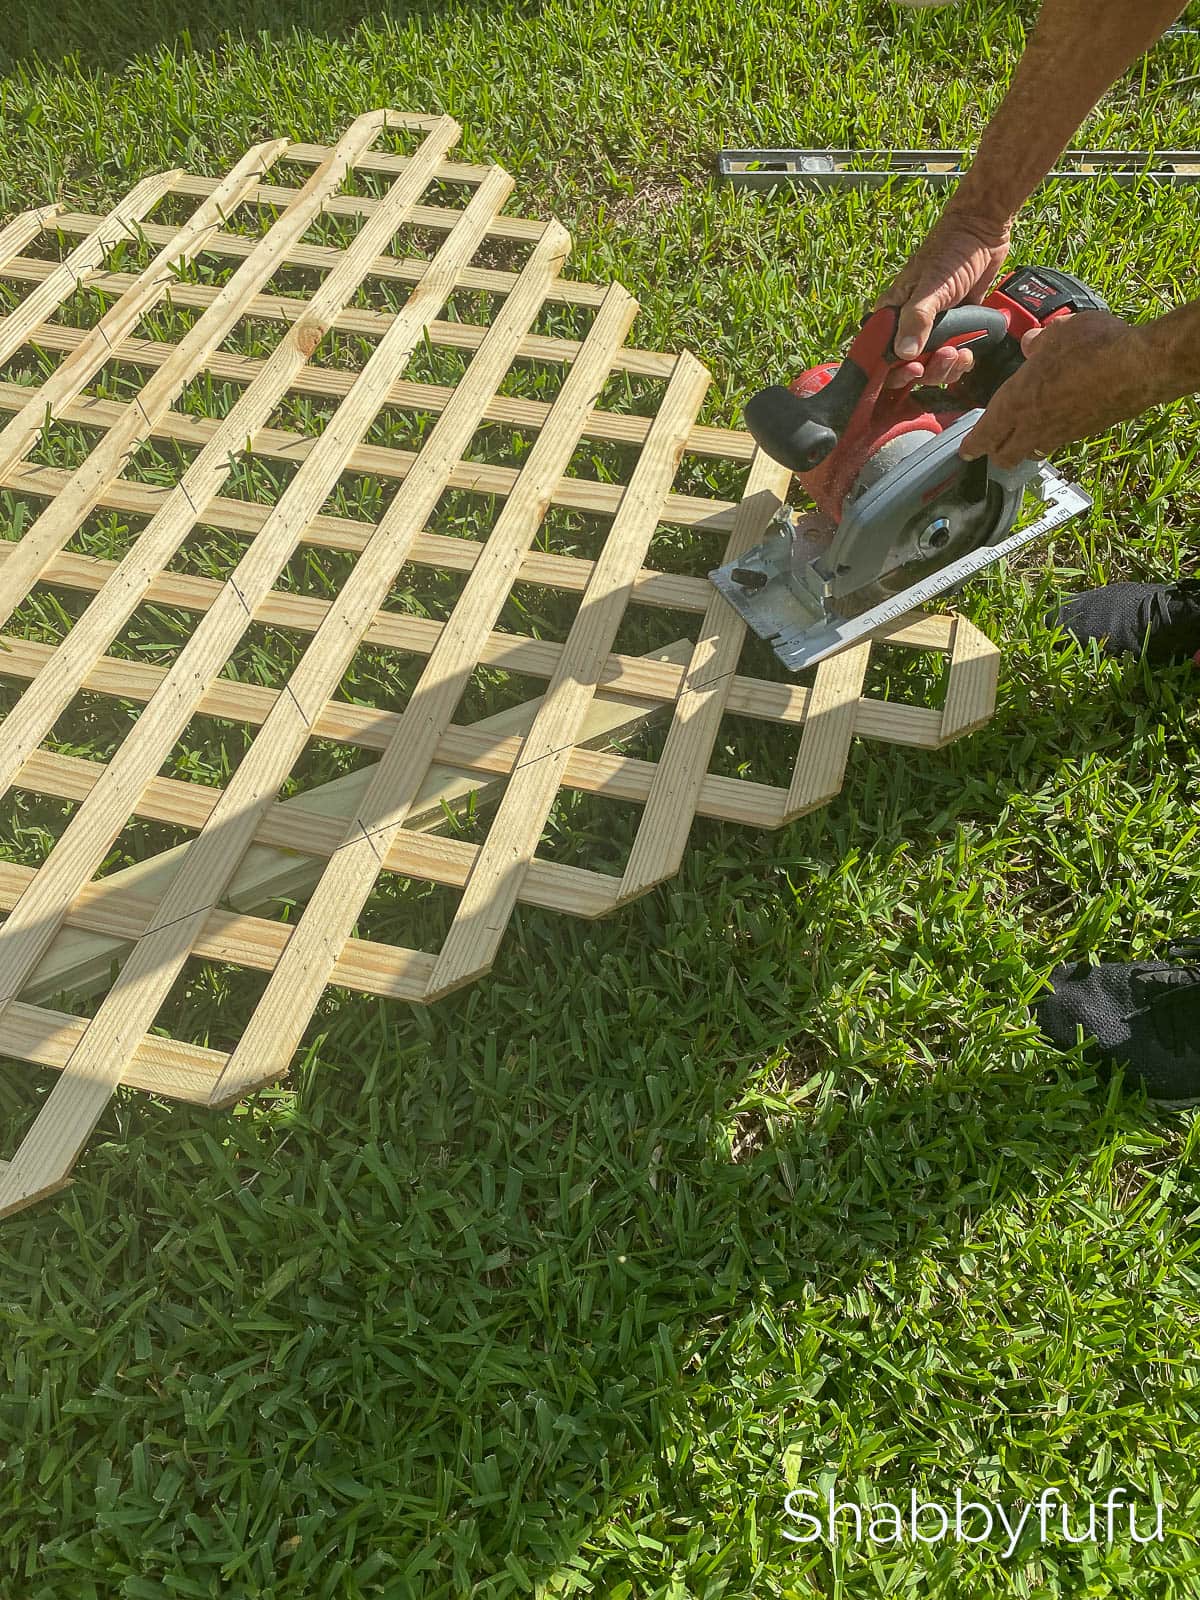
STEP 2 –
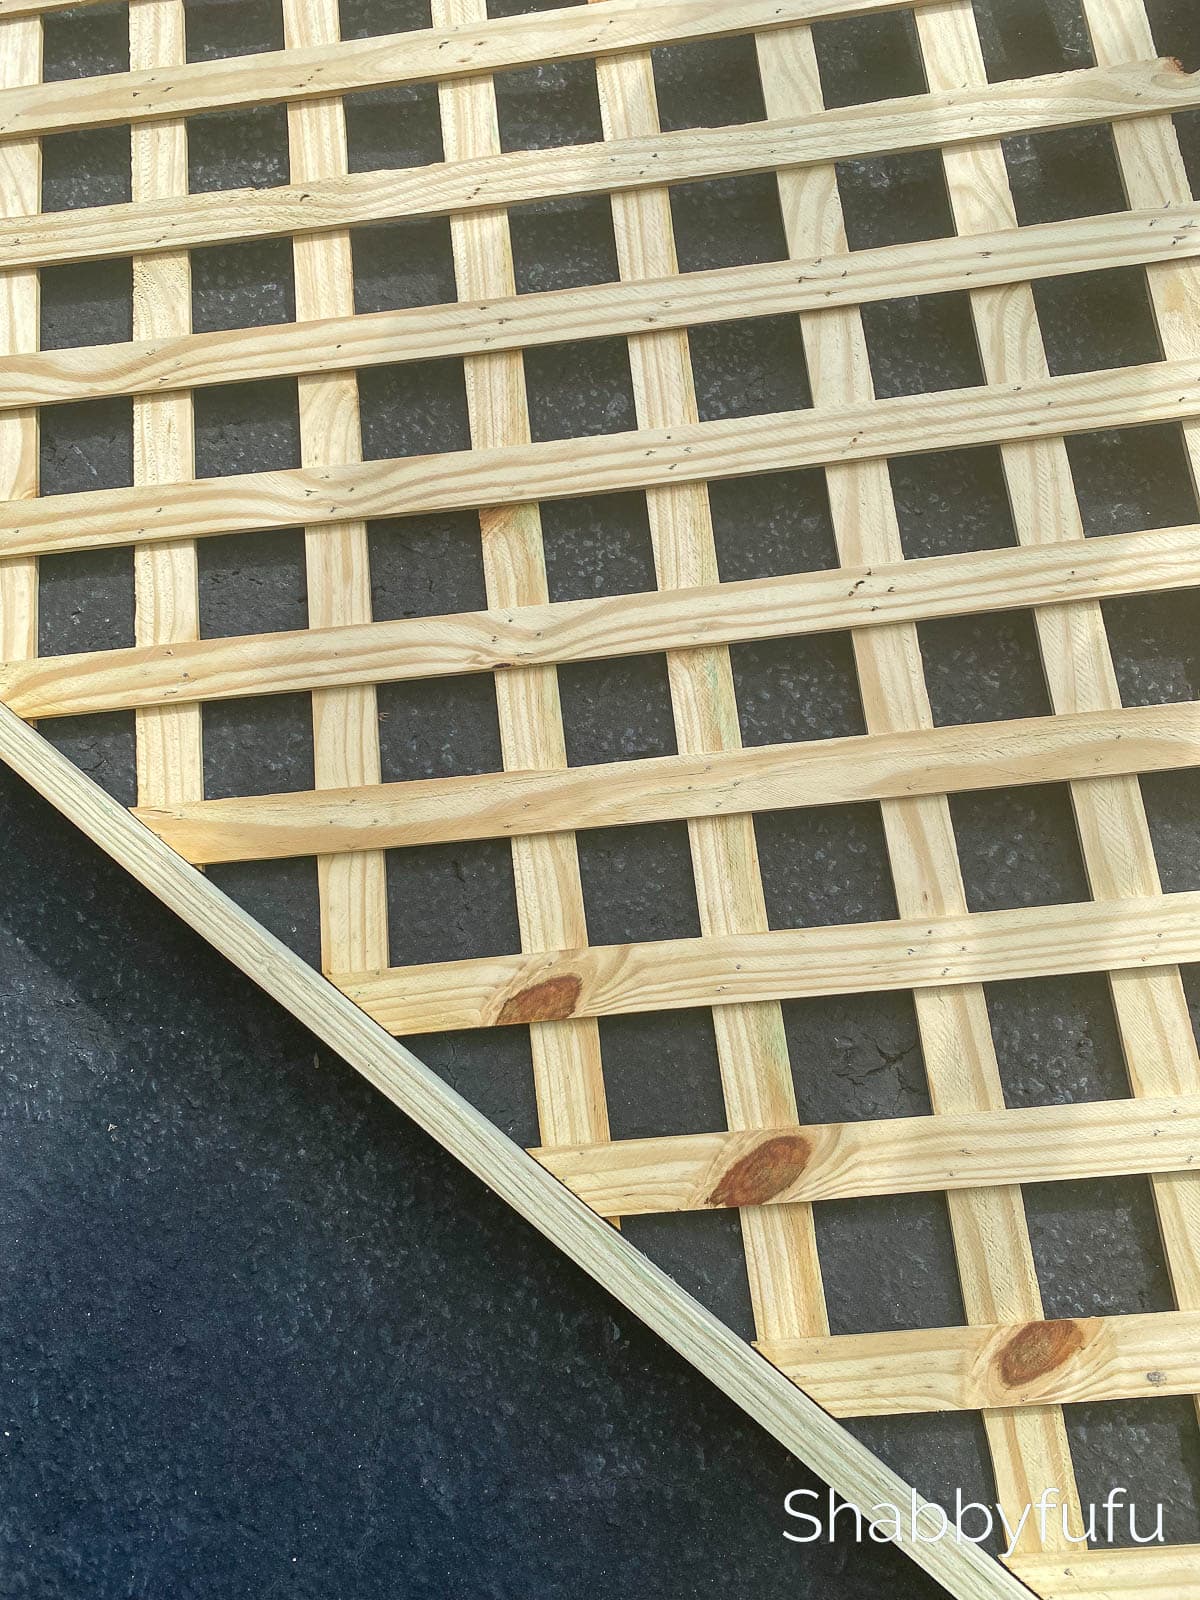
Cut your lattice to size with a circular saw. Our lattice was cut to 42″wide x 72″tall.
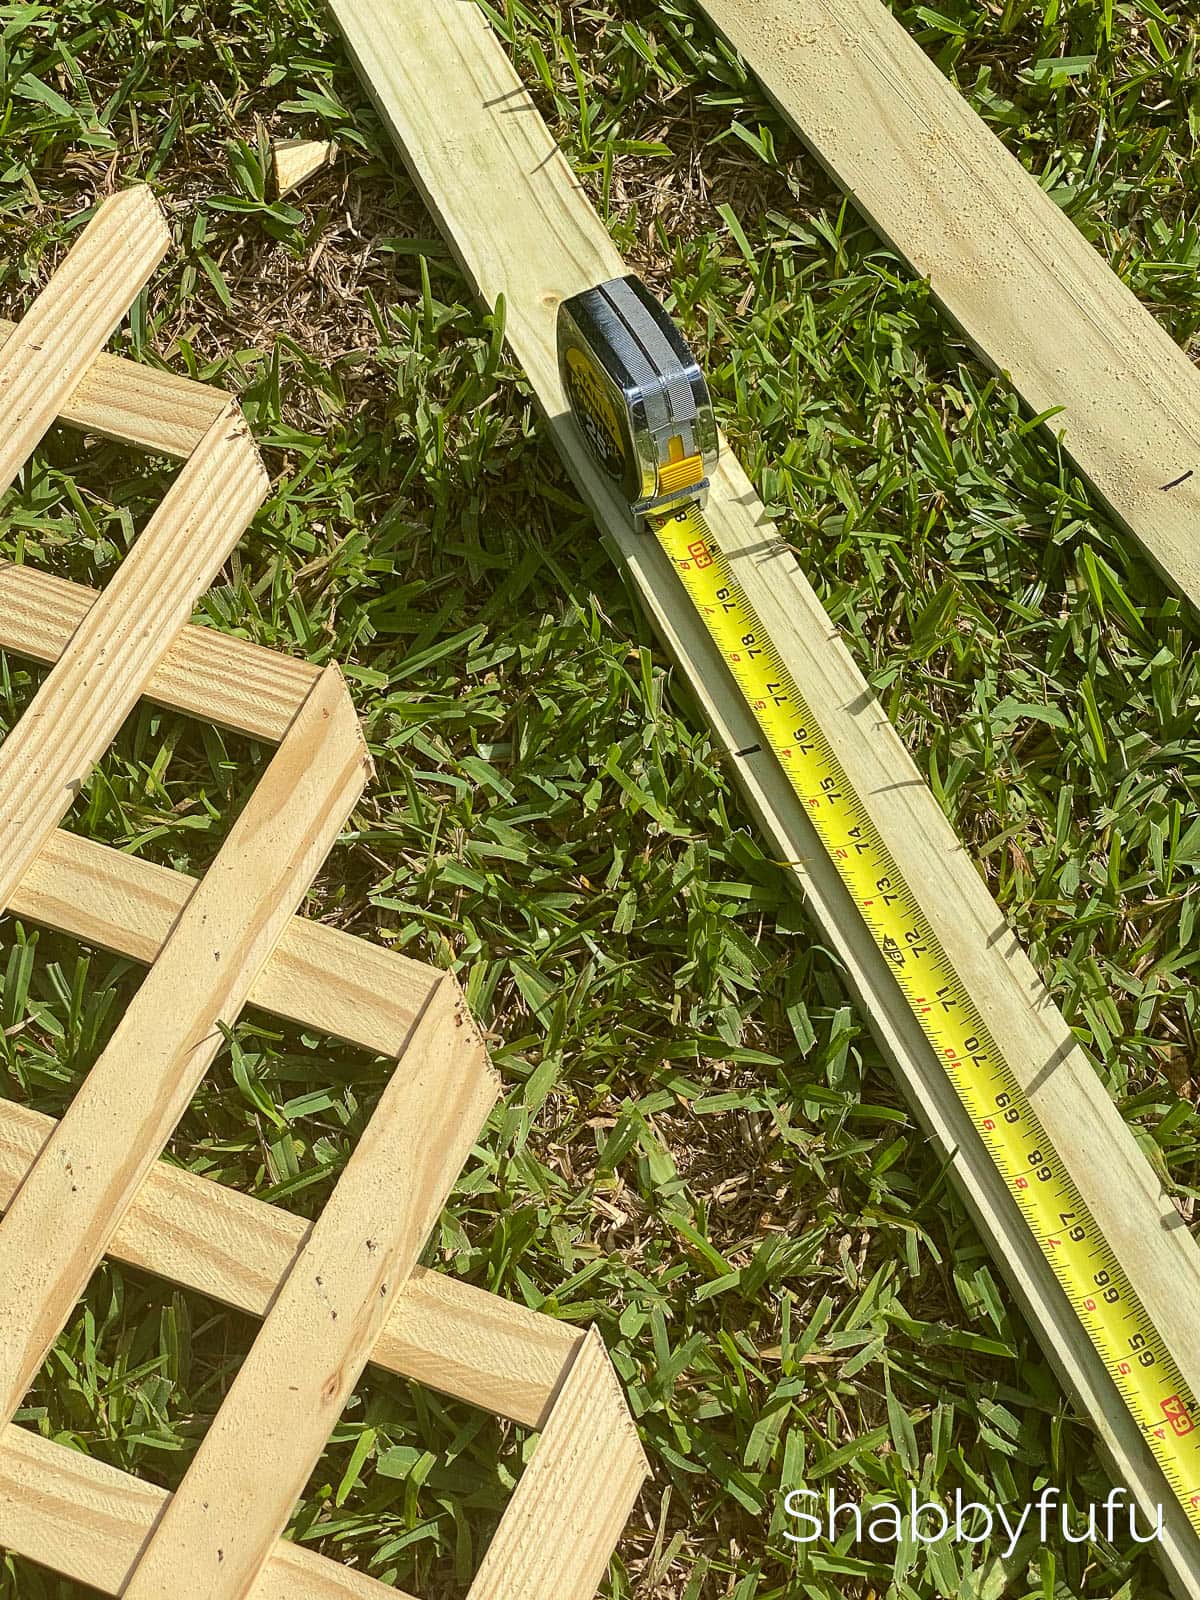
STEP 3 –
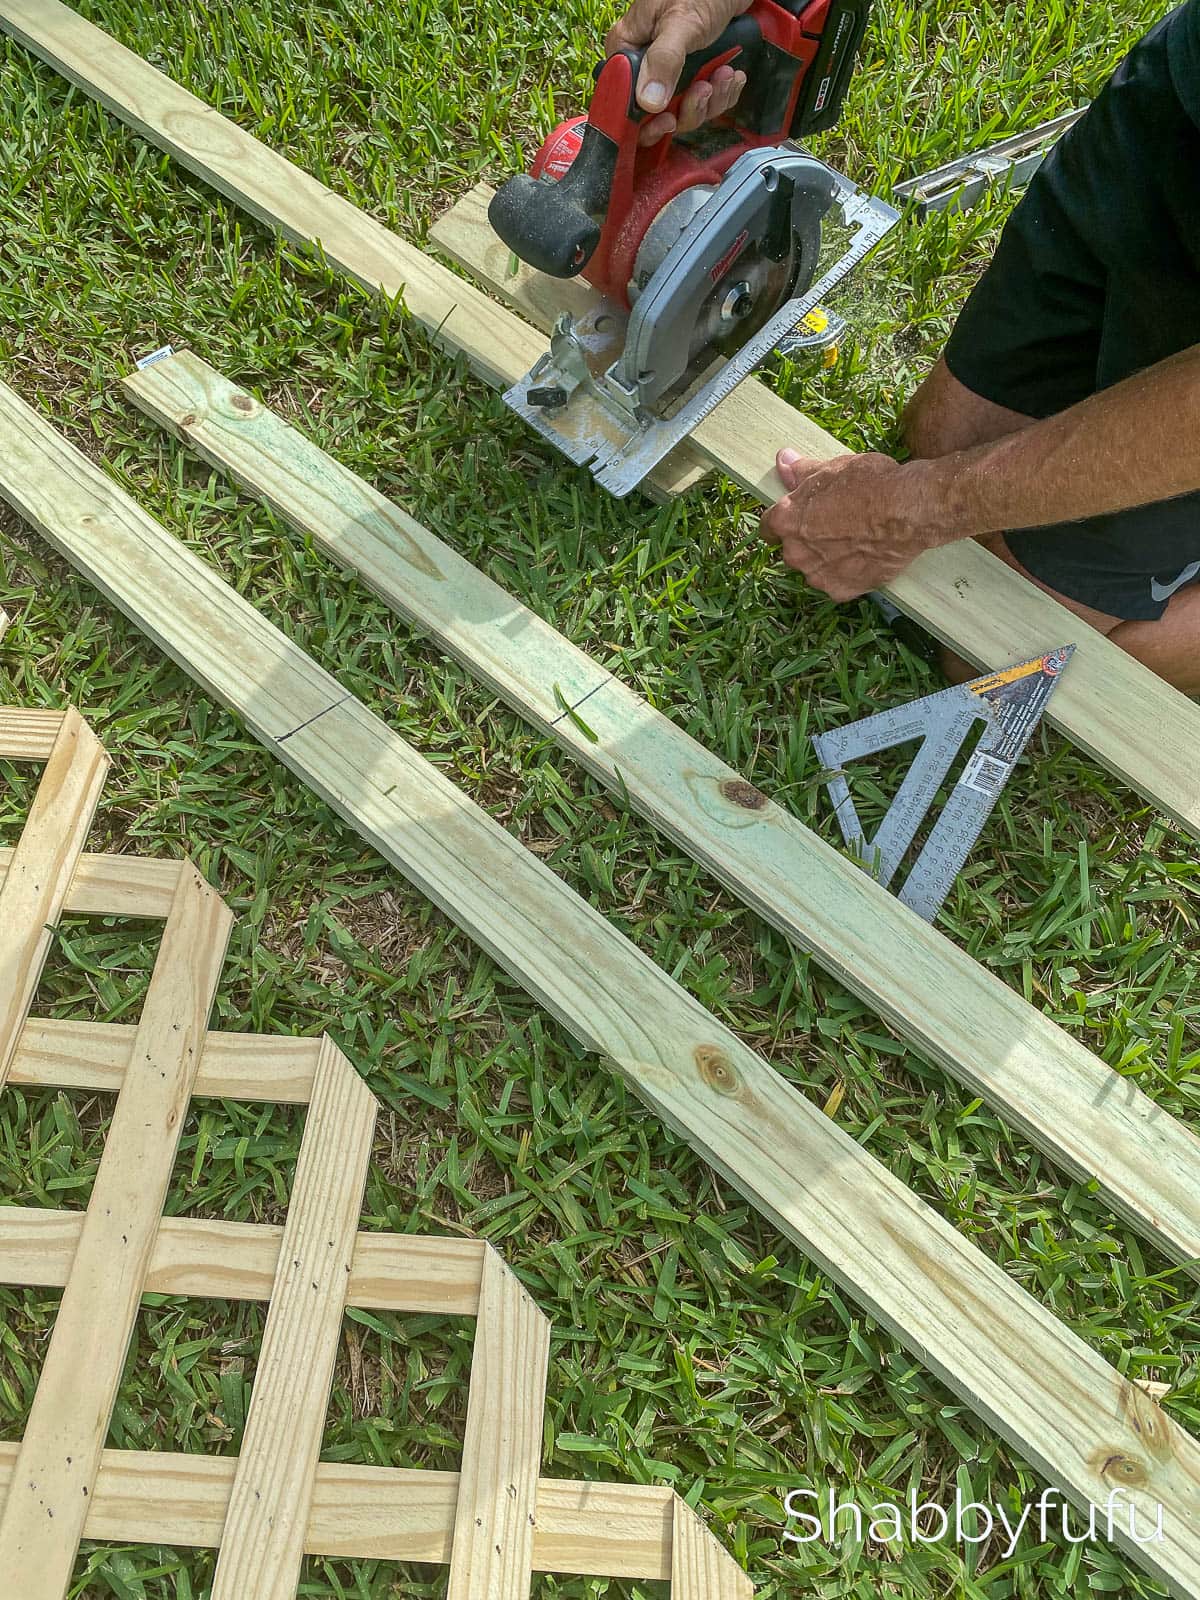
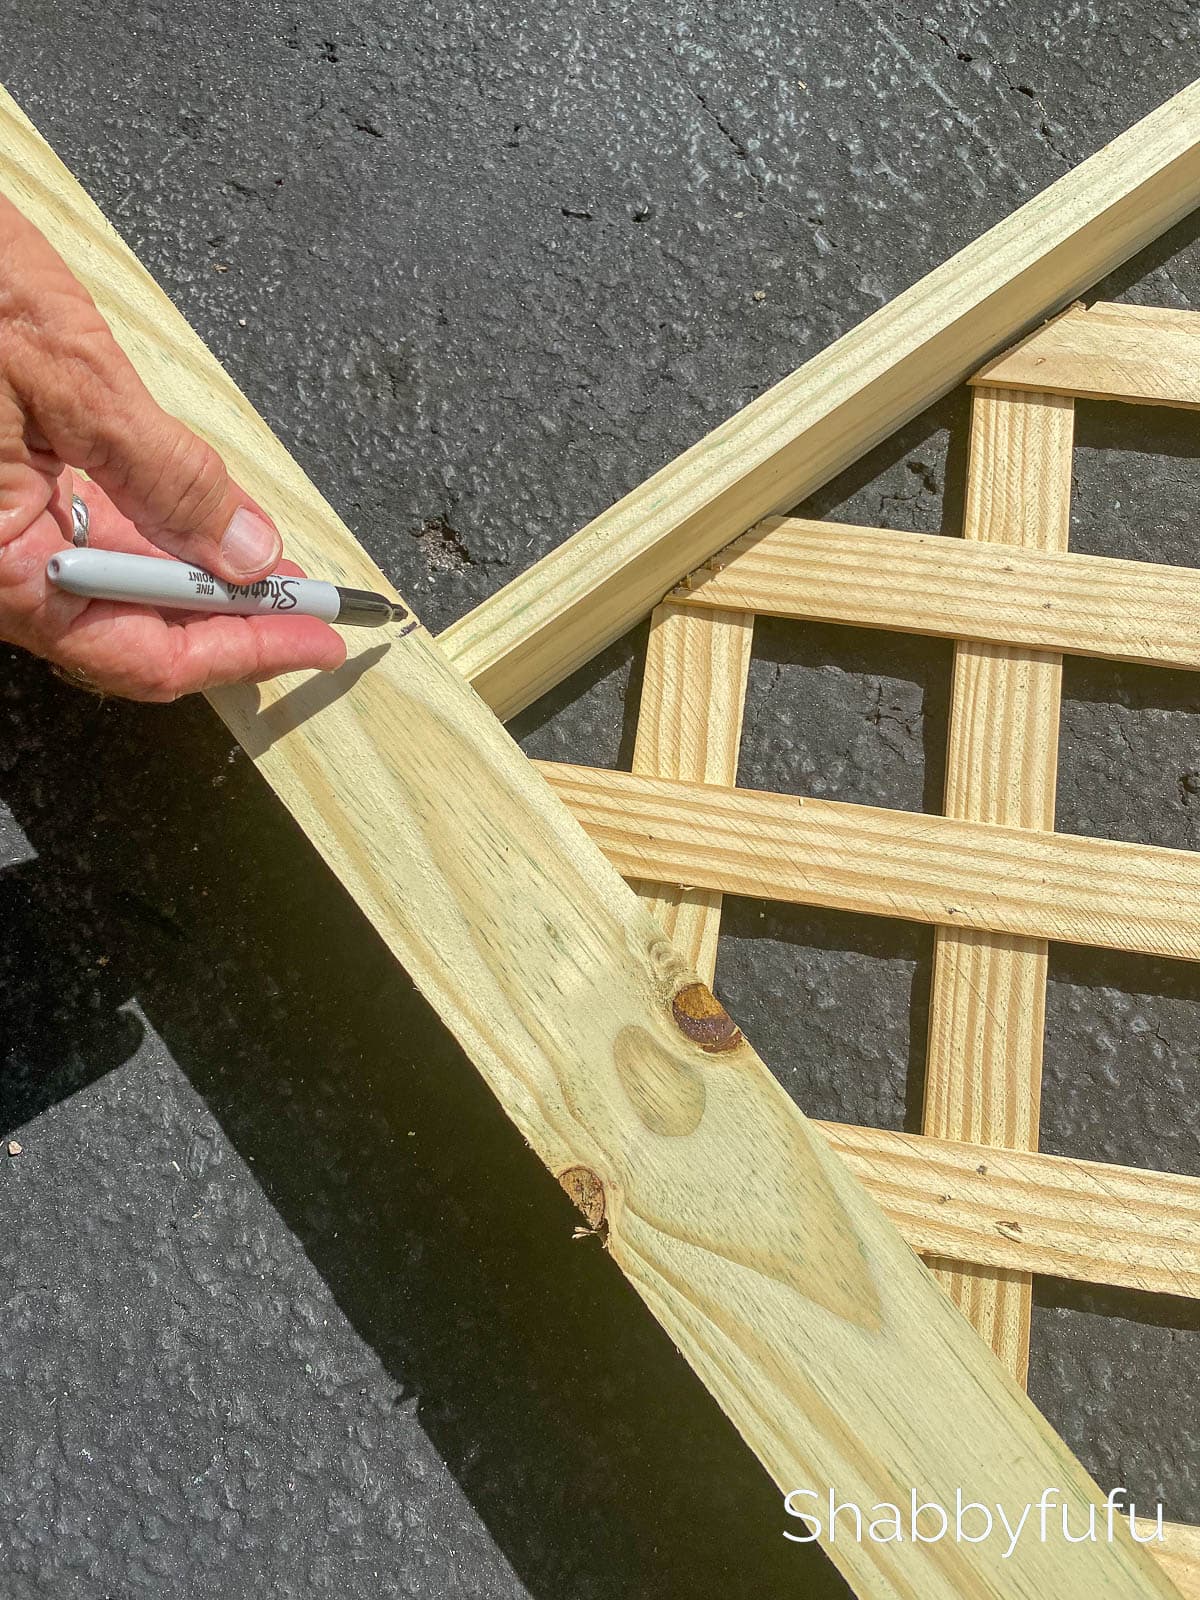
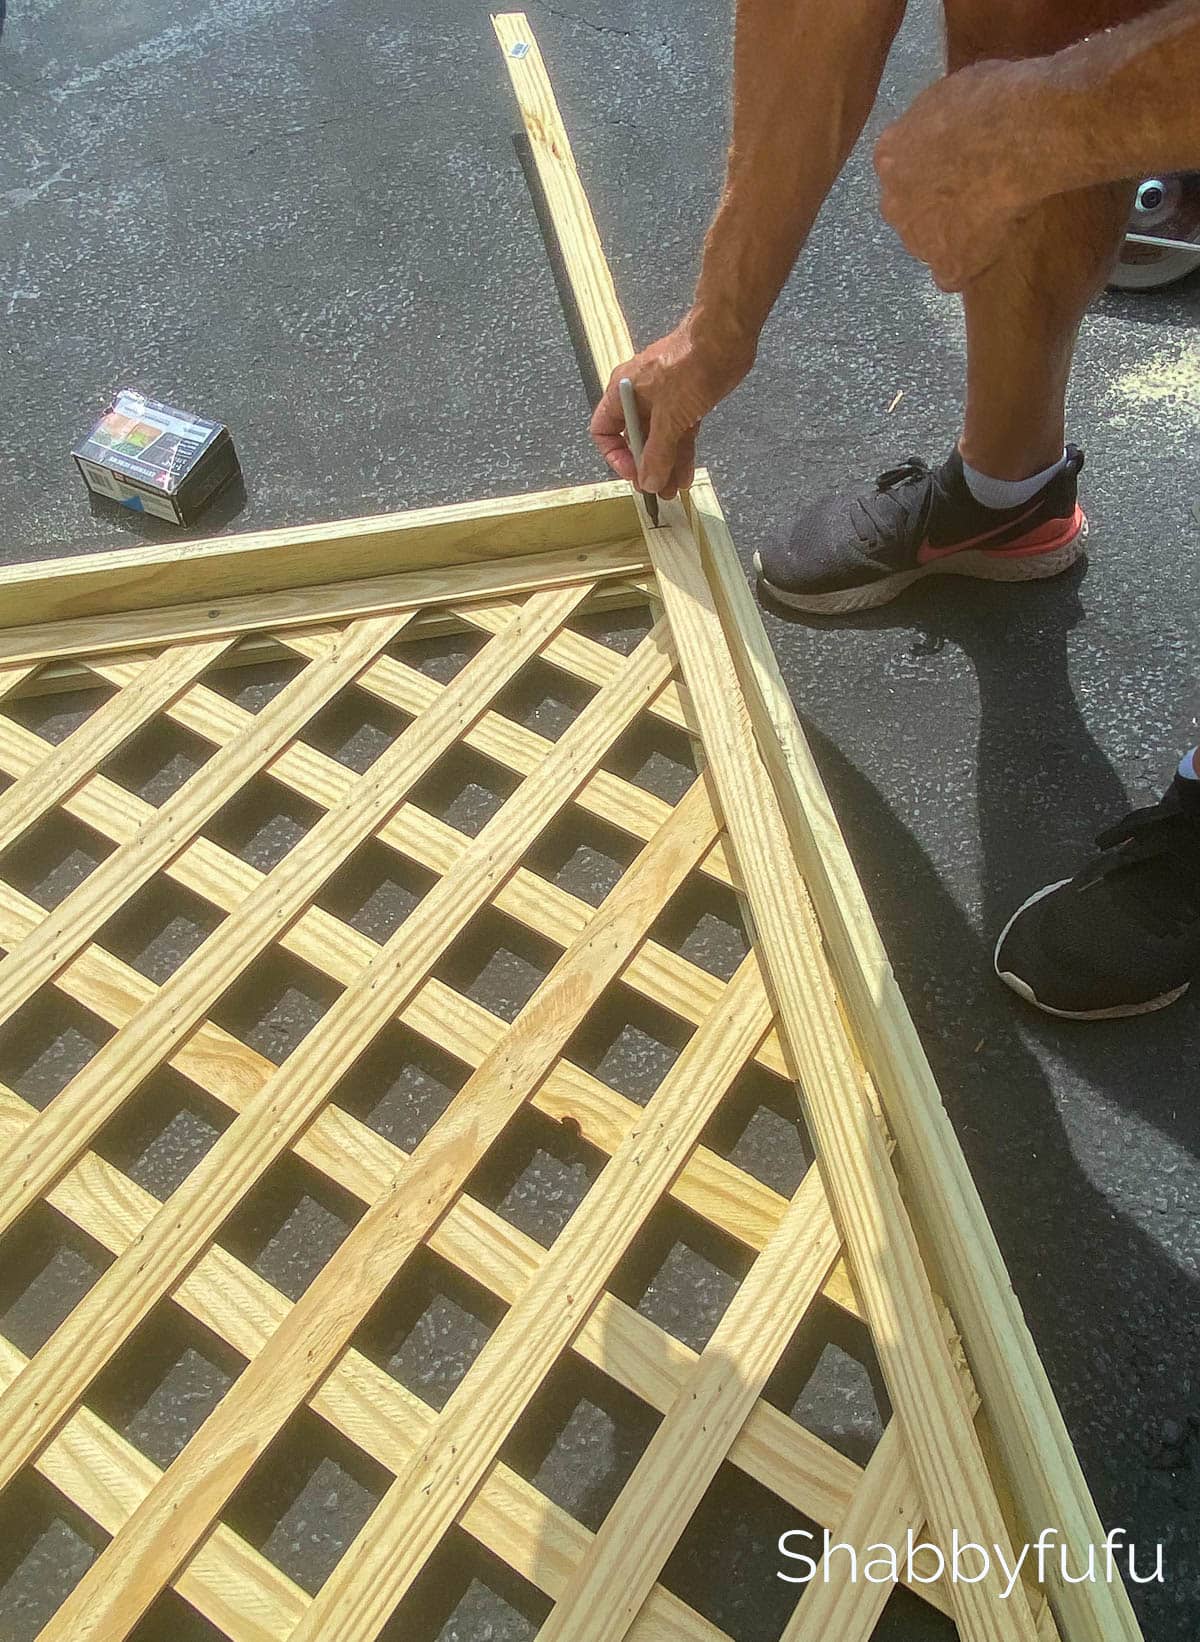
Once the lattice is cut to size, take three of the 1 x 3 pieces and measure and cut two of the pieces to 72″ long. Then take the remaining 1 x 3 and cut into two 43 1/2″ pieces. These four pieces will build the frame for the lattice.
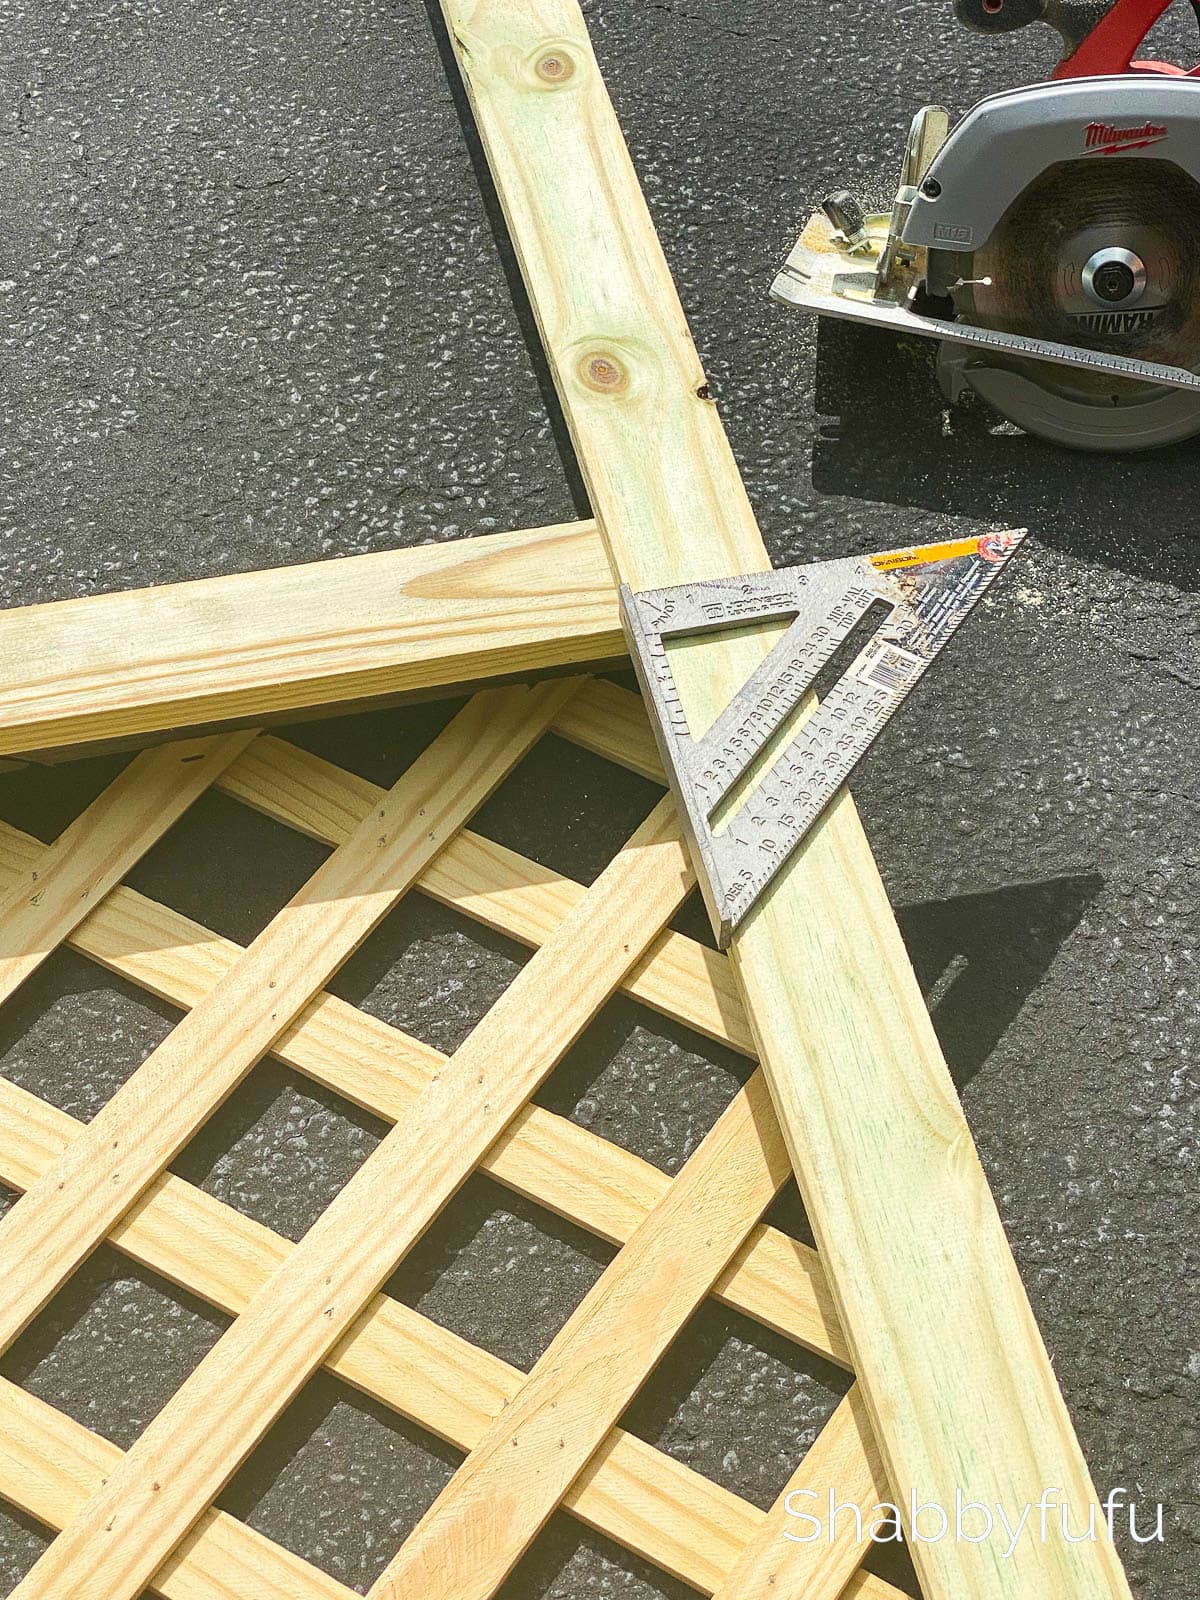
* Pro Tip* Use a speed square to make a straight line!
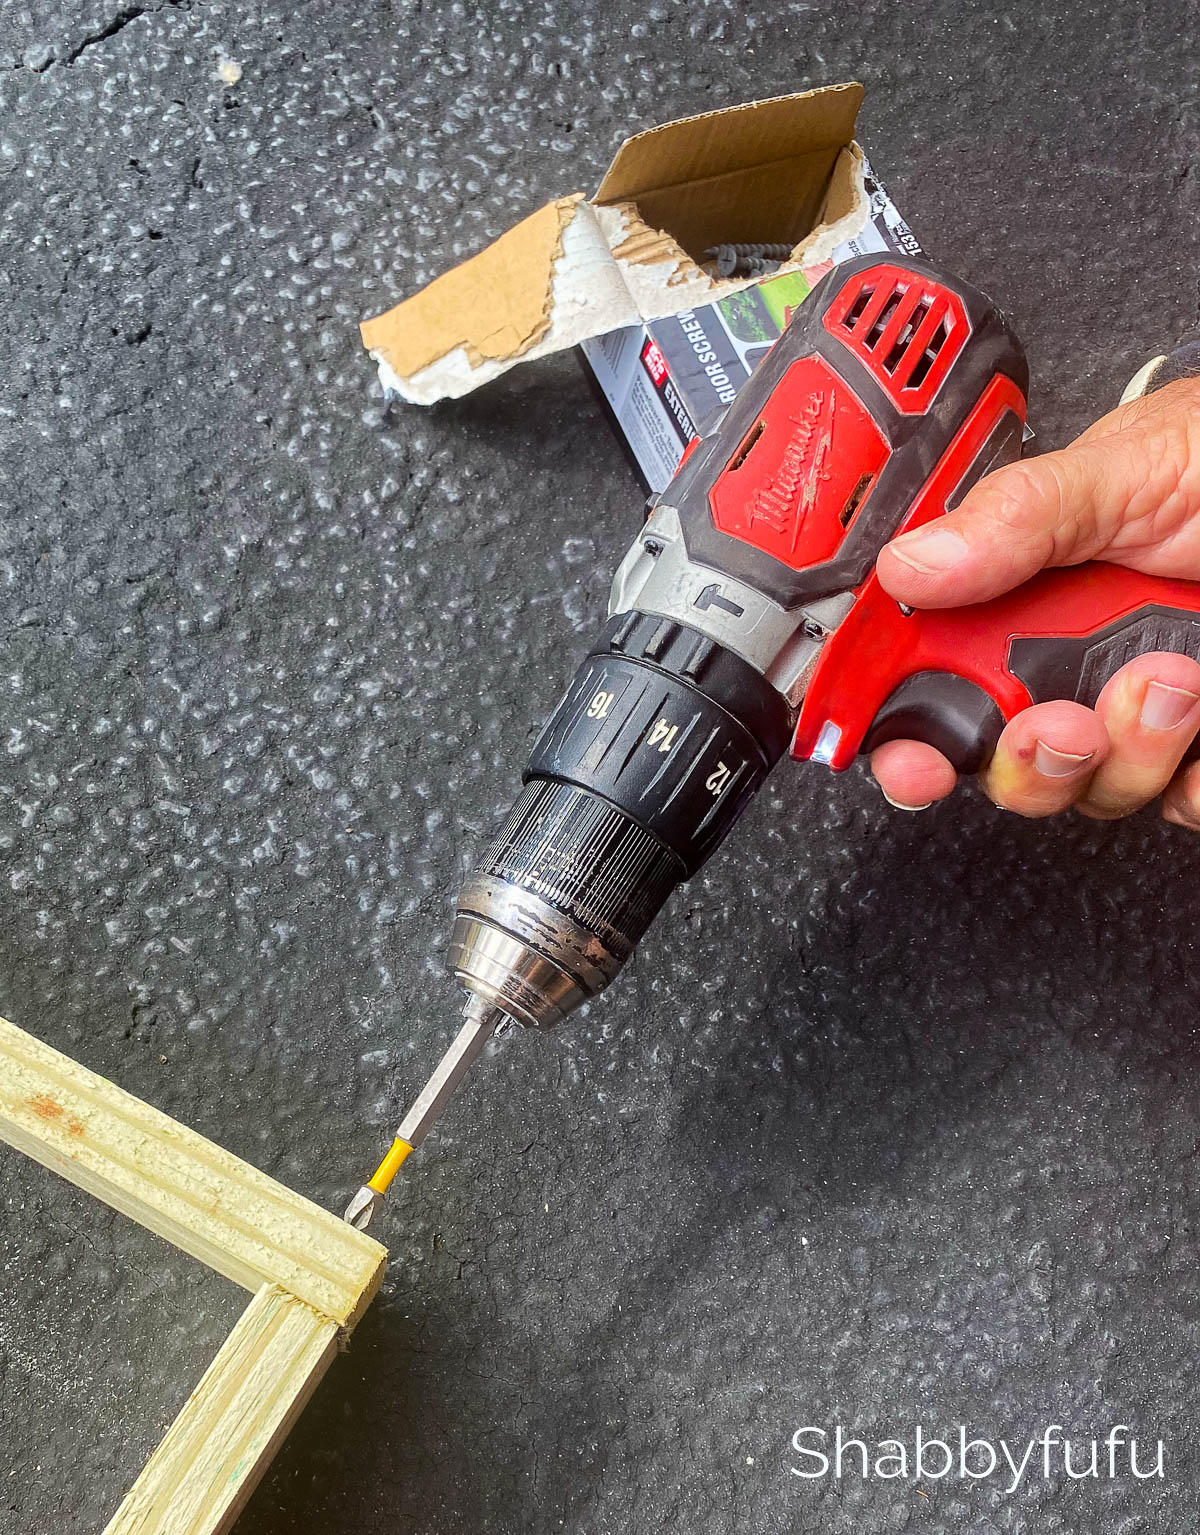
STEP – 4
Assemble the frame on the ground using 1 5/8″ deck screws with a screw gun.
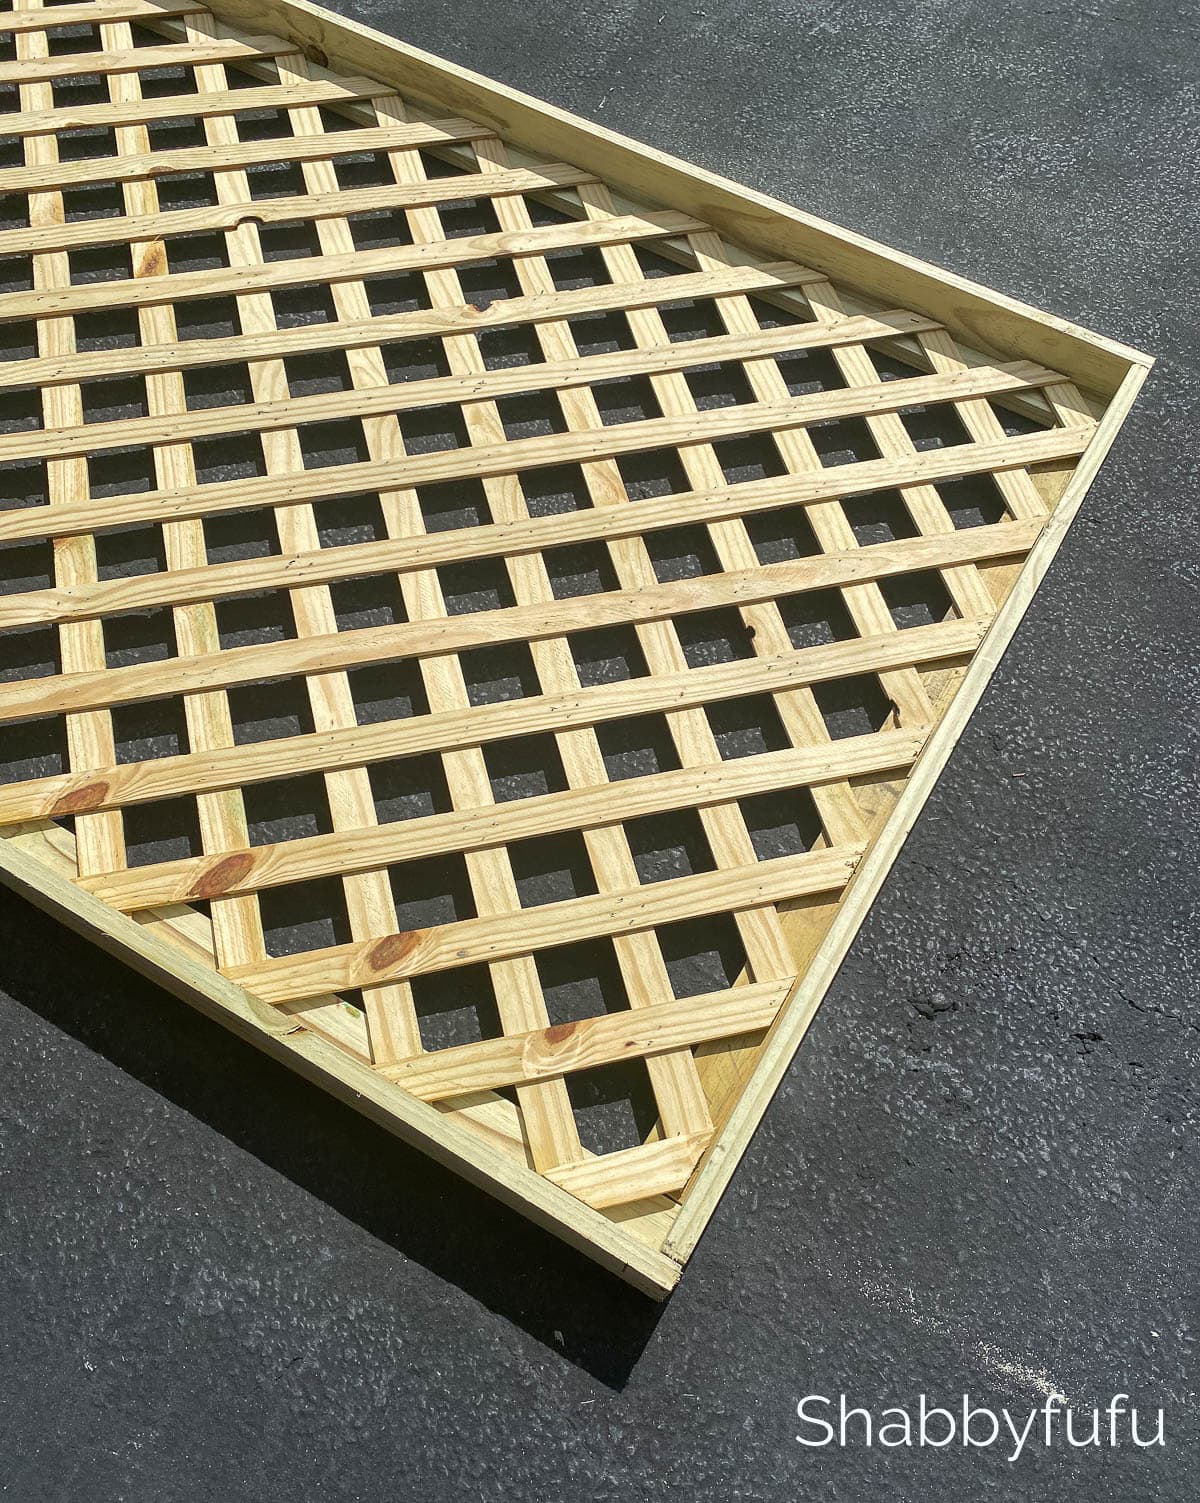
STEP – 5
Place the lattice inside the frame on the ground to make sure that it fits. Trim any excess lattice if necessary. You won’t actually be attaching the lattice piece until later in the process.
STEP – 6
Now you need to build the back of the frame. Take the three remaining 1 x 3 pieces and cut two of them 72″ long. Cut the third piece into two pieces at 38 1/2″ long. Attach them to the back of the frame (as shown) using 1 5/8″ screws.
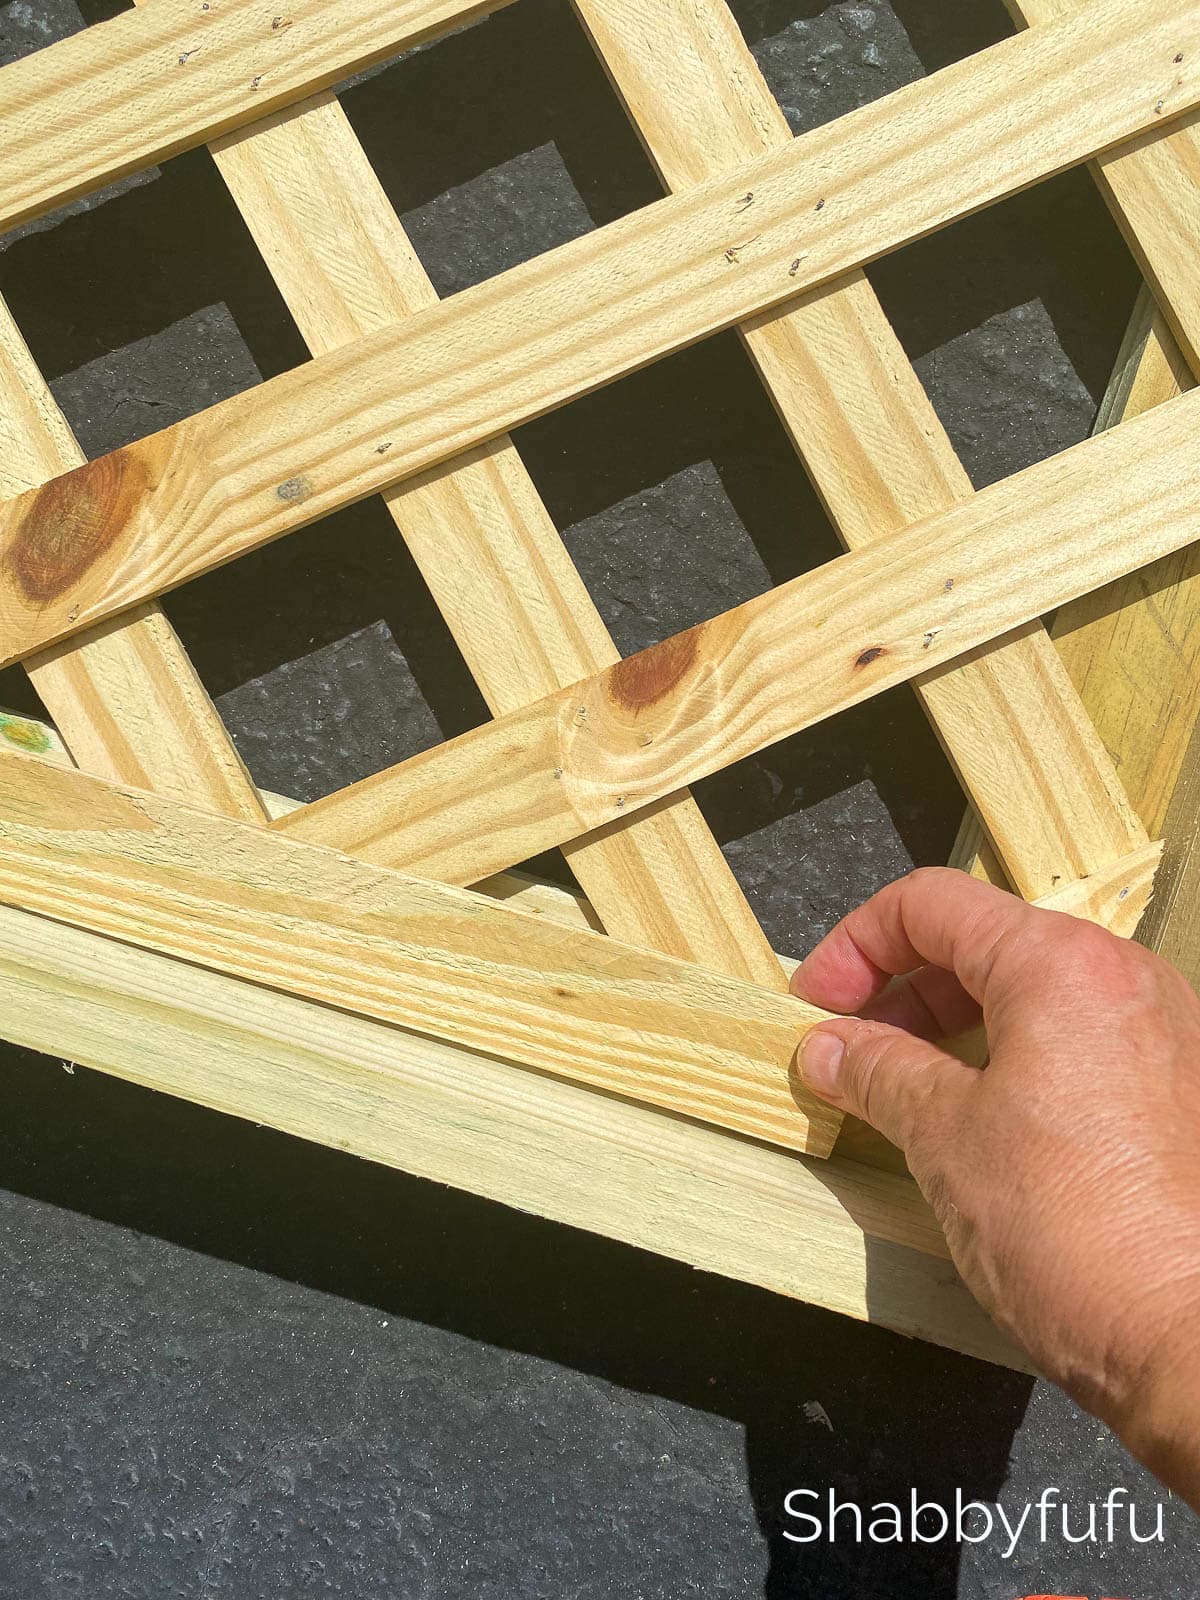
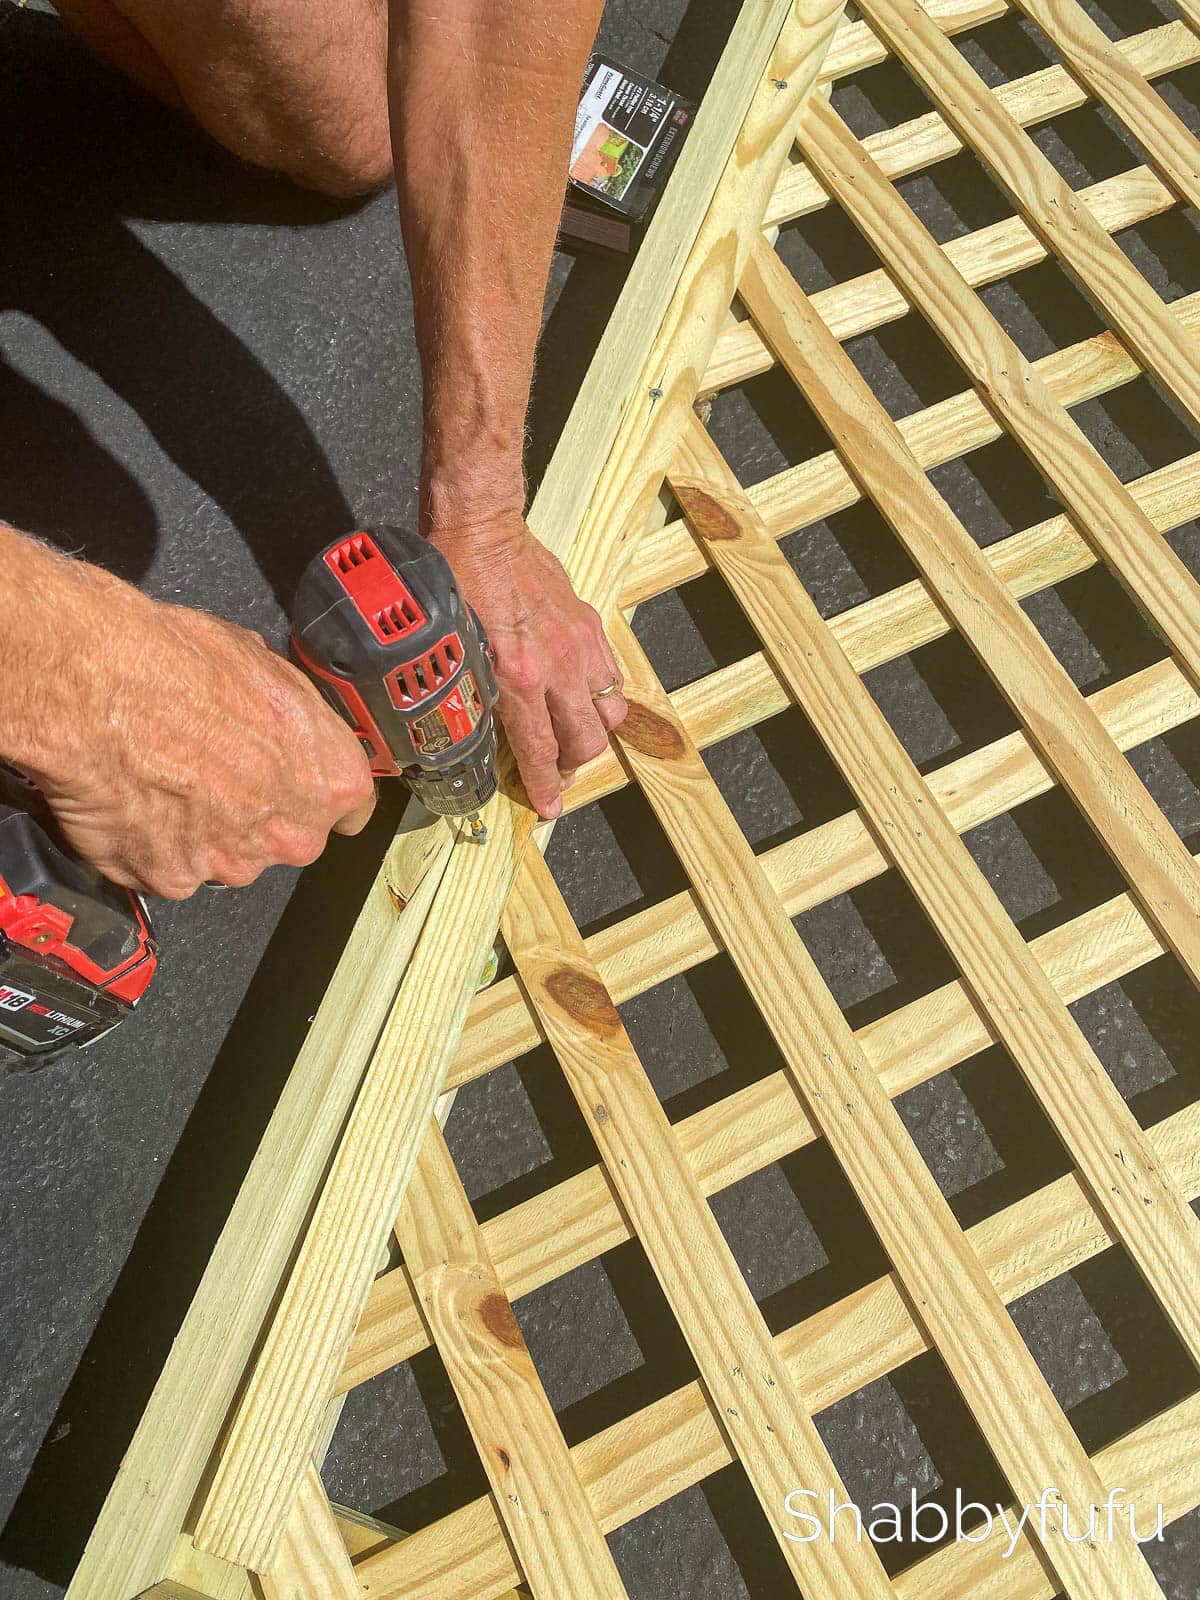
STEP – 7
Turn the frame over and lay the lattice inside the frame. Using 1 1/4″ screws, attach the fill-it strips to the top of the lattice to sandwich the lattice in-between the strips and the frame.
STEP – 8
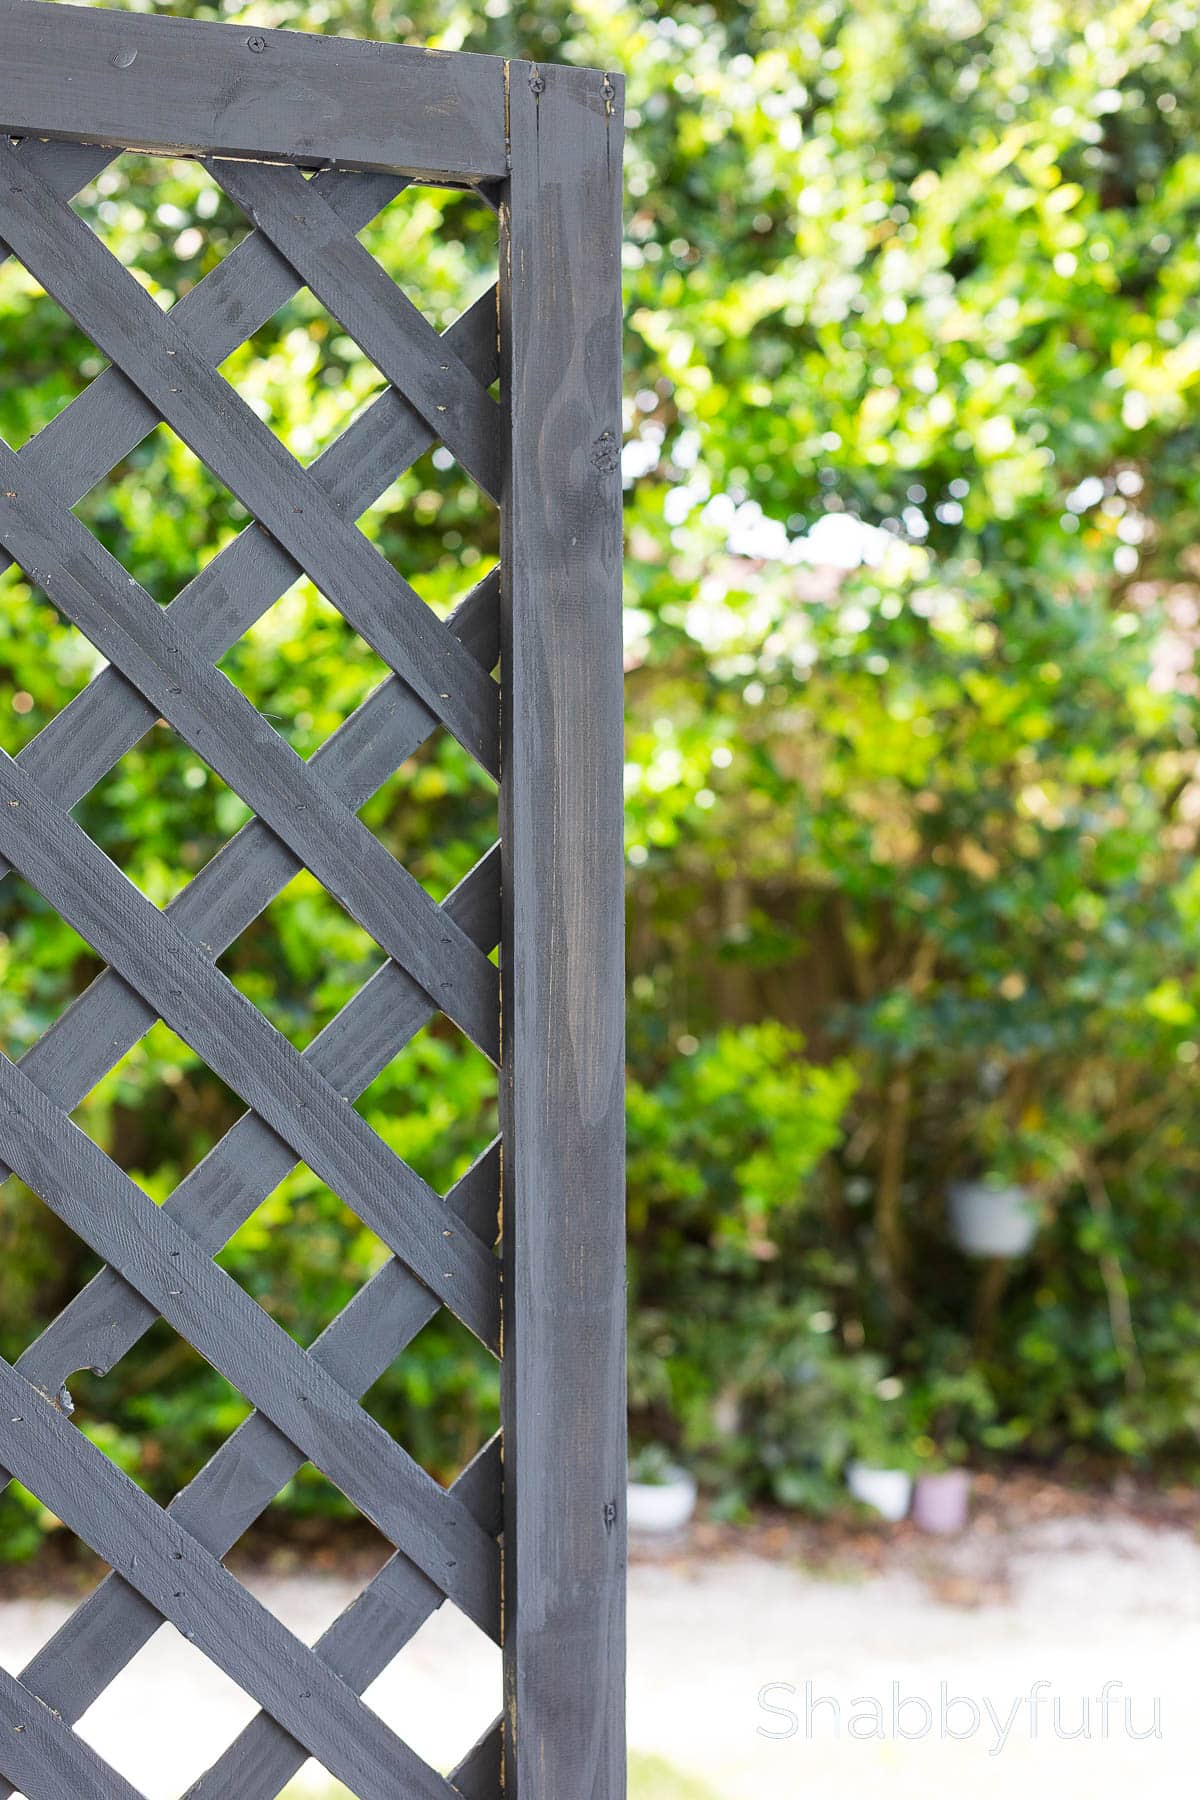
Now the lattice frame is complete! Attach a National Hardware 2 1/2″ Corner Brace to all four sides of the frame for stability.

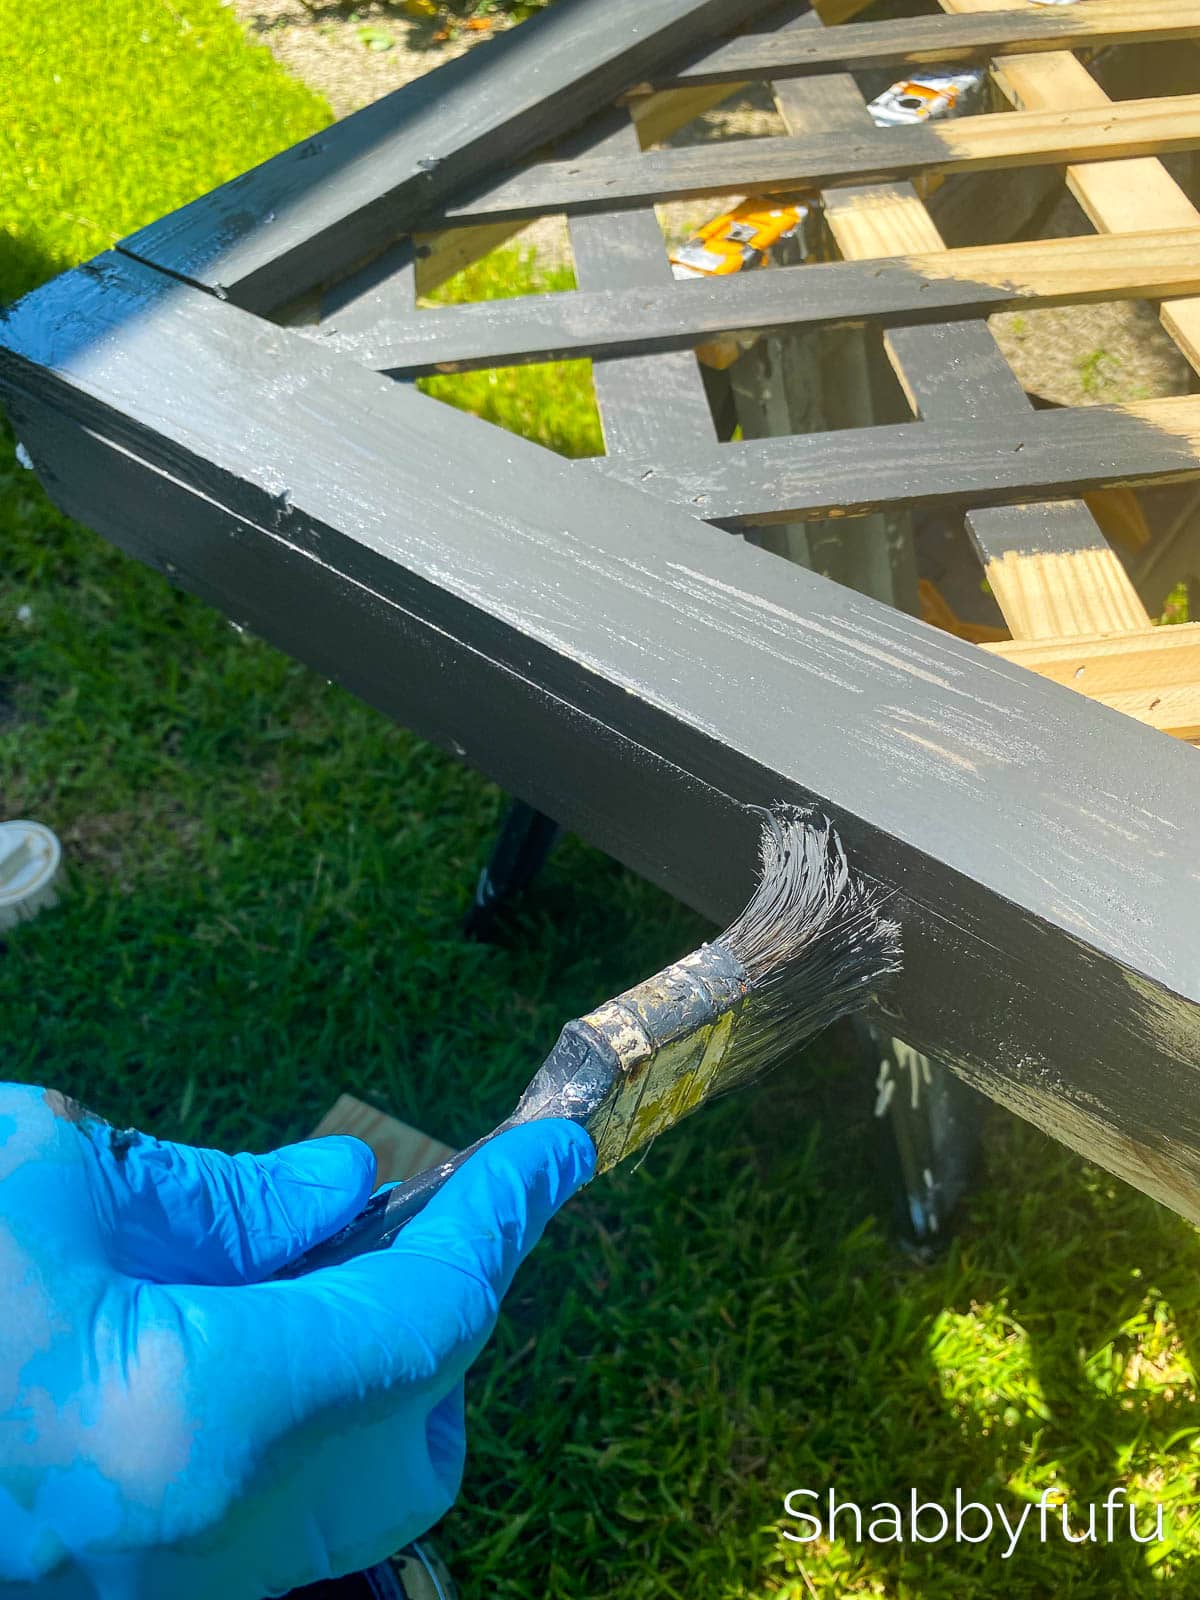
STEP – 9
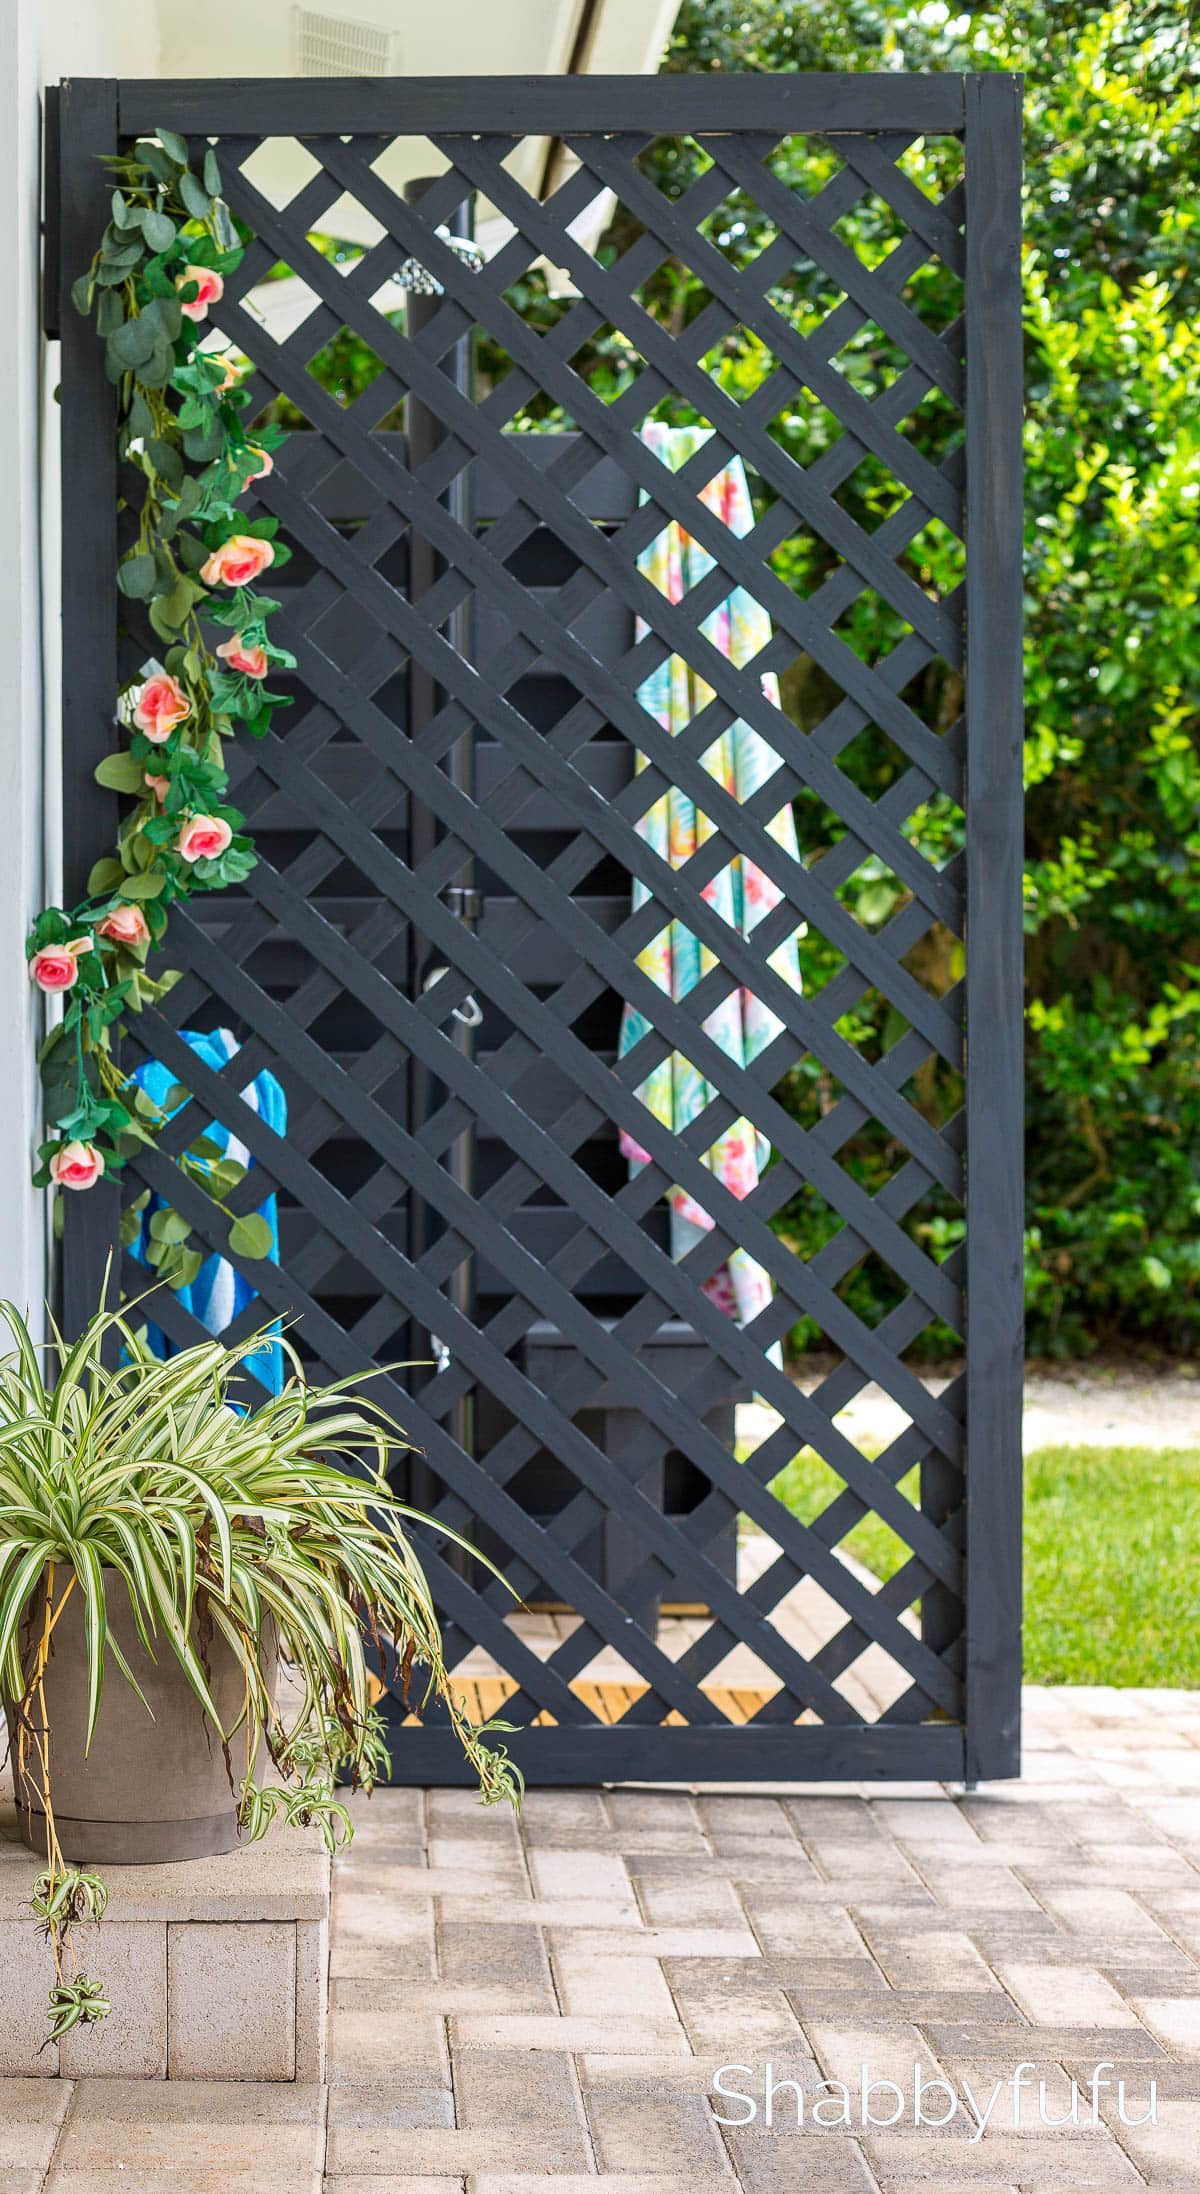
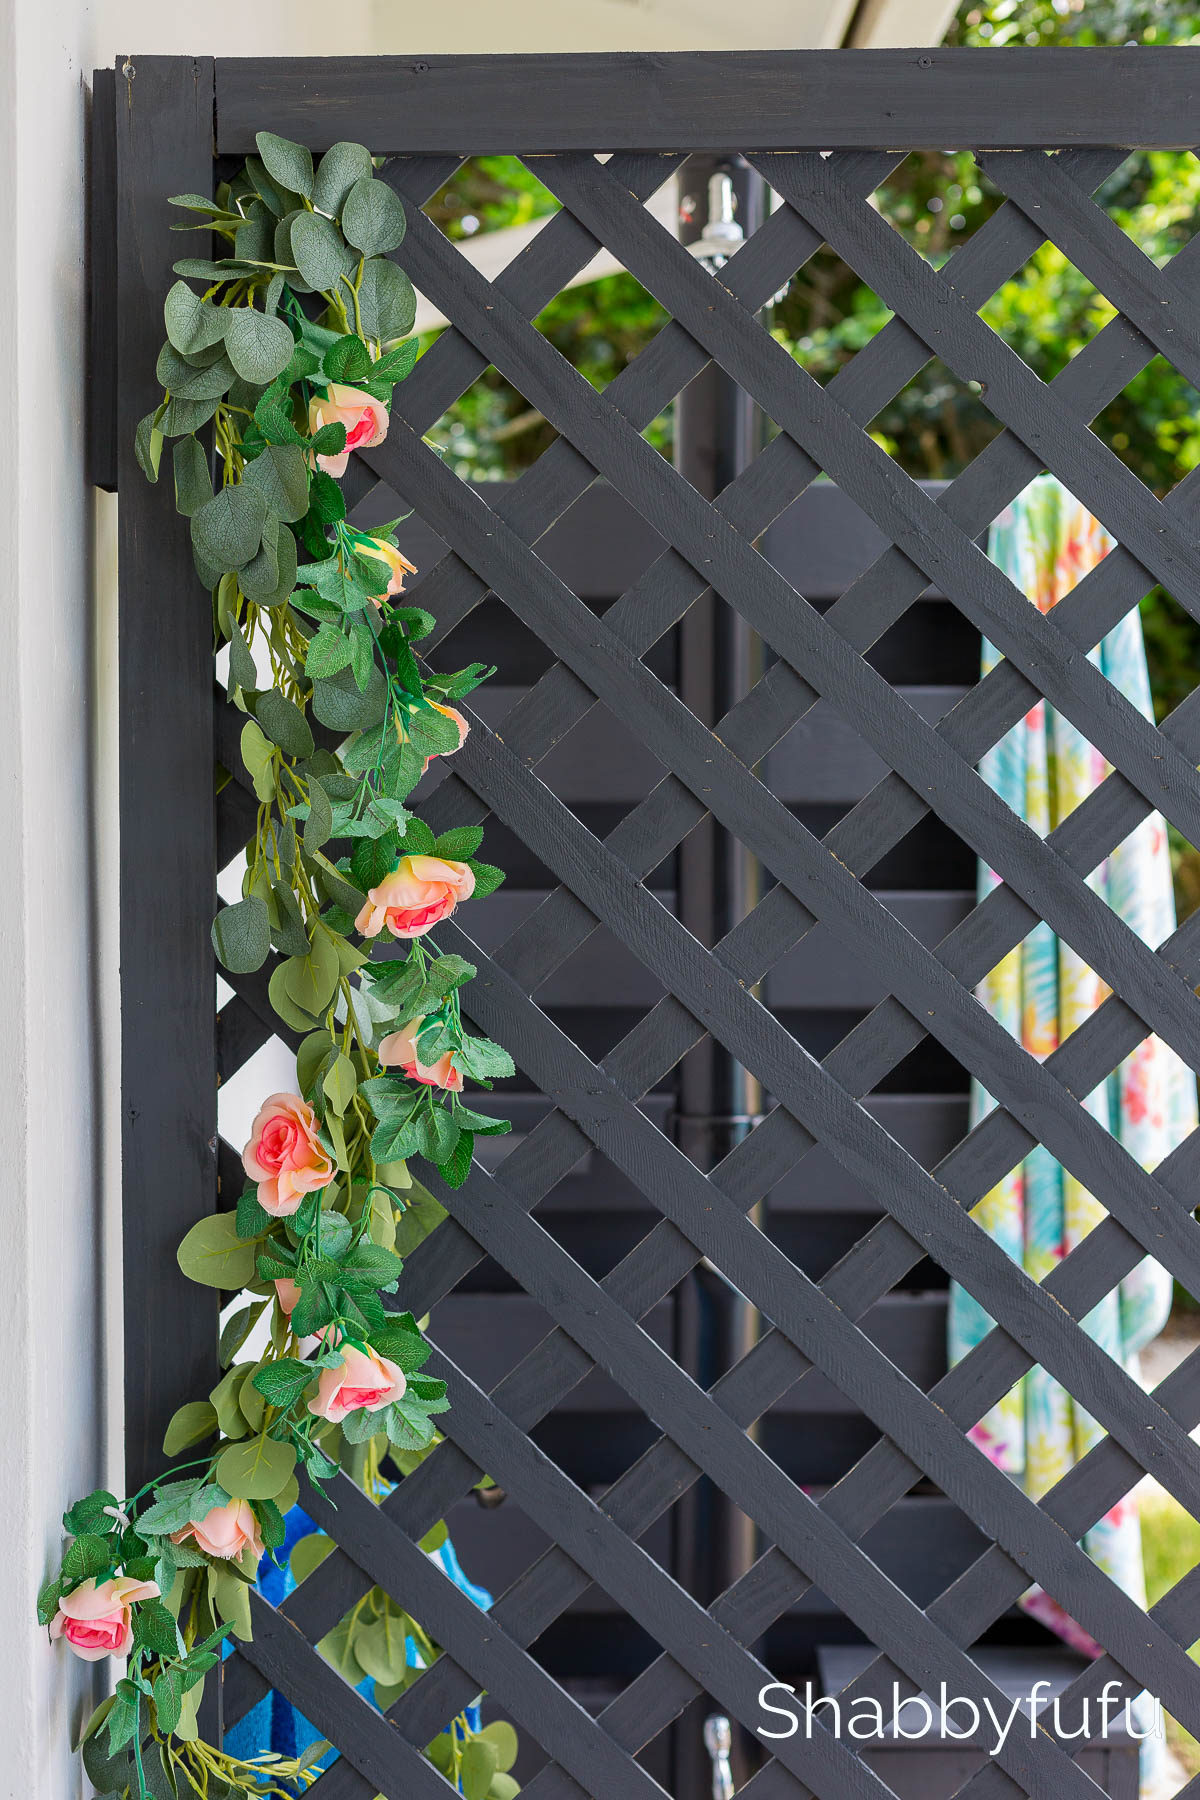
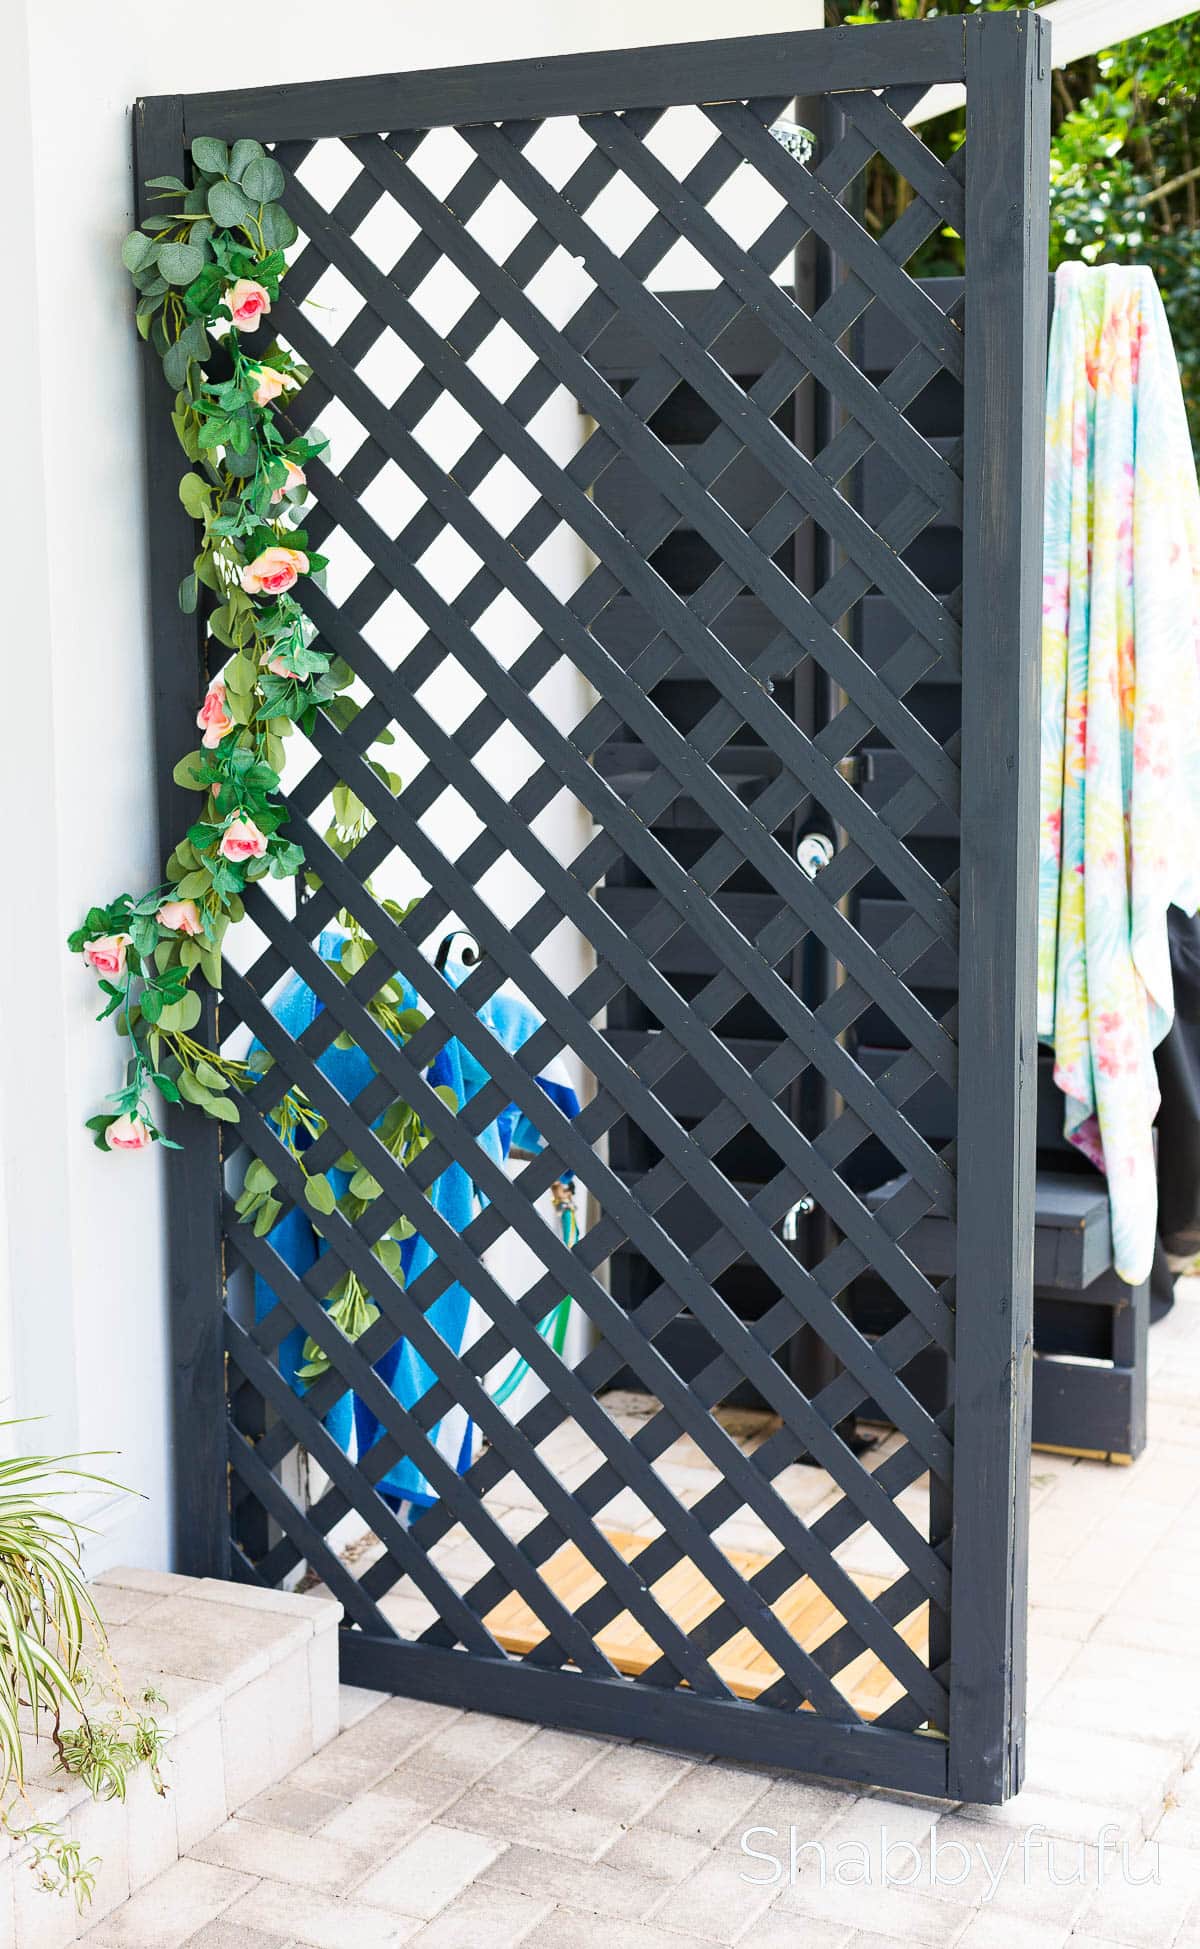
Paint or stain the lattice screen as desired. We painted our screen in black to match the outdoor shower.
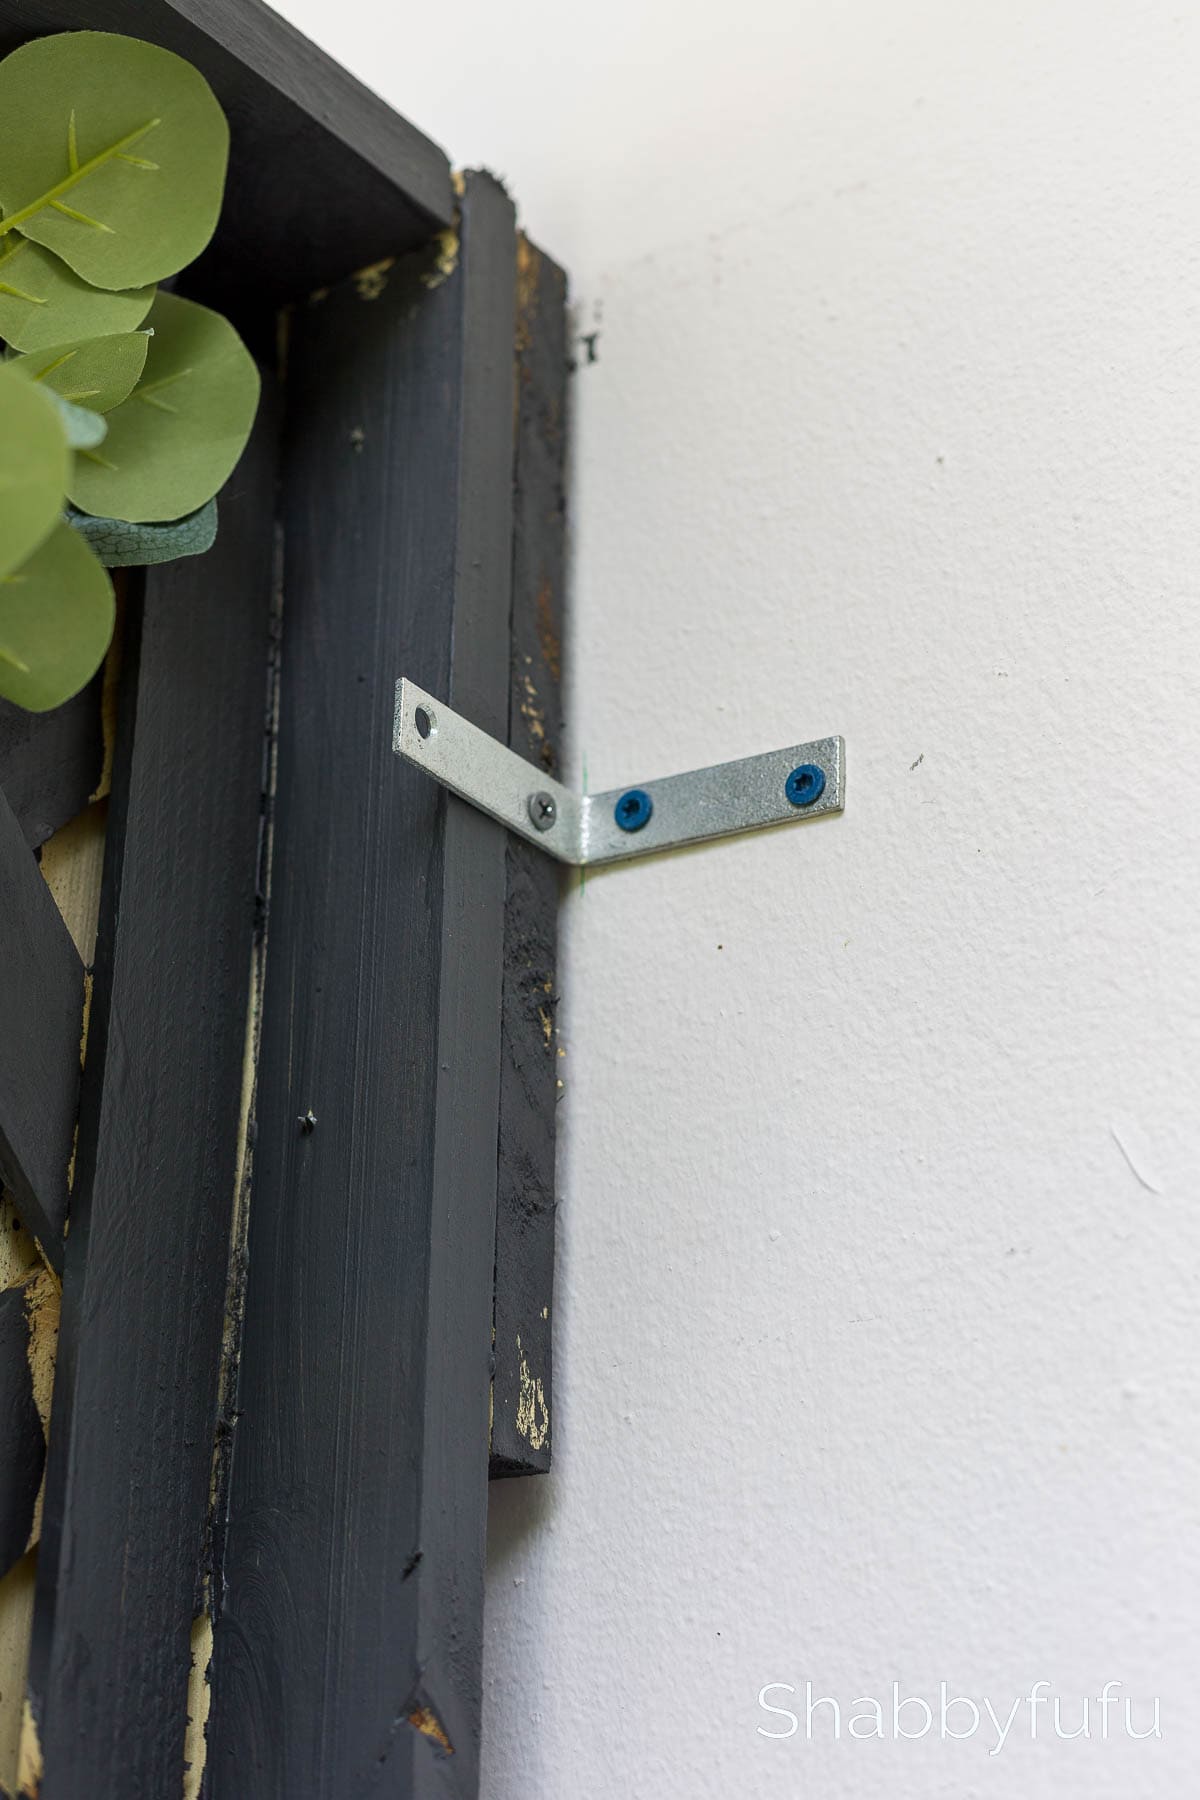
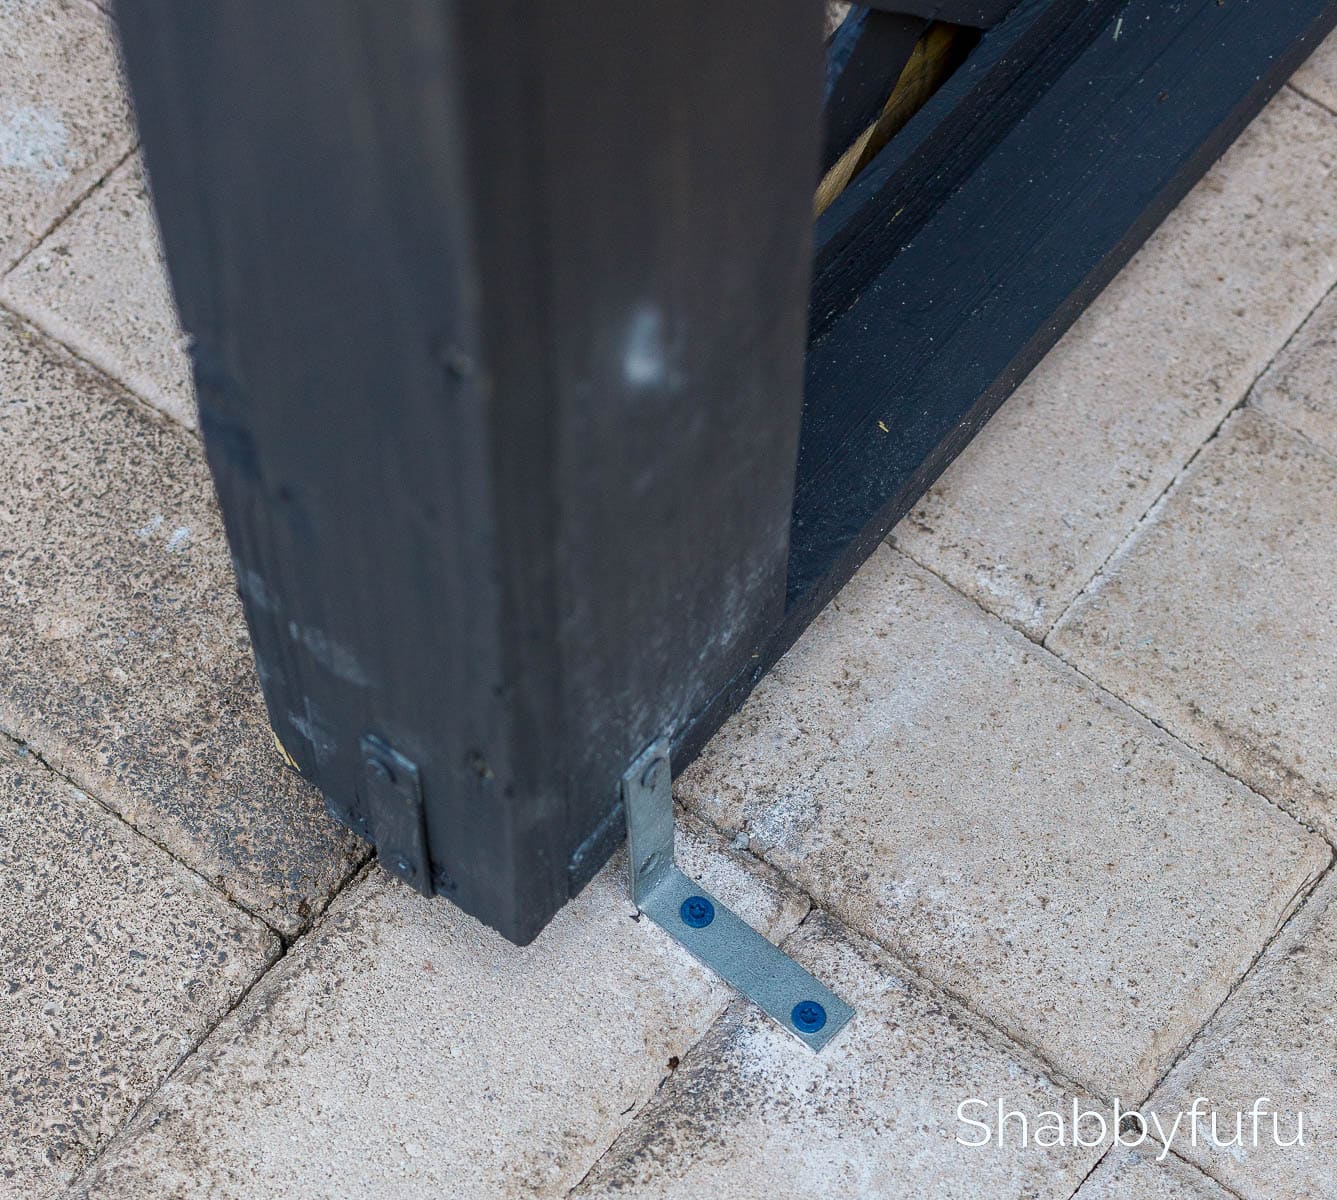
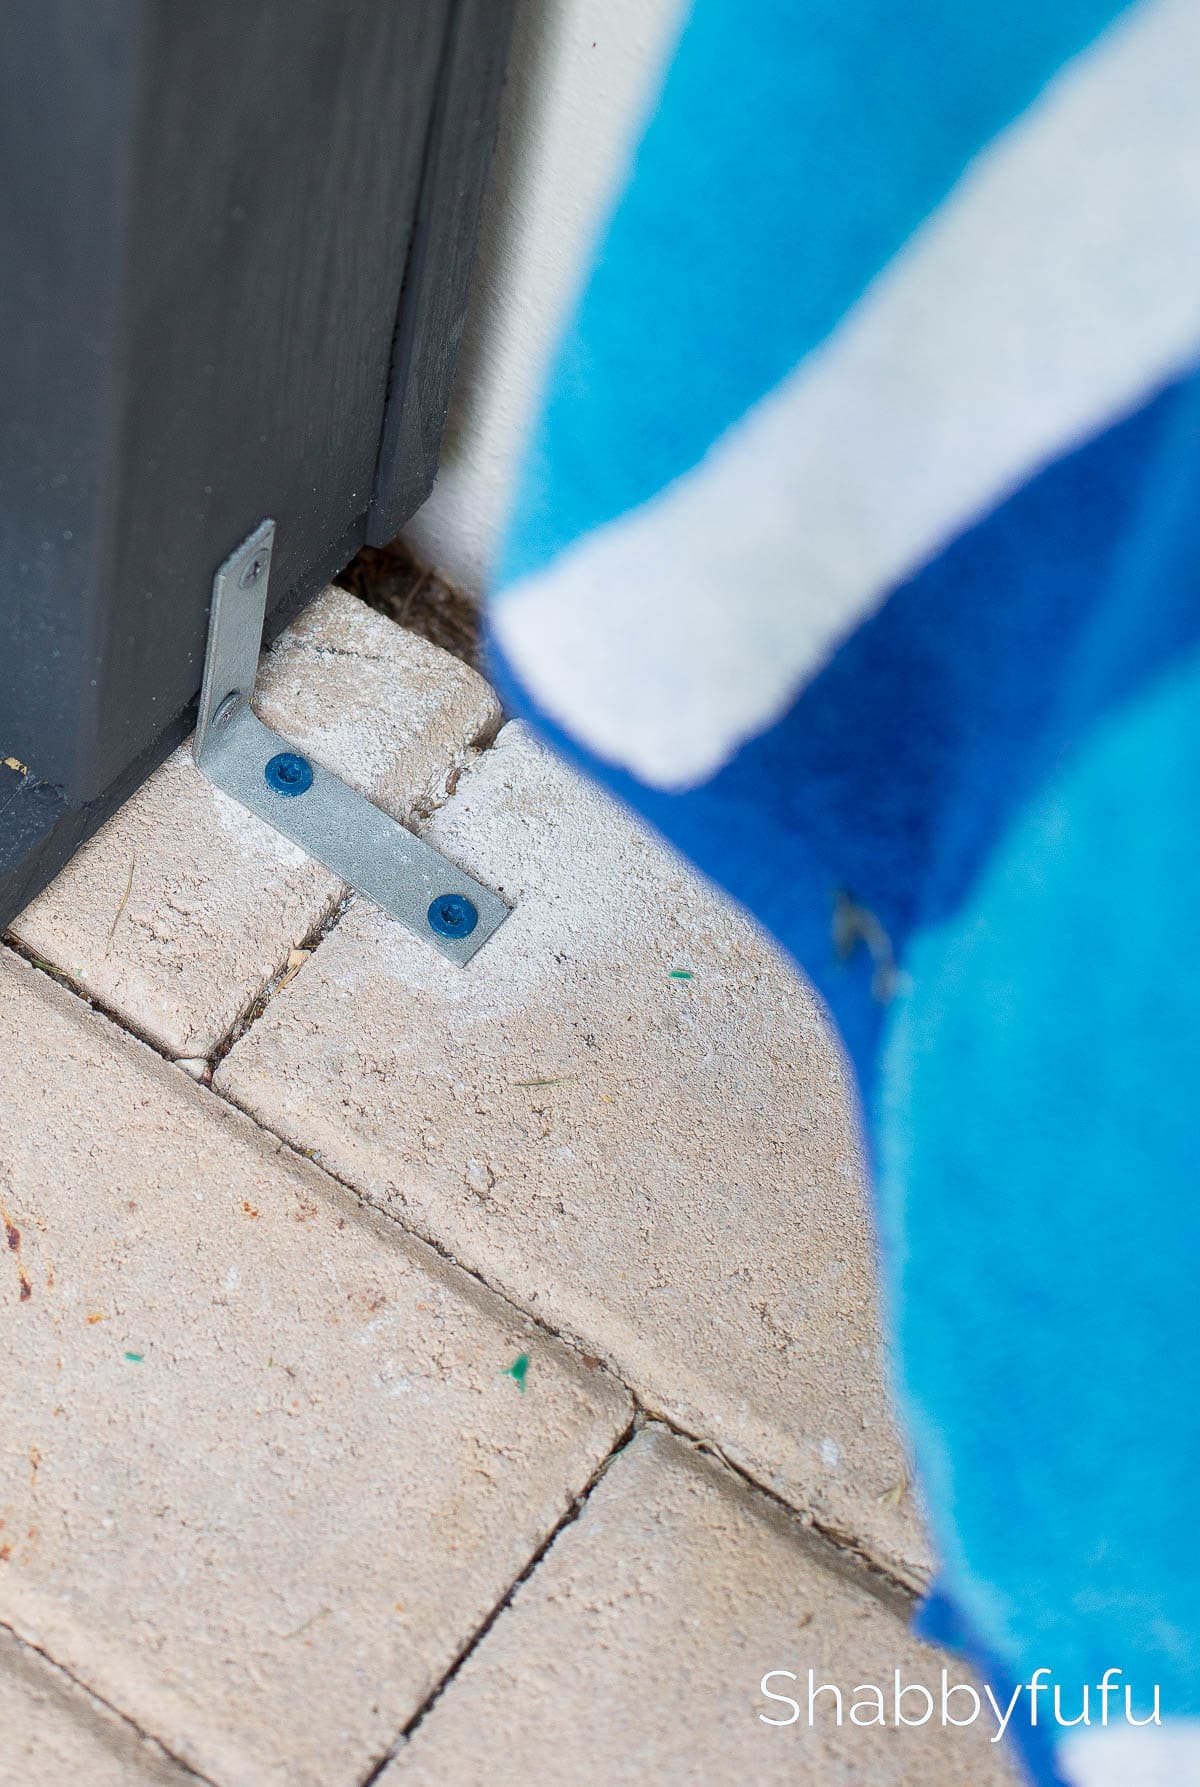
STEP – 10
When you build a lattice screen it will either need to have legs or attach directly onto the ground and/or wall. We built our lattice screen without legs and attached it to the wall and the concrete pavers. For securing to the exterior wall, we cut a spacer piece out of leftover wood and attached the National Hardware 2 1/2″ Corner Brace to it and the wall with concrete screws. On the bottom of the frame we secured the lattice screen using a Corner Brace on each side. This screen isn’t going anywhere and is on tight as a drum!
At some point we might add shade cloth to the back of the build a lattice screen project for more privacy. I just love the way that this screen hides the clutter!
Other Uses For This Build A Lattice Screen Project
- Hide your pool pump area if you have one.
- Add shade to the back of a gazebo.
- Hide the air conditioning condenser units.
- Keep your trash cans out of sight.
What would you use this project for?
I was wondering how to attach a trellis screen to our concrete area. You made it look so easy. Ours would be a partial just for privacy as we are too close to our neighbors to sit outside without being seen all around. Sometimes a gal just wants to sit outside with her coffee and pups in her robe:0)…hey I have more on than someone in a bathing suit! right! Ha!! I’m saving this Janet! Thanks.
This looks wonderful…and what a great idea. The whole shower area is perfect!
Wonderful project, Janet! We live near our neighbor and this screen would be a perfect way to have a bit of privacy! I would love to have an outdoor shower!
What a great finished look this gives to your outdoor area!
I was able to use this design but scaled up as I’m doing it on our deck for privacy and it will be 2 6×8 lattice frames. Got the first done today! Thank you for the help!
Wow, that sounds amazing! I love the idea of scaling it up for privacy—such a smart solution. I’d love to see how it turns out! Feel free to tag us on Facebook or Instagram when you’re done so we can check it out and share it with the community! 😊