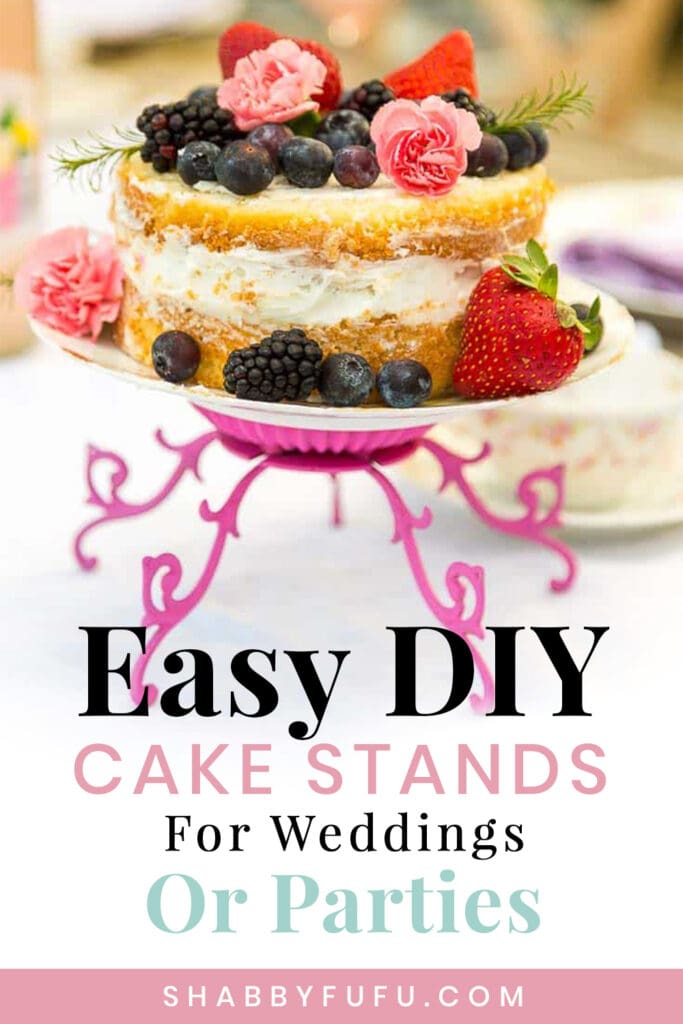
Easy DIY Cake Stands For Weddings Or Parties
This post may contain affiliate links. For more information, please see our disclosure policy.
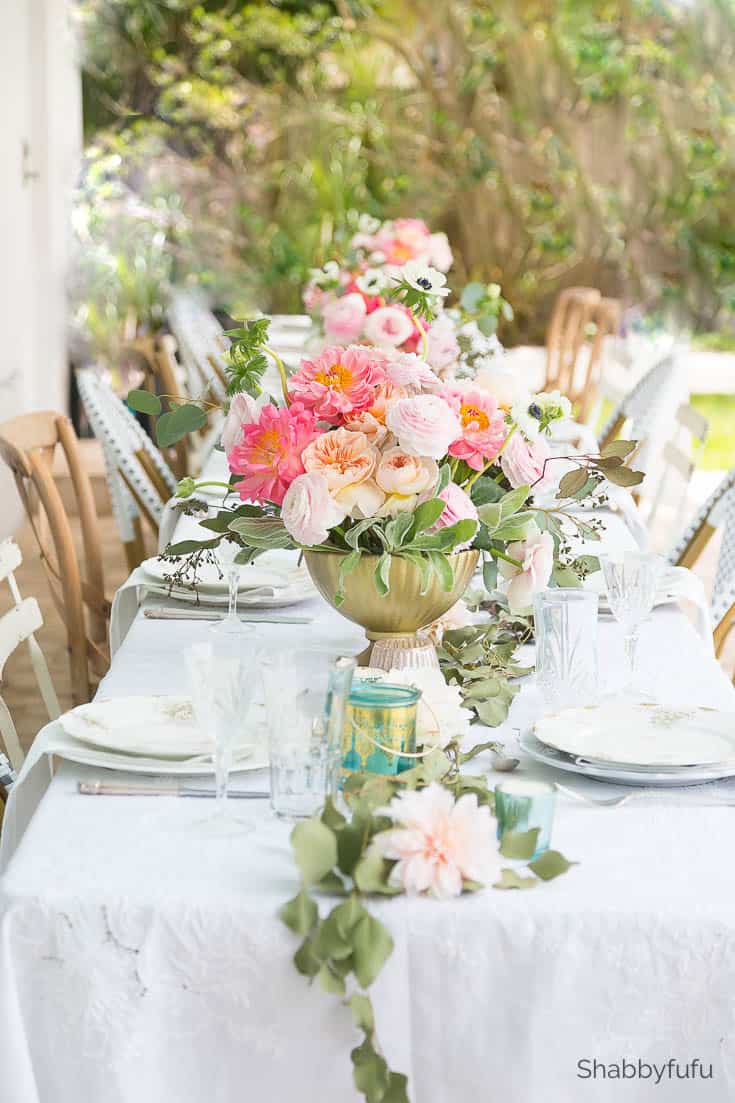
Easy DIY cake stands for weddings or parties and they are made with pieces that are easily found at the thrift store!
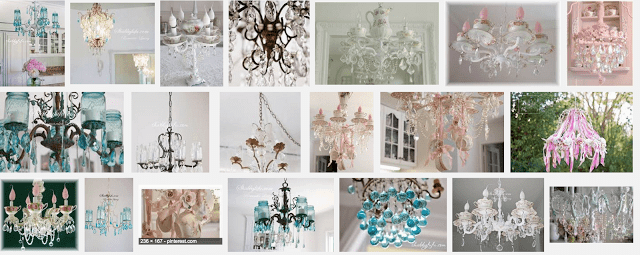
Do you love to think outside of the box when it comes to creating projects? Shopping at flea markets and thrift stores can yield a great assortment of spare parts to have on hand for your DIYs! I have worked with a lot of vintage chandeliers over the years and built up drawers full of pieces that I use often. For more on my chandeliers, I have a tutorial that you might want to check out…
” How To Make A Farmhouse Mason Jar Chandelier ” and a photo collage of just a few below!
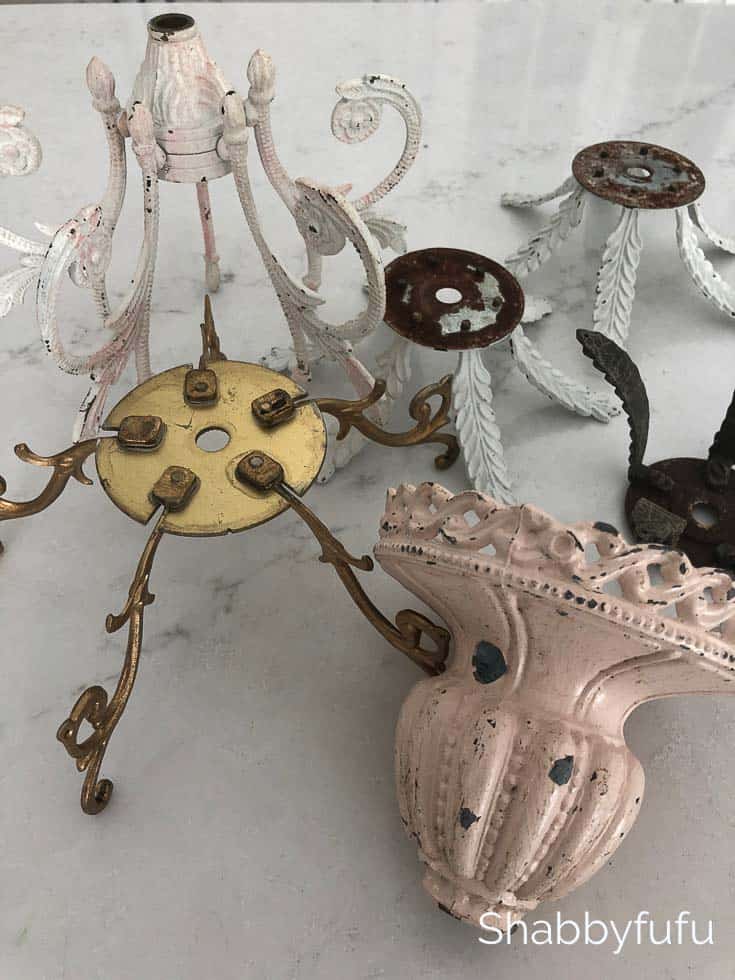
When I was organizing some of my old chandelier parts recently I grabbed a few for this tutorial. Some of the chandelier parts that you might look for when thrifting could be metal and some glass. I’ve had great luck finding vintage chandeliers at yard sales and generally buy the whole thing for a few dollars. I hang them on hooks in the garage and take apart when I need pieces for a creative project…like this one, easy diy cake stands for weddings or parties!

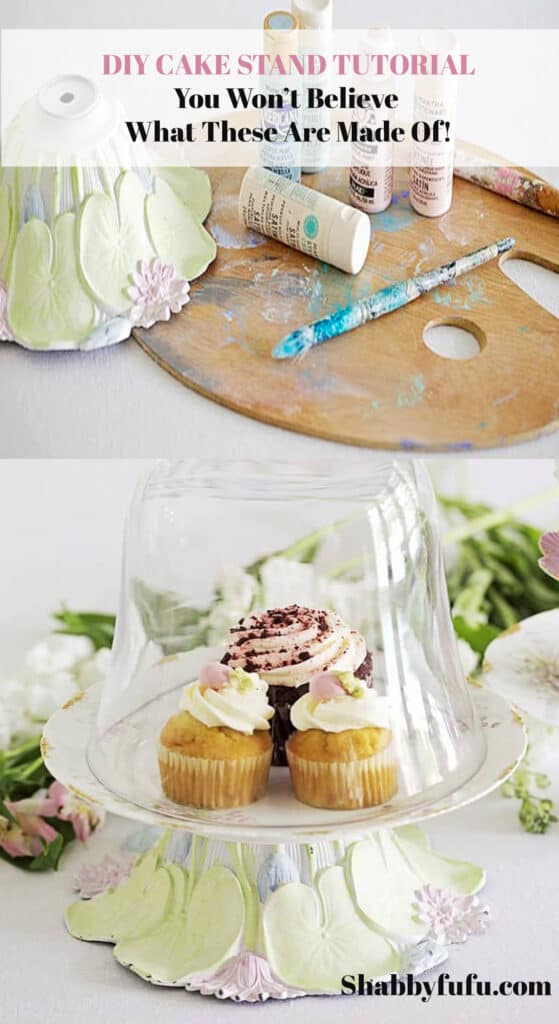
So you know what to look for, these are mostly parts that would hold chandelier crystals. They came from vintage Spanish brass chandeliers that I used to take apart to make my Mason jar chandeliers with. The pink piece below right is part of a old hanging light fixture that had a glass globe underneath. Overlook rust, as you’ll be painting and it won’t matter.
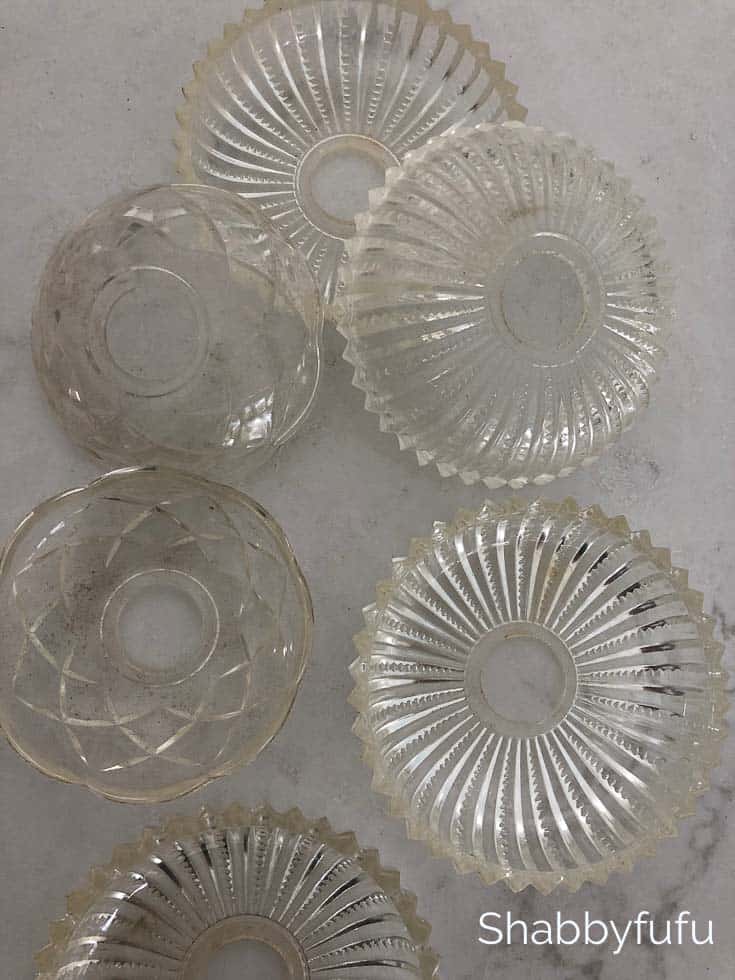
The glass pieces are called bobeches which you’ll often find on chandeliers around the socket. These are vintage and did not have the holes for hanging crystals. Those would be pretty to use in this project too!
Easy Diy Cake Stands For Weddings Or Parties
Last year I designed and hosted my daughter’s wedding reception at home. Although I don’t have photos of the cake stands we used, you can see more to inspire in my “Beautiful Affordable Wedding Reception At Home post”.
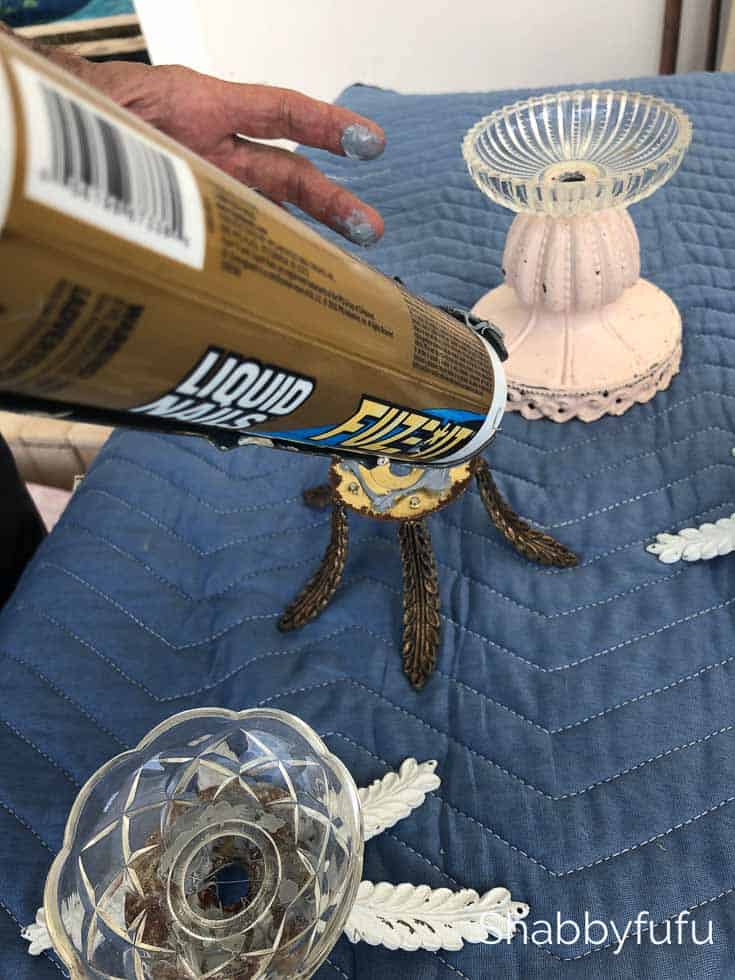
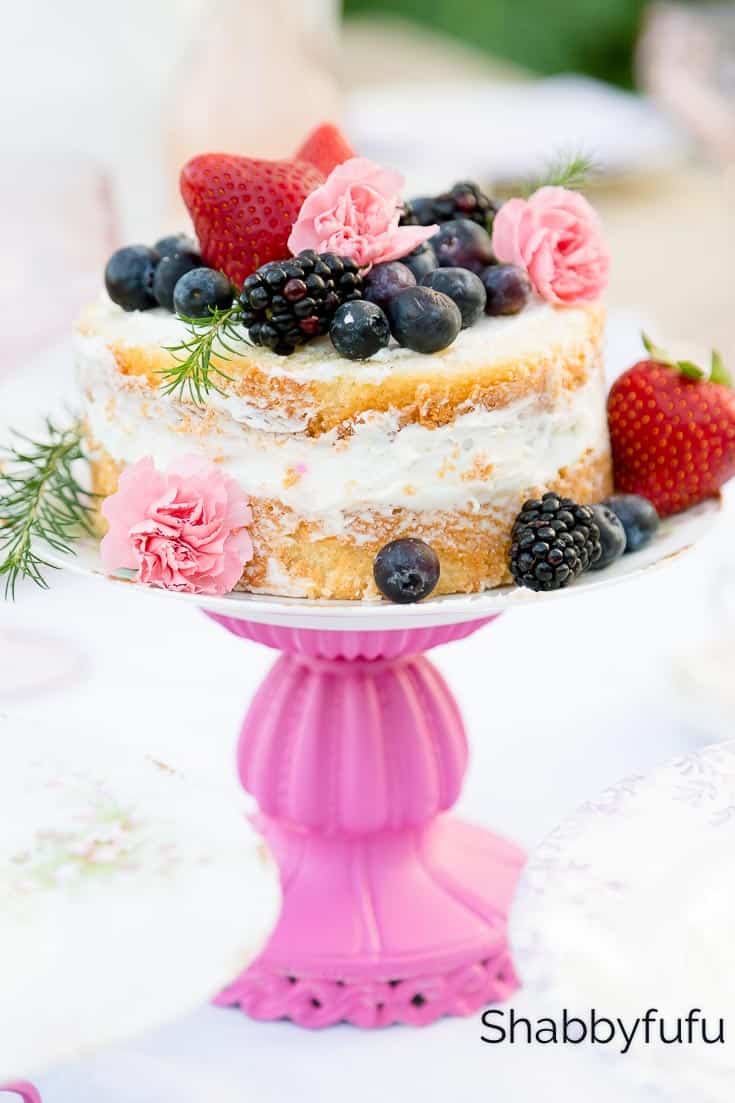
So simple…all you need are the lighting parts, some plates and glue!
- You will be gluing your bobeches on to the metal lamp part. Regular glue does not bond well and I recommend either Liquid Nails Construction Adhesive * find that HERE *or E6000 * find that HERE *. You’ll need a caulk gun if you use Liquid Nails, but I find this adhesive to be the best for the bond. Let this dry for several hours without moving.
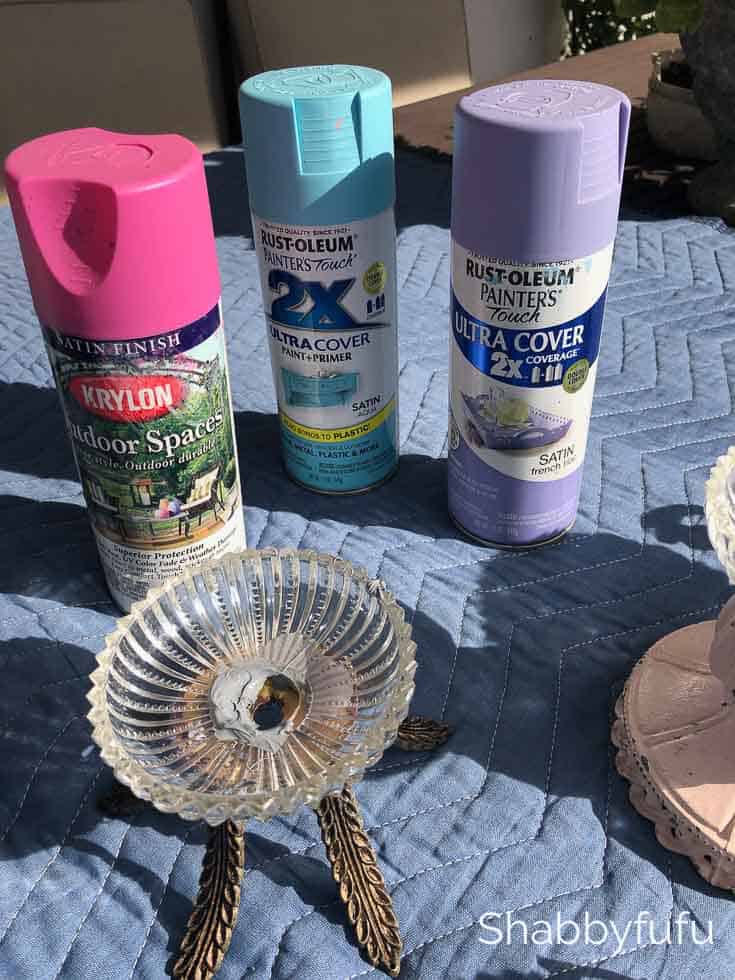
- Once dry enough to move you can paint. I use spray paint and honestly whatever I have left from previous projects. As always, spray painting should be done in a well ventilated area or outdoors.
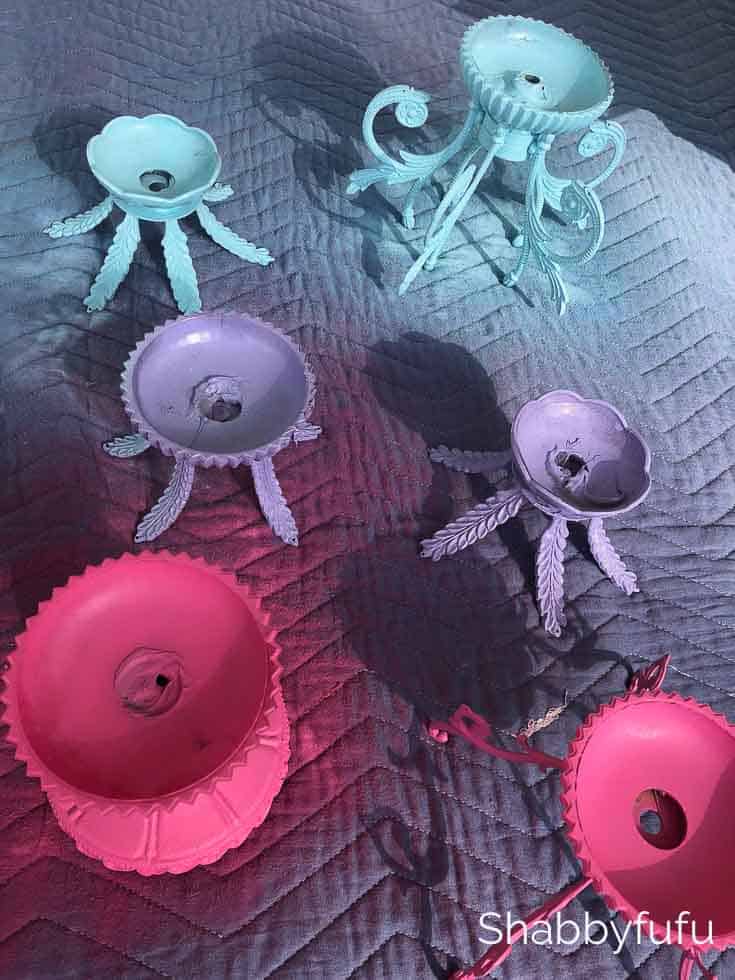
- You can choose to glue your plates on to these new stands that you’ve created, or not! I don’t have thrifted plates in my stash at the moment so I used plates that I didn’t want to glue. The stands should be sturdy enough where a cake will sit nicely without an issue, even when slicing.
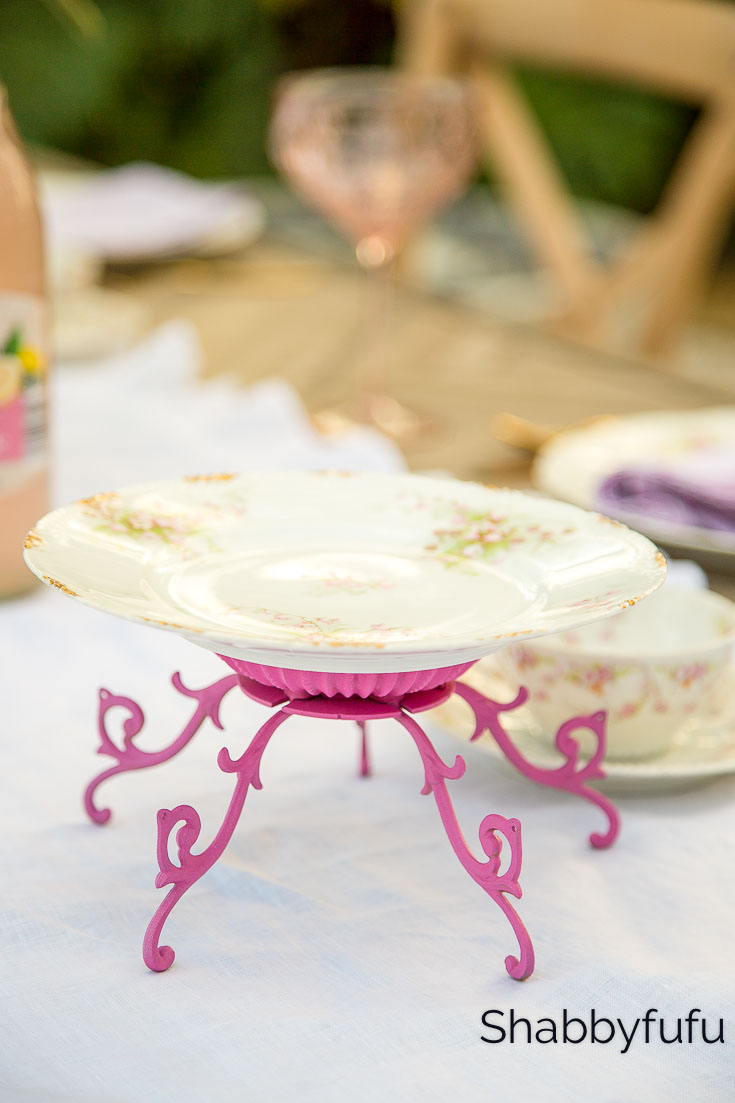
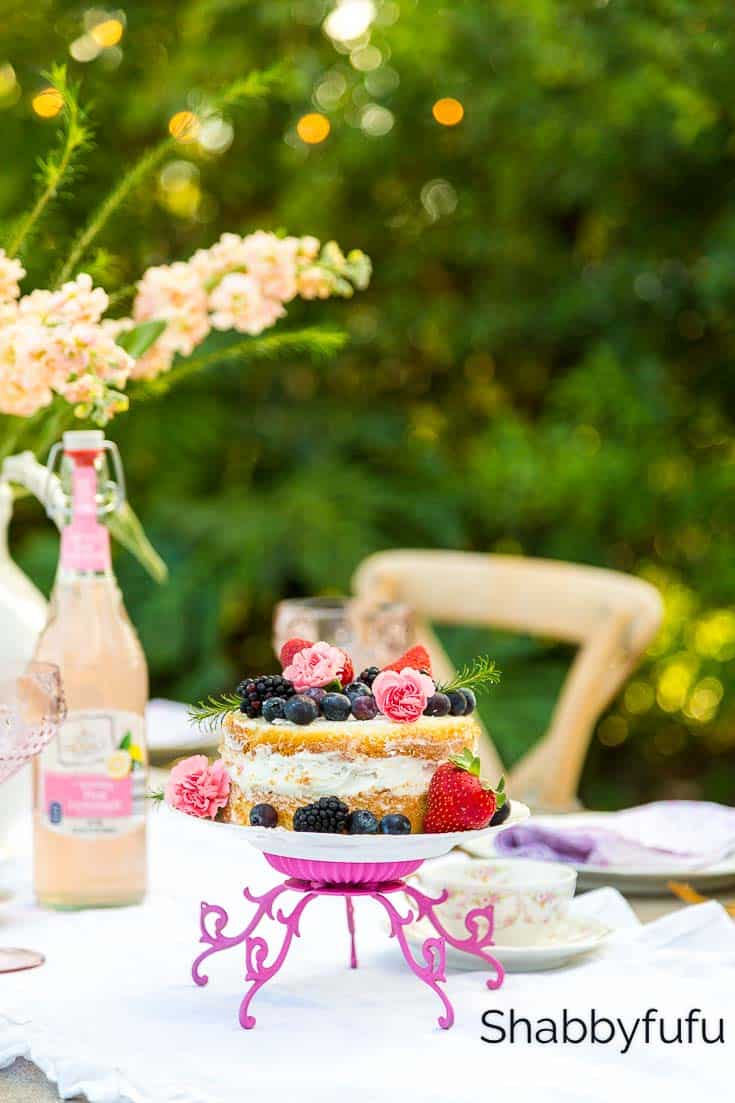
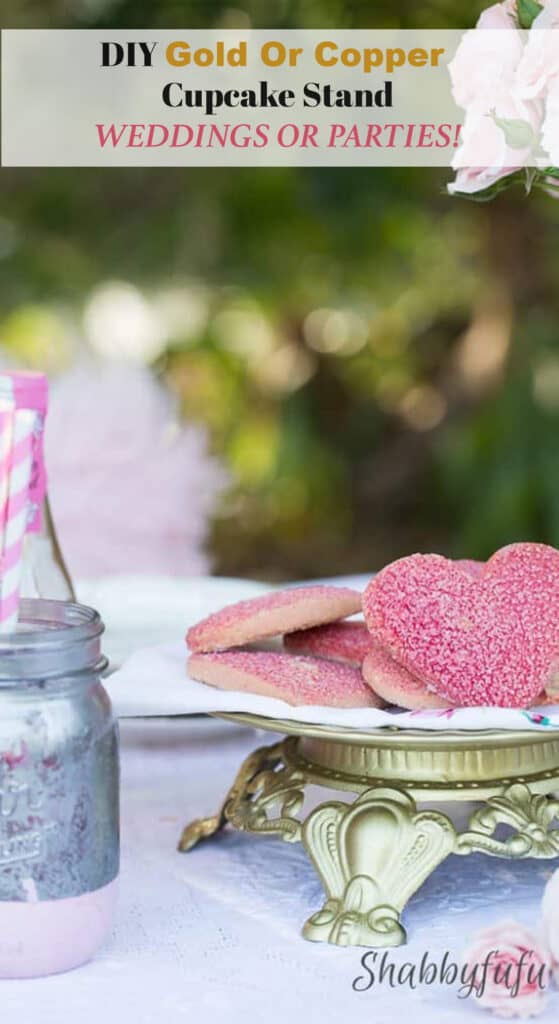
This easy diy cake stand is my favorite with it’s flirty leggy look. Guest always love these cake stands and are amazed when you explain what they are!

This one is made from the hanging pendant lamp part that is pictured above. Yes, you certainly can purchase beautiful and utilitarian cake stands at the store, but these are much more interesting and fun!
I LOVE CAKE & CUPCAKES! If you do too and enjoyed this post, you might like to read these posts as well!
” DIY Cupcake Stand – Beautiful Wedding & Party Design ”
” DIY Gold Or Copper Cupcake Stand ”
Since it’s my birthday tomorrow and my family is all together, this cake will be devoured! Need some cake decorating inspiration but don’t bake? Check out this post on ” How To Easily Beautify A Store Bought Cake ”
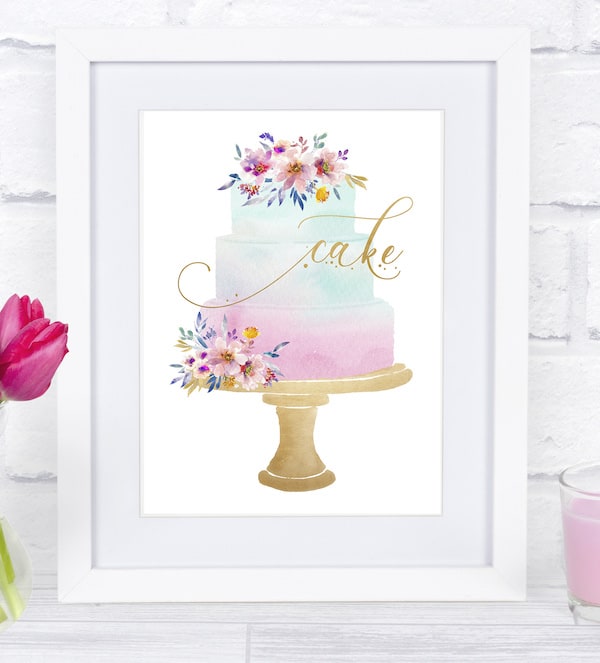
If you love printables I’ve created a sweet CAKE for subscribers. If you already subscribe, check today’s email and if not…you can do so right under this post!
I love you DIY cake stands! I grab light fixtures from the dump all the time, it is so easy to make things from the or repurpose them as lighting in your home. I have a large glass bobeche that I purchased from a floral design supplier. I also purchased the matching metal, pin style, floral frog that sits in it. I use it on a candelabra to add florals. I used it for my handfasting in 2014. I ordered a DIY wedding floral box from Global Rose, and I was delighted with the flowers. I used antique mason jars for the other arrangements. Global rose even used a photo of my candelabra on their facebook page. I had wired fresh moss around the base of the candelabra to give it a woodsy feel.
Just brilliant!
HAPPYBIRTHDAY!!! My best friend since I was 5 has a bday on the 26th! Hope u enjoy your very special day!!! Love your ideas with new ways to serve cake!!! Enjoy!:)
When I don’t want to glue a favorite plate to a cake stand, I use “tacky” putty, especially If it’s on a buffet where the piece won’t be moved. It holds very well, and the pieces can be separated easily when you’re disassembling the display.
?Happy blessed birthday??
Happy Birthday! ??? I hope you take the day to enjoy what makes you happy! These are so cute! I must start getting chandeliers and try this. You are just so clever.
Hope you had the loveliest of days. Great ideas for repurposing old chandeliers! Let us all eat cake!
Thank you so much Heather! xoxo
Well done , Janet. Happy Birthday from Australia!
Cath
Cath…catching up today and I thank you so much! Hugs…Janet
Those are FUN cake plates !! GREAT idea. ~linda of no.cal.
Glad that you like the idea Linda…enjoy your week!
Happy birthday
Playing catch-up today…and I wanted to say THANK YOU!!
Happy Birthday !! Love the cake stands. Debbie from Texas
Debbie…thank you so much!
What a unique and gorgeous idea! Happy weekend!
Thank you Christina…hope you enjoy the week ahead!
Our family has a tradition of going to a semi-local (1 hour away) tea restaurant and having a Royal or High tea. they serve the tiny sandwiches on a 3-tiered cake stand. I made several of these a few years ago to give to my daughters as gits. It was so easy: go to goodwill or any thrift store, pick out co-ordinating (but not matching) plates in dinner, salad and dessert size, and a few fancy tiny goblets or small candlesticks and glue them with a colorless glue. I have a photo but don’t know if comments can add them…
Yes…I have those types in another tutorial on the blog. Such a fun craft to make!