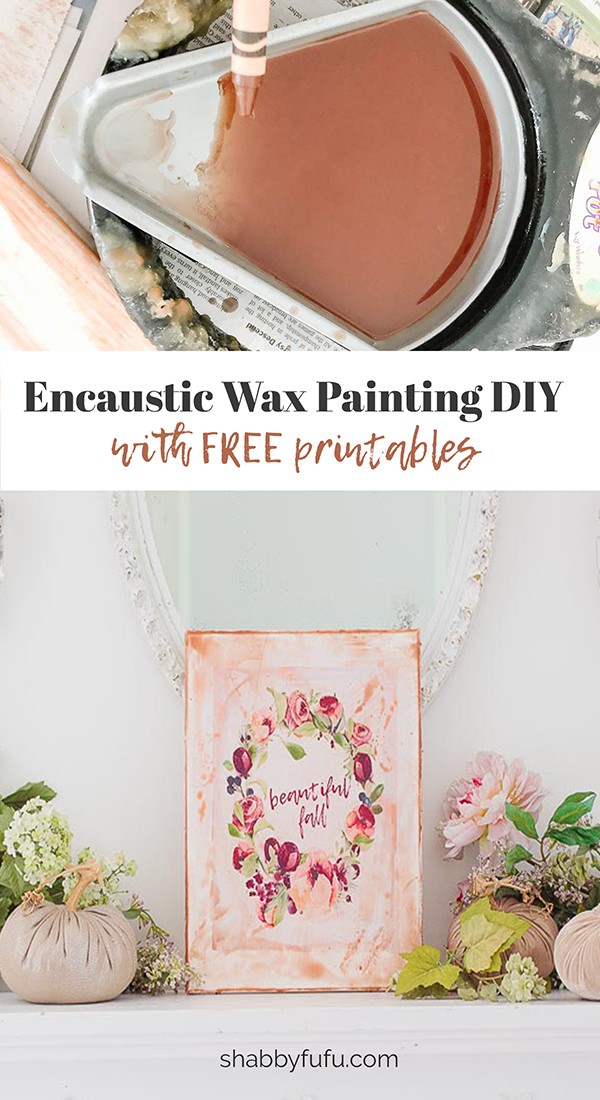
Encaustic Art Wax Painting DIY For Printables
This post may contain affiliate links. For more information, please see our disclosure policy.
In this post you’ll learn an easy technique to make an encaustic art wax painting with printable art. Give your artwork an instant vintage look and no special skills are necessary!
As a long time artisan and former art teacher, I have used wax for lots of purposes over the years! If you’ve followed me for any length of time you might remember that I used to sell waxed canvas prints of digital art. I love the way that wax gives whatever you paint it on a vintage look. It can applied to anything from canvas to wood, ceramics and more. For more about encaustics, you might want to read THIS.
Encaustic Art Wax Painting DIY For Printables
In this tutorial I’m using my preferred medium, which is beeswax. I use THIS BEESWAX that comes in a bar, but if you prefer you can purchase BEESWAX PELLETS that are easier to melt. Just be sure to get unbleached.
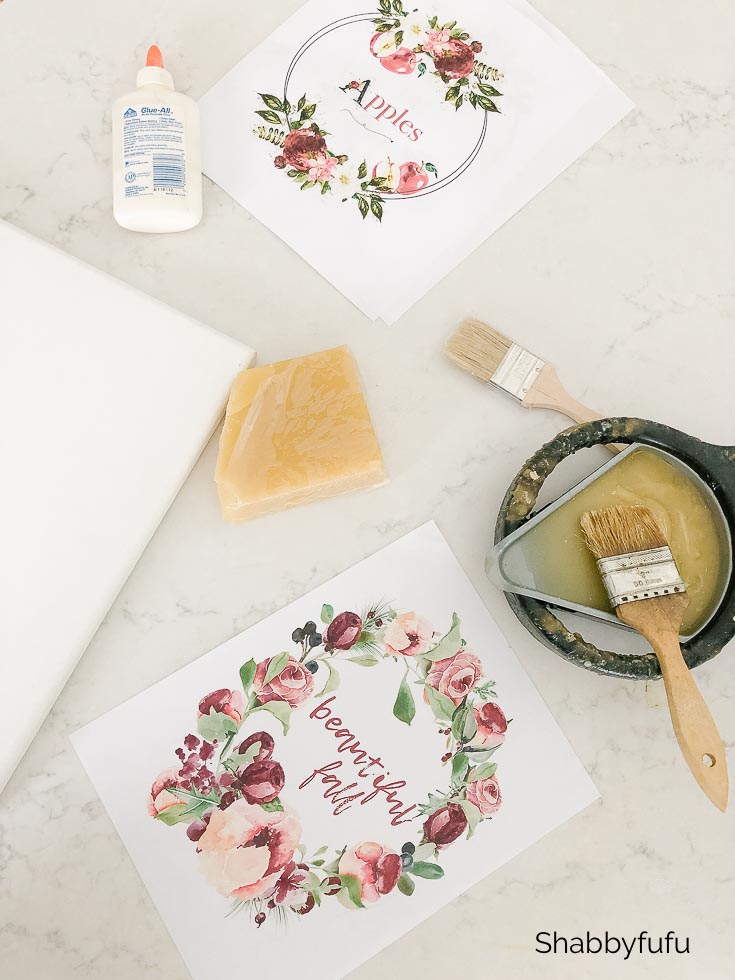
Encaustic Art Wax Painting Supplies
- Artwork – I have a large library of FREE printables available to use for subscribers.
- Wax melting pot – I would definitely get a good one…like THIS BRAND that I’ve had for 10+ years.
- Unbleached beeswax (as mentioned above)
- Canvas panels in 8″ x 10″ – HERE is a good buy
- School glue or Mod Podge
- Toss away brushes
- Rolling pin
- Iron – one that you’ll use for crafting only
- Optional – Crayons to tint wax, paper towels to wipe wax
Encaustic Steps
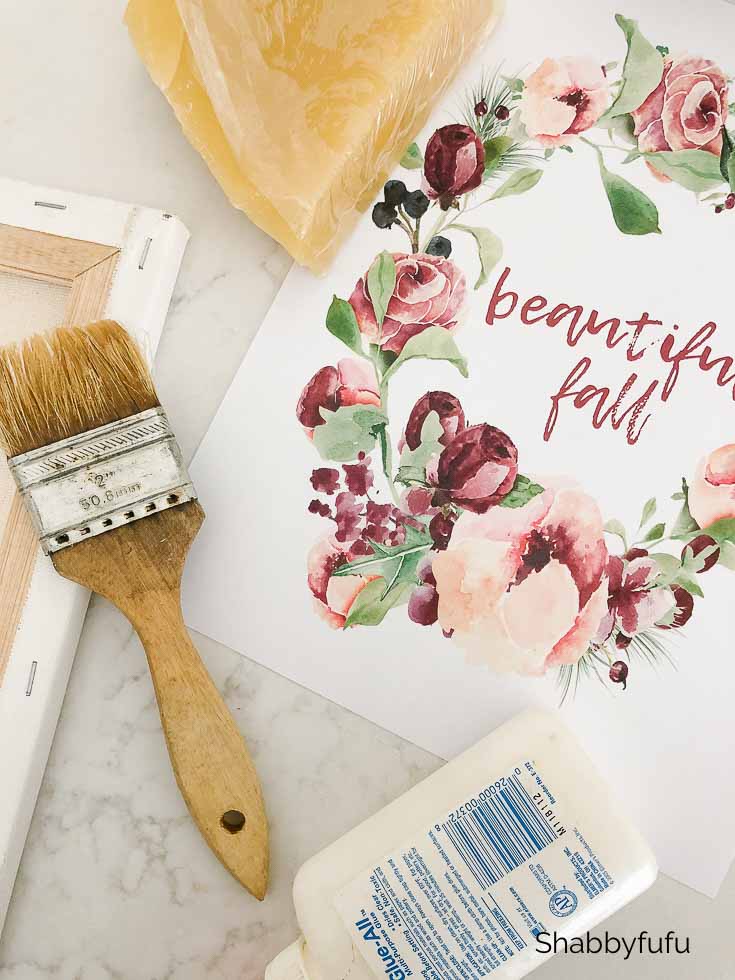
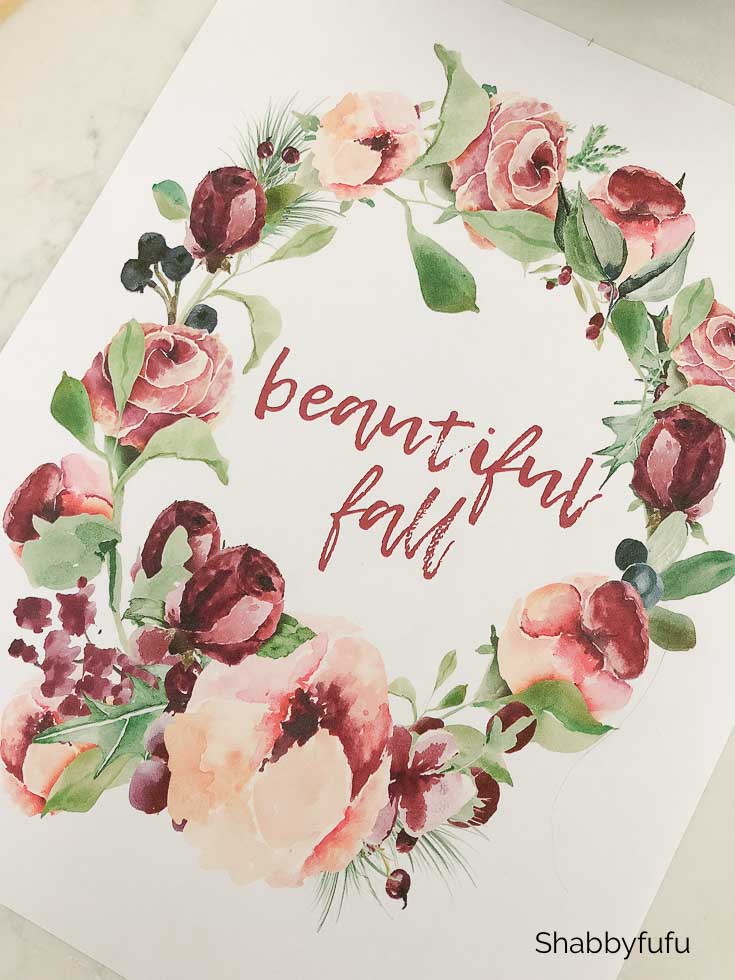
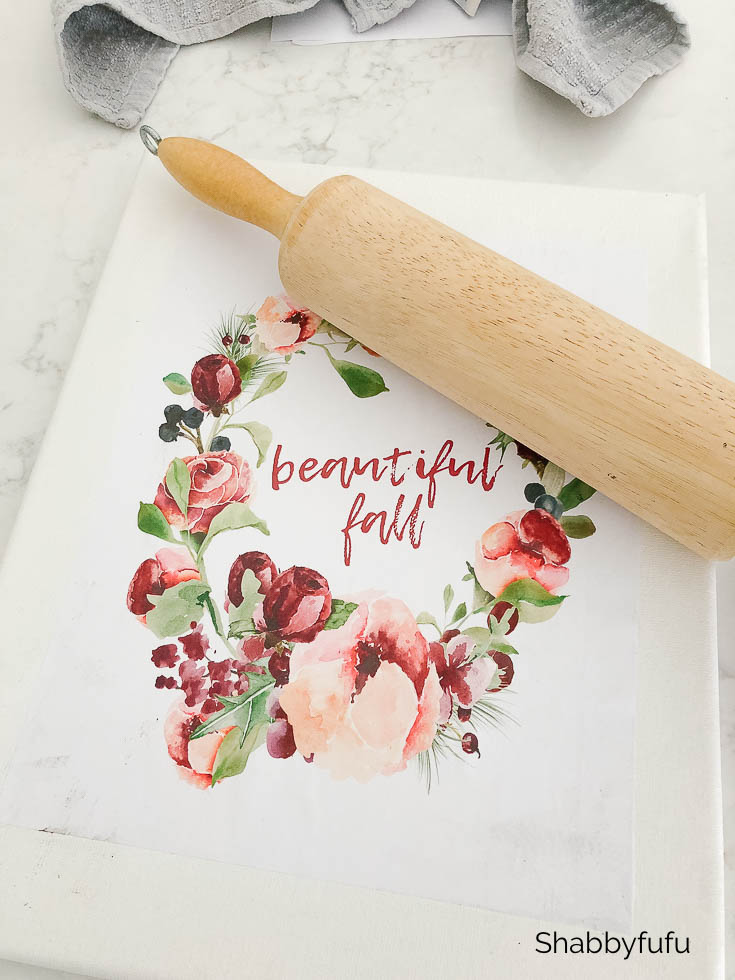
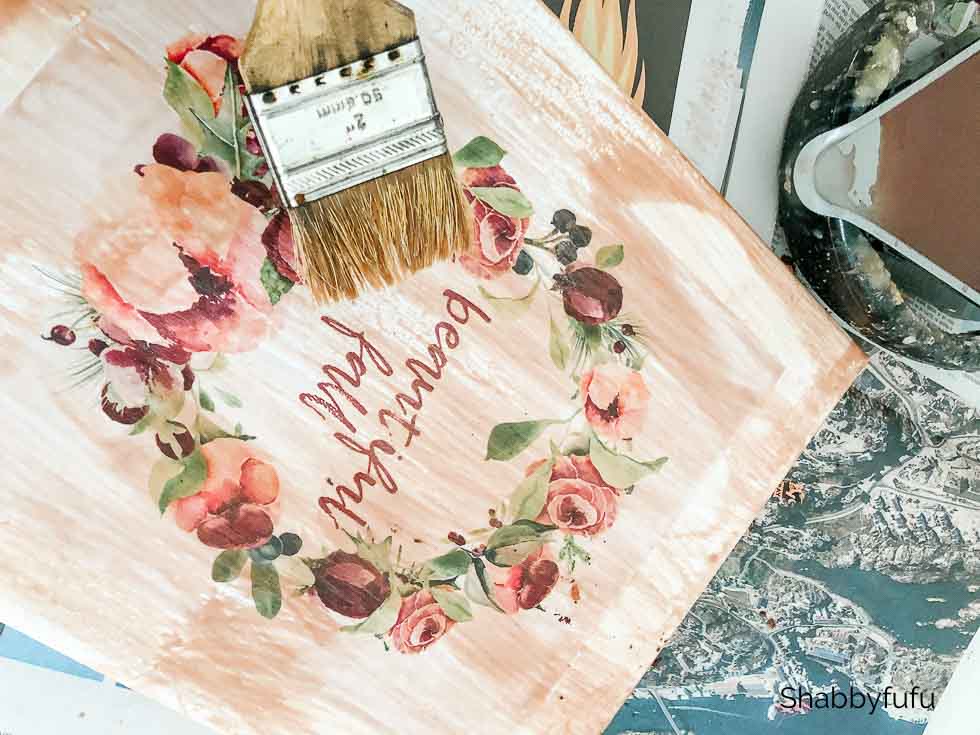
First step is to print out the artwork in the appropriate size for your canvas. Admittedly I didn’t have the right size, and it would have looked a whole lot better to use something smaller!! You’ll find this one in the members only gallery and as mentioned it’s free to subscribers.
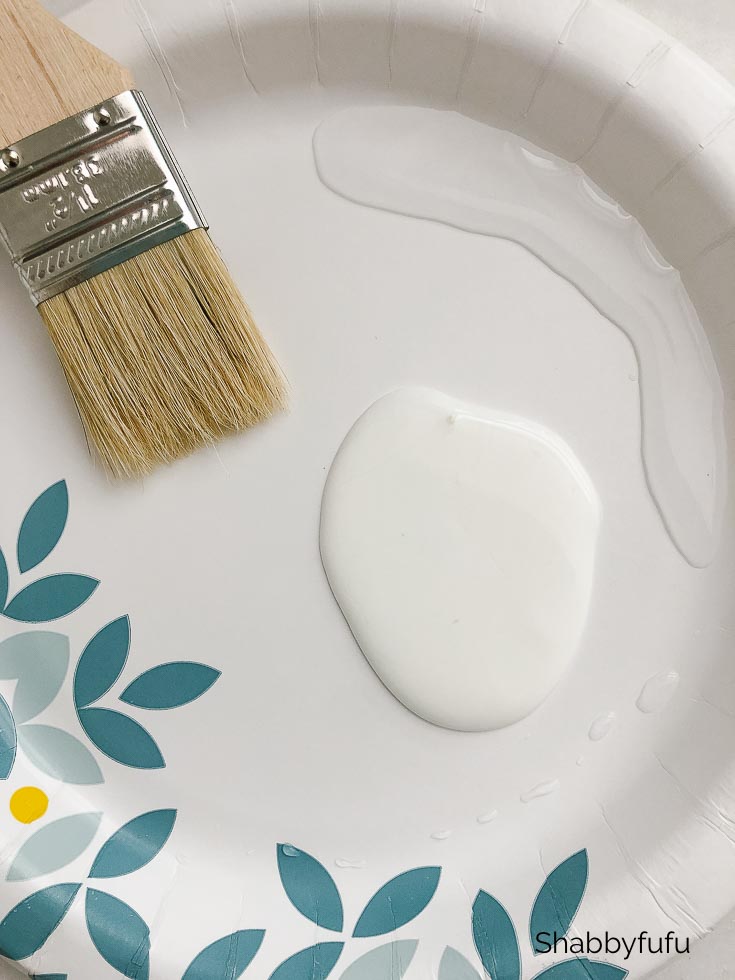
Thin out your school glue with water 50/50. Then brush it on to the back of your print (NOT the canvas), turn the paper right side up and apply with a gentle hand. Smooth it out from the center to the ends to eliminate bubbles. *OPTION* Rip the edges of the paper for a fun distressed look before applying.
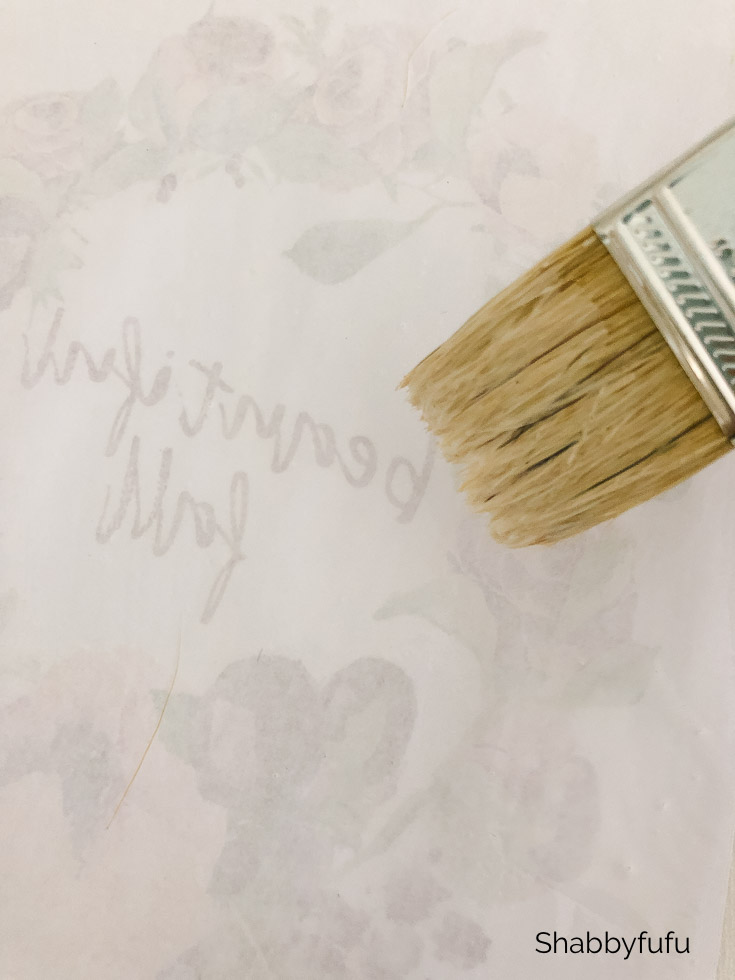
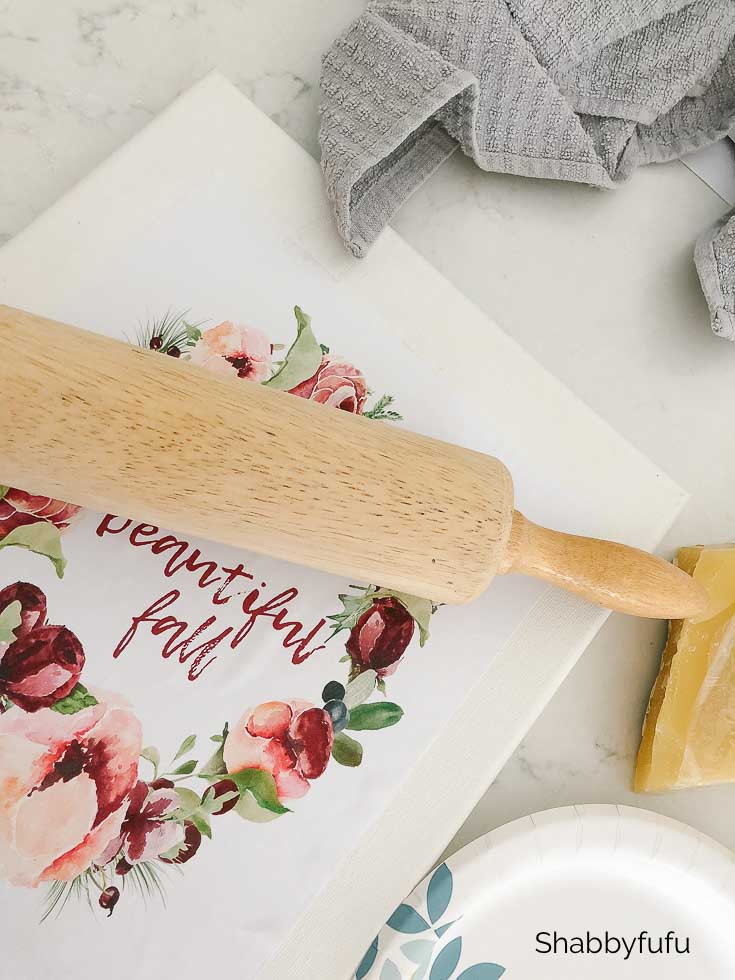
Using a rolling pin, smooth out even further. Do this gently because wet paper can easily rip if you’re rough.
I put my print outside in the sun to dry, which only took about 5 minutes. Once it’s completely dry you can begin painting on the wax.
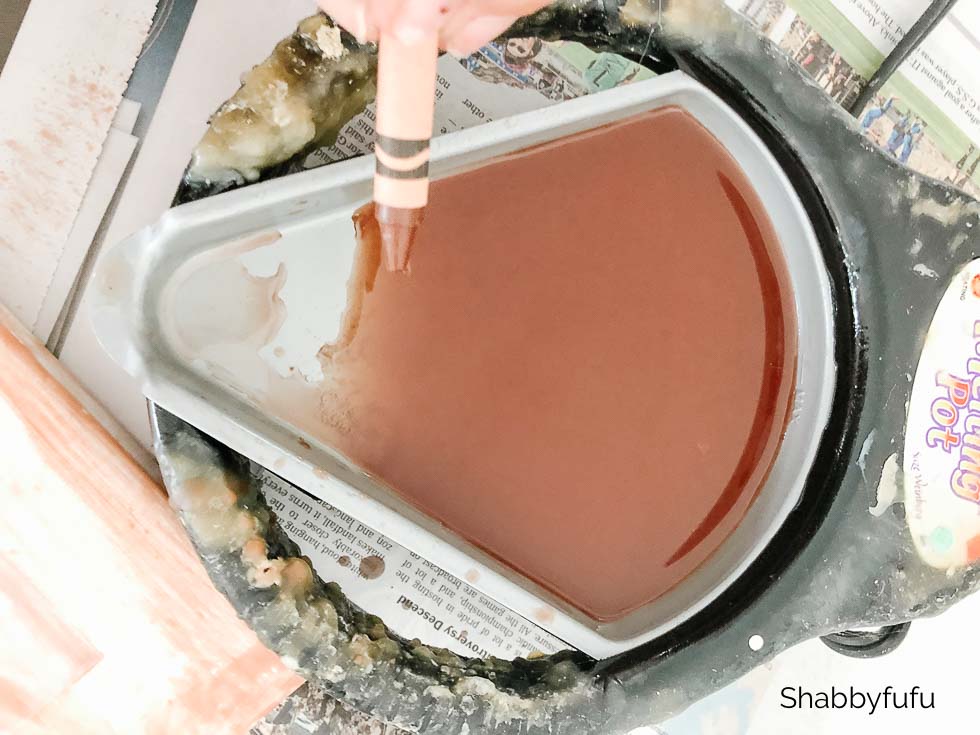
I added some brown crayon to my beeswax for a darker tint, but I’d suggest trying it without any tinting first. You can always make wax darker but you can’t lighten it! The process looks really rough, but once you’ve covered the print with wax you’ll be ironing it and giving the wax a nice sheen. While I don’t have any photos of the ironing process, keep the heat low and melt as you wish and what looks good to you.
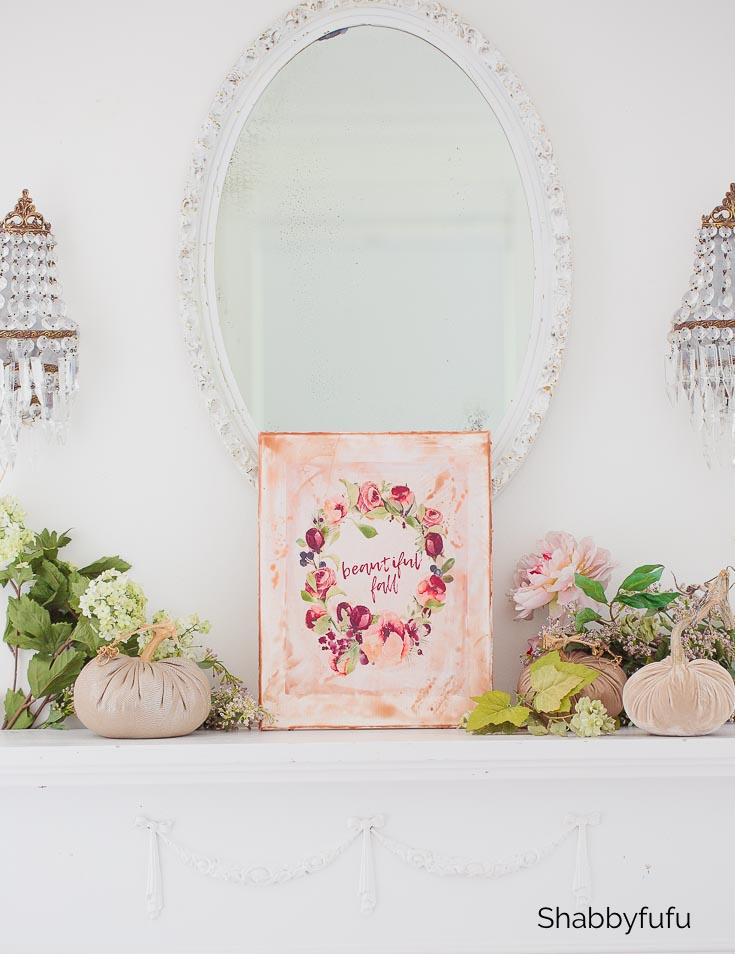
One of the nice things about creating with encaustic art wax painting is that you don’t need a frame.
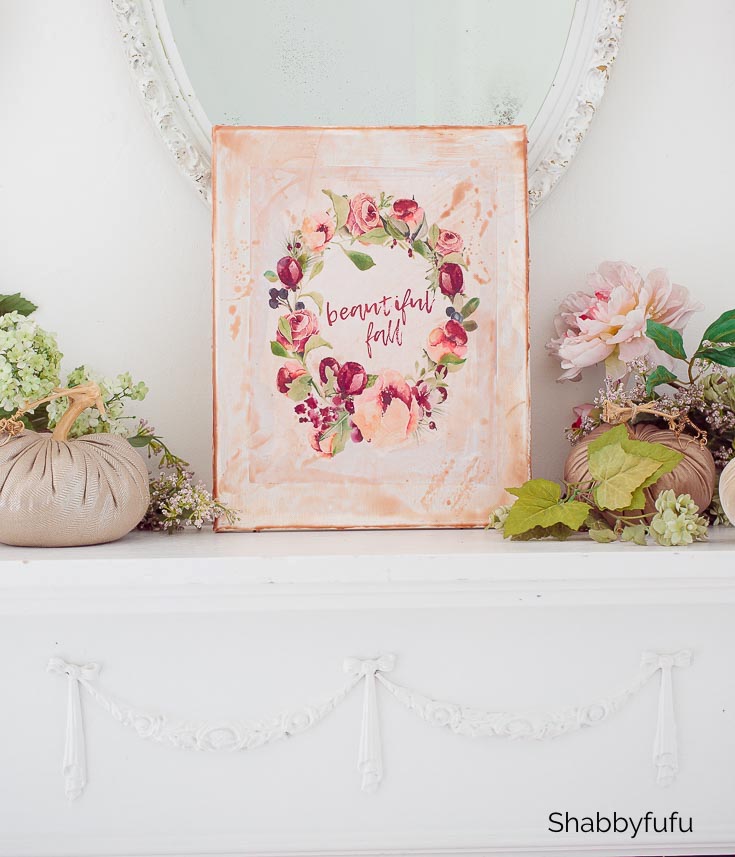
Once the wax dried the canvas developed a bit of a blush tint from the crayon. I might frame this one since the canvas is really a bit too large. What do you think?
If you enjoyed this post, you might like some of the other crafts and DIY tutorials in the archives:
Crafts & DIY Category
When you used the iron on the wax- do you put anything BETWEEN THE IRON AND THE WAX? Ie) a piece of plan paper ? To prevent the wax- and the project- from burning or sticking onto the iron?
Hi Laura. I did not use anything in between because I wanted to make the wax have texture and look uneven. I have a spare old iron specifically for crafting purposes.
I’m not artistic at all, but I thinkI can do this. It’ beautiful!
You don’t need a lick of talent….promise!!
Thanks for sharing! I have never heard of this process before! I am anxious to try it with some of your beautiful fall pictures. Simply stunning.
My pleasure Sue…it’s a satisfying project and so easy to do!
Your printables are gorgeous Janet! And I love this technique – I’ve never done anything with wax like that, but it looks easy and pretty when it’s done. Your tutorials are always great! – thanks! 💗
Barbara…thank you! I have another wax tutorial coming tomorrow that is so fun and easy!