Hang Peel And Stick Wallpaper – Like A Pro!
This post may contain affiliate links. For more information, please see our disclosure policy.
Hang peel and stick wallpaper like a pro! All the rage for awhile now and it’s been a minute since we’ve hung wallpaper! Now that we’ve gotten our feet wet with this glorified contact paper I’m hooked! So much easier and faster than all the prepasted that we’ve hung in the past!
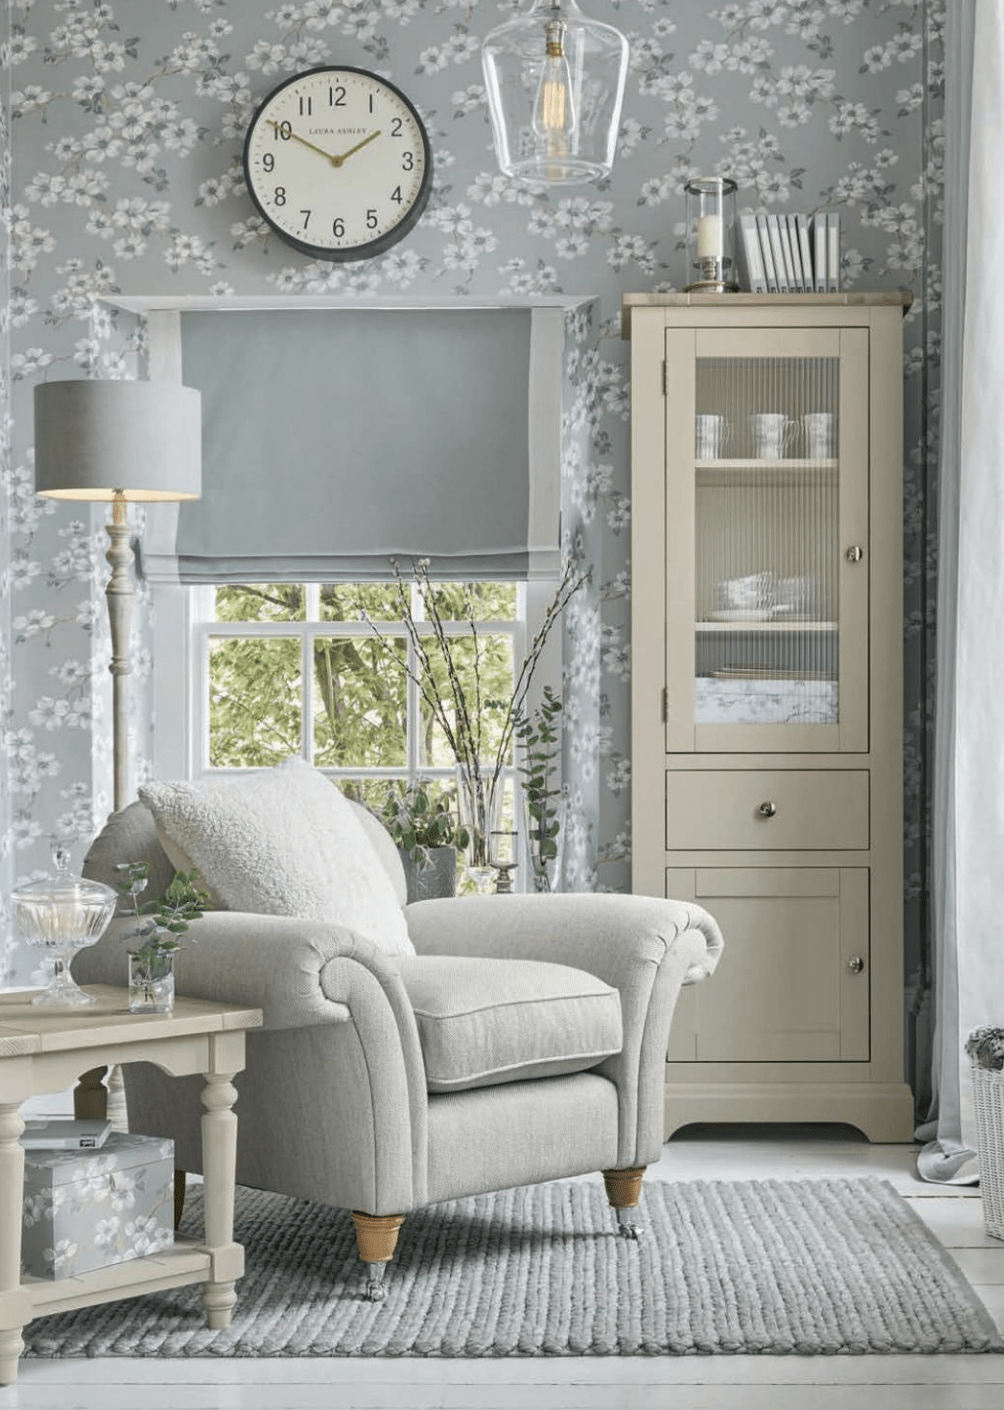
This took us back to our first home that we wallpapered extensively with Laura Ashley patterns. Oh how I wish that I had photos of the blue and white floral paper accent wall! It was similar to the above. But then we moved to our current home. There was foiled and flocked wallpaper everywhere! Again, this was prior to the iPhone or even digital camera age and I have no photos other than in my memory. And memories of the days spent steaming and scraping to remove that ugly stuff. My husband swore that he would never want to have anything with wallpaper again. Ever!
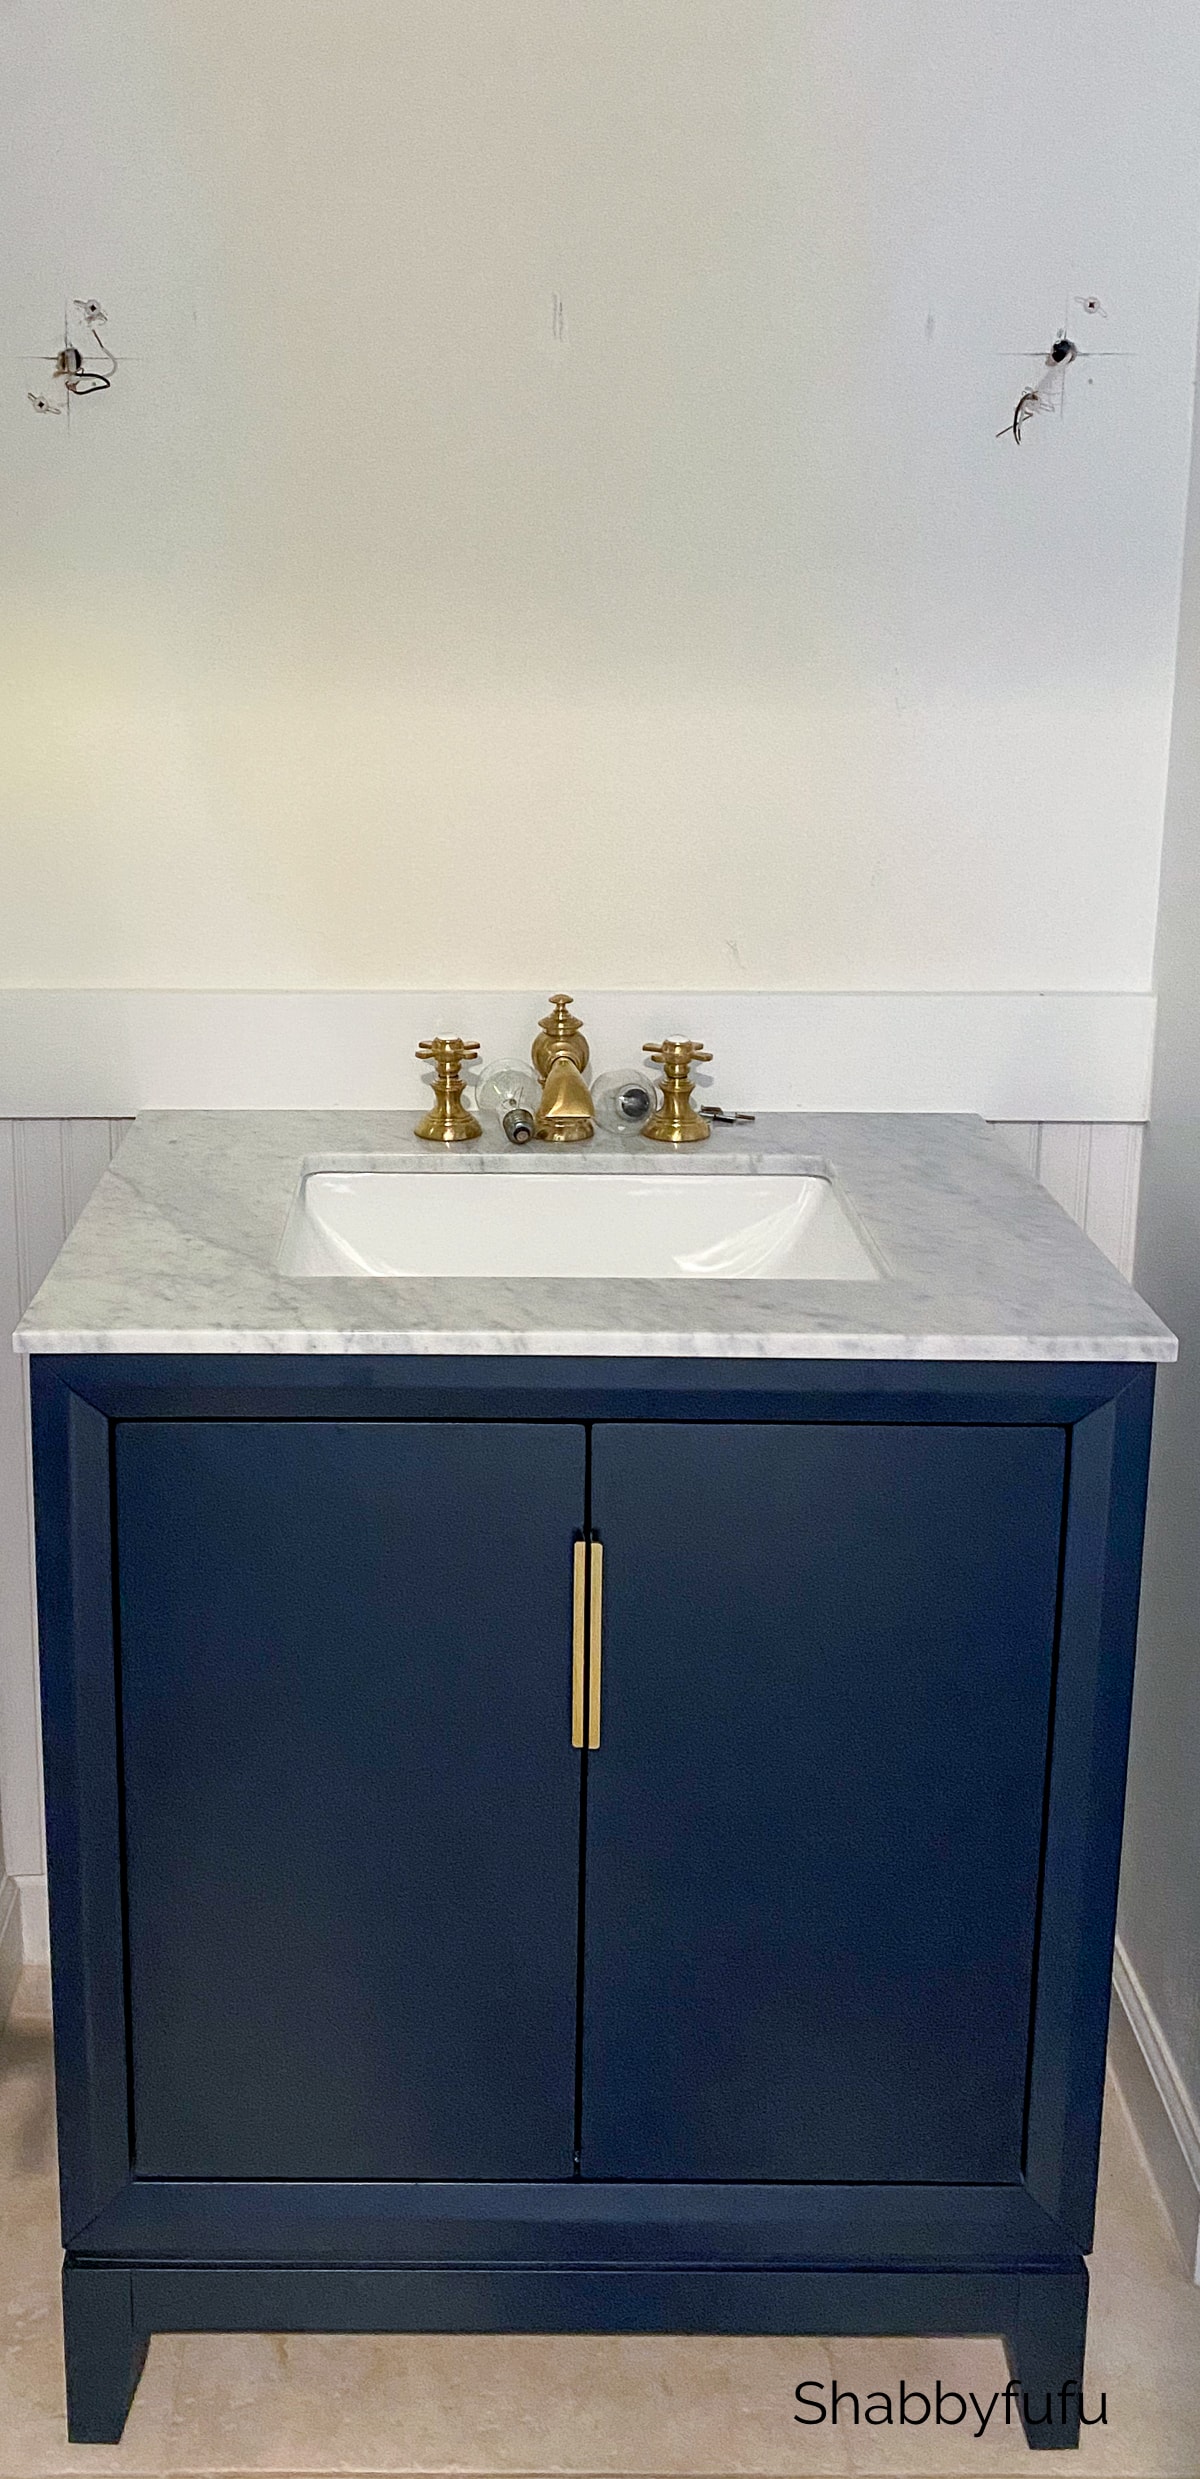
I’ve been just itching to hang wallpaper again for years. I extolled the virtues of temporary paper to him and he finally caved. Yes! Happy wife! We have been updating our beach home and I recently posted the powder room renovation. See that post here.
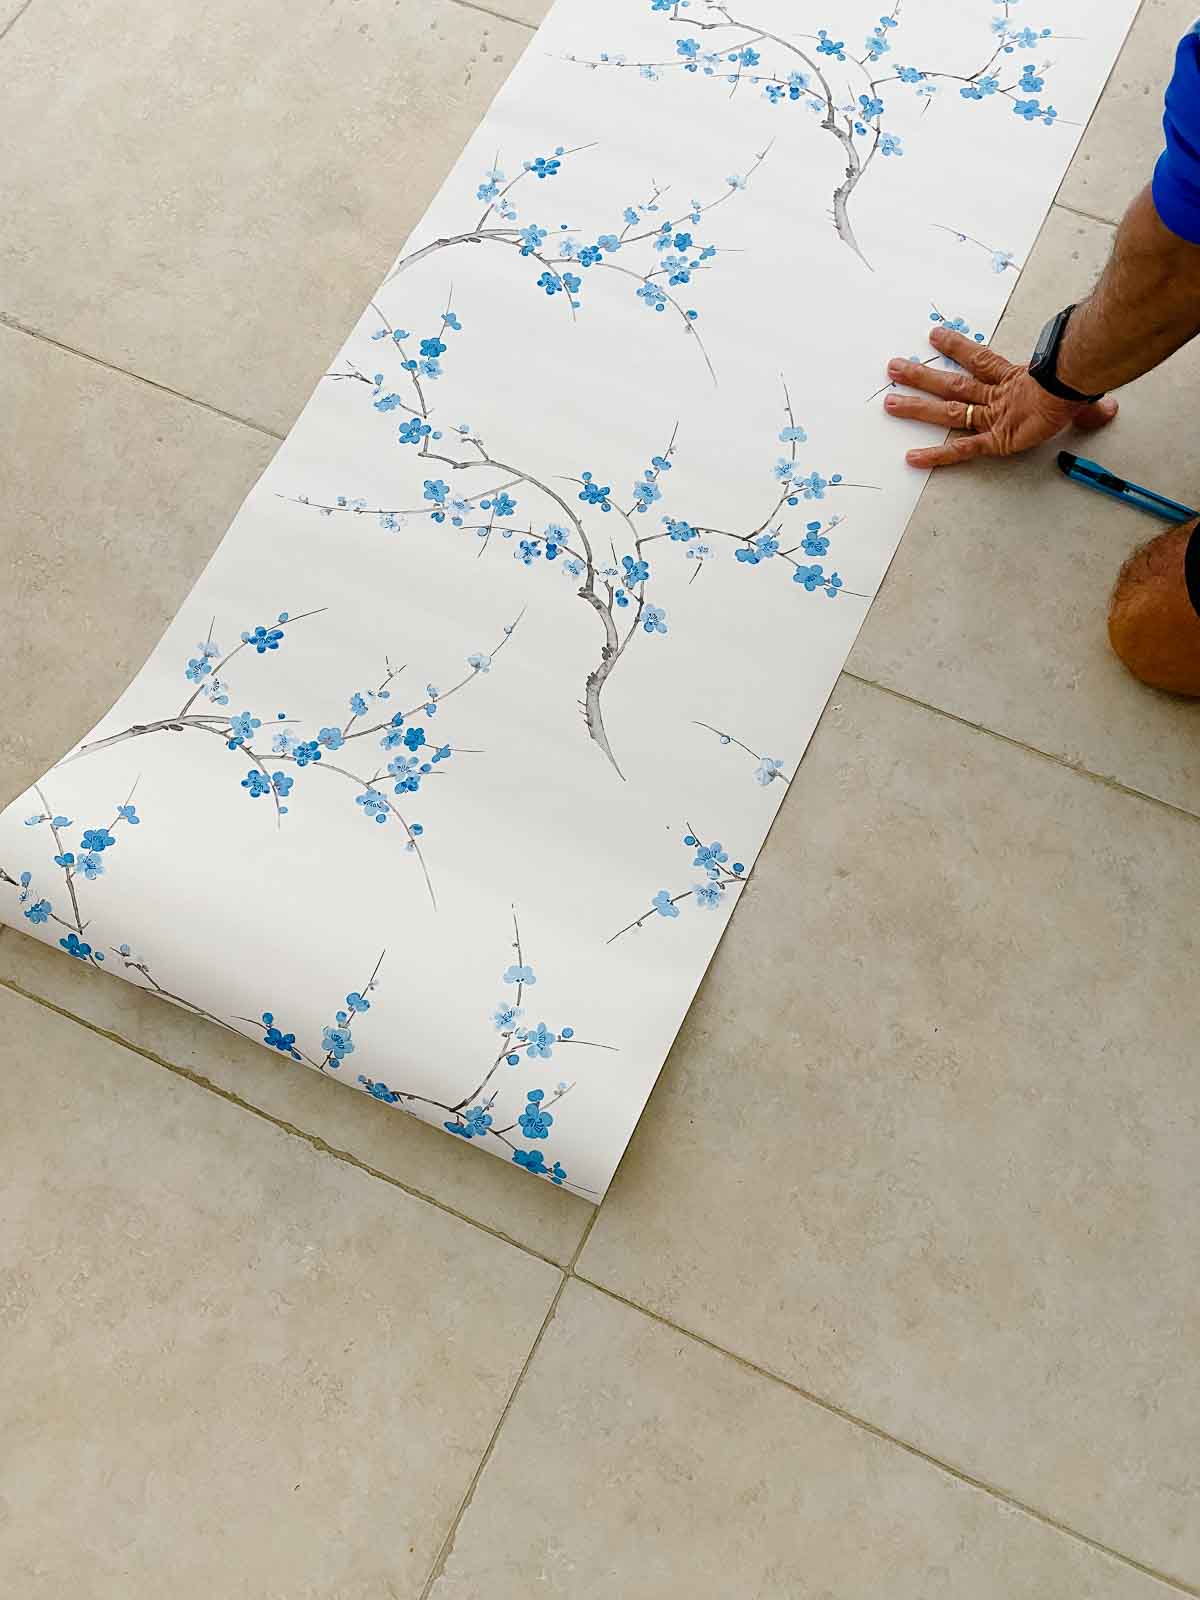
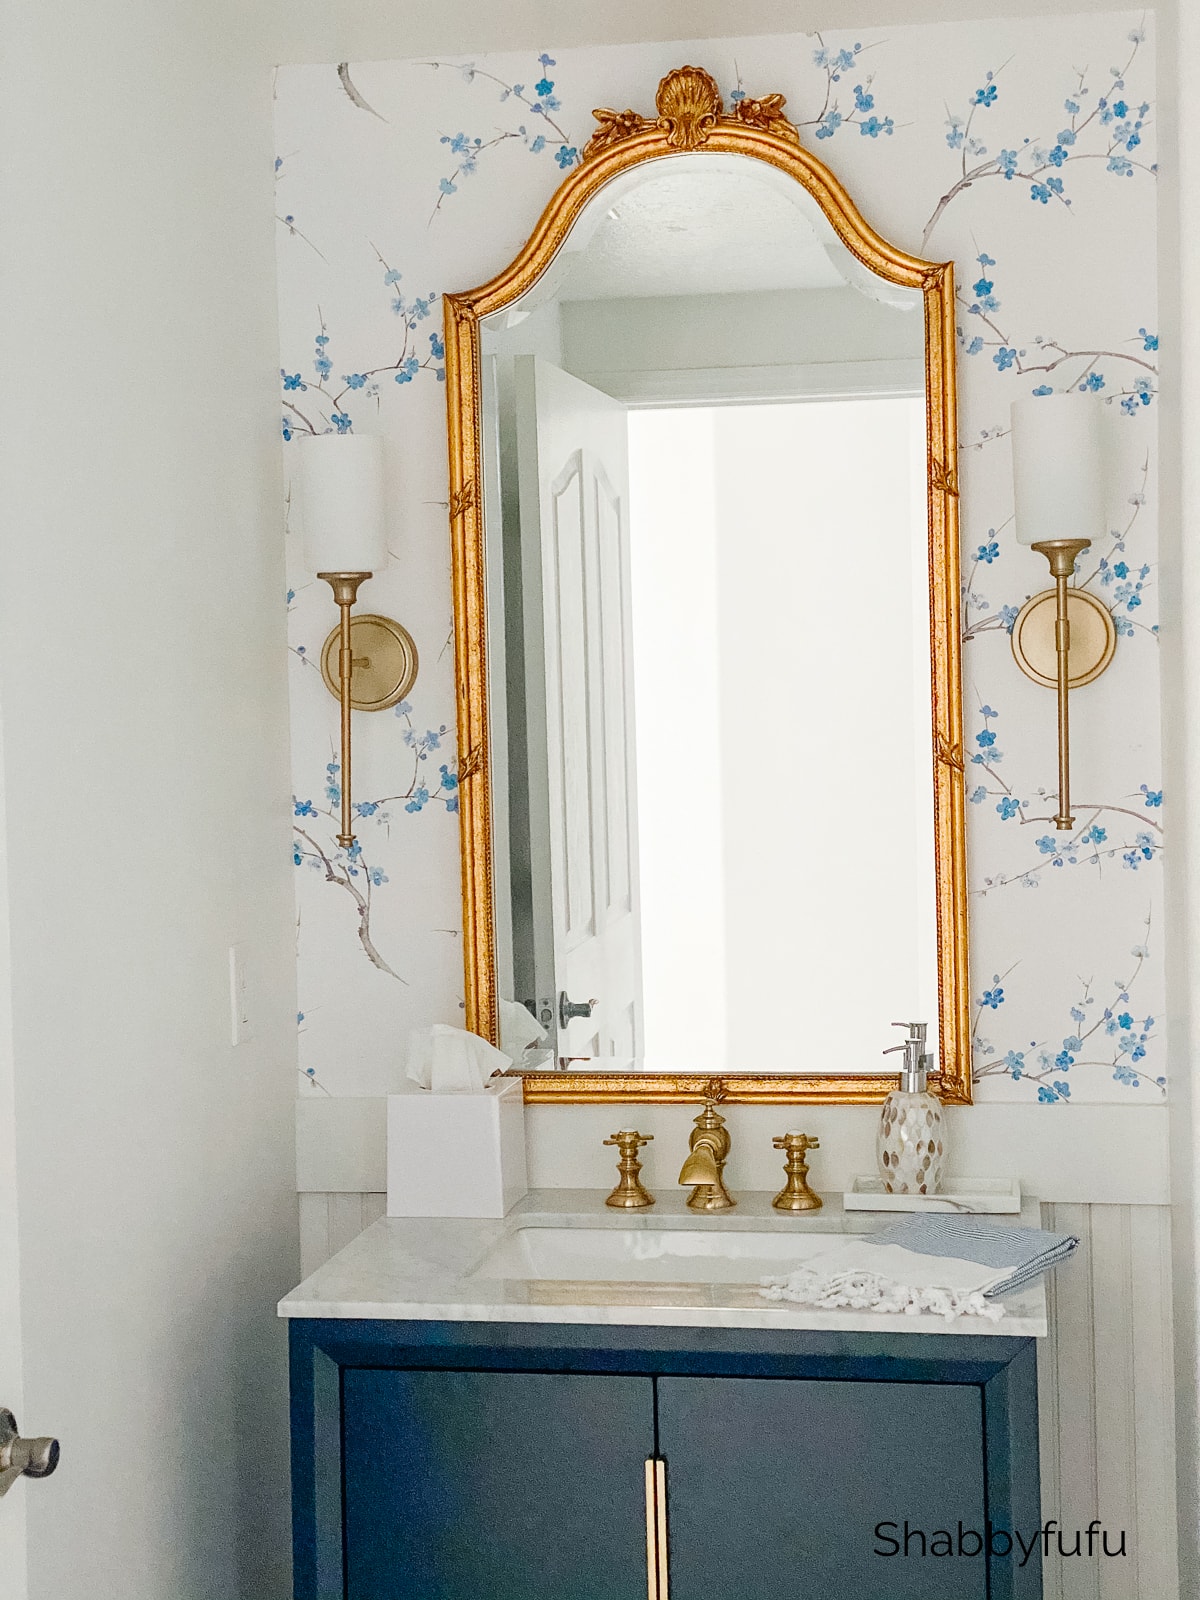
I have done the designing and he does the work. A pretty good partnership indeed! This powder room is room that is close to all of the action at the beach house. It was a great place to dabble and hang peel and stick wallpaper. I found this pattern of blue cherry blossoms that is subtle and has that Chinoiserie inspired look I’m going for.

Here’s what we already knew about hanging wallpaper and what we learned with peel and stick!
How To Hang Peel And Stick Wallpaper
BEFORE YOU BEGIN

- Remove anything that is on the wall, such as mirrors, artwork, shelves, light fixtures, electrical plates, etc. *NOTE* switch off the power to the area before removing anything electrical!
- Just like with regular wallpaper, make sure that your walls are clean and dry. If you have heavily textured walls my husband (who is a general contractor) recommends floating the wall first. Use drywall compound and allow to dry for at least a day. Sand the wall and wipe off the dust. Then prime the wall with a good primer paint and allow to dry completely. Then you are ready to apply the wallpaper!
Tools Needed (Everything linked at the bottom of this post)
- Peel and stick wallpaper
- Level
- Tape measure
- Ladder
- Utility knife – we recommend a break off knife like this one
- Drywall knife or a straight edge
- Plastic wallpaper smoothing tool
Plan Your Pattern Placement
Using your level, draw a vertical line 20 inches from the left hand side of your wall. It’s important for it to be plumb. When you hang peel and stick wallpaper on an accent wall, start in the center. This should ensure that you won’t have any small strips on the ends that are difficult to hang. Cut the bottom of your wallpaper if you are installing on a half wall, as we did here over beadboard.
Hang Your Peel And Stick Wallpaper
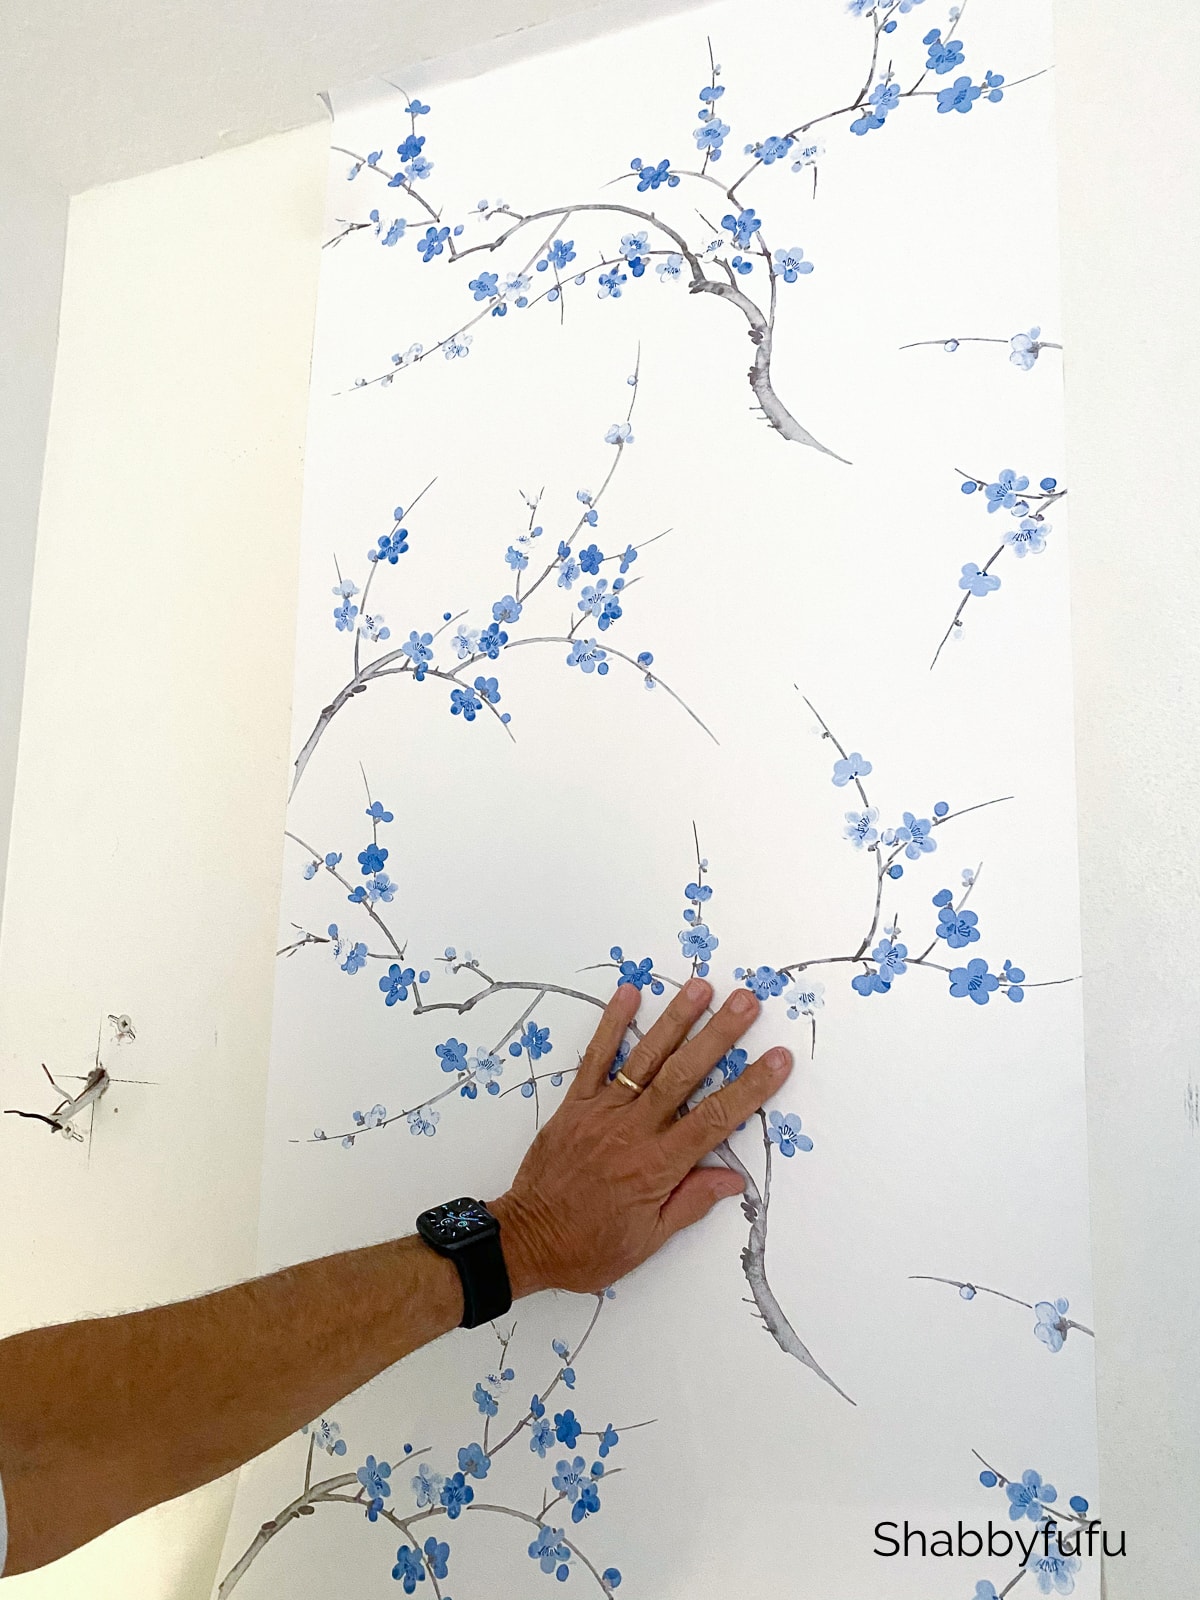
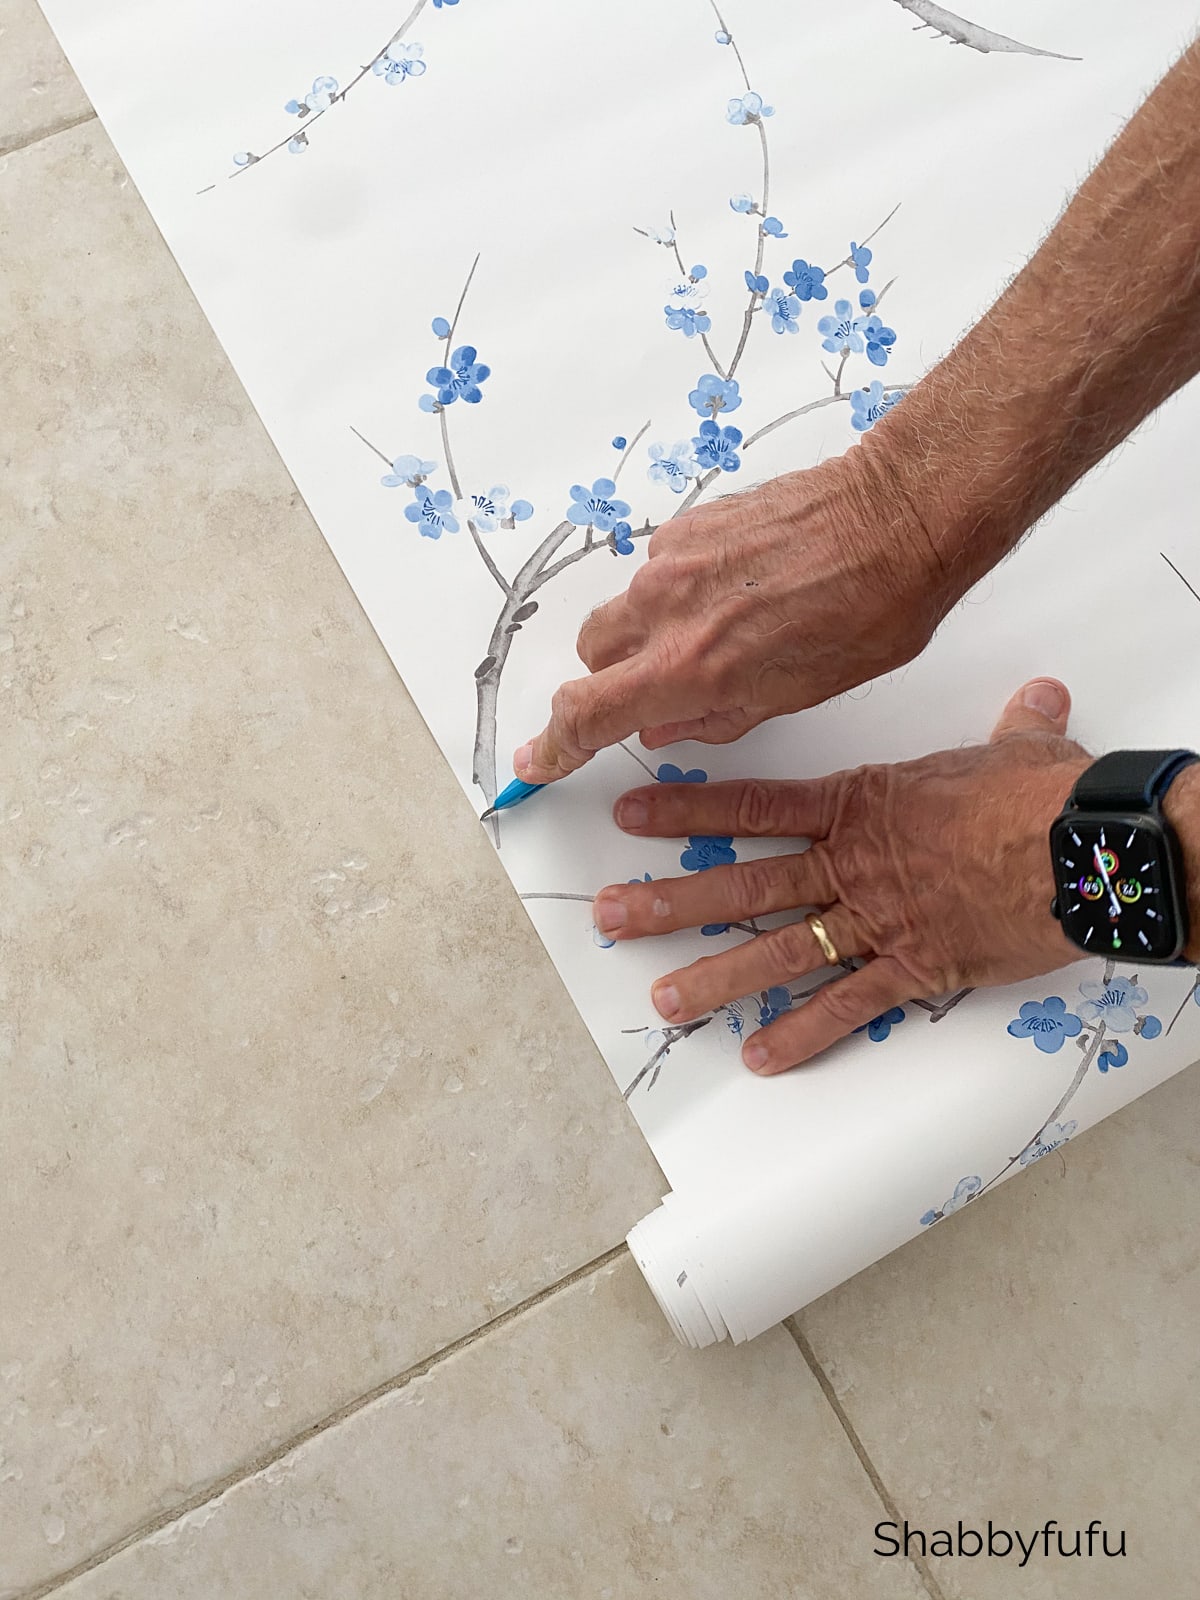
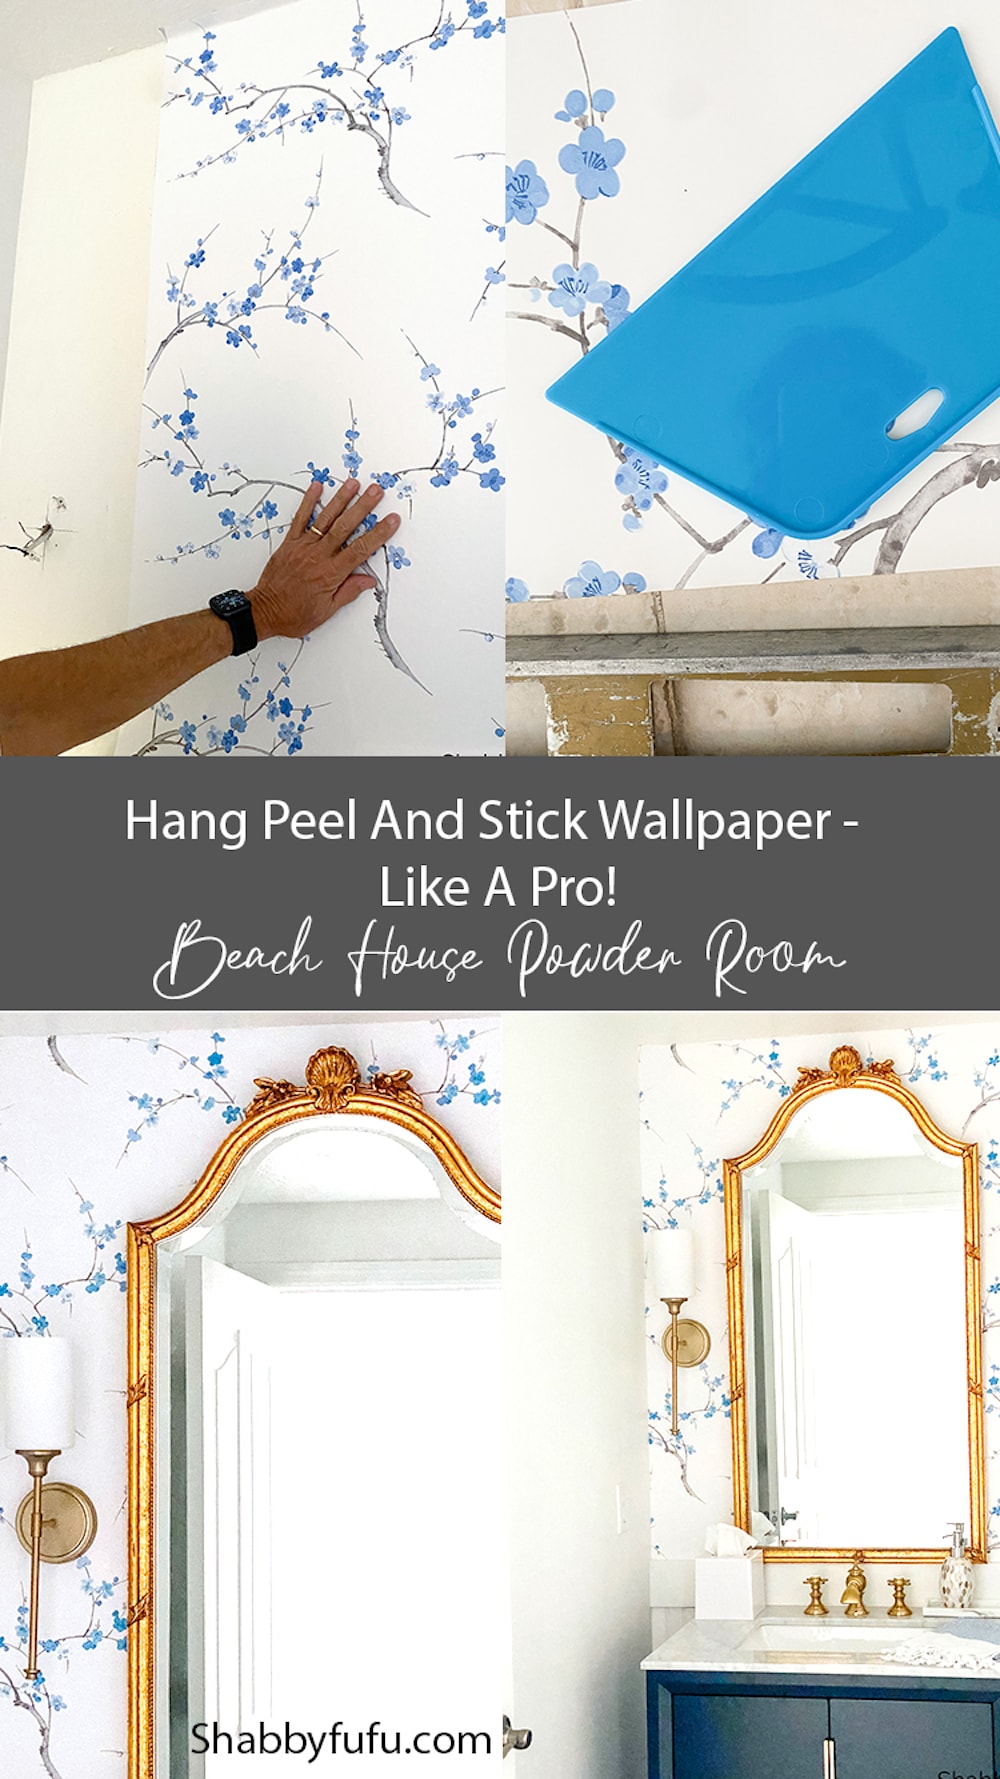
We were applying the peel and stick wallpaper to an accent wall, so we opted to start in the center, as mentioned above. Apply the first sheet of wallpaper adjacent to your plumb line. Leave a small amount of excess to overlap the ceiling. Work from the top to the bottom and pull the backing away as you evenly press the wallpaper to the wall. Be sure that your paper lays straight and flat! One of the big advantages to peel and stick wallpaper is that you can reposition several times if necessary. We used THIS PAPER

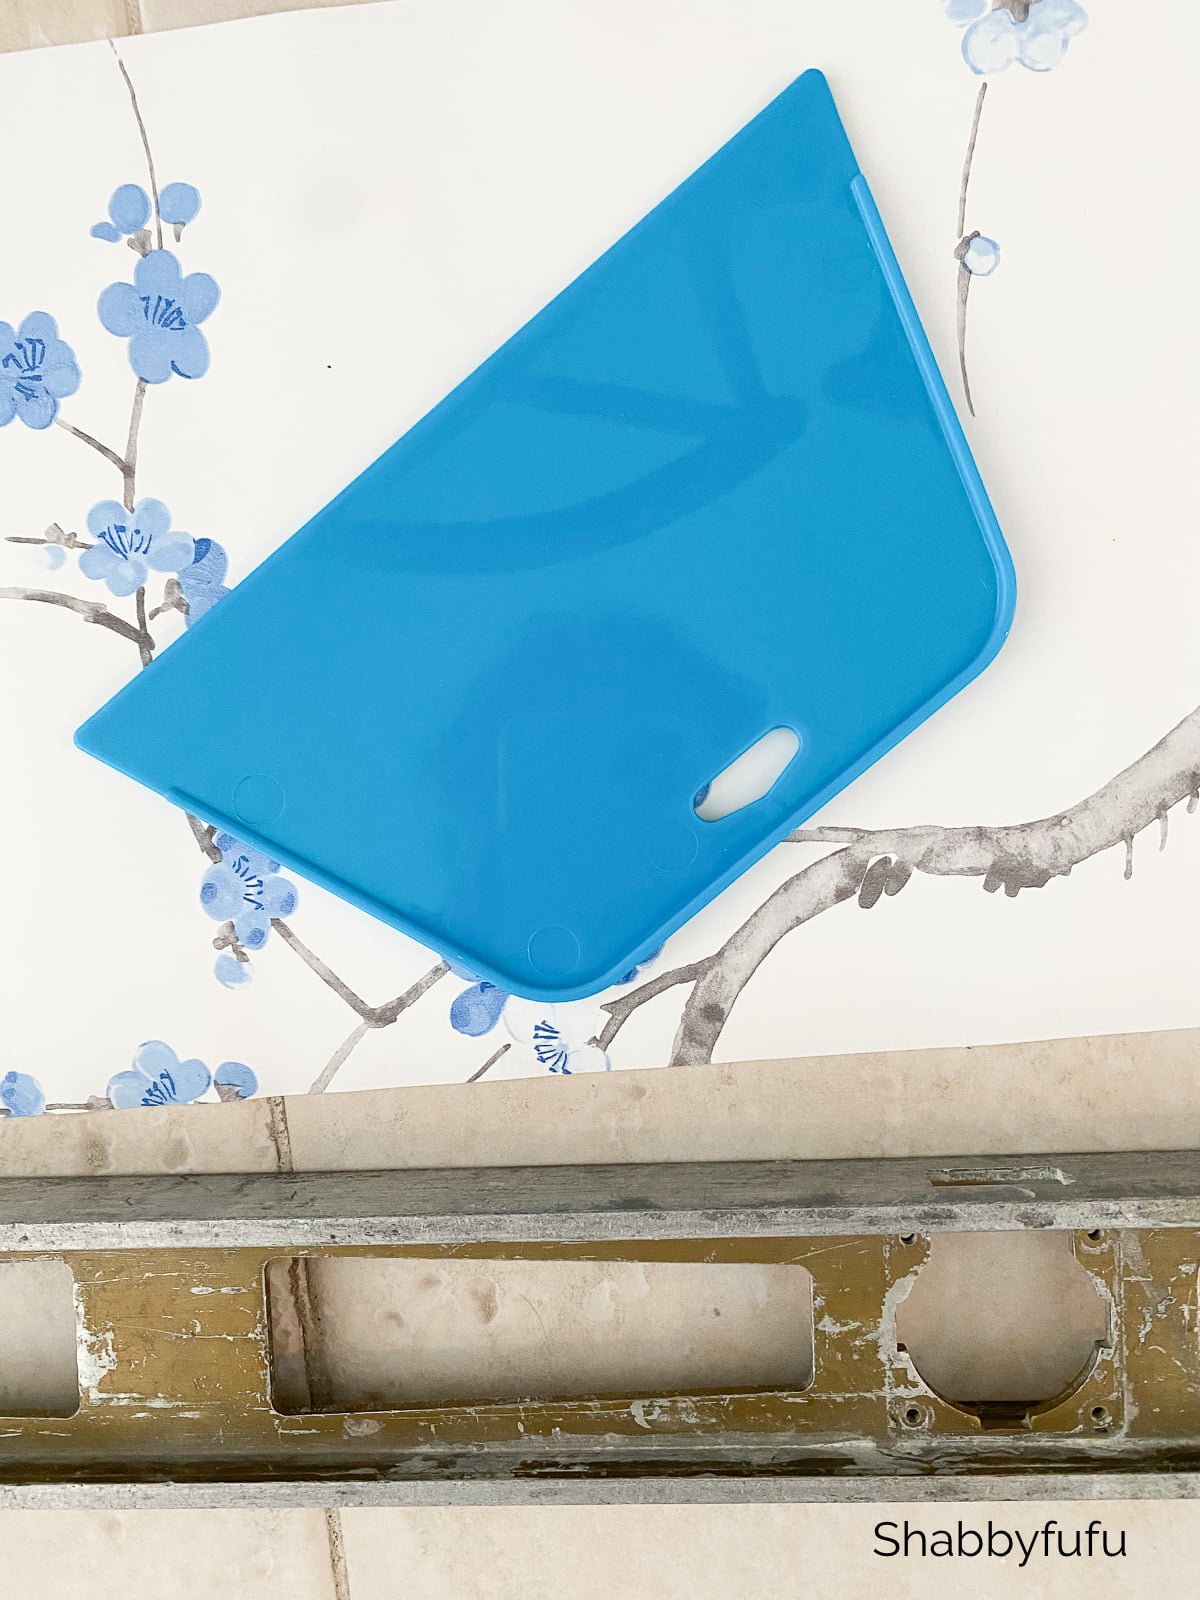
Use your hands first to push out any air bubbles from the center of the paper outwards. Next you should go over the paper with a plastic smoother to make sure that the wallpaper adheres to the wall. Apply your next sheet of wallpaper in the same way and keep applying your sheets until the wall is covered. As you hang your peel and stick wallpaper cut out for any switches, light boxes, etc that are on the wall. You’ll feel where they are located and use your utility knife to cut them.
The final step would be to trim along the top & bottom of all of your wallpaper pieces. Use a straight edge & sharp utility knife to trim.

Reinstall any outlet covers and light fixtures and you’re finished! It’s really not very difficult and if you change your mind you just peel and remove. So much better than the old days of scraping and sweating…yes!
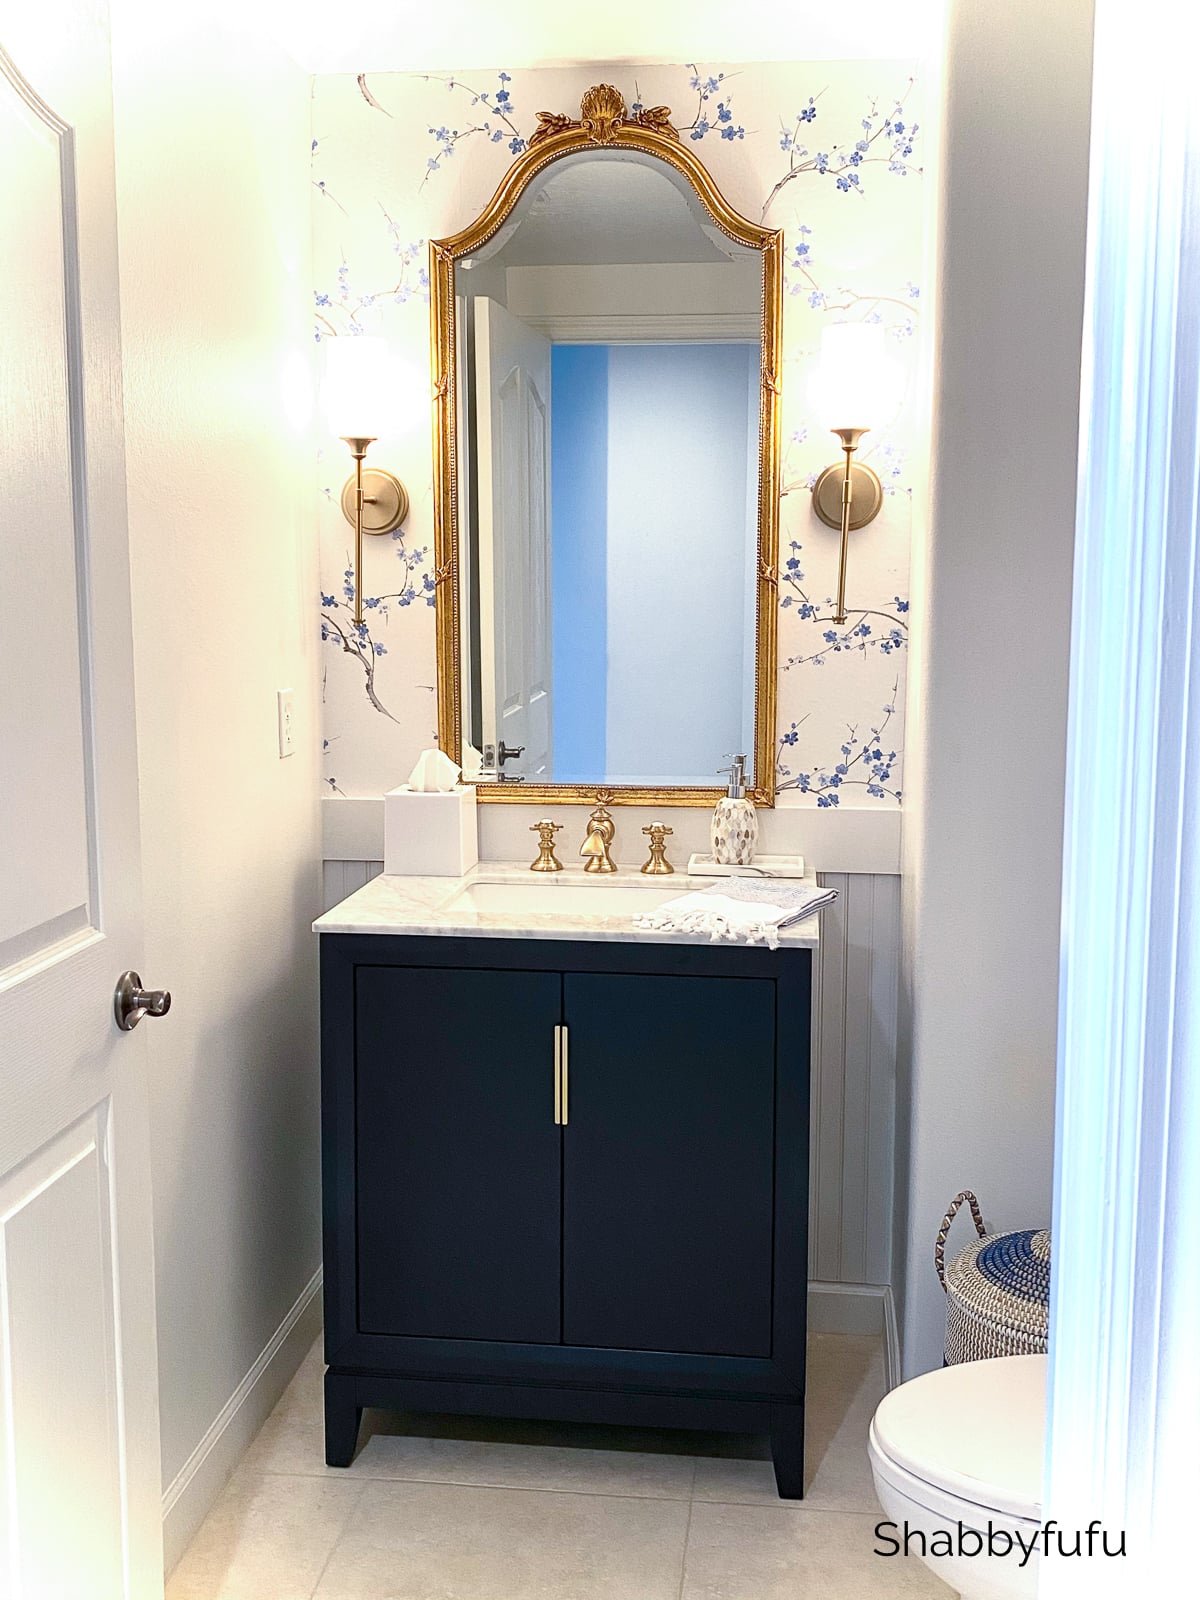
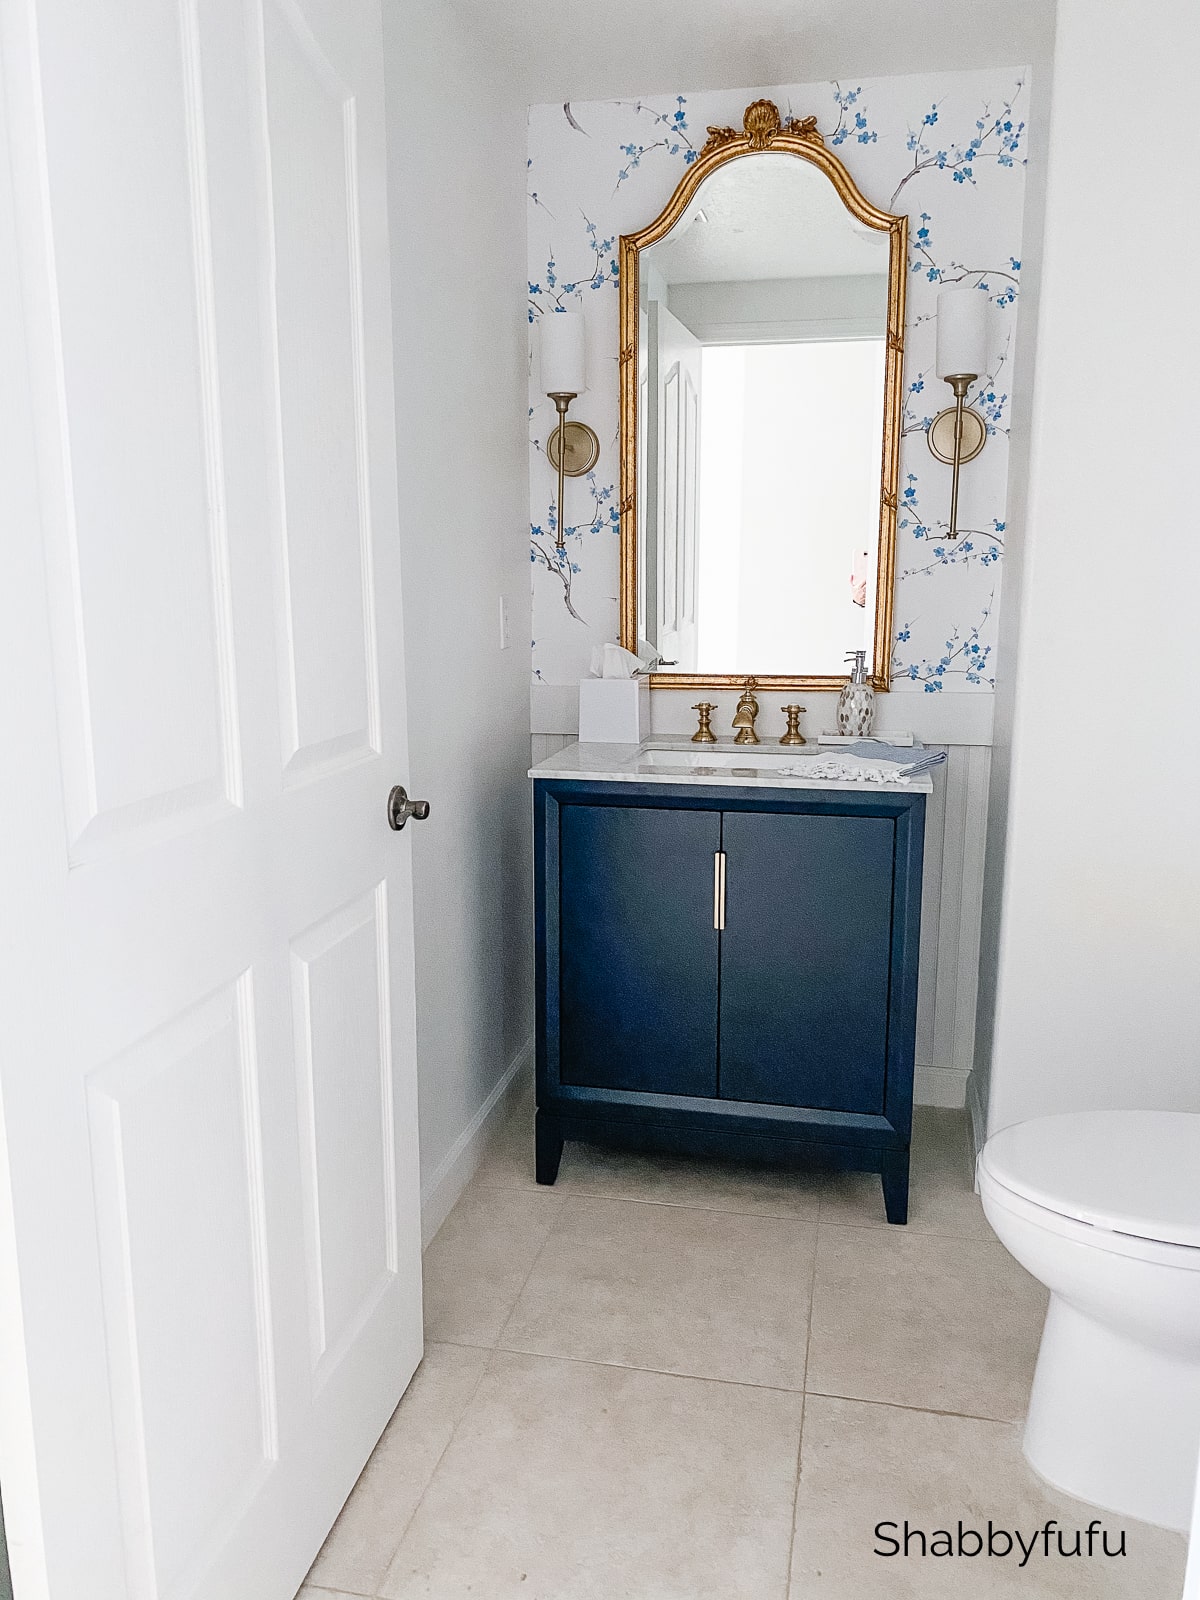
NOTE…I decided not to wallpaper the entire room (less is more) but I am looking for a specific piece of art for the side wall shown. Will update you when I find the perfect piece!
Find it all below!

PIN THIS POST FOR INSPIRATION & PLEASE SHARE!
I used peel and stick wall paper on my kitchen cabinets and I LOVE it!
That looks awesome. Great choice, and just the perfect touch.
Wondering. Can you do peel and stick on top of wallpaper? I’m guessing no but I really don’t want to spends days getting the old stuff off.
I would also like to know the about using peel and stick over existing wallpaper. Thought anyone?
I would not recommend that. The wall should be clean and dry with no texture to get it to stick best.
That lovely white space with just hints of the French blue is gorgeous! I think I know what I’m doing now in our downstairs powder room next!
For the bulk of the time we’ve lived in our home I’ve covered the walls in a gorgeous fabric that I could live with. For instance, right now it’s covered in a beautiful toile, but I’ve grown tired of that so this looks like a great option.
Thanks for showing how easy it is.
Blessings,
Teresa.
I bought the same wallpaper after seeing yours. Mine is going on the wall behind a big hanging shelf unit my dad built to house my grandmothers Blue Willow dishes!
Looks beautiful! Thanks for sharing the how to!
Love this Janet!!!! I may steal this look for our downsized home. Curious I have always had my wallpaper hung by professionals. Was it difficult to match seams? With the vinyl are the seams very visible?
Hi June! It wasn’t difficult to hang the peel and stick for us as DIYers. The seams don’t show at all as long as you are careful to match up the pattern when applying.
Only my thoughts, but by doing only one wall, it looks unfinished. My suggestion would be to paint the grey bead board either white or the same blue as the cabinet. You have too many colors which are in competition. The gold of the mirror is lovely but very strong. Sorry!
Thank you Patty for chiming in! The beadboard actually IS painted white, but it was hard to photograph the room since there is no outside light.
I liked that you only added a touch of the patterned wallpaper. For me patterns can easily become too busy in the room. I also spent many hours scraping off old wallpaper before being able to paint a room. I still can’t get a feel for even wanting to try it again.
Your powder room looks very elegant…love the touch of gold! Wonder what the new art piece you’ve got in mind is??? Anticipation:0)
Love the wallpaper I like doing just one wall. The whole thing just perfect.Thanks
That wallpaper is a lovely touch. I love the many shades of it; you can use a variety of blues with it! (I have some mid-color towels that I throw in with my whites when I need a few more things to make a load…or a few more for a load of colors!). I am assuming that the wall art may be Chinoiserie-oriented. When I hung some of my blue and white plate collection on the kitchen cupboard soffit last year, I found I had 4 variations of Blue Willow-type dishes. Something like that might do until you find the “perfect” piece!
Just beautiful!
Thanks so much Marcella!
Love the paper! I live in a Florida home in Naples and I love how you incorporate non- Florida style into Florida homes!
Thanks Robin and I sometimes struggle with giving my own style a name, but there is definitely some FL and non FL decor mixed in!
Hi!
Been following you for awhile and have enjoyed and been inspired by all of your posts. 😀 .
I live in SW FL and all my walls are orange peel or smack down textured. What do you mean by “floating wall”? Do I compound the entire wall then sand until smooth? I would like to try wallpaper but didn’t think I could with my walls.
Oh, yes, I remember scraping and steaming! Ugh
Hi Bernadine, thanks for stopping by! Yes, apply the compound to the walls that you wish to paper and lightly sand them. It’s a bit time consuming but not that difficult to do. No more scraping and steaming with peel and stick, lol!
Beautiful! I love wallpaper, I’ve had it in several different rooms, but have not had any recently. Where is your wallpaper from?
Hi Arlene, it’s linked in the post and if you missed that…here you go: https://rstyle.me/+2pSPwcQAgNmZydvj-NsaUw
Hello, I’m trying to find that exact towel you have on your sink ? Any information would be appreciated, thank you. Barb
Hi Barbara, the exact towel is no longer available but these are a close match:
https://www.amazon.com/Ruvy-Turkish-Bathroom-Decorative-Dishcloth/dp/B09C5TBZVC?crid=2P28A1ZMQT1WZ&keywords=turkish%2Bhand%2Btowels&qid=1706488557&s=home-garden&sprefix=turkish%2Bhand%2Btowels,garden,108&sr=1-2-spons&sp_csd=d2lkZ2V0TmFtZT1zcF9hdGY&th=1&linkCode=sl1&tag=shabbyfufu0de-20&linkId=482f64da876512cd23befd640f11203c&language=en_US&ref_=as_li_ss_tl
Id like to know if this wall paper is good for concrete cementnpaitad walls.I live in Puert Rico its humid and I would like to put an Accenture wall.Thank you
PS cement painted ( sorry)
I would not recommend it for your type of walls Vivian
Id like to know if this wall paper is good for concrete cementnpaitad walls.I live in Puert Rico its humid and I would like to put an Accenture wall.Thank you
PS cement painted ( sorry)
accent