How To Build An Outdoor Shower Privacy Screen
This post may contain affiliate links. For more information, please see our disclosure policy.
Summer is here and it’s time to head outdoors for some fun! In this post we will show you how to build and install an outdoor shower with a privacy screen and this is a project that perhaps you might want to tackle!
DIY – How To Build An Outdoor Shower Privacy Screen
When it’s hot outside we love to jump in the pool! After spending time swimming or hanging out on a float, we need to rinse off. Sometimes we aren’t ready to shower just yet, or if we are doing yard work a cool rinse would feel good. Hence, the outdoor shower that we’ve been wanting to do for a long time now. Woo hoo…it’s done!
This is a paid post in behalf of Spectrum Brands but the work and opinions expressed here are my own. Intermediate skills are needed for this DIY and as always, use the proper care and safety equipment when working with power tools.
MATERIALS:
- Four – 1 x 6 – 12′ Decking Wood
- Three – 2 x 4 – 8′
- One – 7.2′ 5.5 Gallon Outdoor Solar Heated Shower
- One – 18 x 24″ Bamboo Foldable Floor Mat
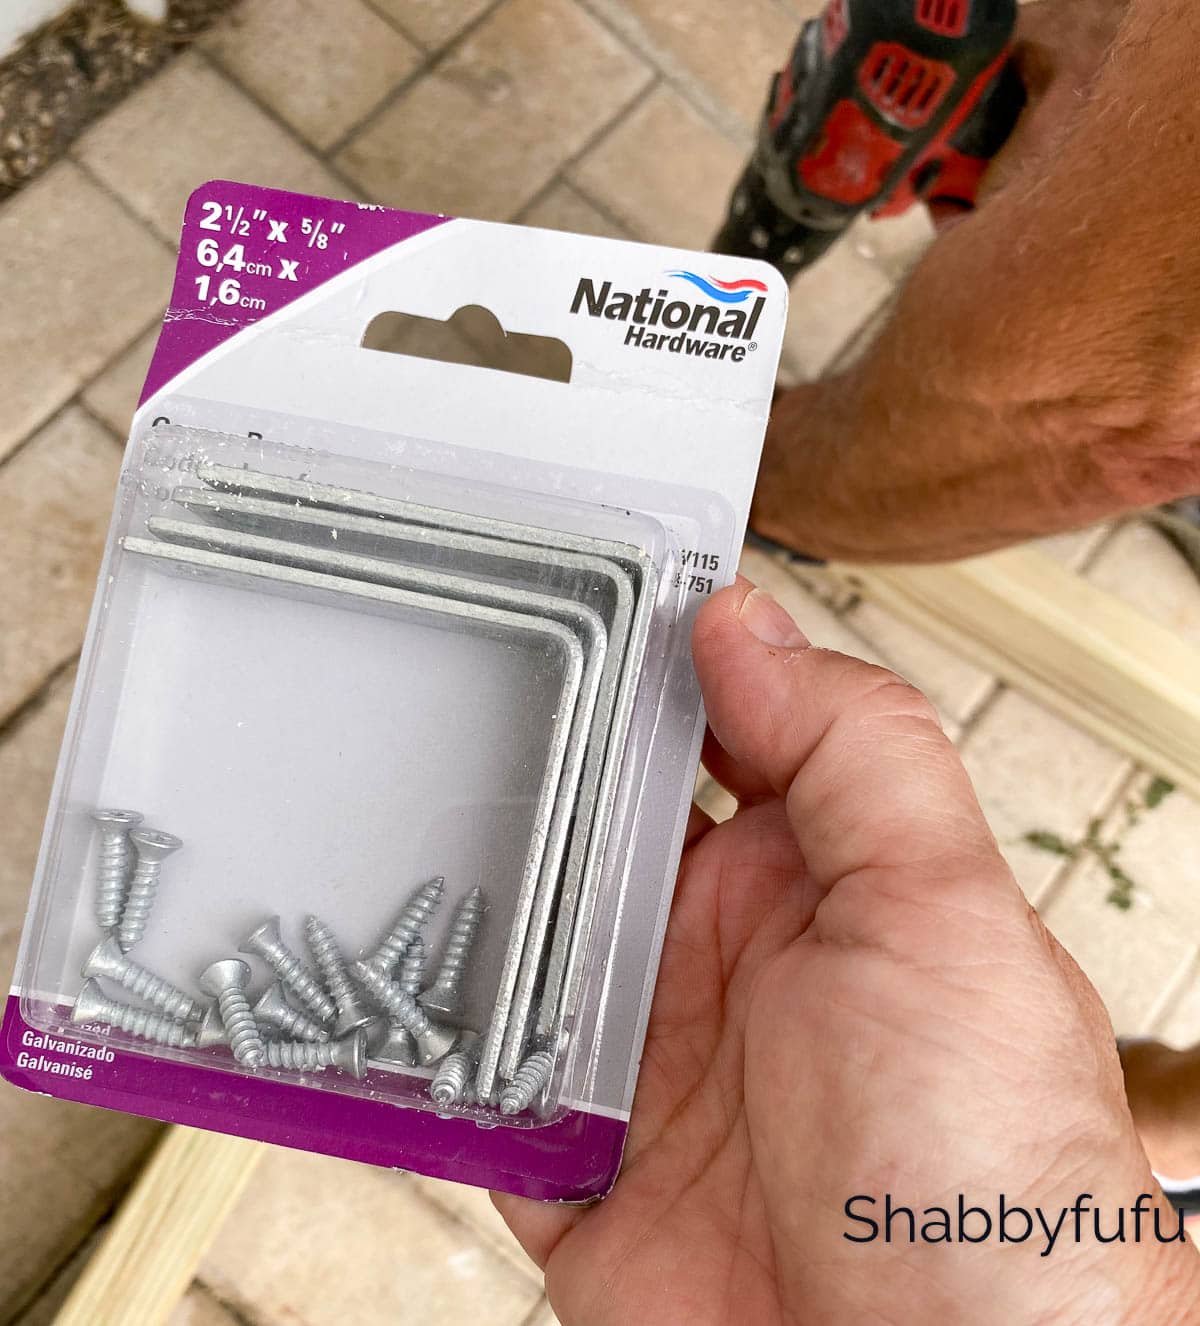
- Five – National Hardware 2 1/2″ Corner Braces (Galvanized)
- Two – National Hardware 3″ Coat & Hat Hooks – Oil Rubbed Bronze
- 2 1/2″ Deck Screws
- 1 5/8″ Deck Screws
- Concrete Screws
- Wood Stain Or Paint (Optional)
TOOLS:
- Circular Saw
- Chop Saw
- Screw Gun
- Speed Square
- Tape Measure
- Pencil
It always starts with a sketch of what we hope to accomplish
BUILD YOUR OWN OUTDOOR SHOWER PRIVACY SCREEN INSTRUCTIONS:
BUILDING THE SHOWER SCREEN
STEP 1 –
Measure two 2 x 4’s to be 72″ and two 2 x 4’s to be 36″. These will compose the frame of the shower screen.
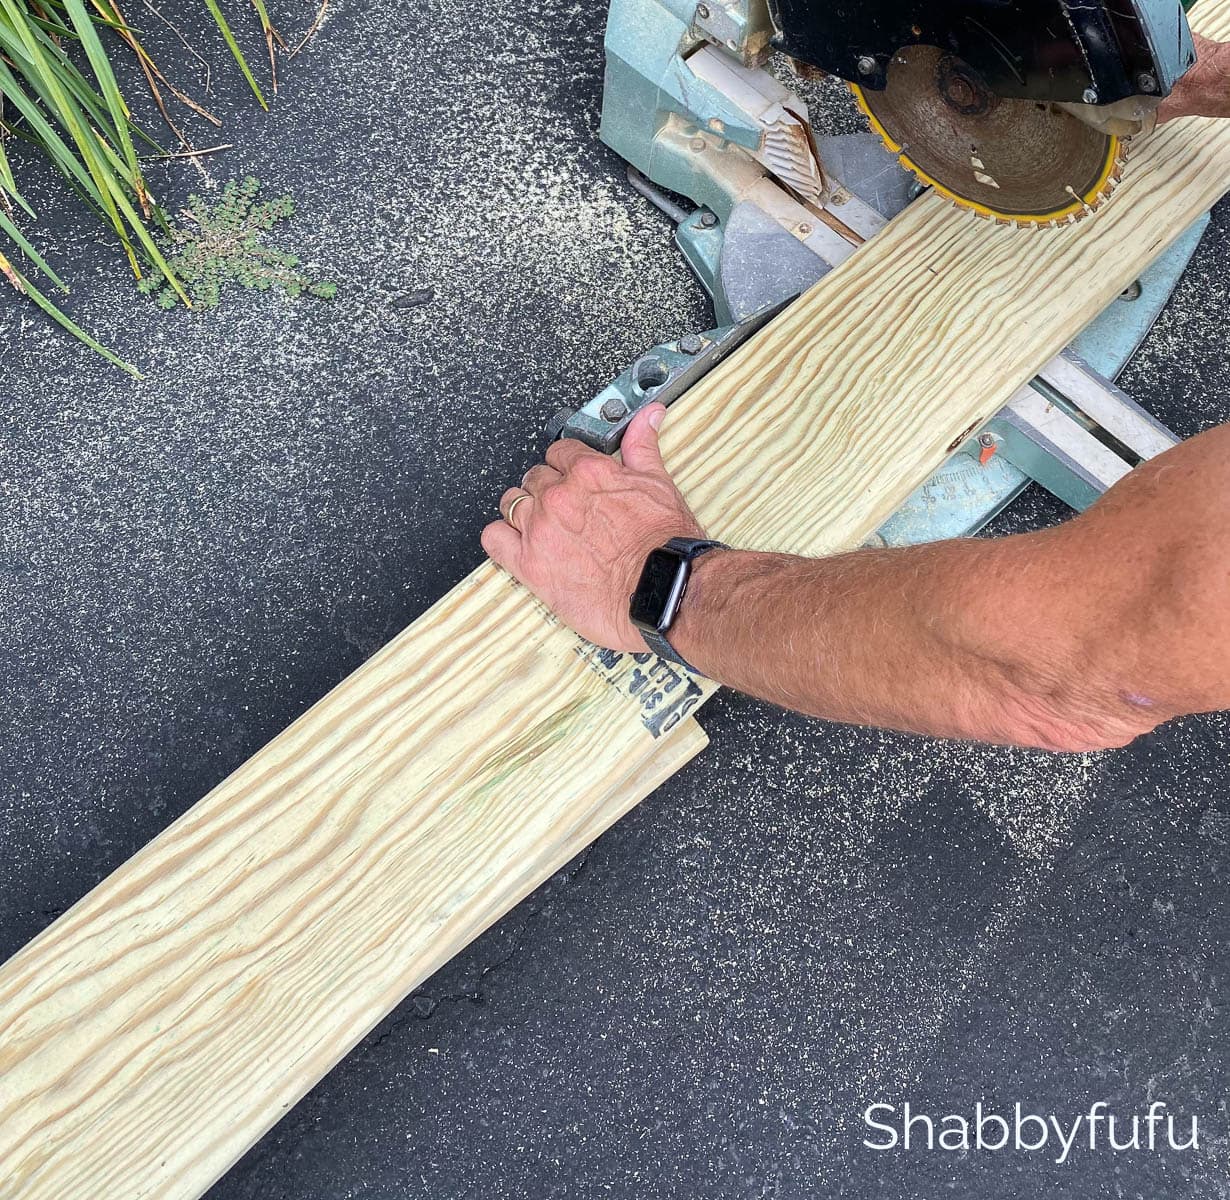
STEP 2 –
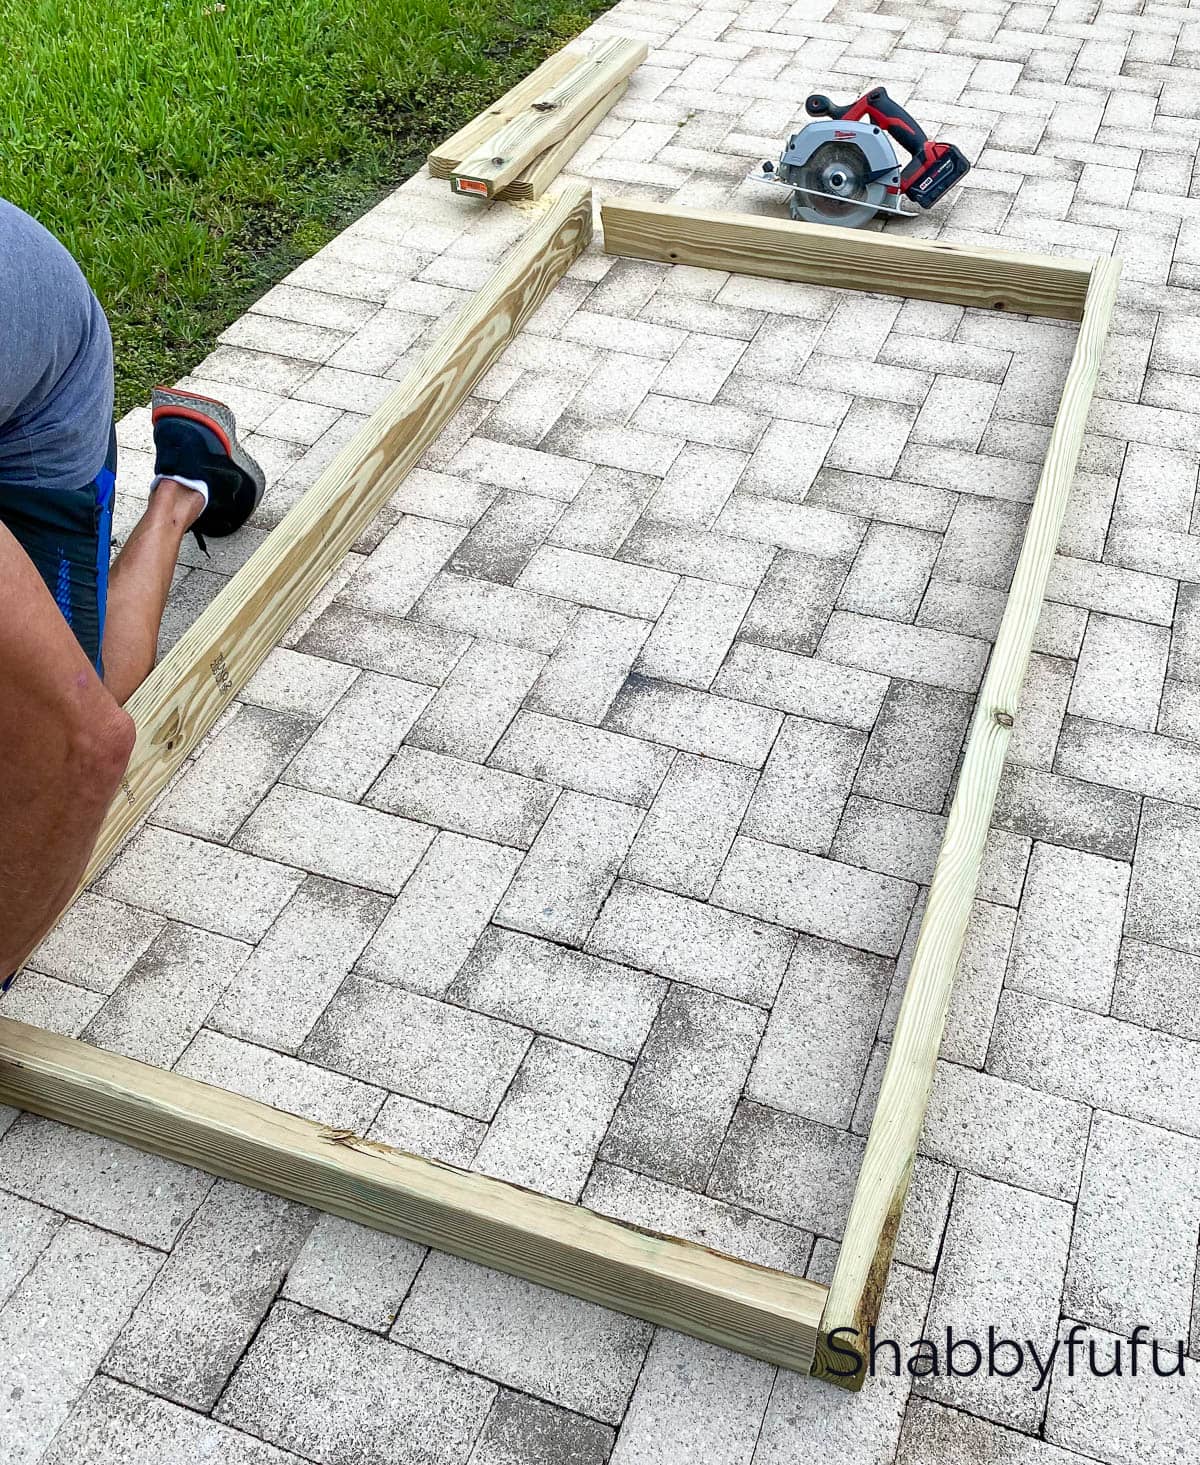
Cut the pieces that you’ve just measured with a circular saw.
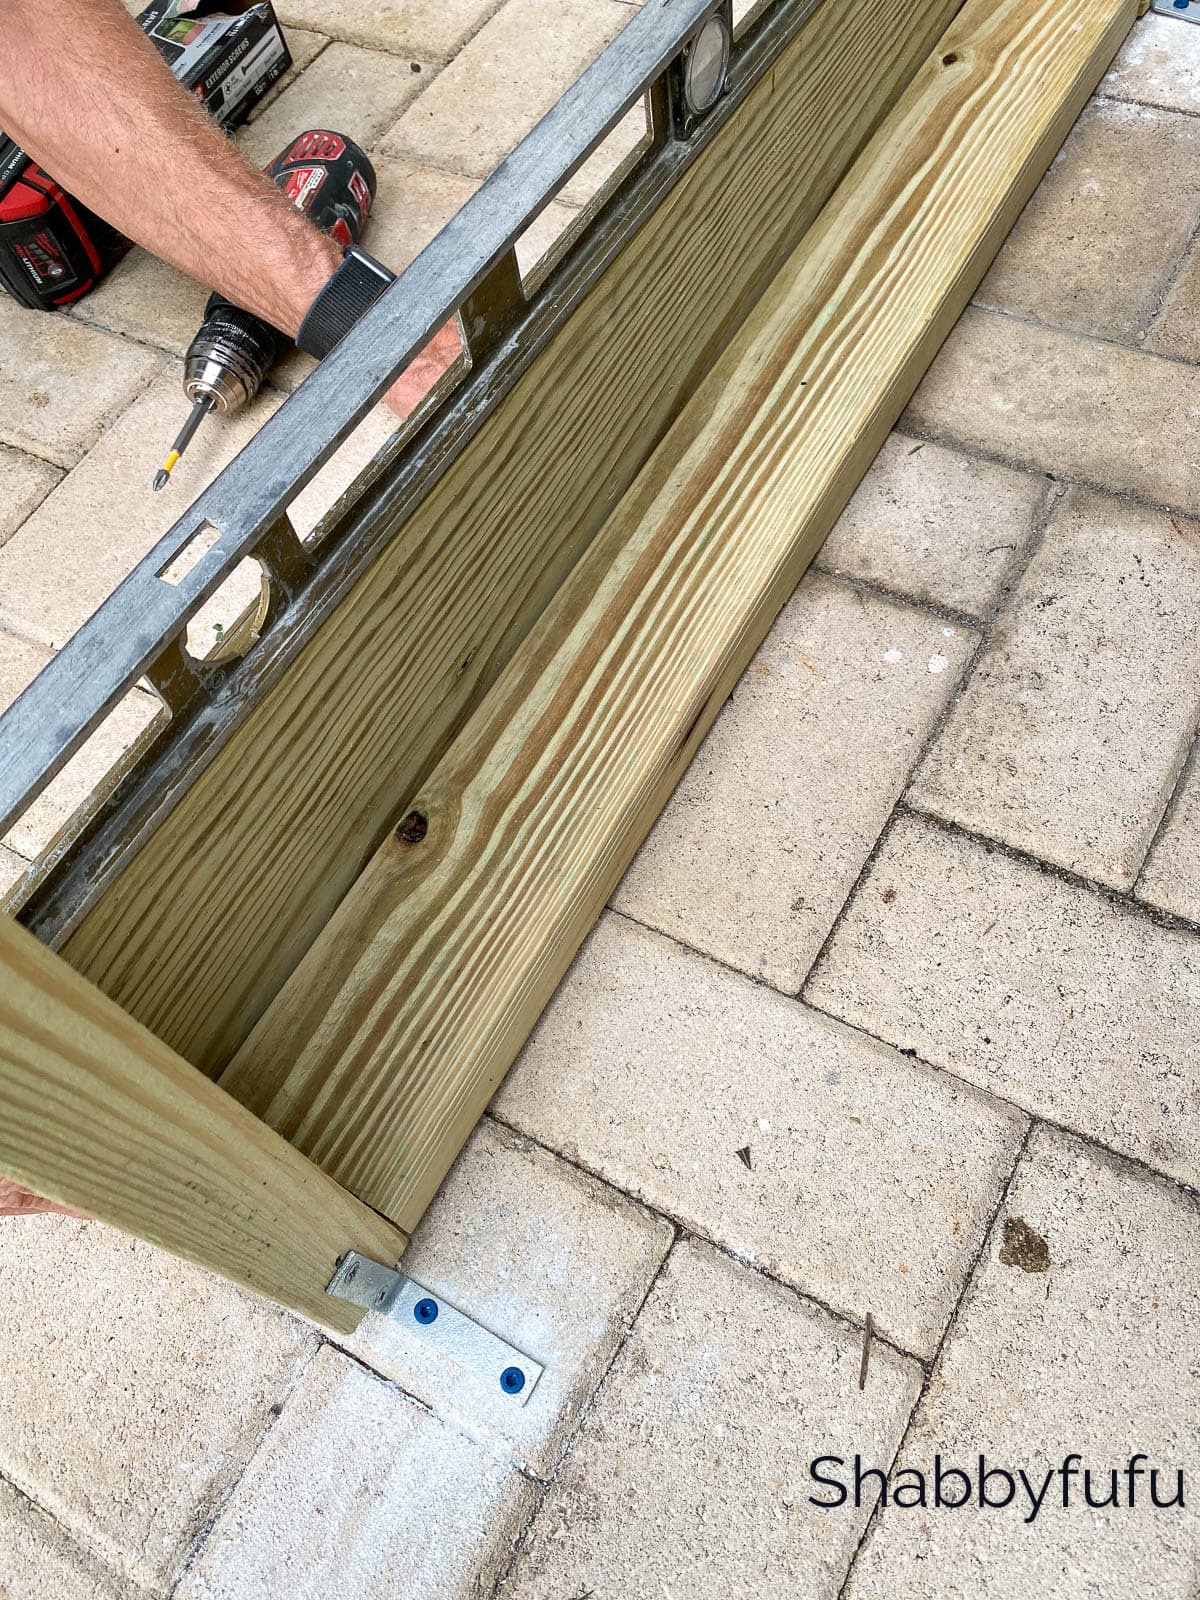
STEP 3 – Forming The Frame For The Outdoor Shower Privacy Screen
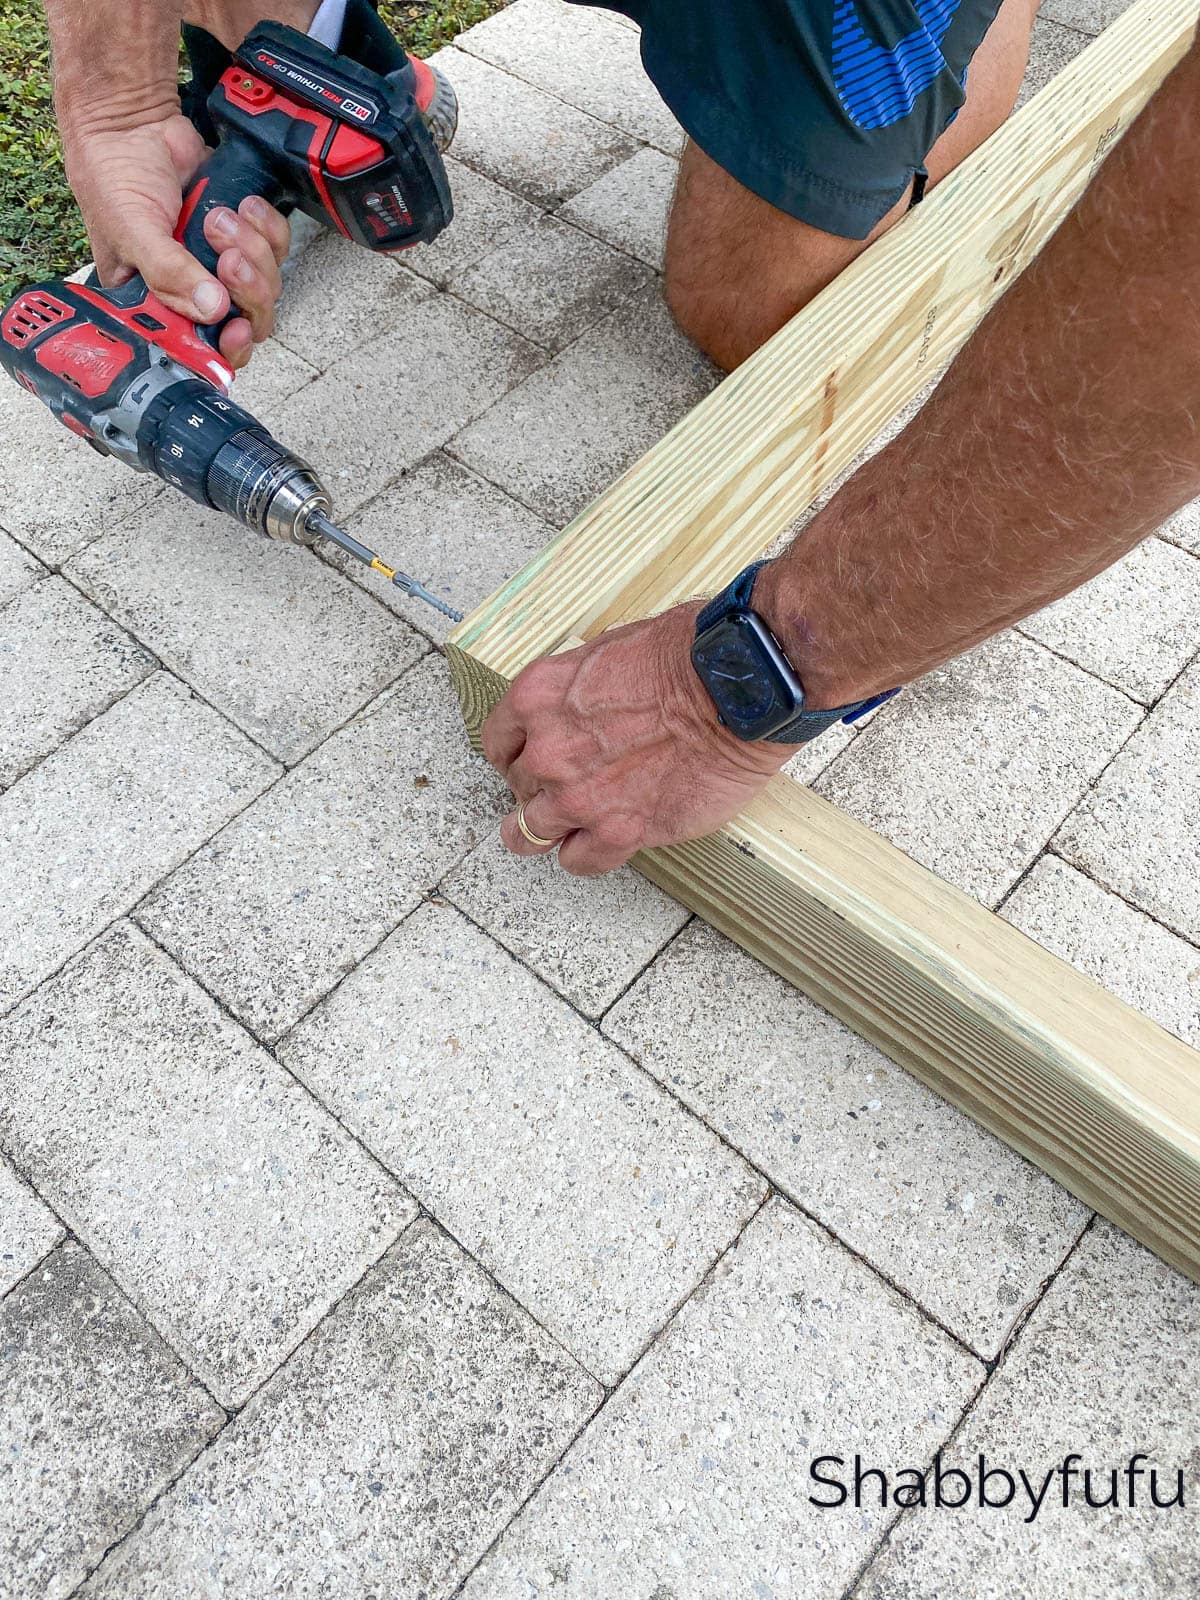
Screw together the four pieces that you’ve cut using deck screws with a screw gun. This will form a frame for the wood screen.
STEP 4 –
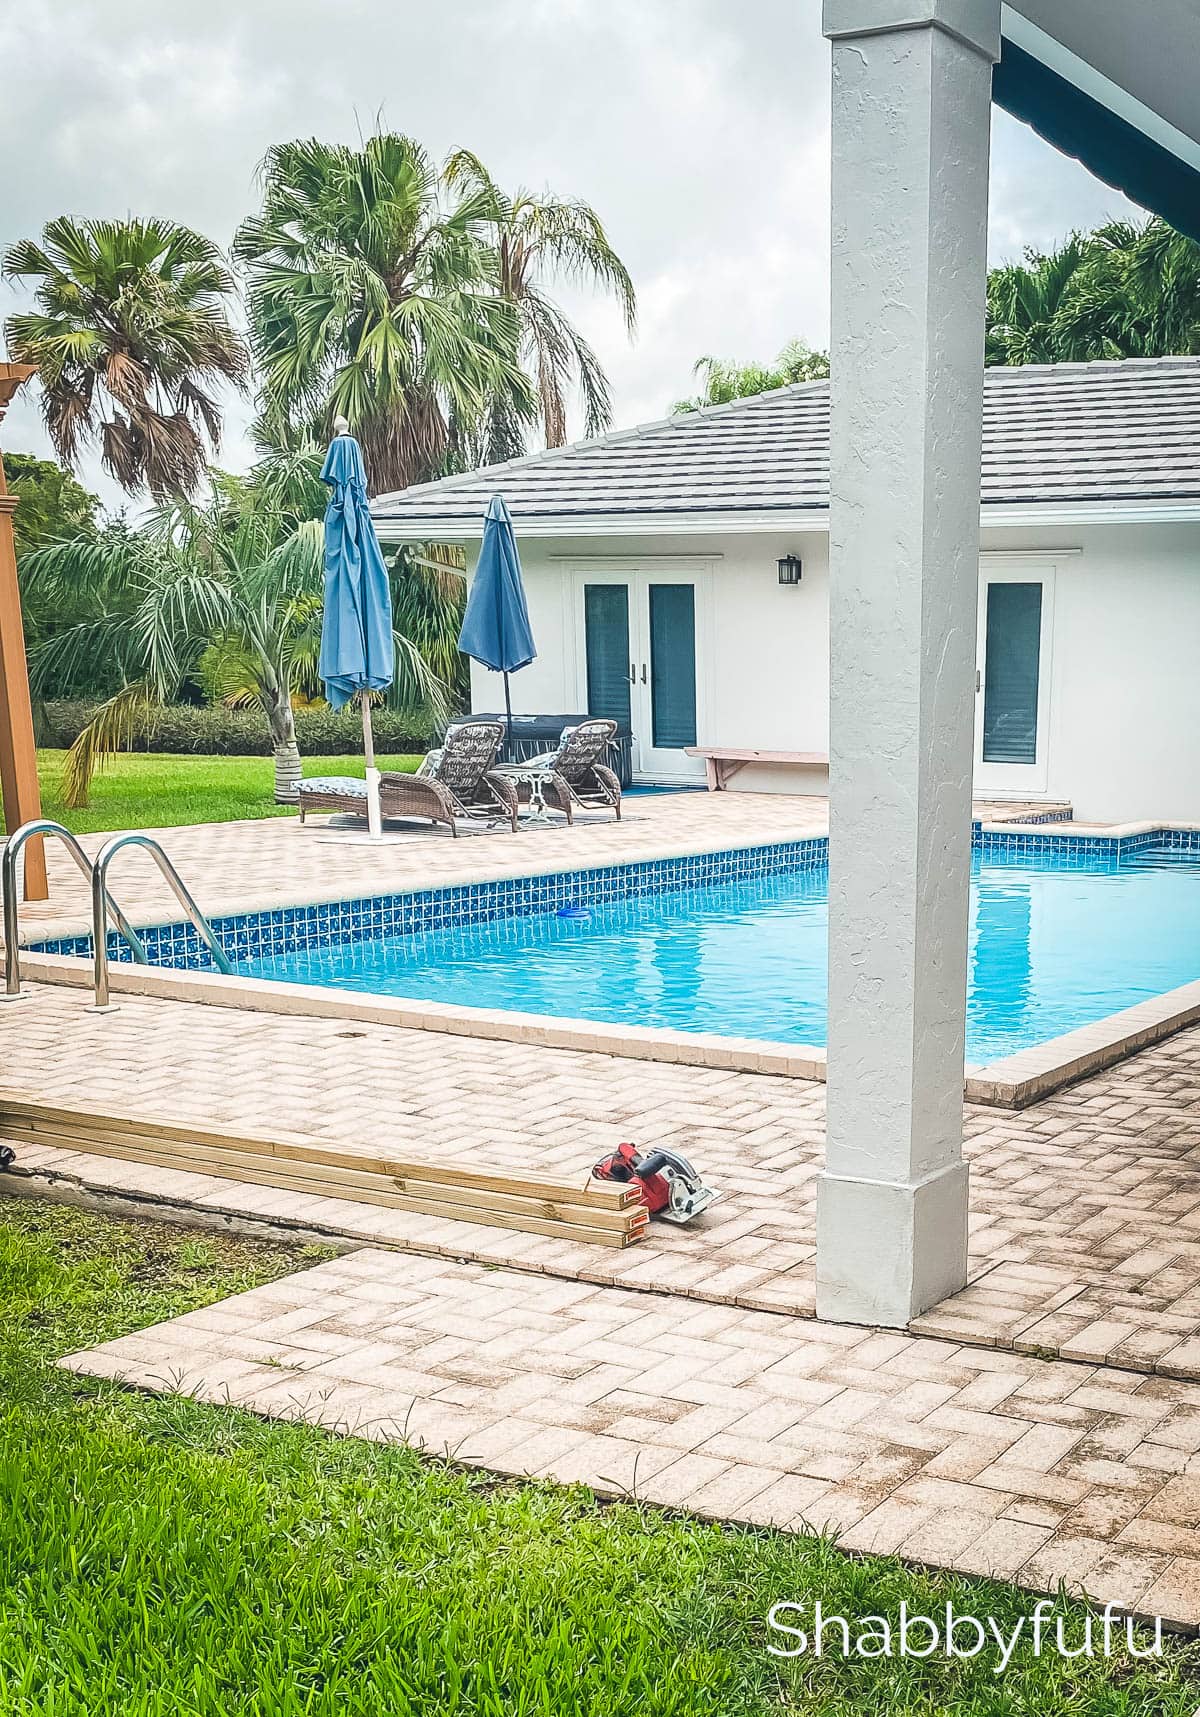
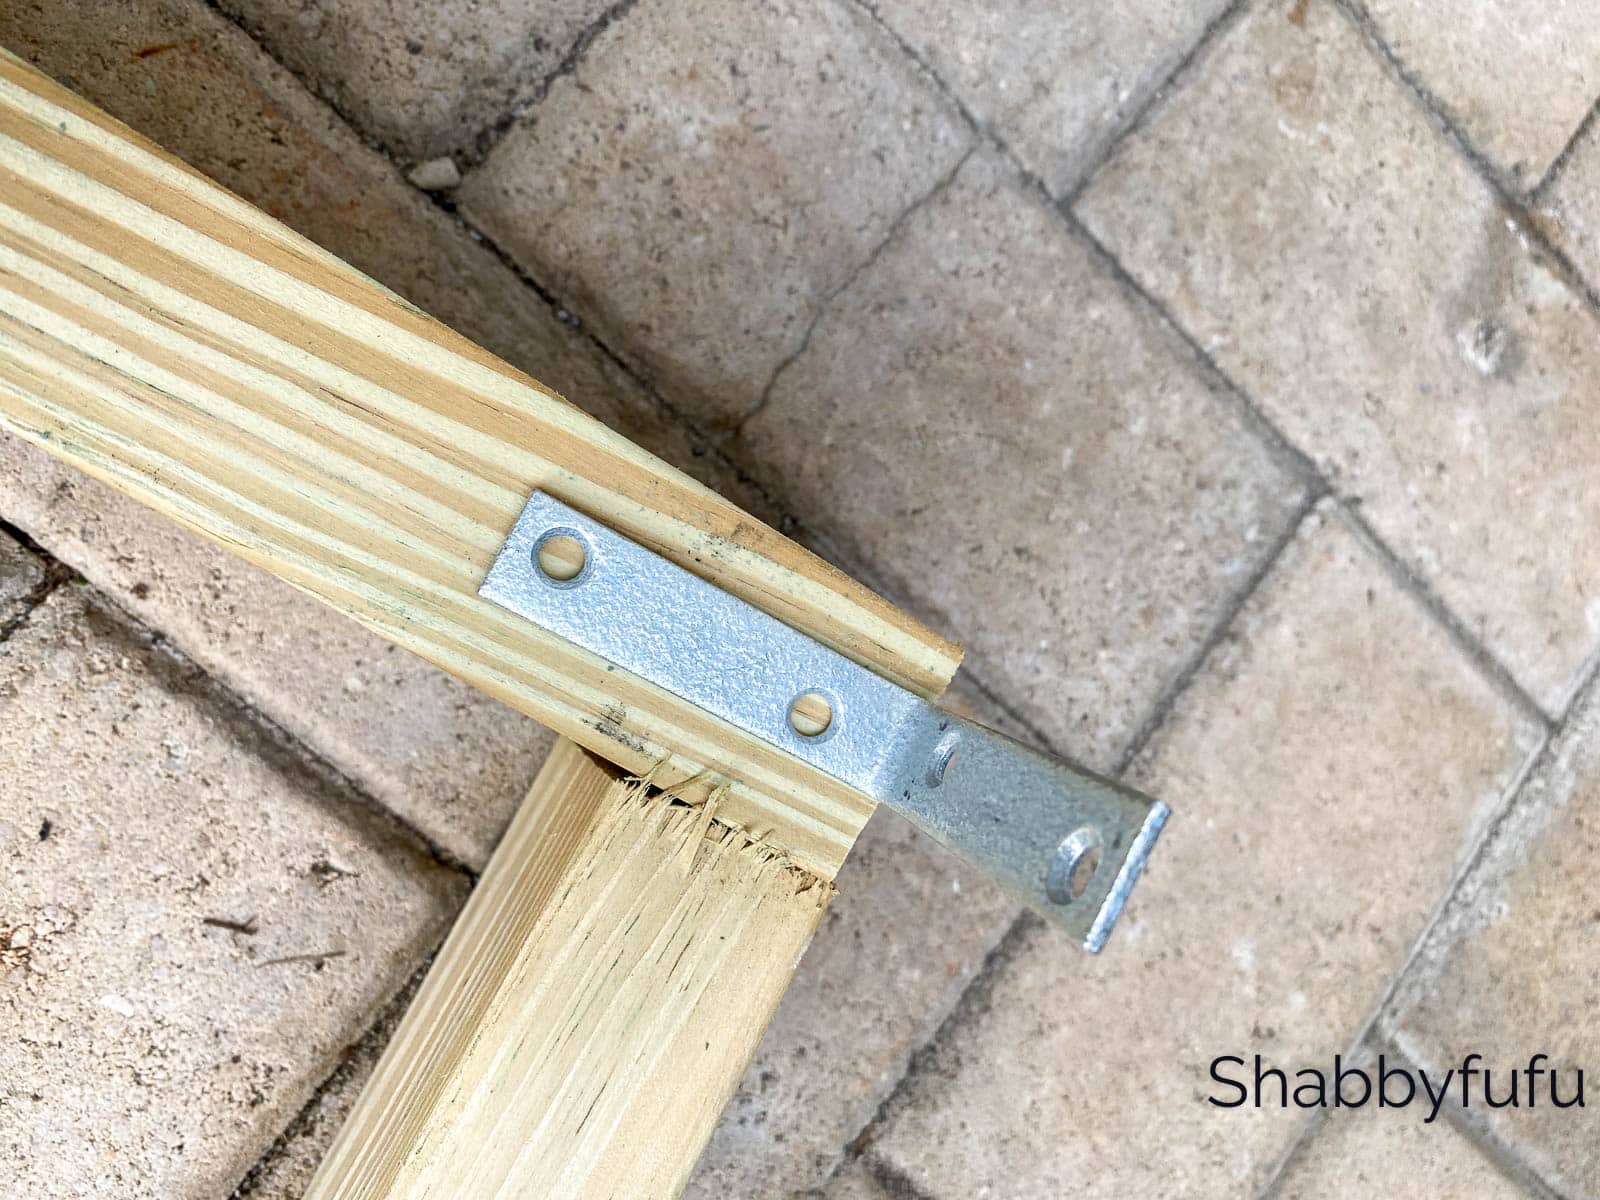
Determine where you’ll be installing your outdoor shower privacy screen in the location that you choose! We put ours on the patio using a concrete exterior wall and brick paver floor as anchor points. Attach one National Hardware 2 1/2″ Corner Brace to the top of the wall and the bottom of the floor surface (pavers – in this case).
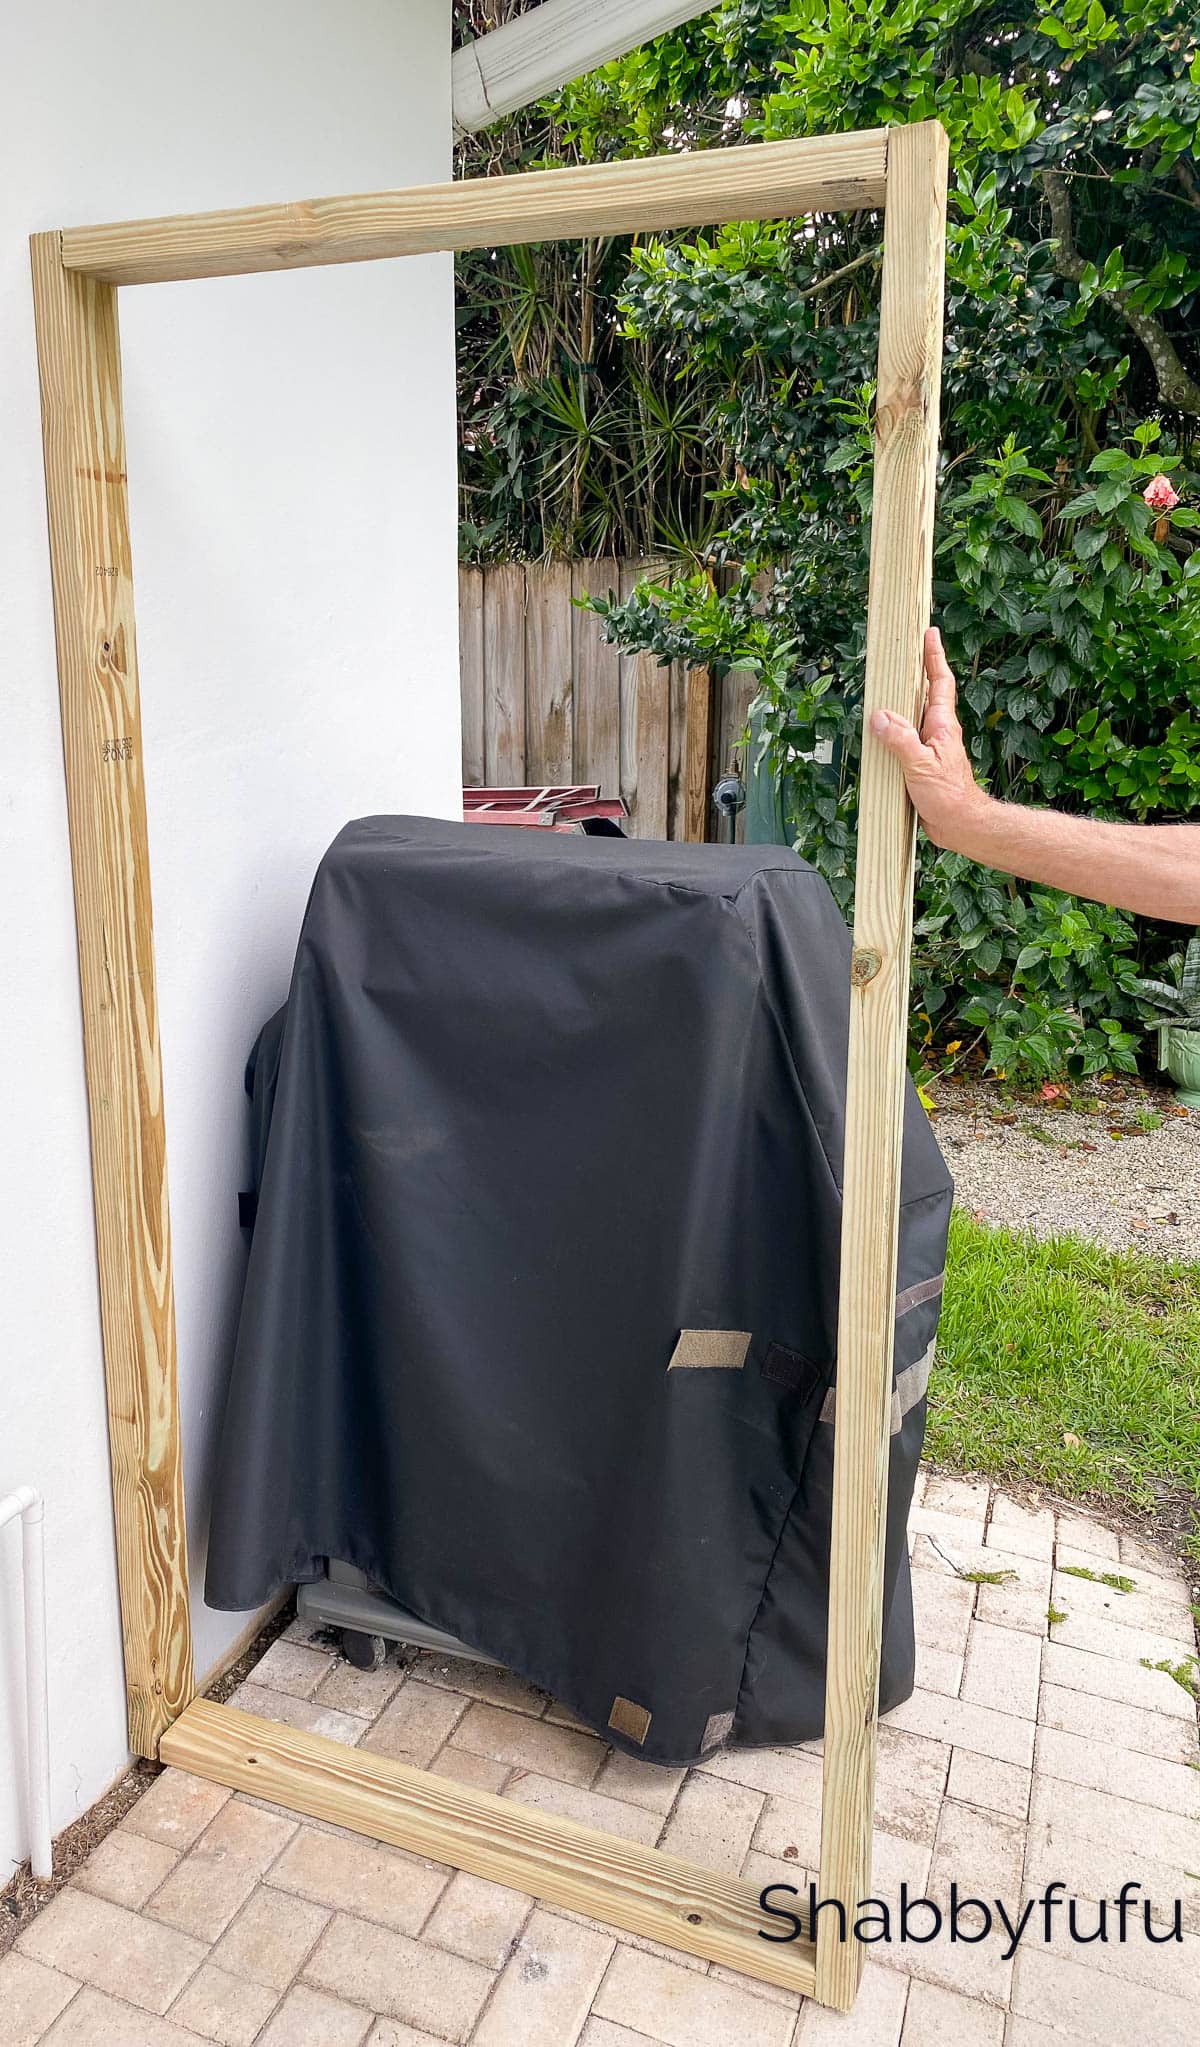
STEP 5 –
Attach the frame to the corner braces (angle brackets) with the screws provided in the package.
STEP 6 –
Cut fifteen 3′ long planks from the decking wood. Decking wood has rounded edges which can be safer around wet surfaces. These planks will be used to form the screen.
STEP 7 –
Attach one of the 3′ long planks of decking wood to the bottom as shown. Make sure that this first piece is level so that the entire outdoor shower privacy screen will be level.
STEP 8 –
Measure and mark the locations for the attachment of the planks, leaving a four inch space between planks.
STEP 9 –
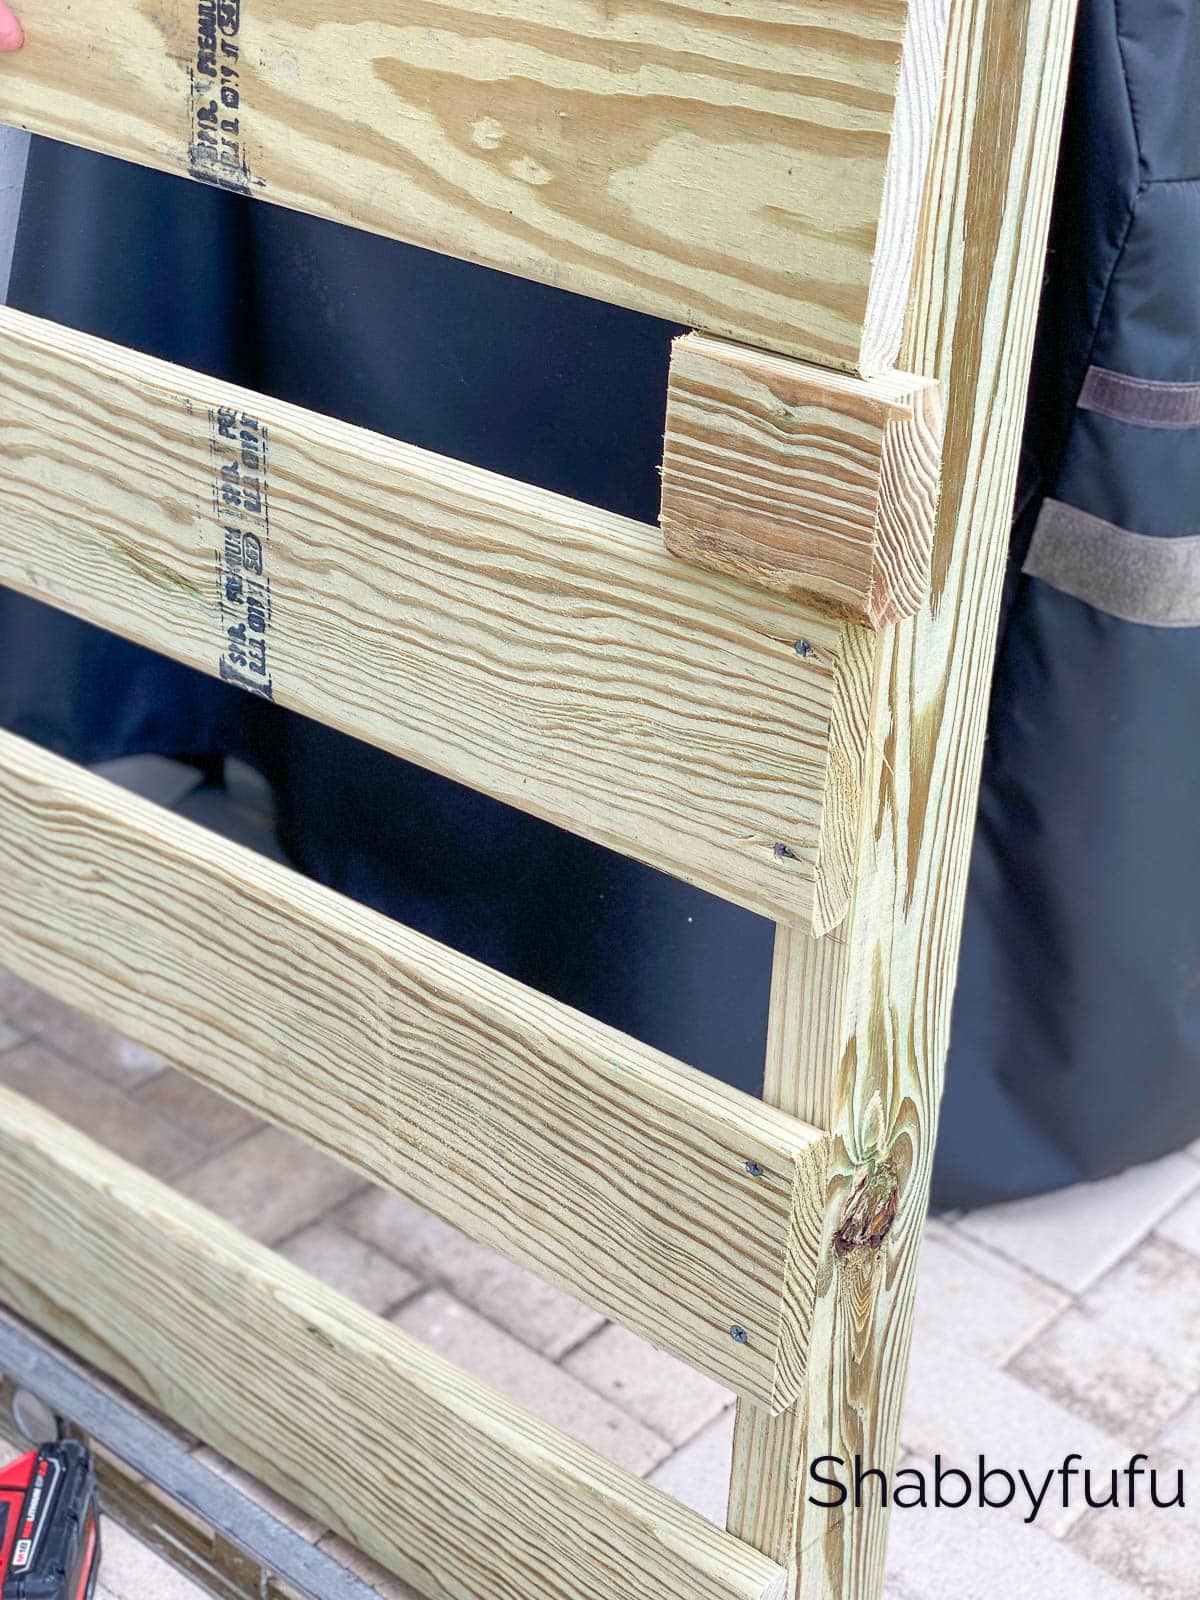
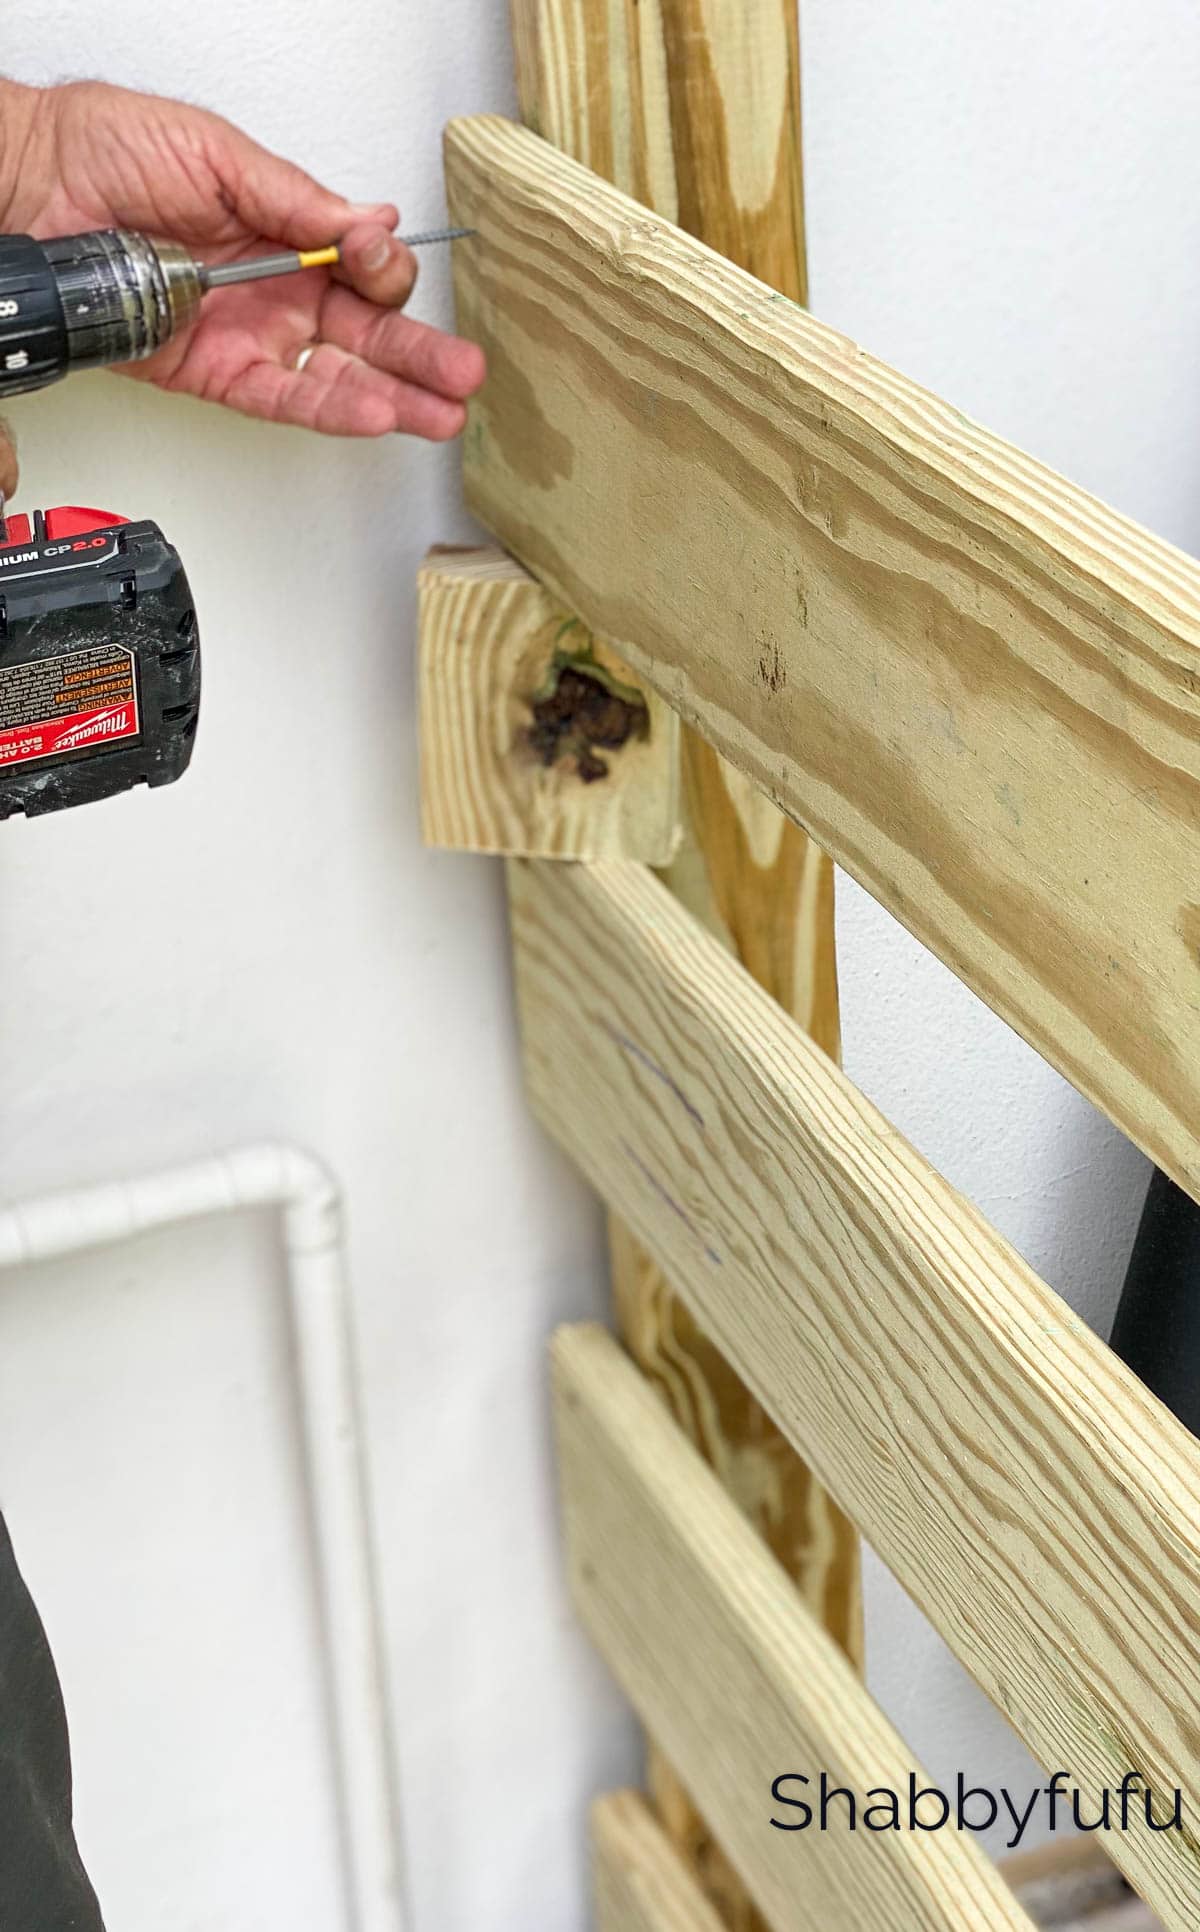
PRO TIP!
Cut a 4″ block. You’ll be using this to help guide you to leave a 4″ space between the planks as you install them! Using your screw gun, attach the planks to the frame. Build one side of the screen with this process and then repeat the procedure on the back side. This type of frame is called a “shadowbox” and is often used for wood fencing to create a screen and allow air to circulate.
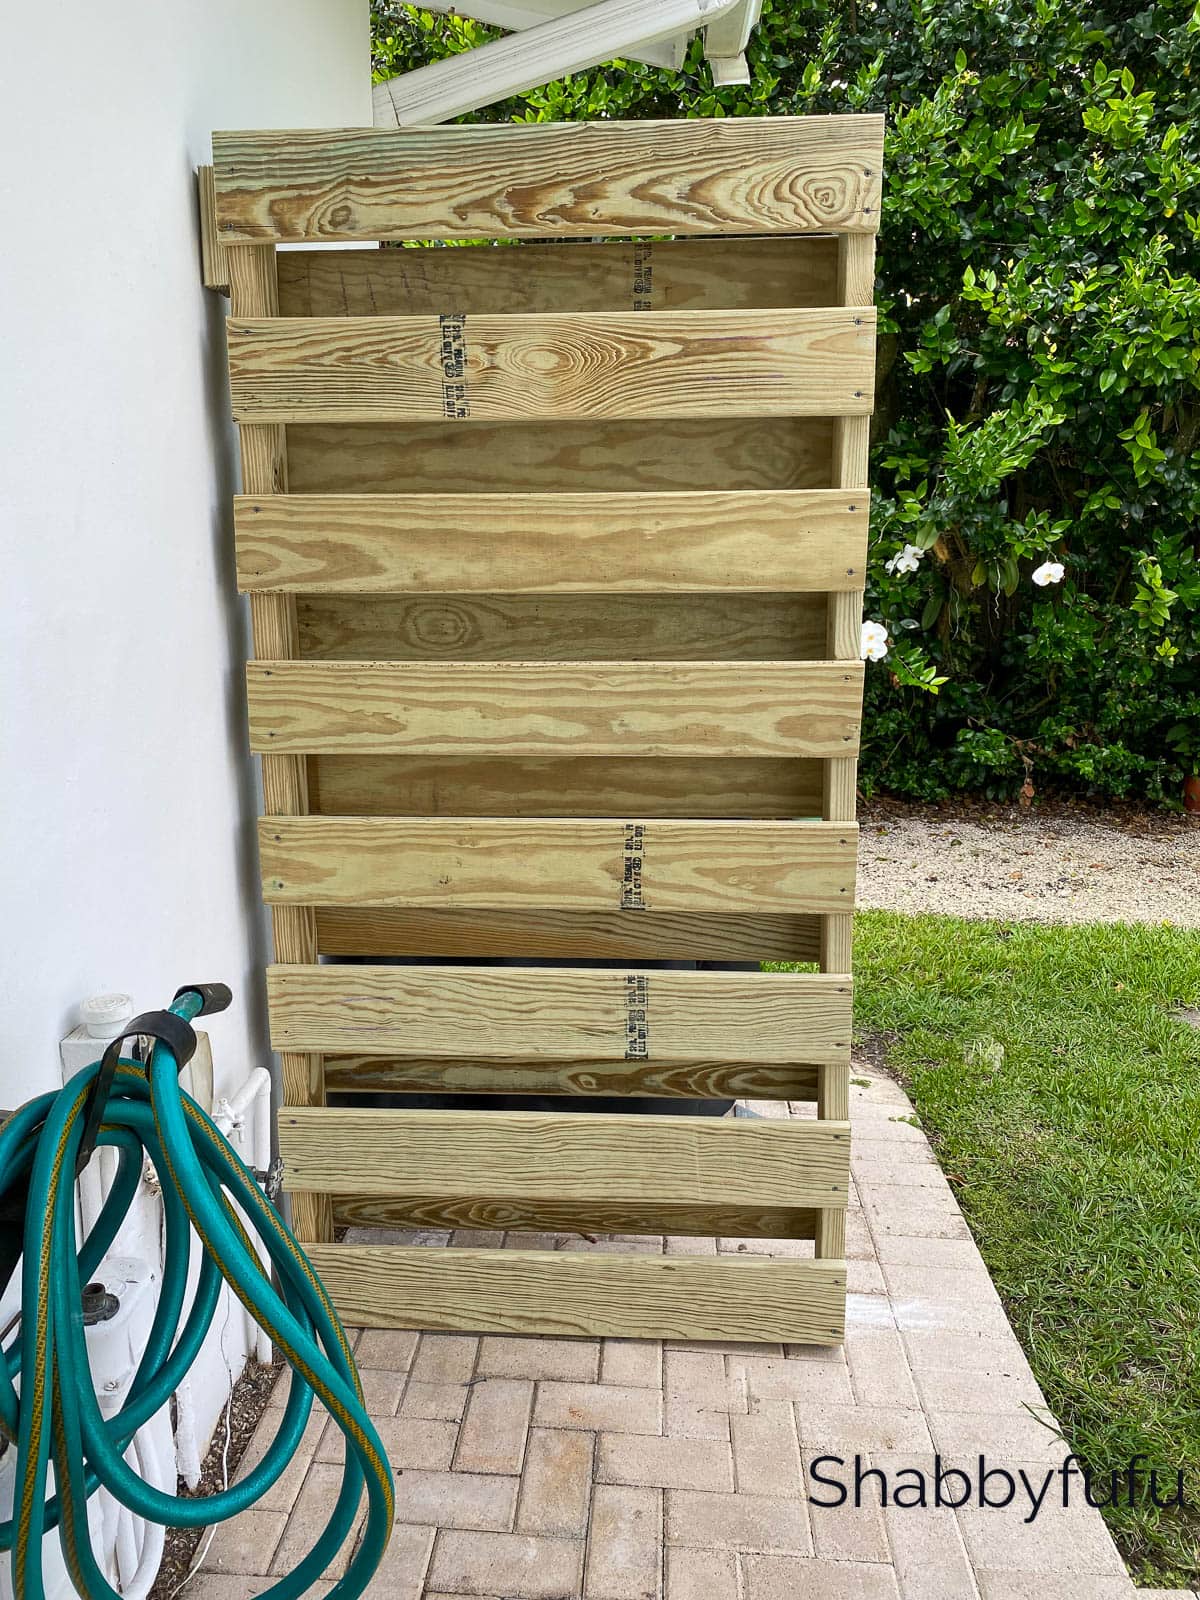
BUILDING THE OUTDOOR SHOWER PRIVACY SCREEN SEAT & SOAP SHELF
STEP 10 –
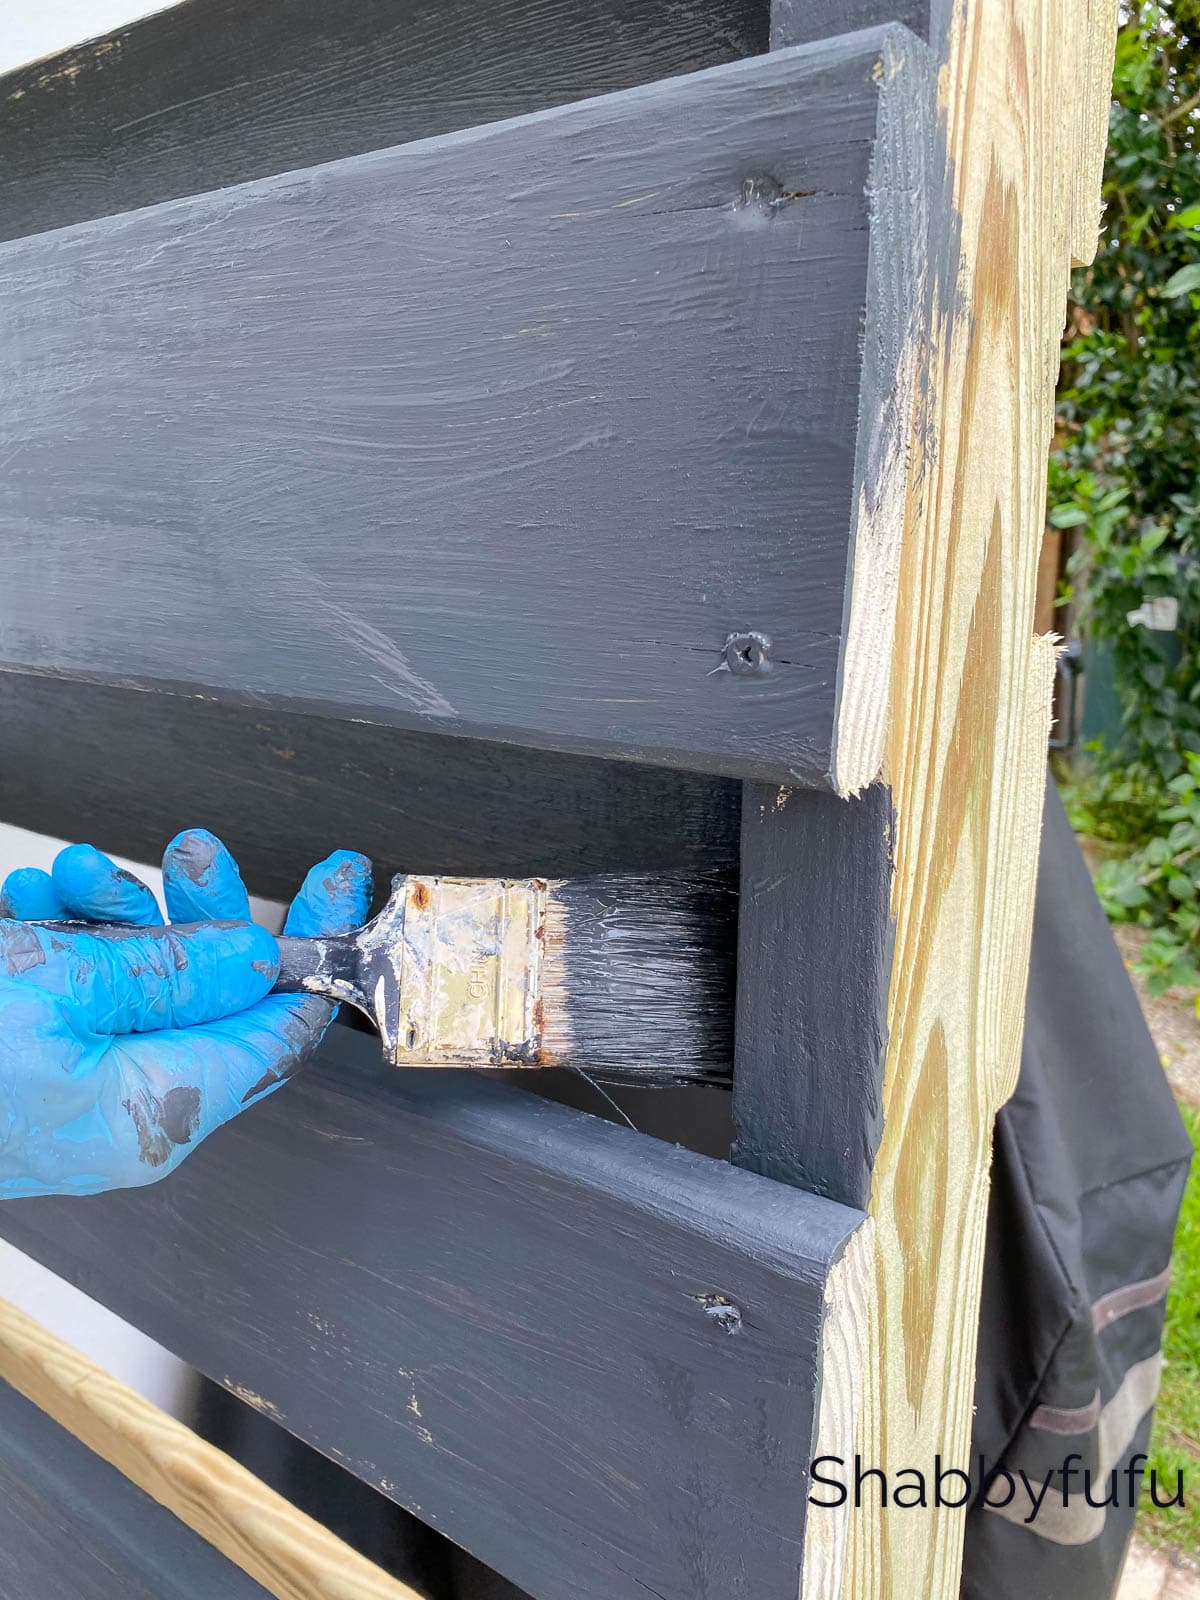
Totally optional, but we decided to add a seat and a soap/shampoo shelf to our outdoor shower privacy screen. You can choose to paint or stain your shadowbox screen at this point (as we did) or after adding the seat and soap shelf.
STEP 11 –
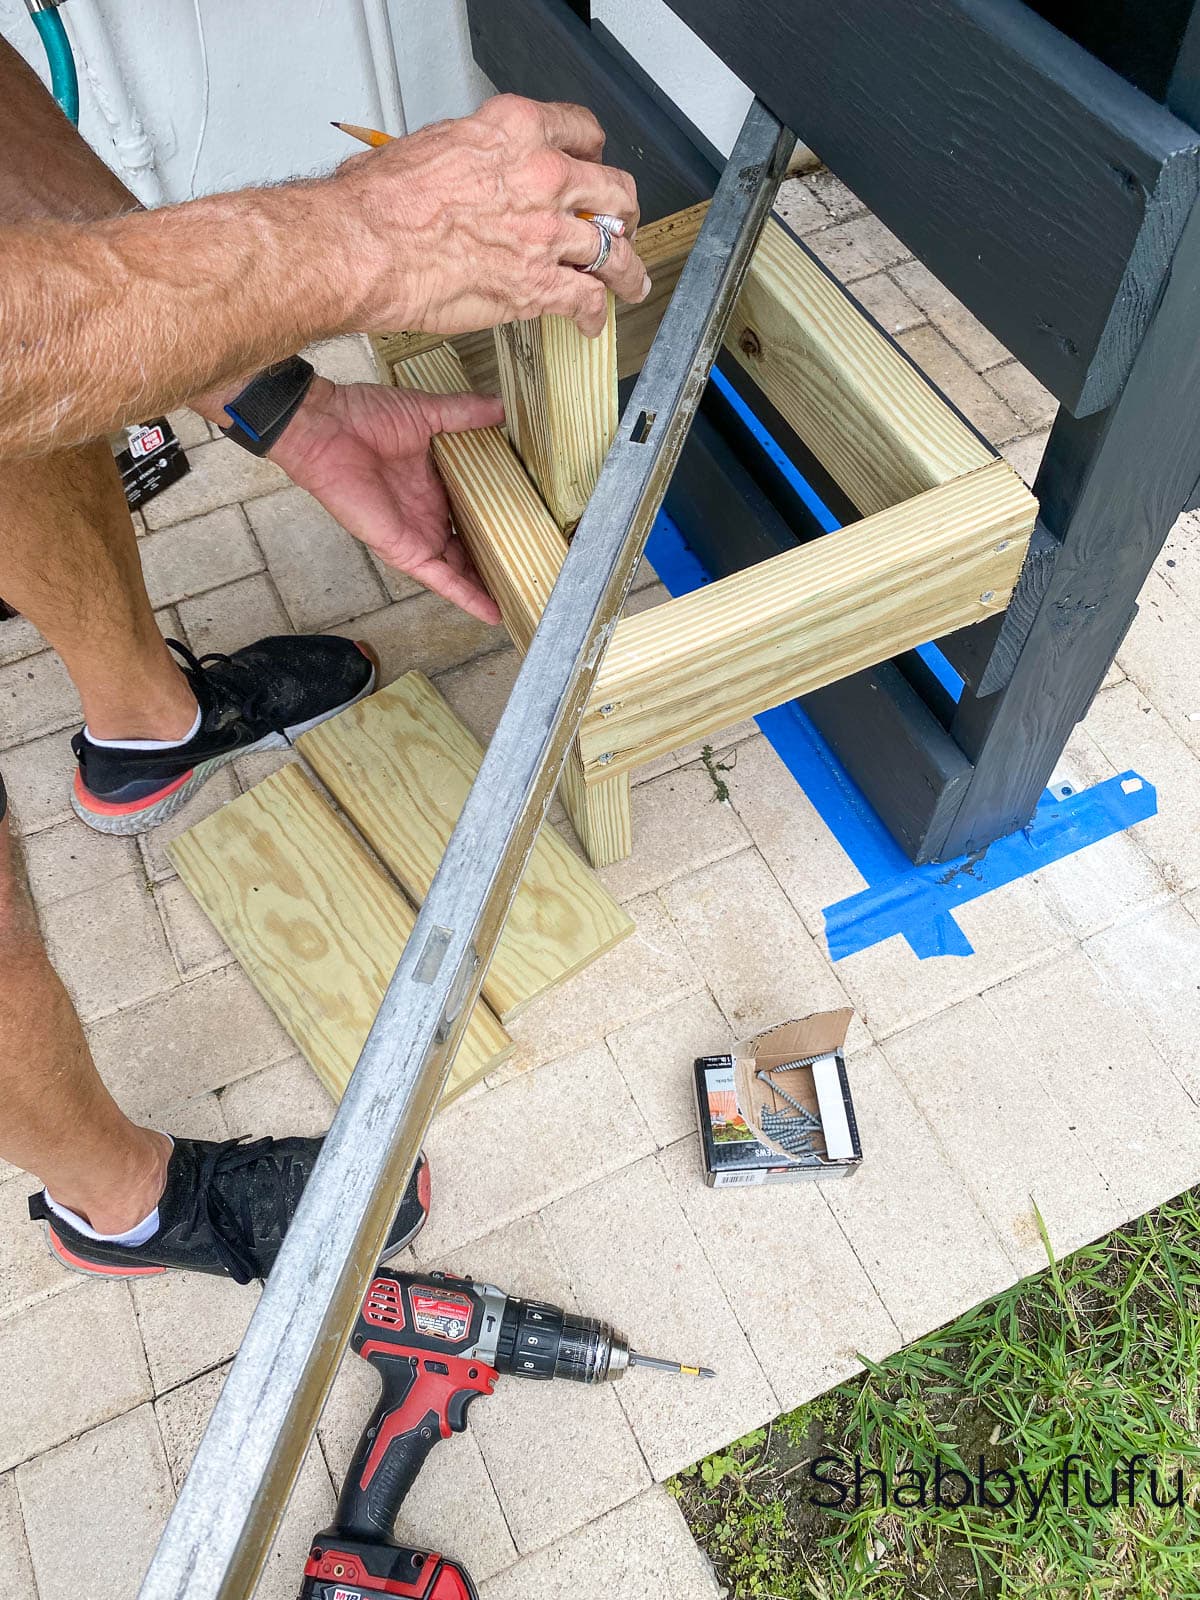
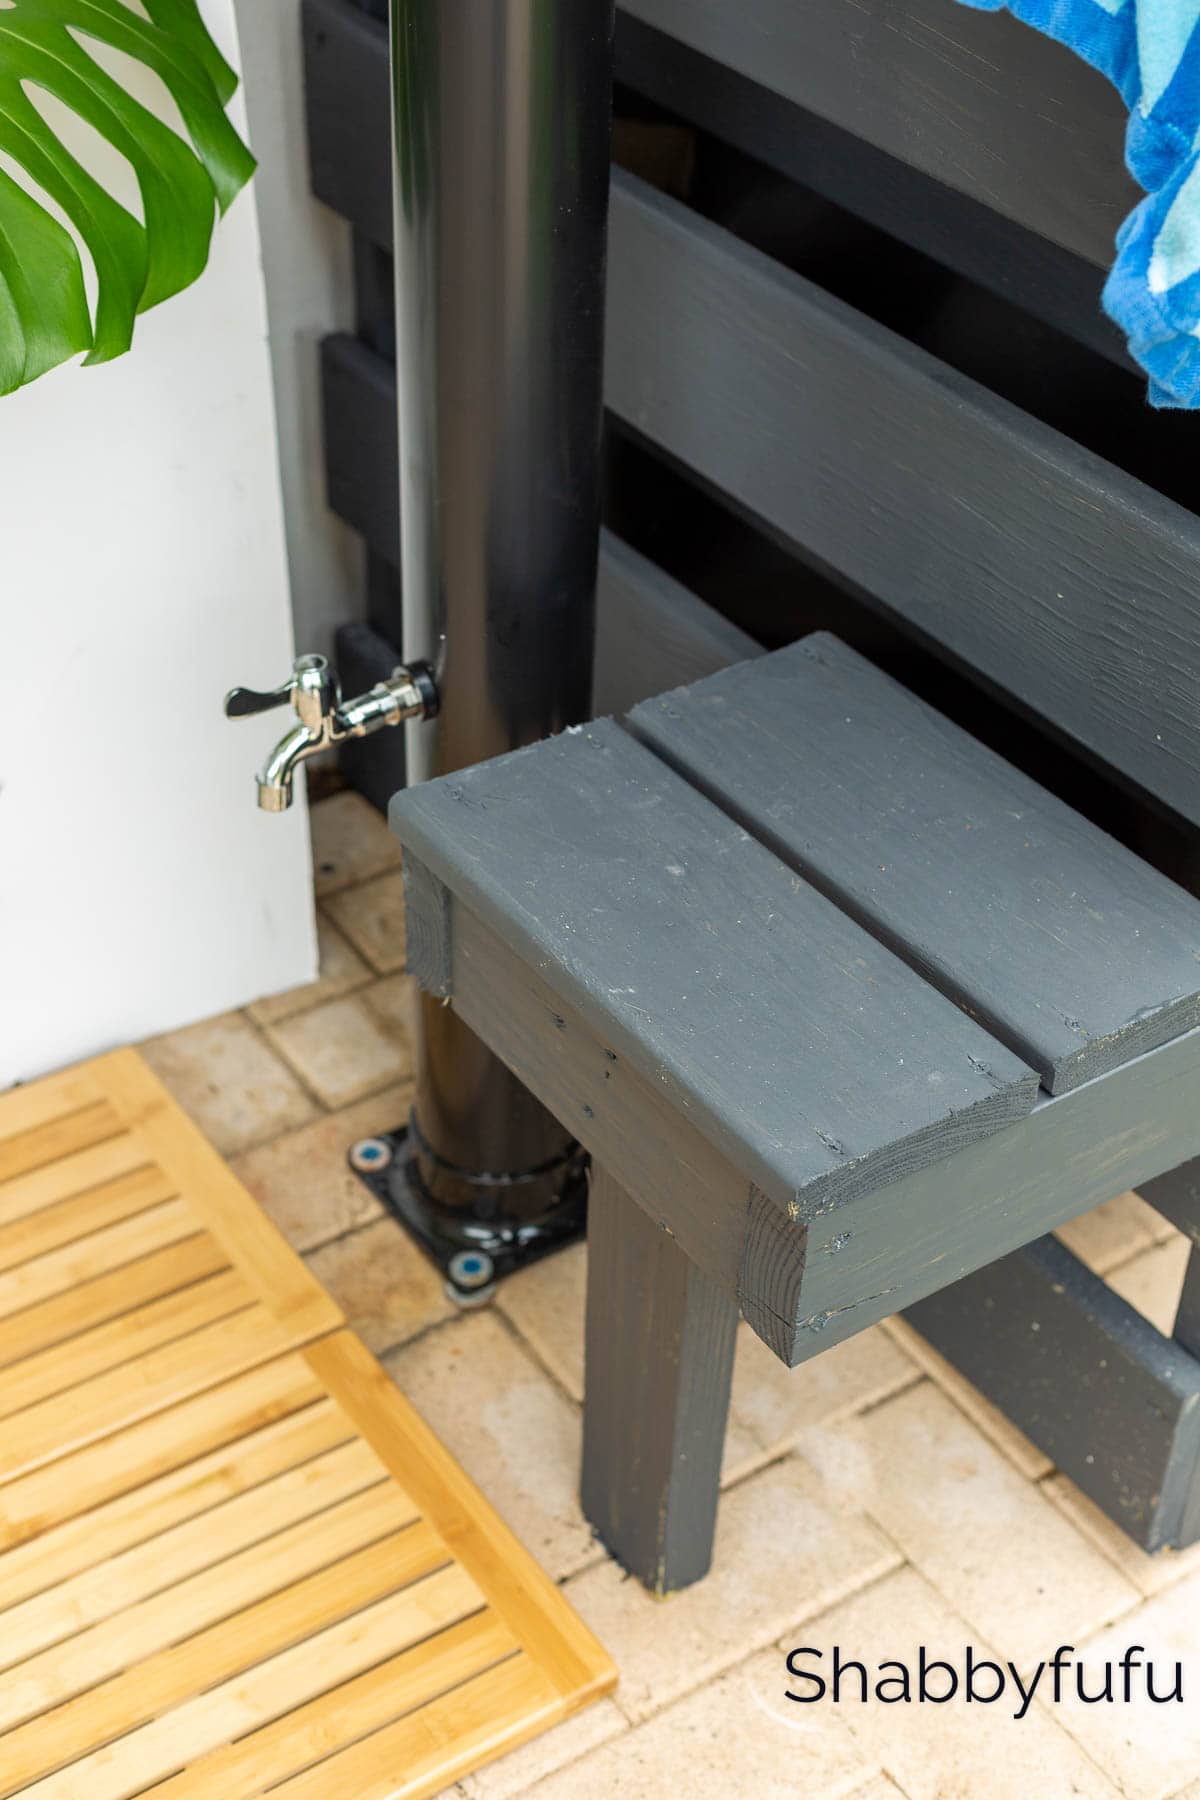
With the 2 x 4’s, measure and cut two pieces that are 10″ long , two pieces at 12″ and one piece at 16″. These will make up the seat frame. Next attach the 10″ piece to the screen at your desired height for sitting. We placed our seat at 16″ from the ground. Screw a 12″ piece to the 10″ piece that you just attached to the frame on both sides. Next attach a 10″ piece to two 12″ side pieces, creating the front of the seat. To give the seat enough support, we felt it necessary to attach the 16″ 2 x 4 to the center front of the 10″piece. Once you’ve attached the center support you can place and attach the two 12″ piece of decking that you’ve cut to make the seat. Totally sounds more complicated than it actually is!
STEP 12 – Finishing Off The Outdoor Shower Privacy Screen
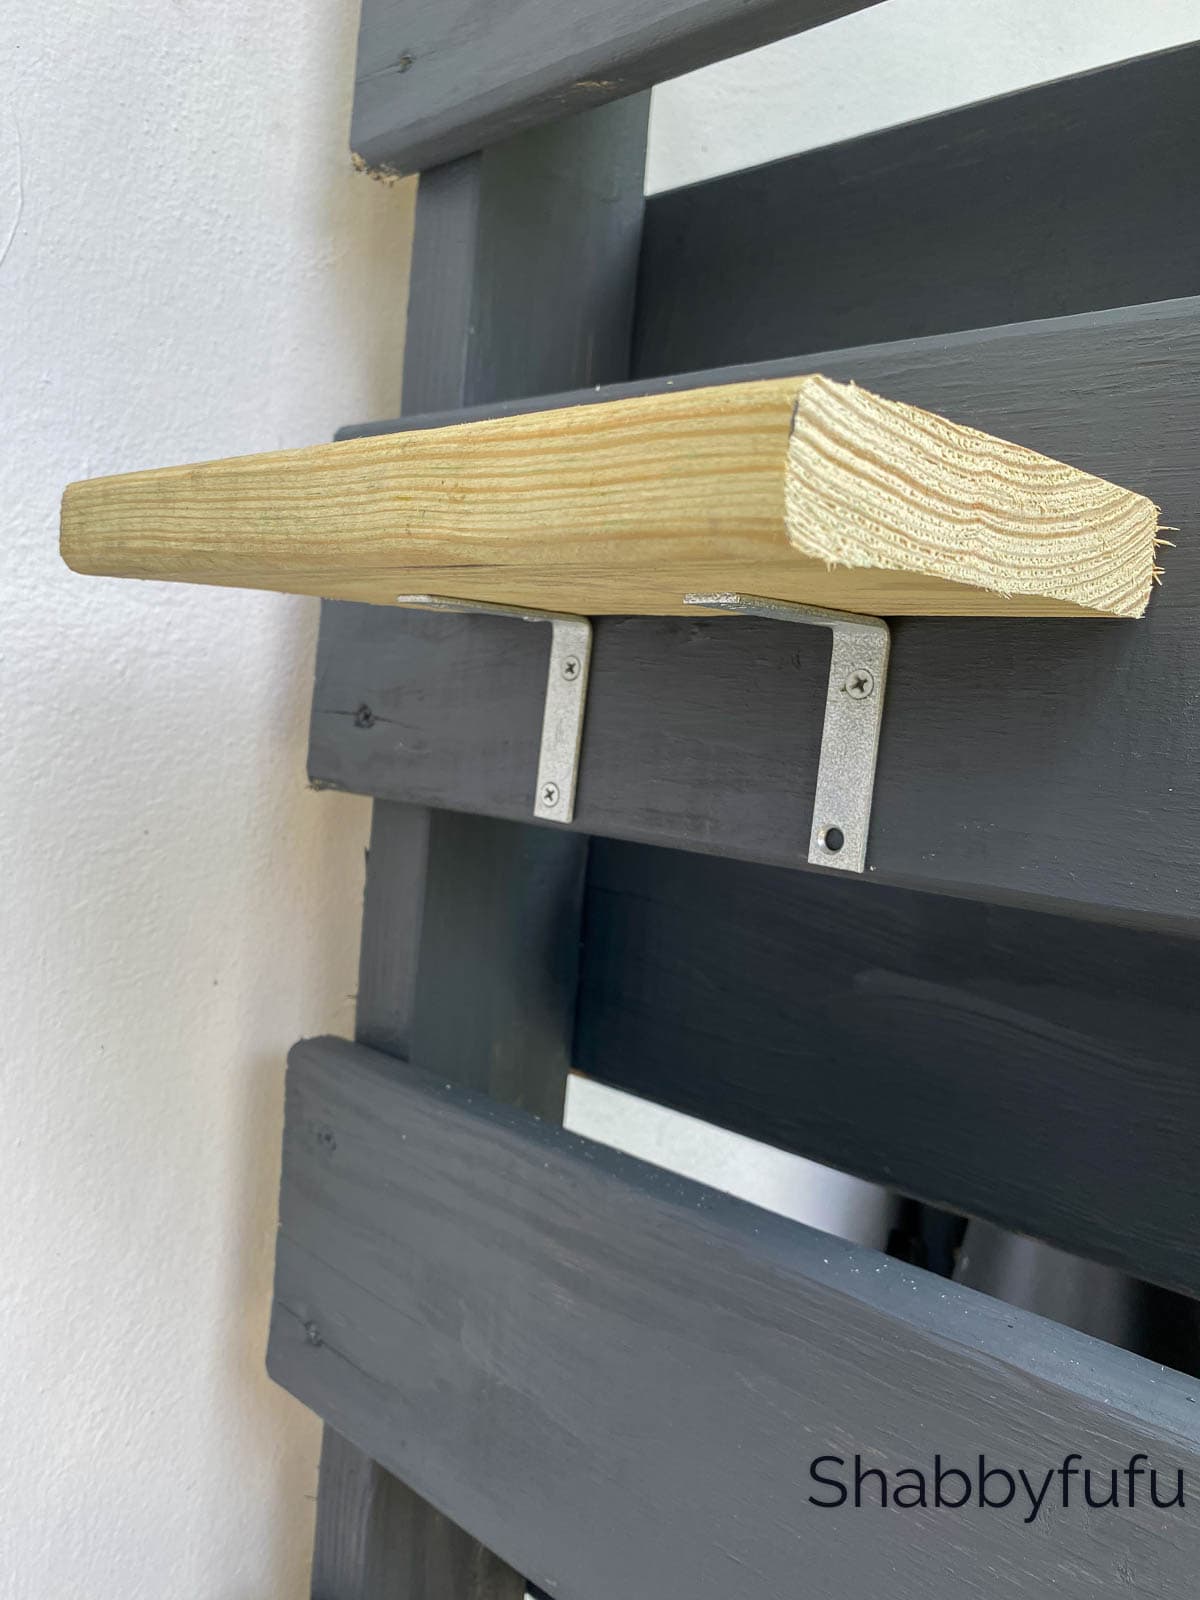
Attach two National Hardware 2 1/2″ Corner Braces to the screen at your desired height for a soap shelf. Use a leftover piece of the decking wood to make this shelf. We made ours 6″ long, which seemed like the perfect size!
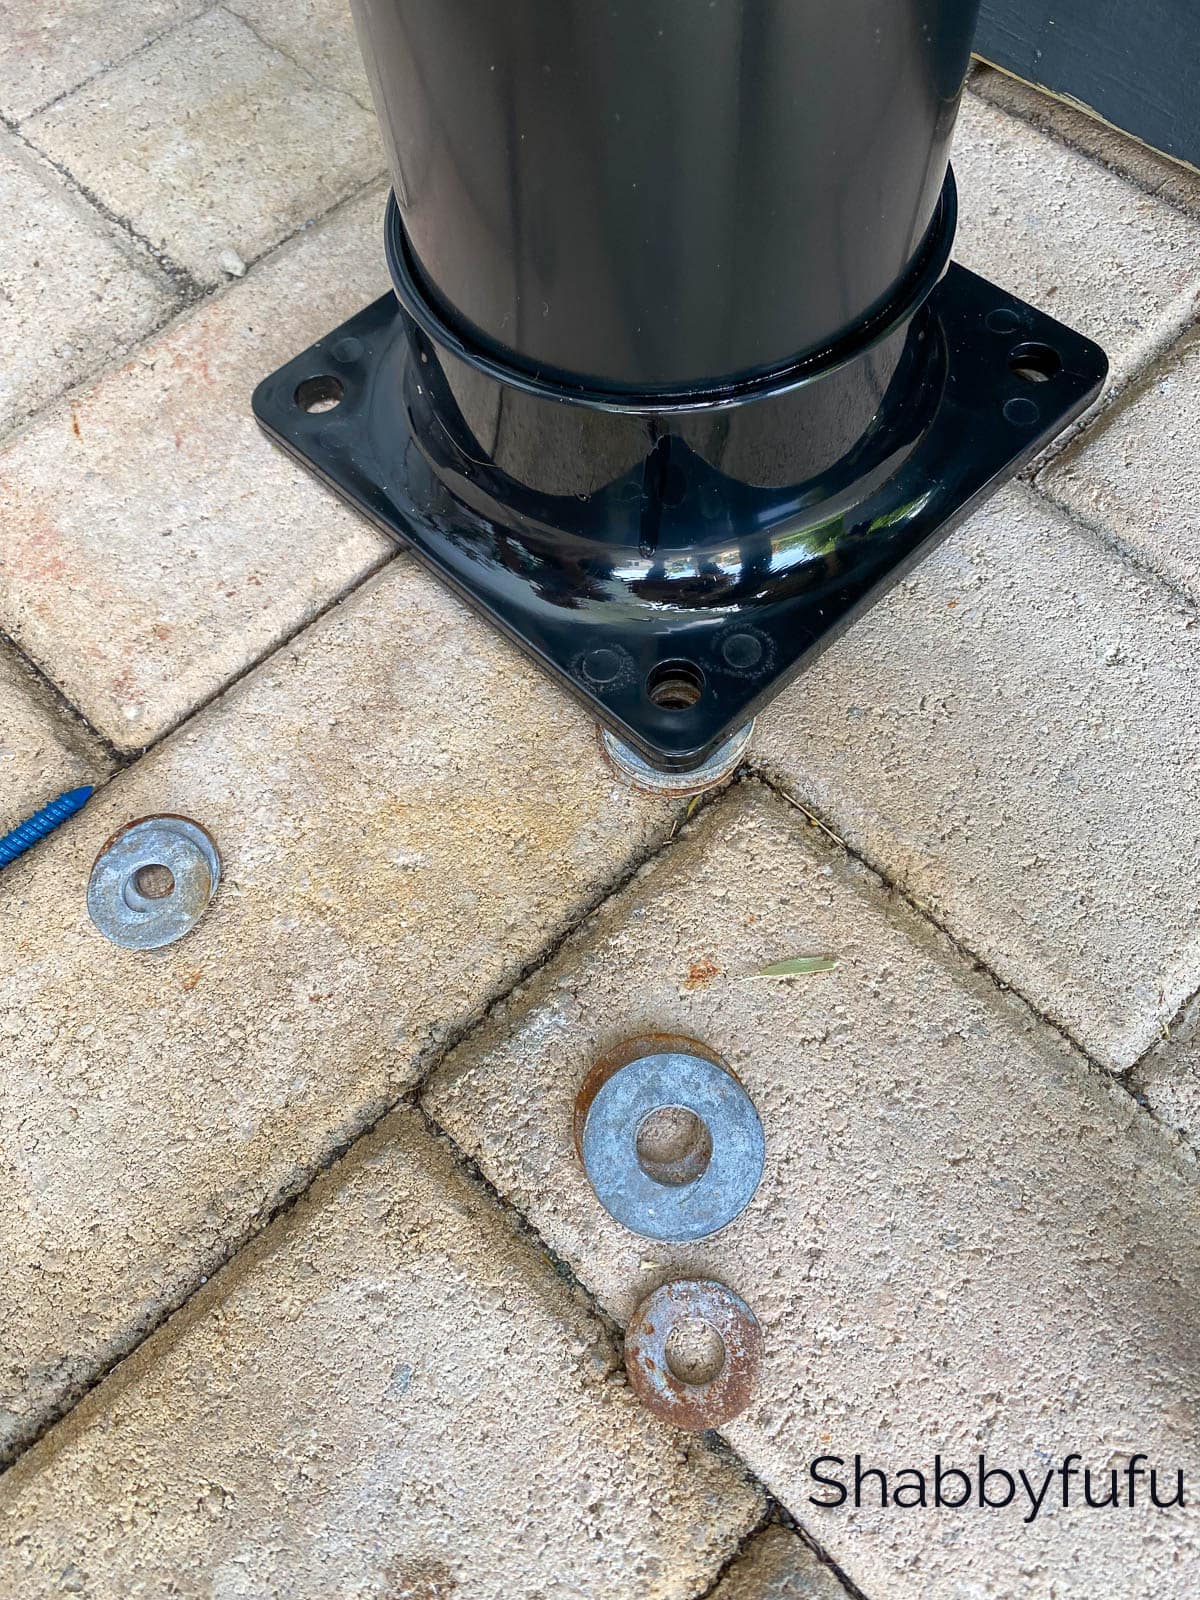
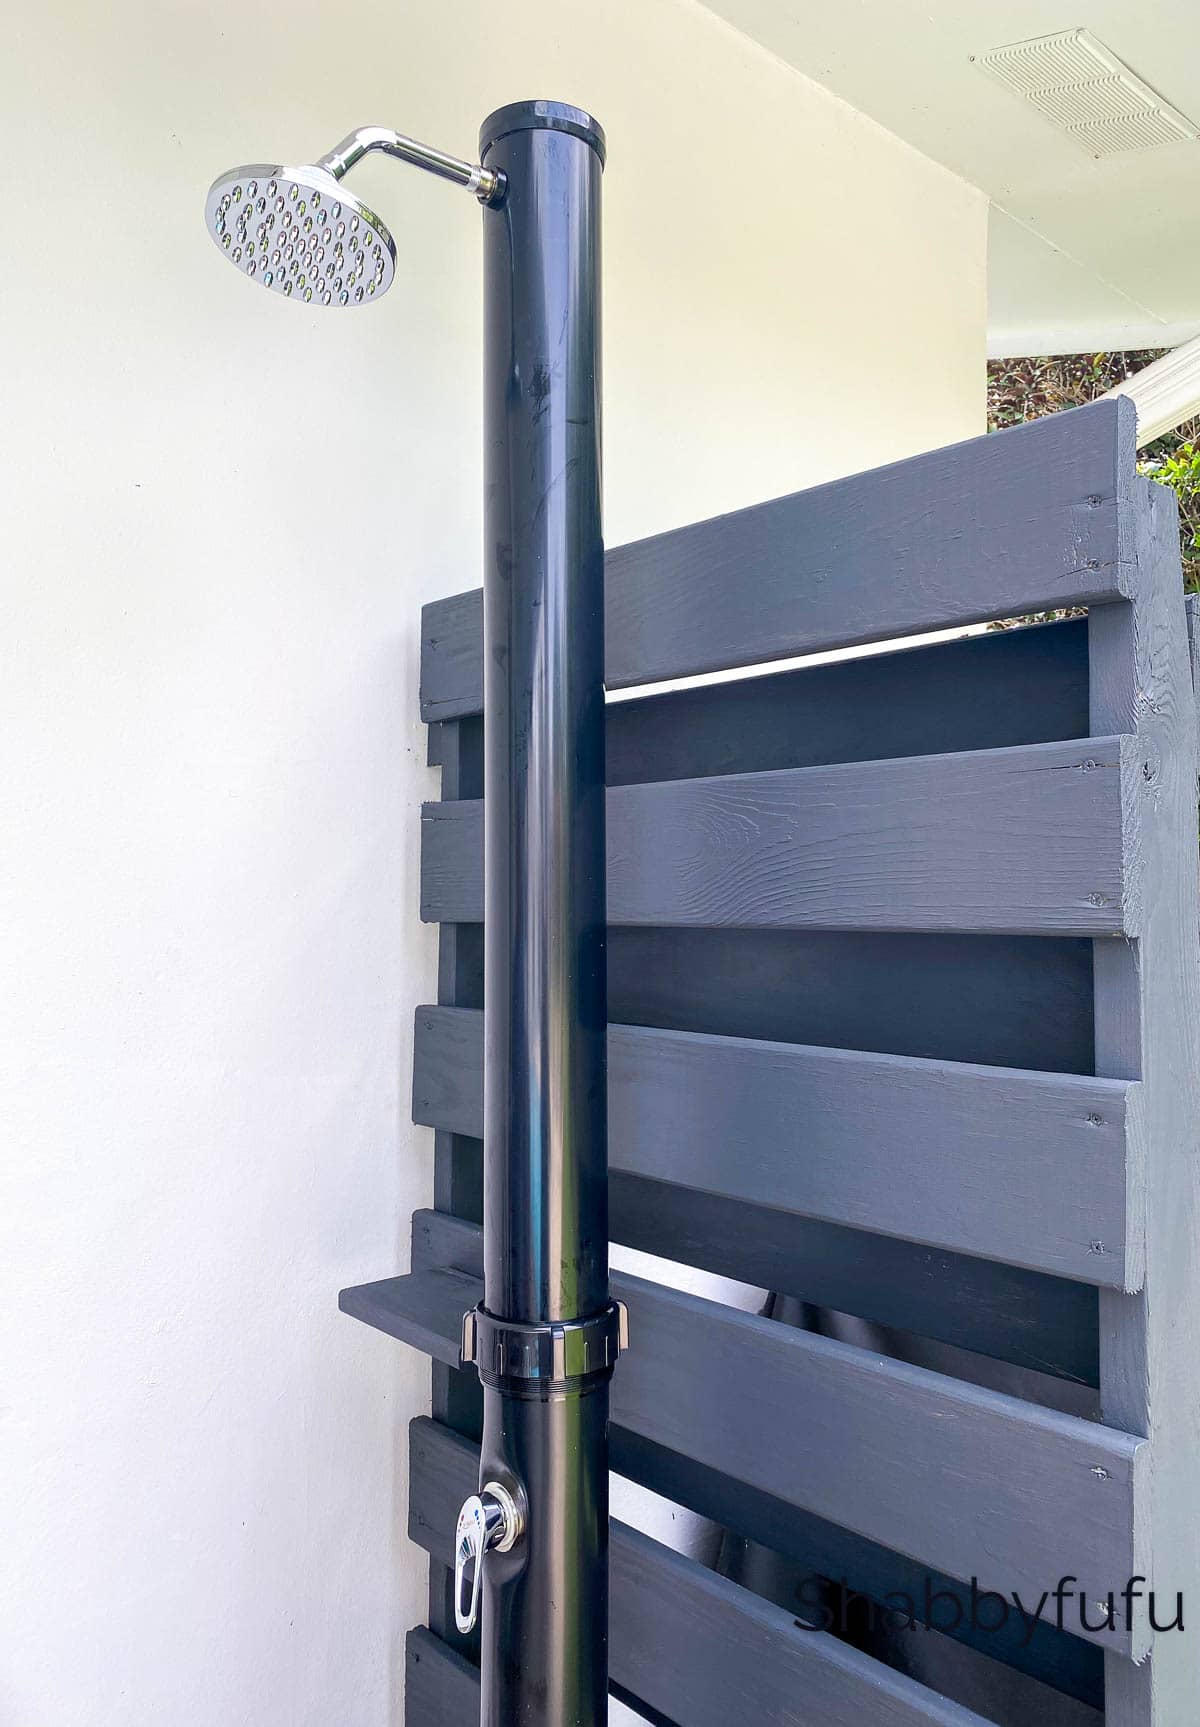
THE OUTDOOR SHOWER TOWER
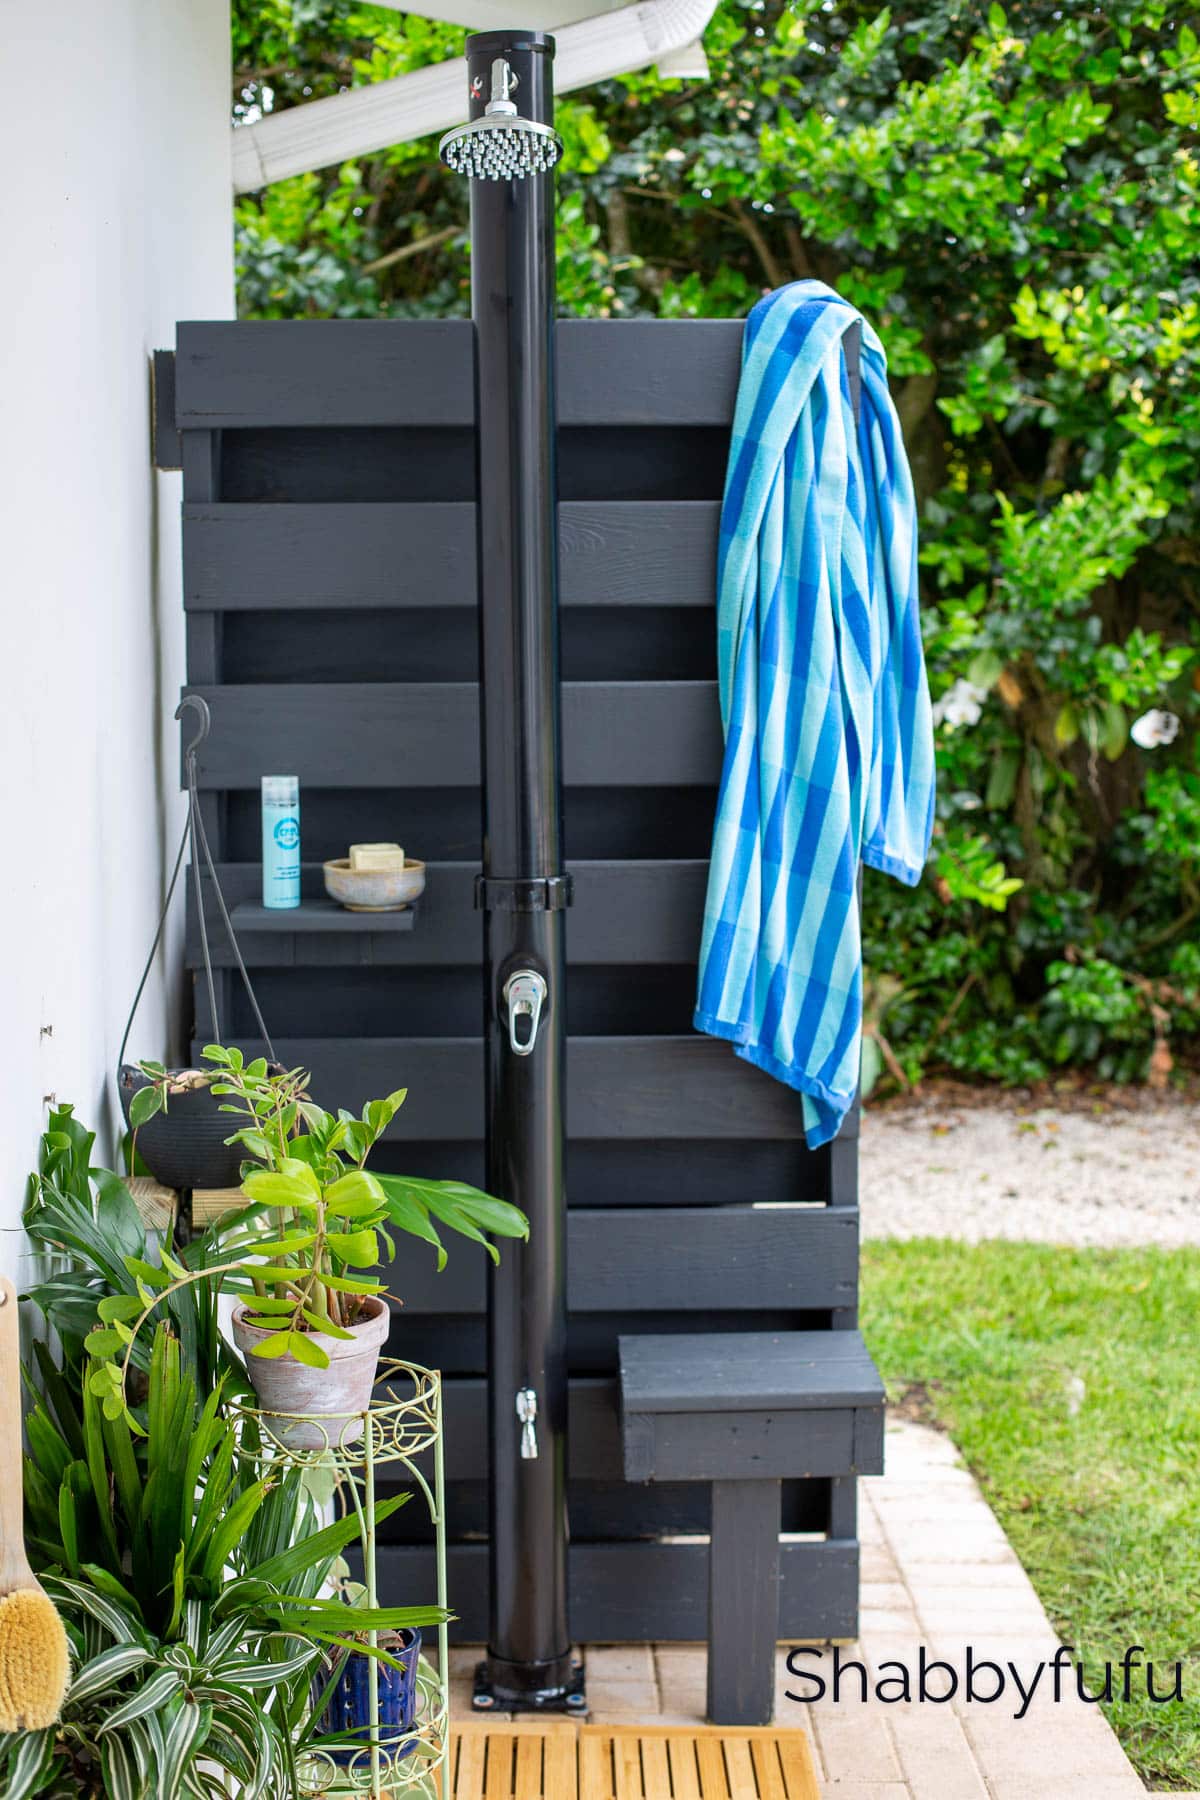
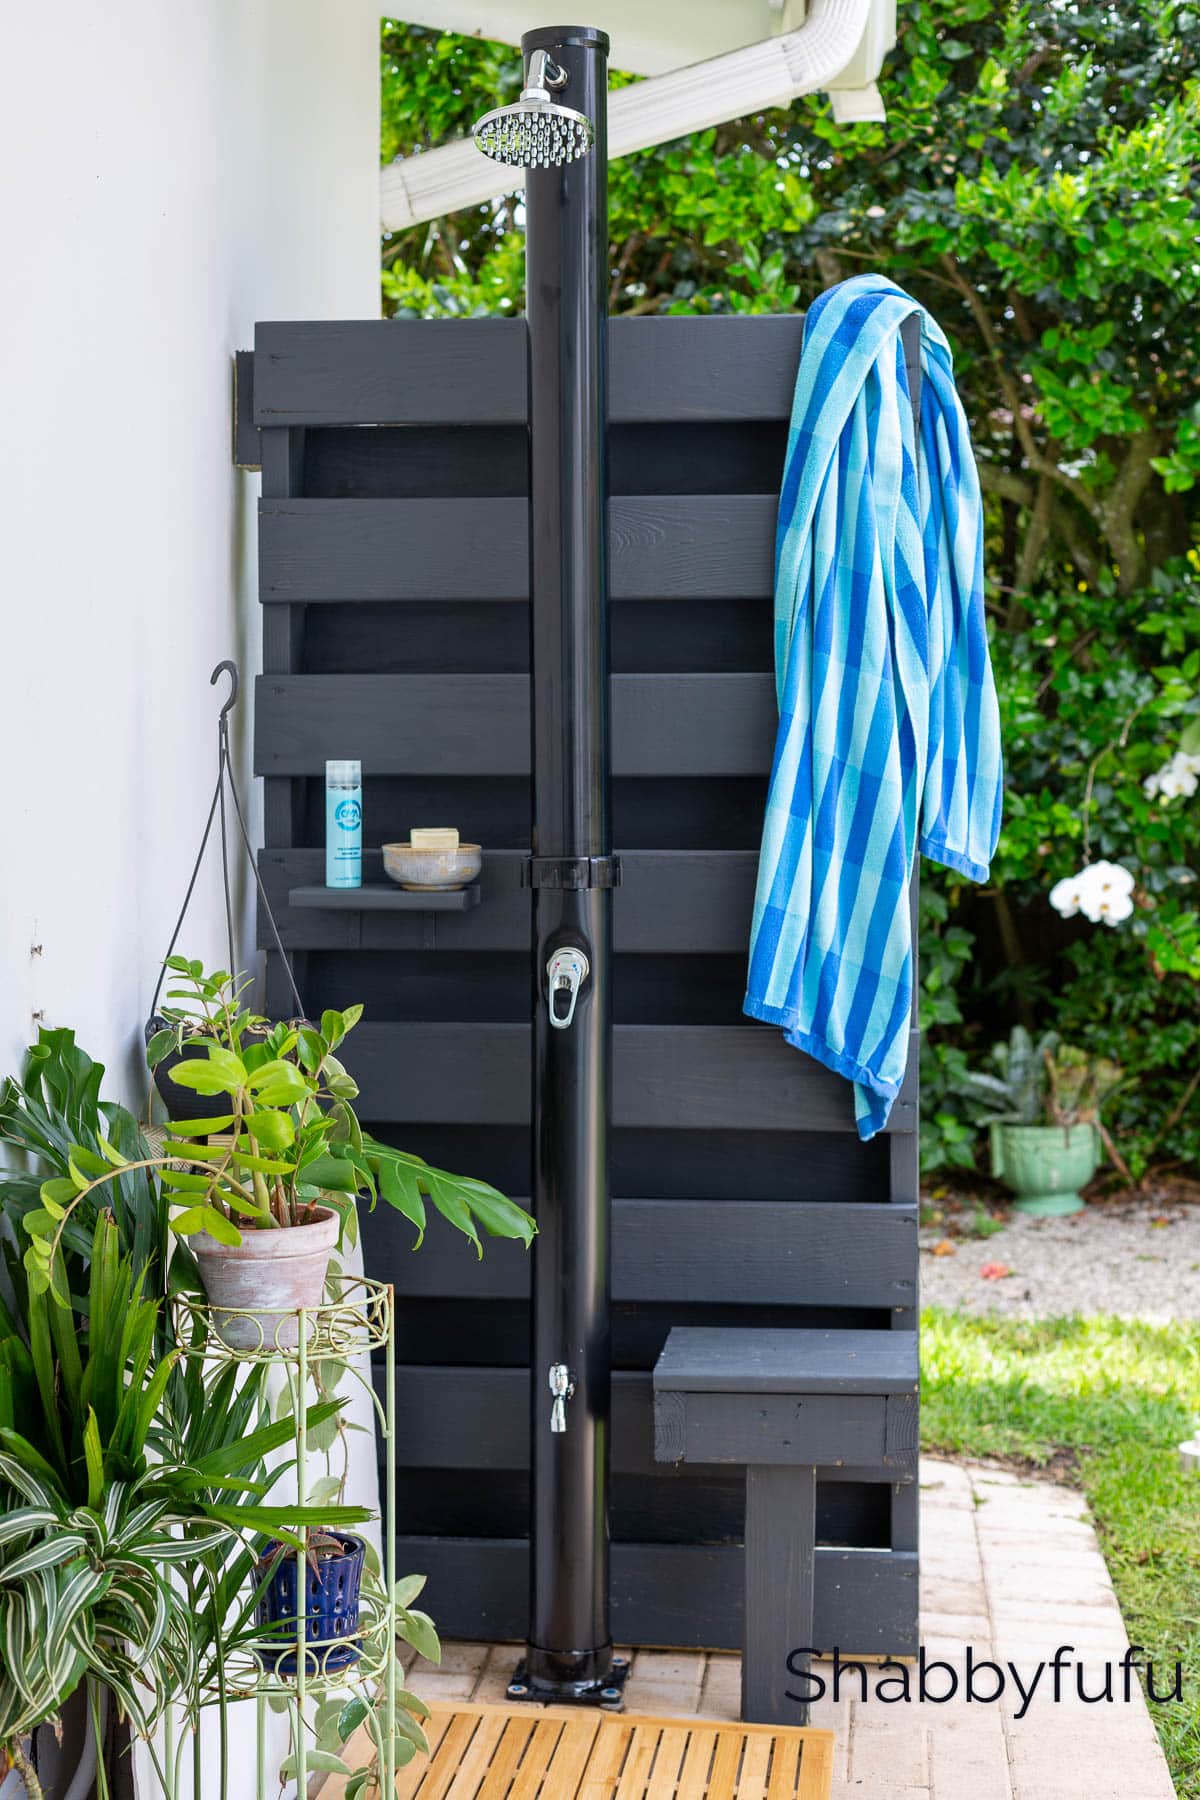
You’ll find lots of other ideas for outdoor shower enclosures on-line and plenty of options for the shower portion itself. We wanted the option of hot water to be available to use in the cooler months and went with a solar heated shower. Follow the manufacturer’s instructions for installation! For stability on a concrete or paver patio we recommend attaching directly to the patio with concrete screws. You can opt to use washers as we did to level out the surface.
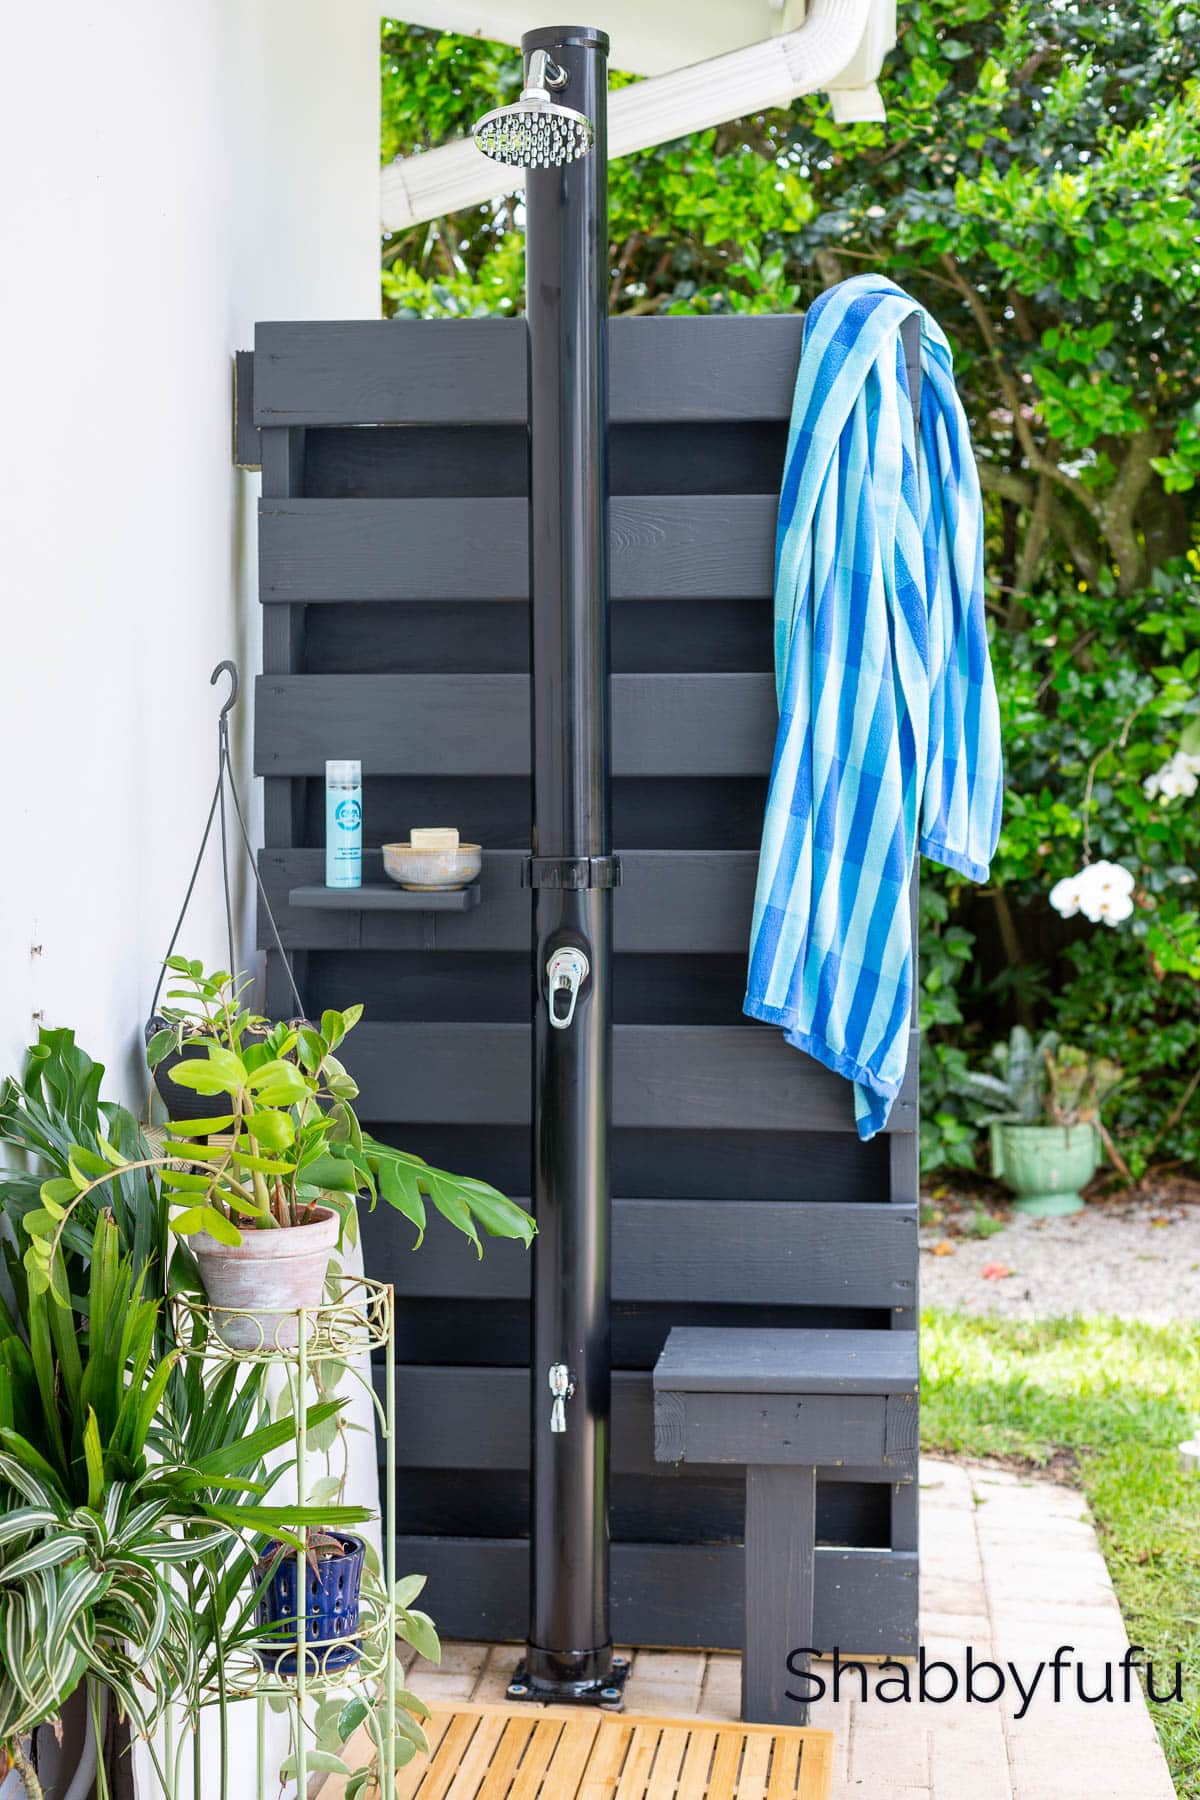
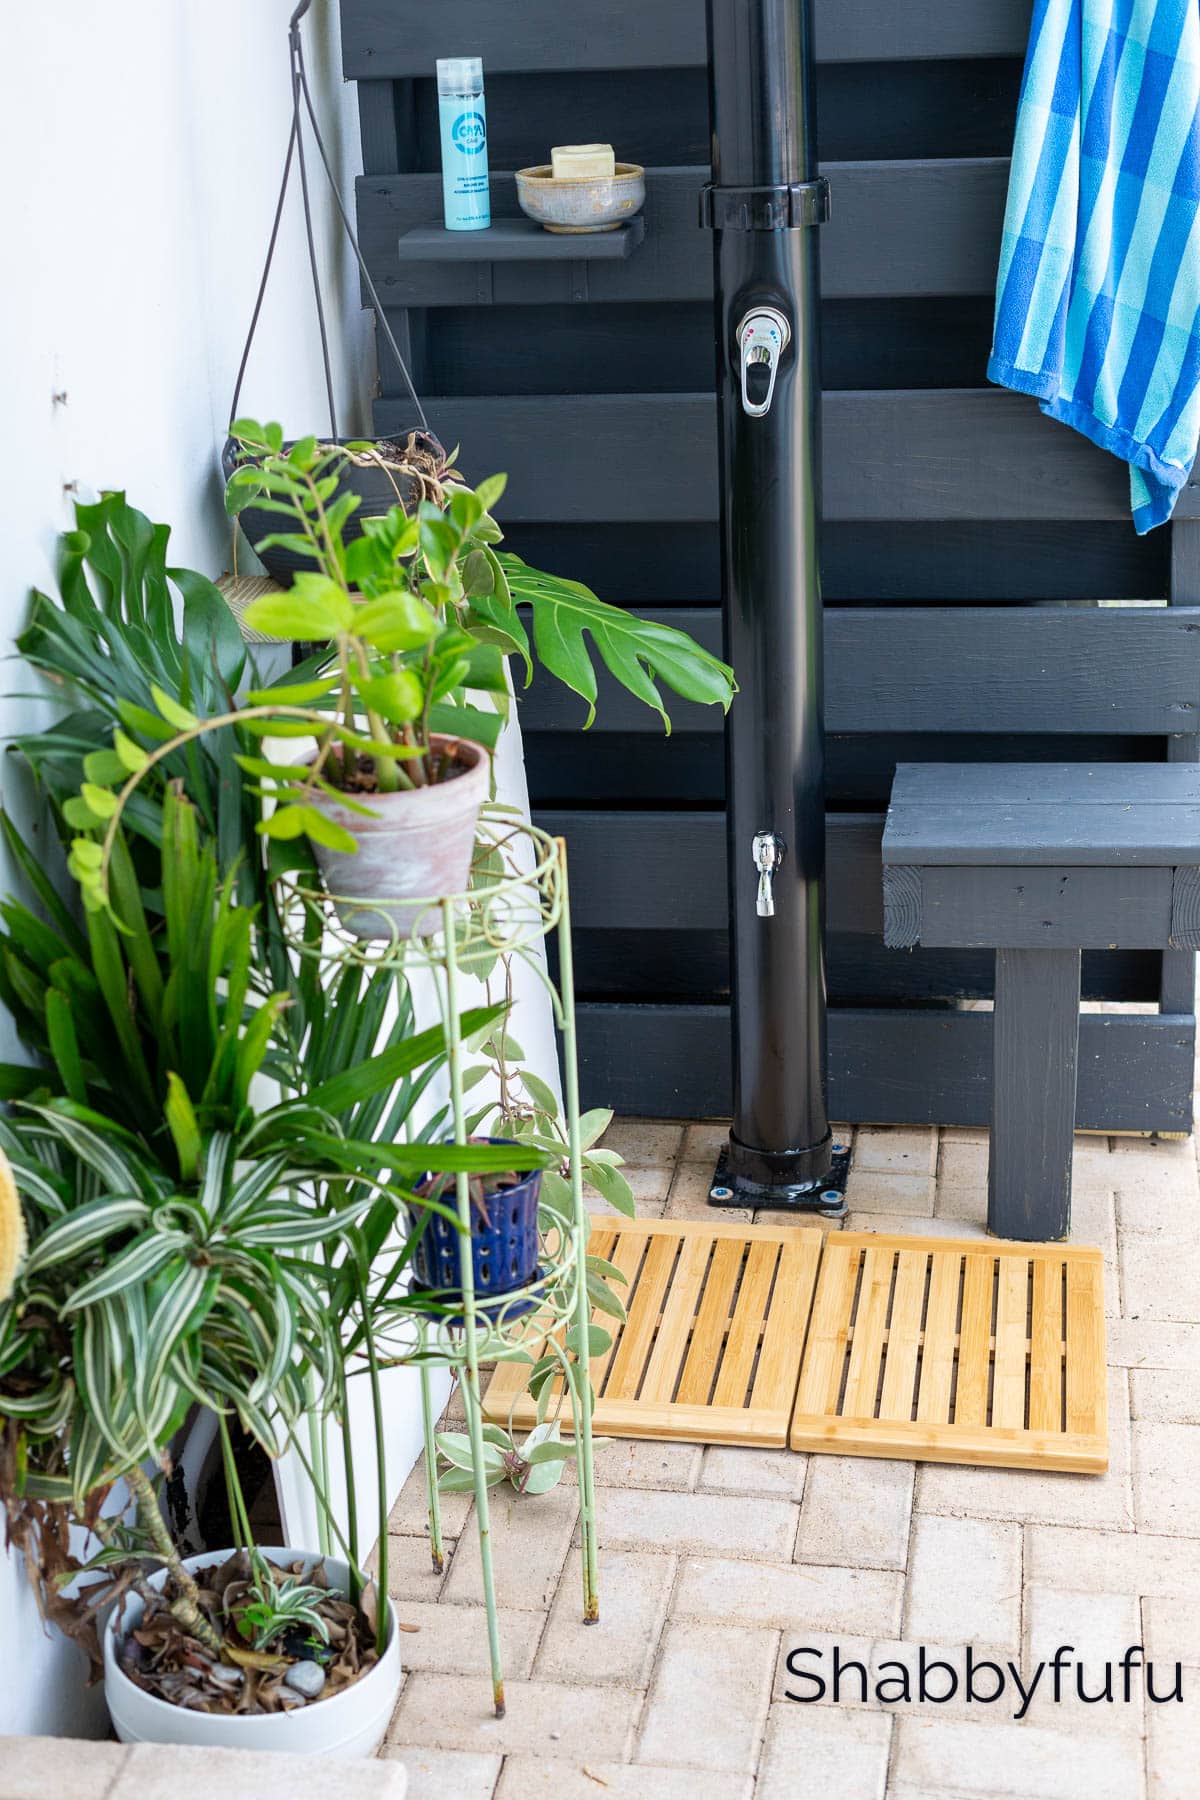
We did not attach the shower to the privacy screen, but you’ll find options for those as you shop for outdoor shower kits if you prefer. You might wish to add a bamboo screen to the floor under your shower, as it’s more comfortable for your wet feet and will allow for drainage.
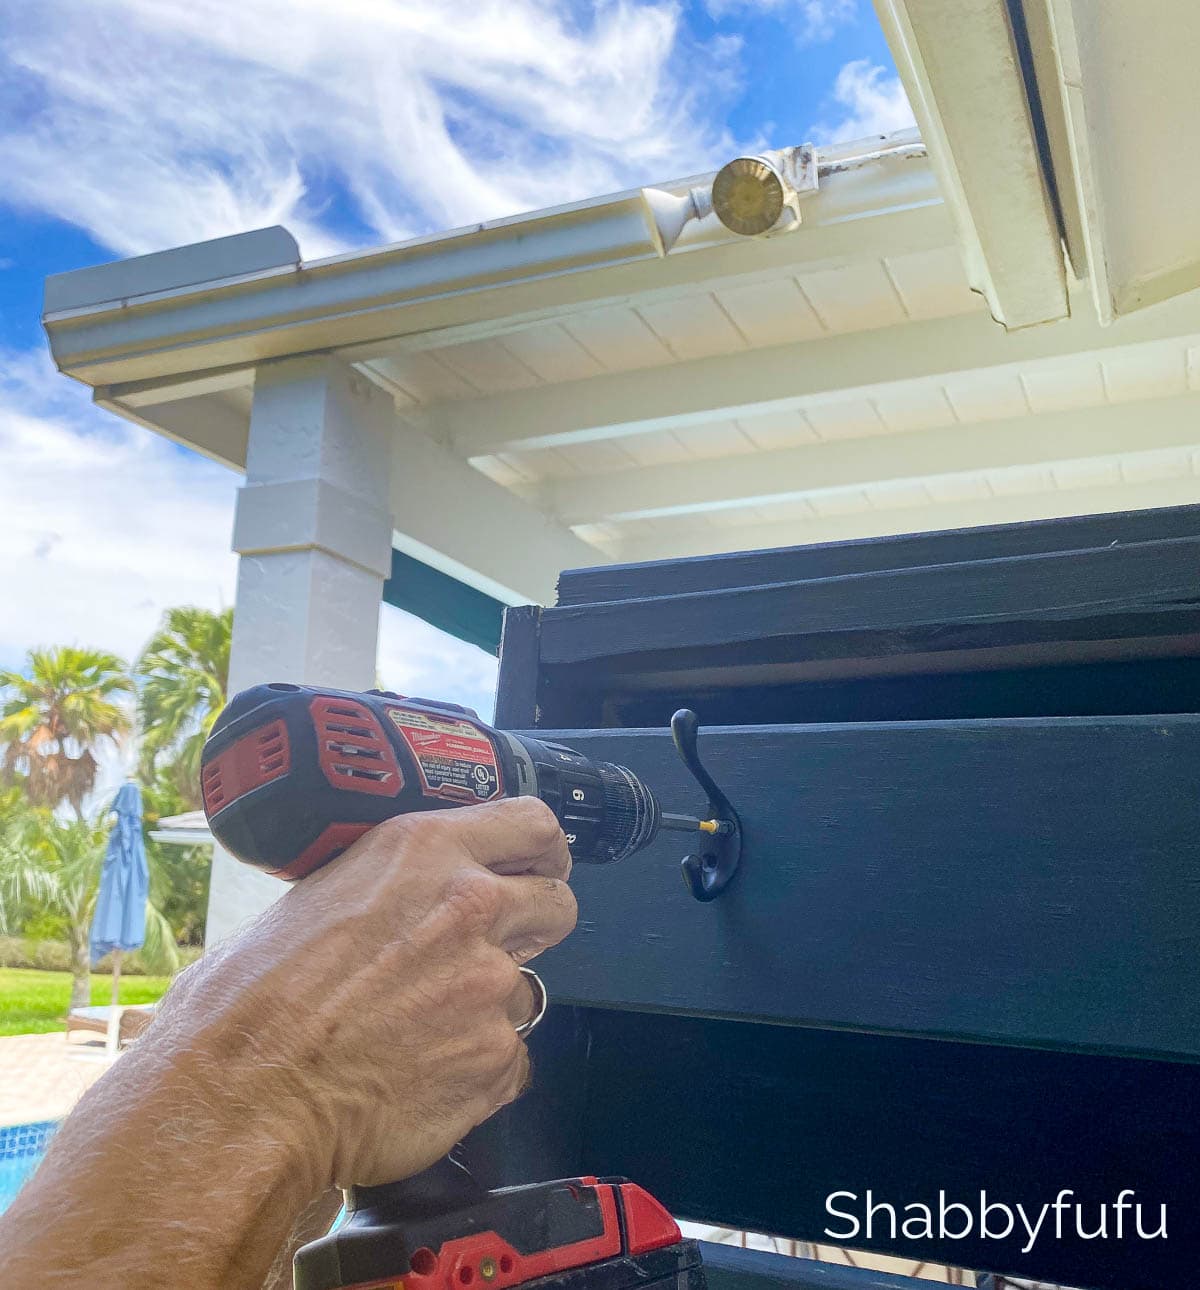
We added two of the National Hardware 3″ Coat & Hat Hooks – Oil Rubbed Bronze for hanging towels on the back side of the shower screen.
Ta da! It’s finished and styled and YES…we have been using it!! The plants love it over here too.
We have a white plank of wood left from another project hiding some of the electrical and plumbing. It’s just propped up so that we can get to it easily.


We hope that you attempt this DIY project, as it’s fairly simple to do! For more warm weather projects to try, check out the posts below:
HOW TO BUILD A RAISED & COVERED VEGETABLE GARDEN
ROLLING POTTING BENCH/HERB GARDEN DIY
BUILD A SIMPLE PERGOLA WITH A BENCH!
What a great addition to your resort-like yard! Much classier than rinsing off with a garden hose, which I have done when over heated from yard work lol! Love it!
Thanks Leena and I’ve definitely done the garden hose rinse too, LOL!
How amazing! I agree with Leena…your outdoor space is like a lovely resort. Very well done!
Thank you! Maybe that’s why I am satisfied staying home most of the time! xo
Wow I love it. LOL
Thank you Ann!
Great idea! My husband constructed something to hold a special curtain around the shower. But your idea looks much better!
Maybe you can get your husband to do this for you now Heike!
A great idea for any yard.
Thank you so much Lisa!
This is awesome.
Thanks so much Kris…I appreciate you stopping by!
Beautiful looks like you’re all ready for a for a wonderful summer.
As long as the hurricanes stay away Mikki…today marks the start of the dreaded season!
Amazing job!!
Thank you Carol!!
Love it! What a great addition to your beautiful outdoor space.
Was the shower easy to install and hook up?
Thanks Tina! Yes, it was pretty straightforward and no technical skills required for the shower hook up.