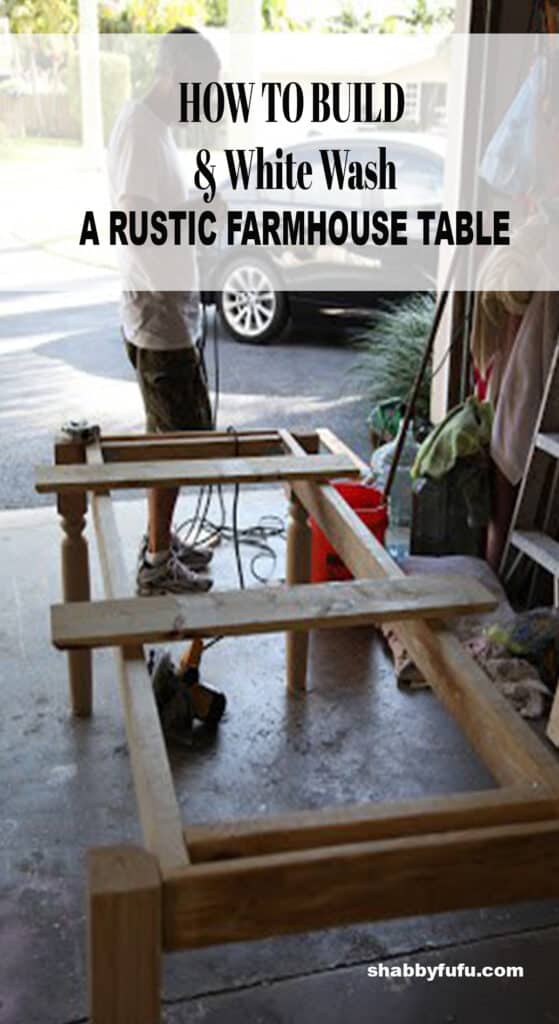
How To Easily Build An Inexpensive Farmhouse Style Table
This post may contain affiliate links. For more information, please see our disclosure policy.
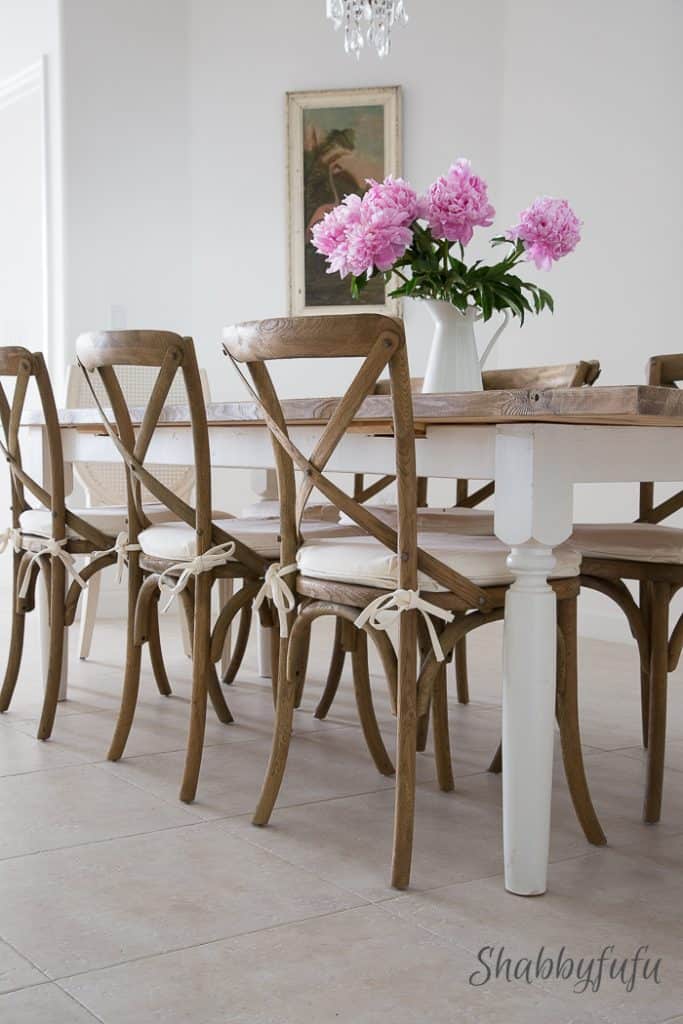
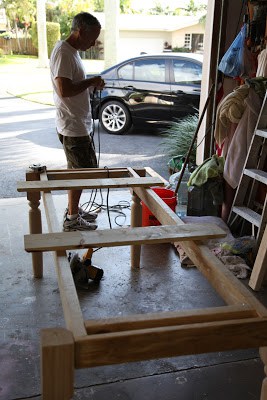
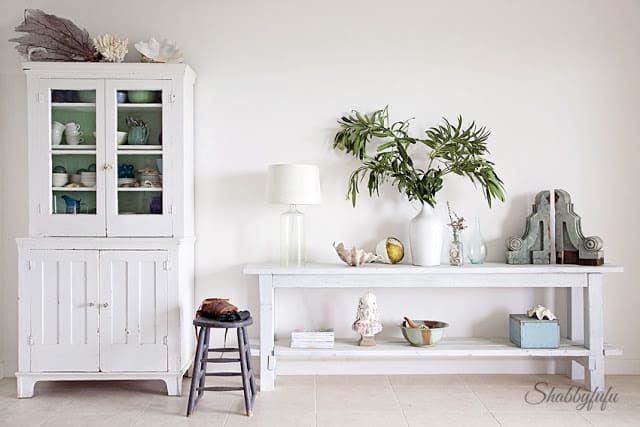
We don’t live in or own a farmhouse…this table was something that we needed for our beach home and I must say that it looks great for this space and functions so well for our needs. As I mentioned I’m VERY visual, so rather than a list you can get the idea of how we created this table in less than a day by the photos below. If you have any knowledge of power tools this is NOT DIFFICULT. According to my husband, it’s an EASY BUILD:
Farmhouse table diy
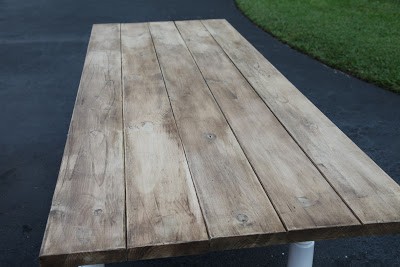
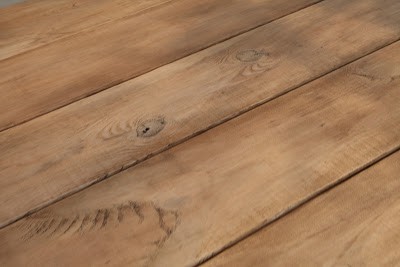
- I finished it to LOOK LIKE DRIFTWOOD and used MILK PAINT & WAX.
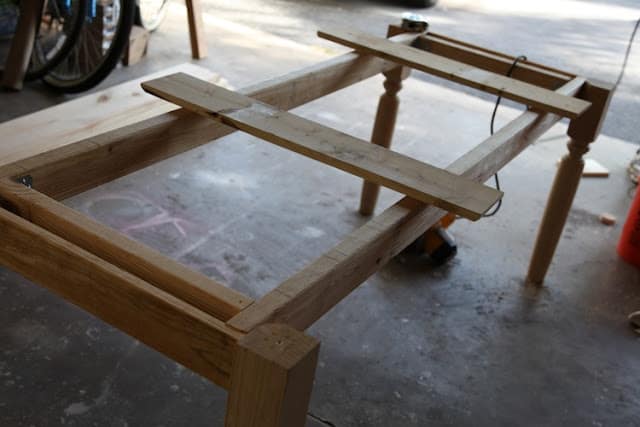
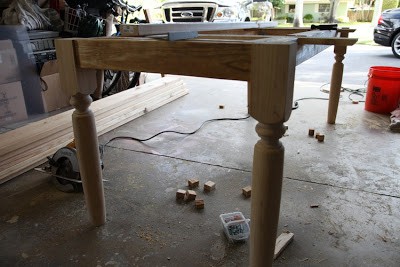
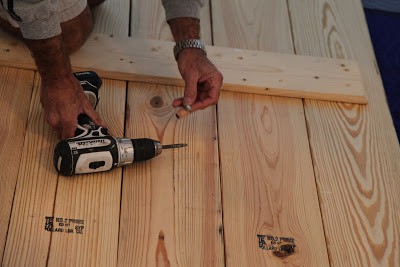
- We purchased the legs and the wood (2 x 8) planks of Southern yellow pine at our local home supply store.
- The table cost us about $100 (more or less) to make.
- My husband is very handy with power tools and won’t let me near them…but my talent lies in design and finishing.
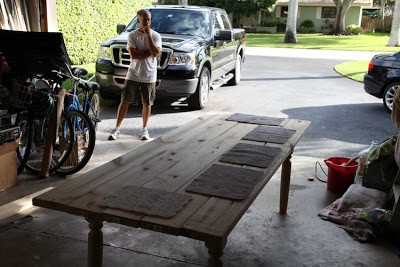
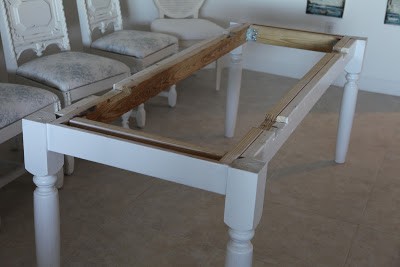
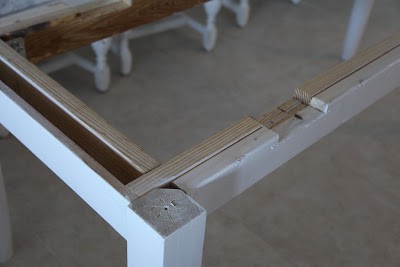
- We built this table in the garage of our home and then had to disassemble it, transport it and reassemble it…as it was for our beach home a few hours away.
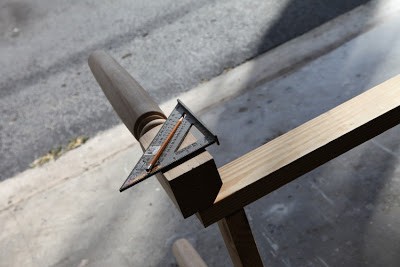
THE MAKING

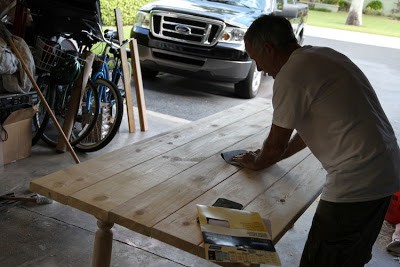
As I said, I always do the finishing. I wanted the look of aged driftwood and a learning curve was involved….so I practice several methods on some leftover scraps first.
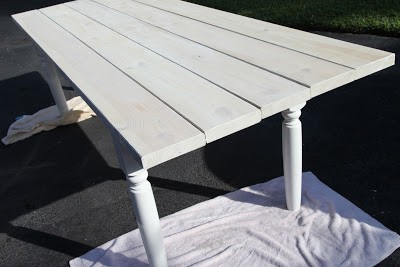
The base was simply sprayed with a white primer, and then given 2 coats of an oil based house wood trim paint. I know, not very eco friendly….but being right on the beach everything that we have takes quite a beating and needs protection from the elements!
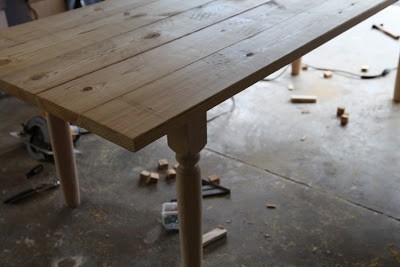
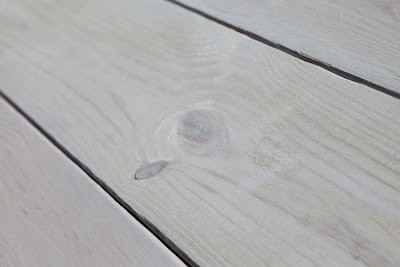
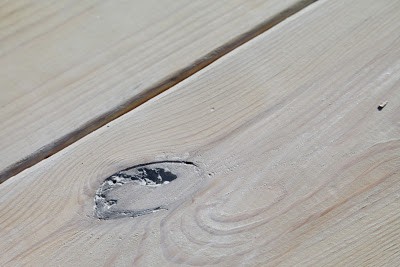
We agreed that we wanted the knots and natural grains to show through, so painting the top white was not an option.
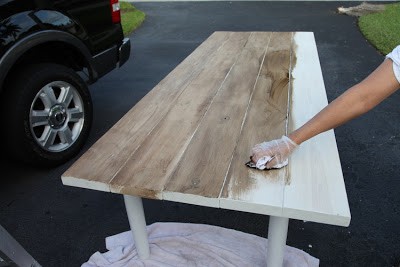
For the TOP…First sanded by hand with the grain. Then I used Milk Paint…which I do have quite a bit of experience with over the years. My favorite is from The Old Fashioned Milk Paint Company….you can learn about them HERE. This is not a compensated post, just so you know. I made a mix of about 25% milk paint in White and 75% water. Normally you wouldn’t want it so thin, but as I said I didn’t want to completely cover the grain. One coat seemed a bit too thin, so I gave it another. It dries quickly and is eco friendly and all of that.
Next came darkening down a bit with Briwax. I LOVE Briwax and have used it for years and years. Click HERE if you want to learn more about it…and no, I’m not being compensated by them either. I used their Original Wax product in a Dark Brown stain first…one coat. I use old soft t shirts to apply the wax and fresh ones to buff down…..and buffed this quite a bit to give the stain a soft glow. I then gave it two coats of Clear Briwax in the same fashion….of course allowing sufficient dry time inbetween all coats of wax. Thats it, DONE…in a day!
THE FINISHING
THE REASSEMBLING
If you love a good farmhouse furniture hack or are in need of some inspiration, here are a couple of older posts that you might enjoy.
Restoration Hardware Inspired Console Table Tutorial
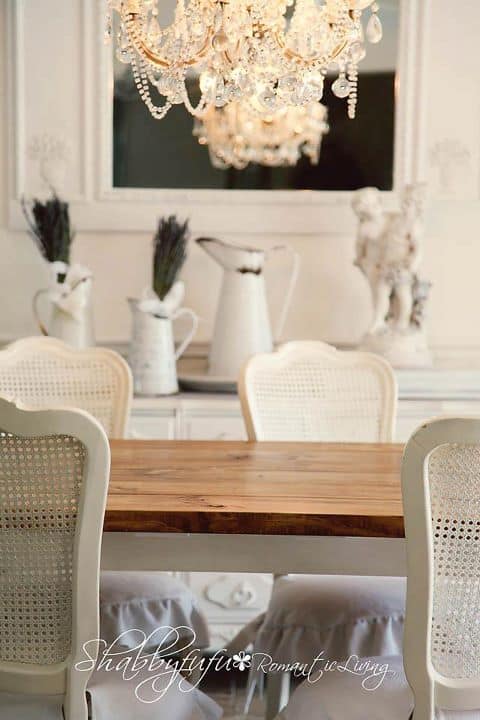
I love this, thanks so much for sharing! Where are the chairs from?
Thanks Marne…they are from Restoration Hardware and they were on sale for $99 a chair. Not sure if they still carry them, but Kirklands had similar chairs as well.
Where did you get the chair cushions from? This is absolutely beautiful.
Sorry for the delay, but they were from Restoration Hardware and so were the chairs. Not sure they still carry them?
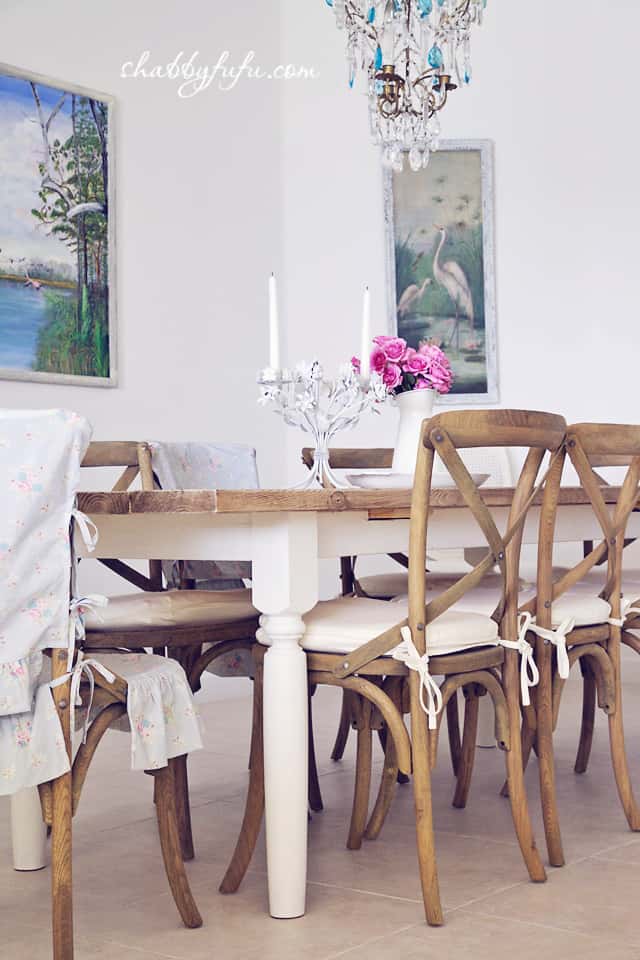
This is beautiful! Where did you get the chair covers from?
Shabby Chic…but they are no longer made
It looks truly beautiful! Great job you two!!!
Wow – that’s great! My favorite picture is where you’ve got the placemats on the table and Mr Fu is standing back waiting – I can relate! 😉 The table’s gorgeous! Thanks for the tutorial!
I love your diy tables and the paint jobs. What tools did your husband use to build the table? Thank you.