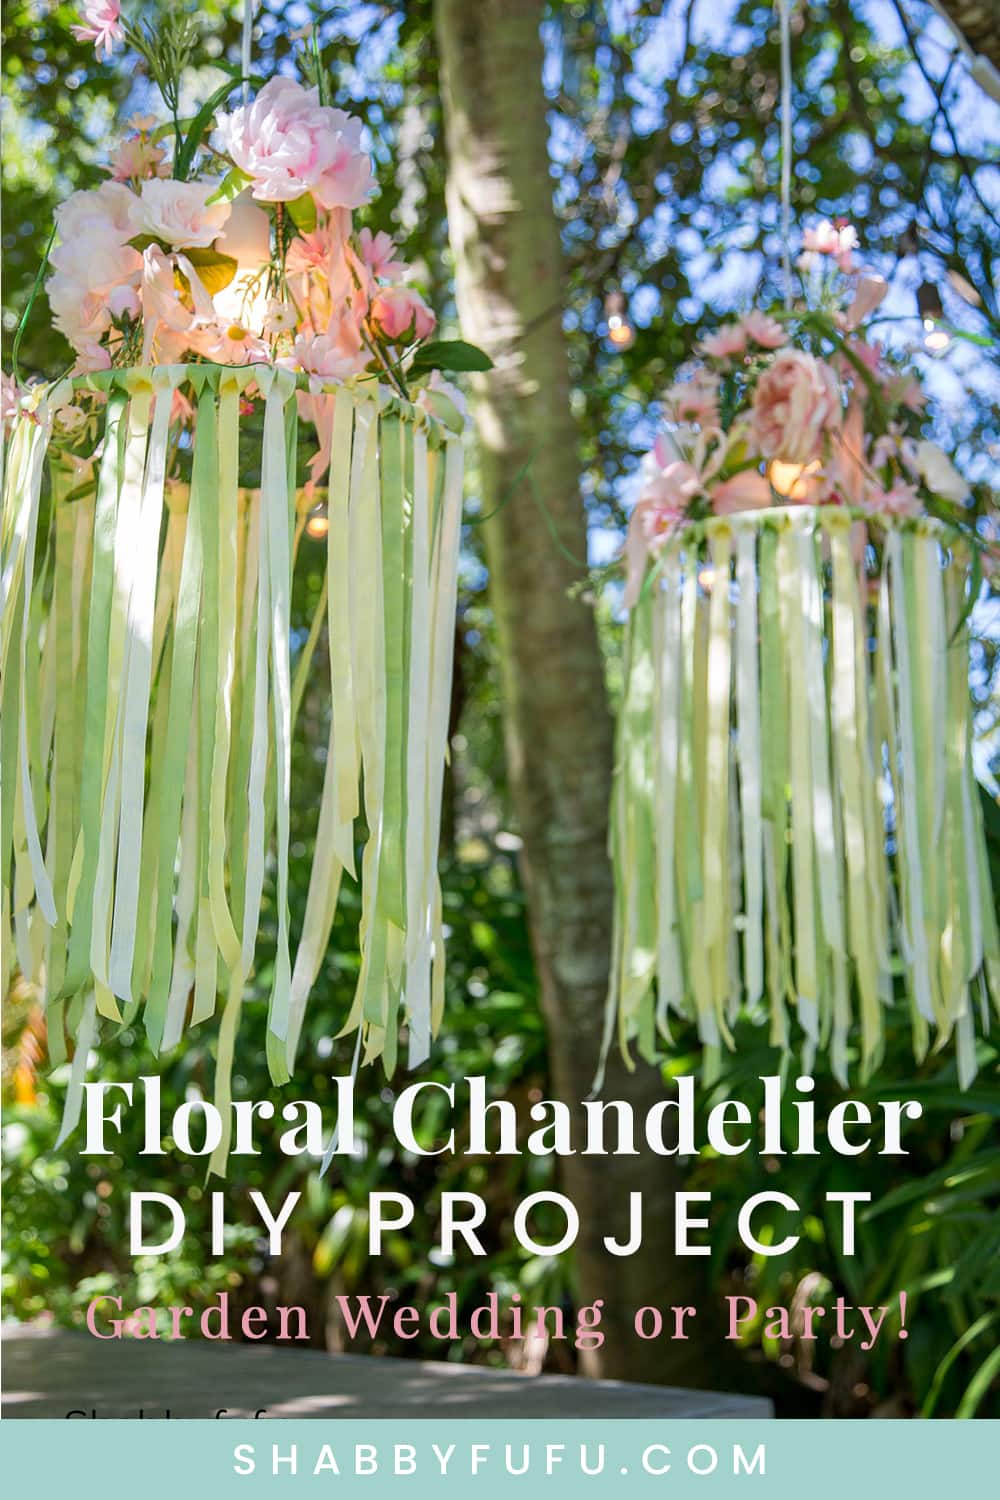
DIY Floral Chandelier – Easy Beautiful Garden Decor
This post may contain affiliate links. For more information, please see our disclosure policy.
In this post you’ll learn how to make a floral chandelier with a diy using a lampshade as the base! Using simple materials like faux flowers and ribbon, this takes any setting to a beautiful level that will be talked about for years to come. It’s perfect for an outdoor garden setting, a spring or summer party, even a wedding or shower!
This is a paid post in behalf of Spectrum Brands but the work and opinions expressed here are my own.
How To Make A Floral Chandelier – DIY
MATERIALS:
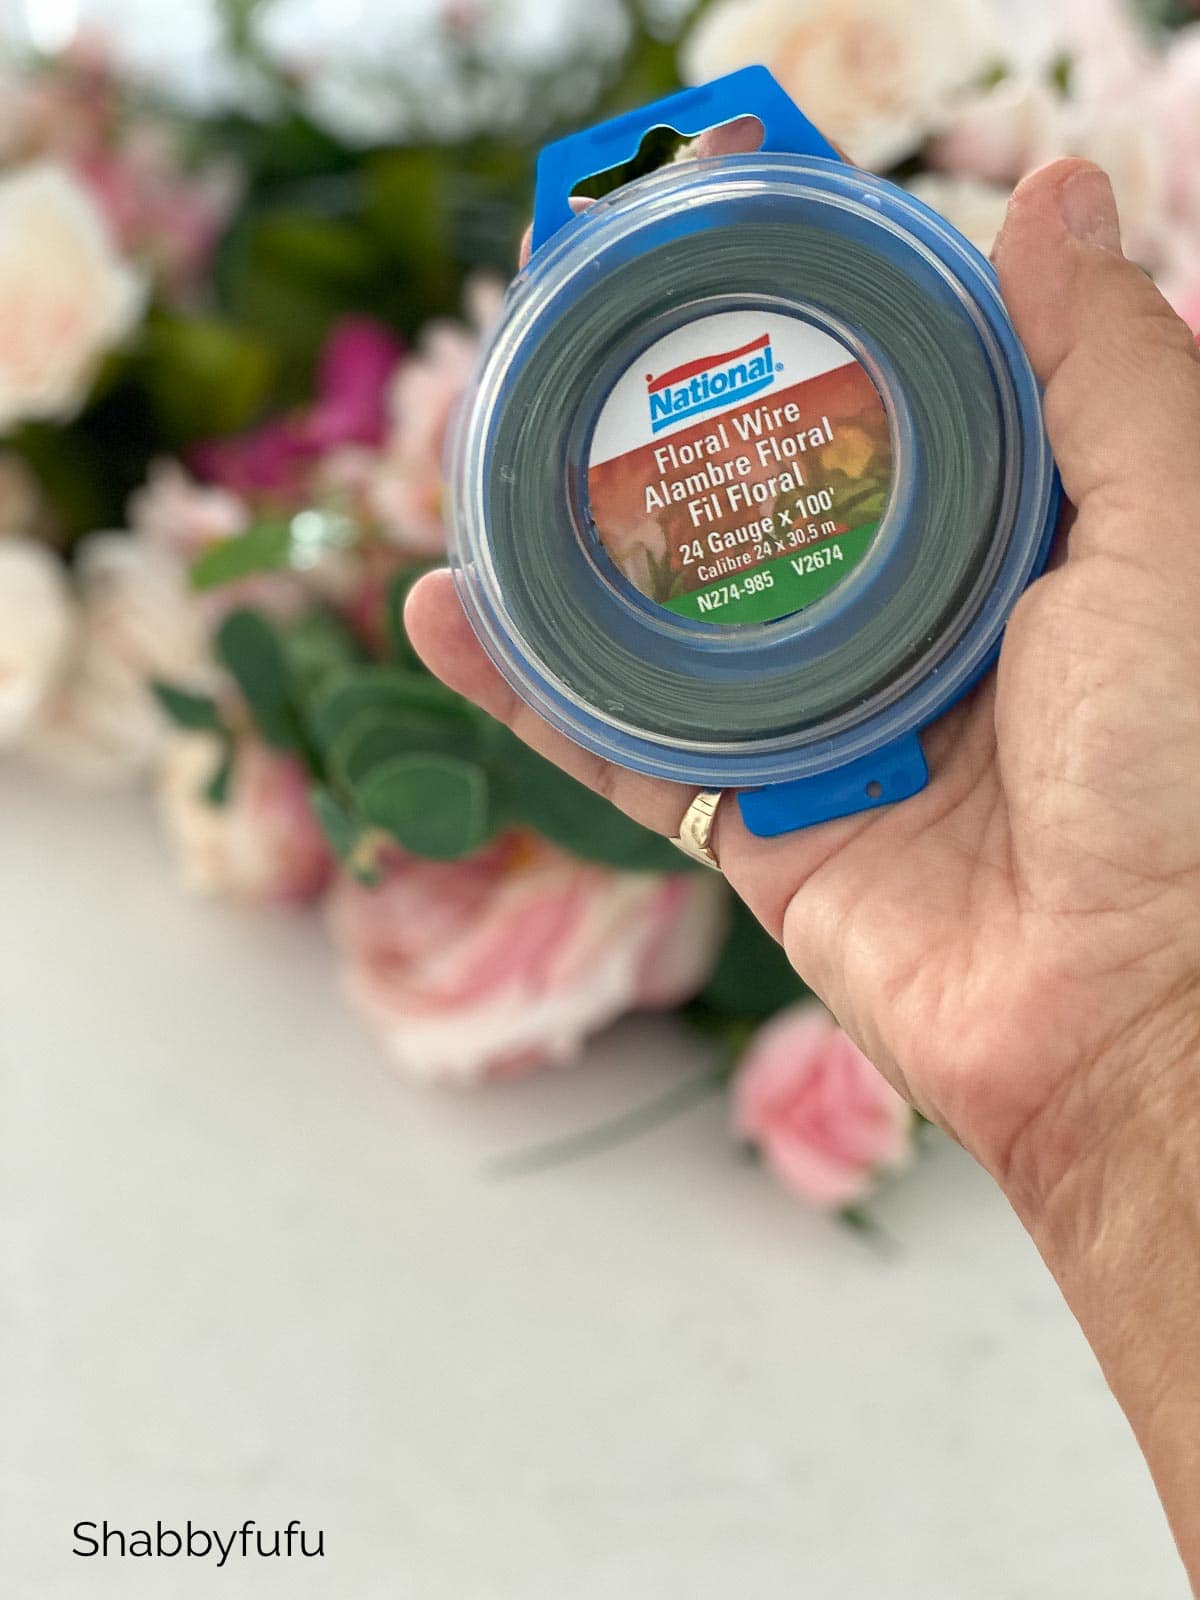
- National Hardware Floral Wire
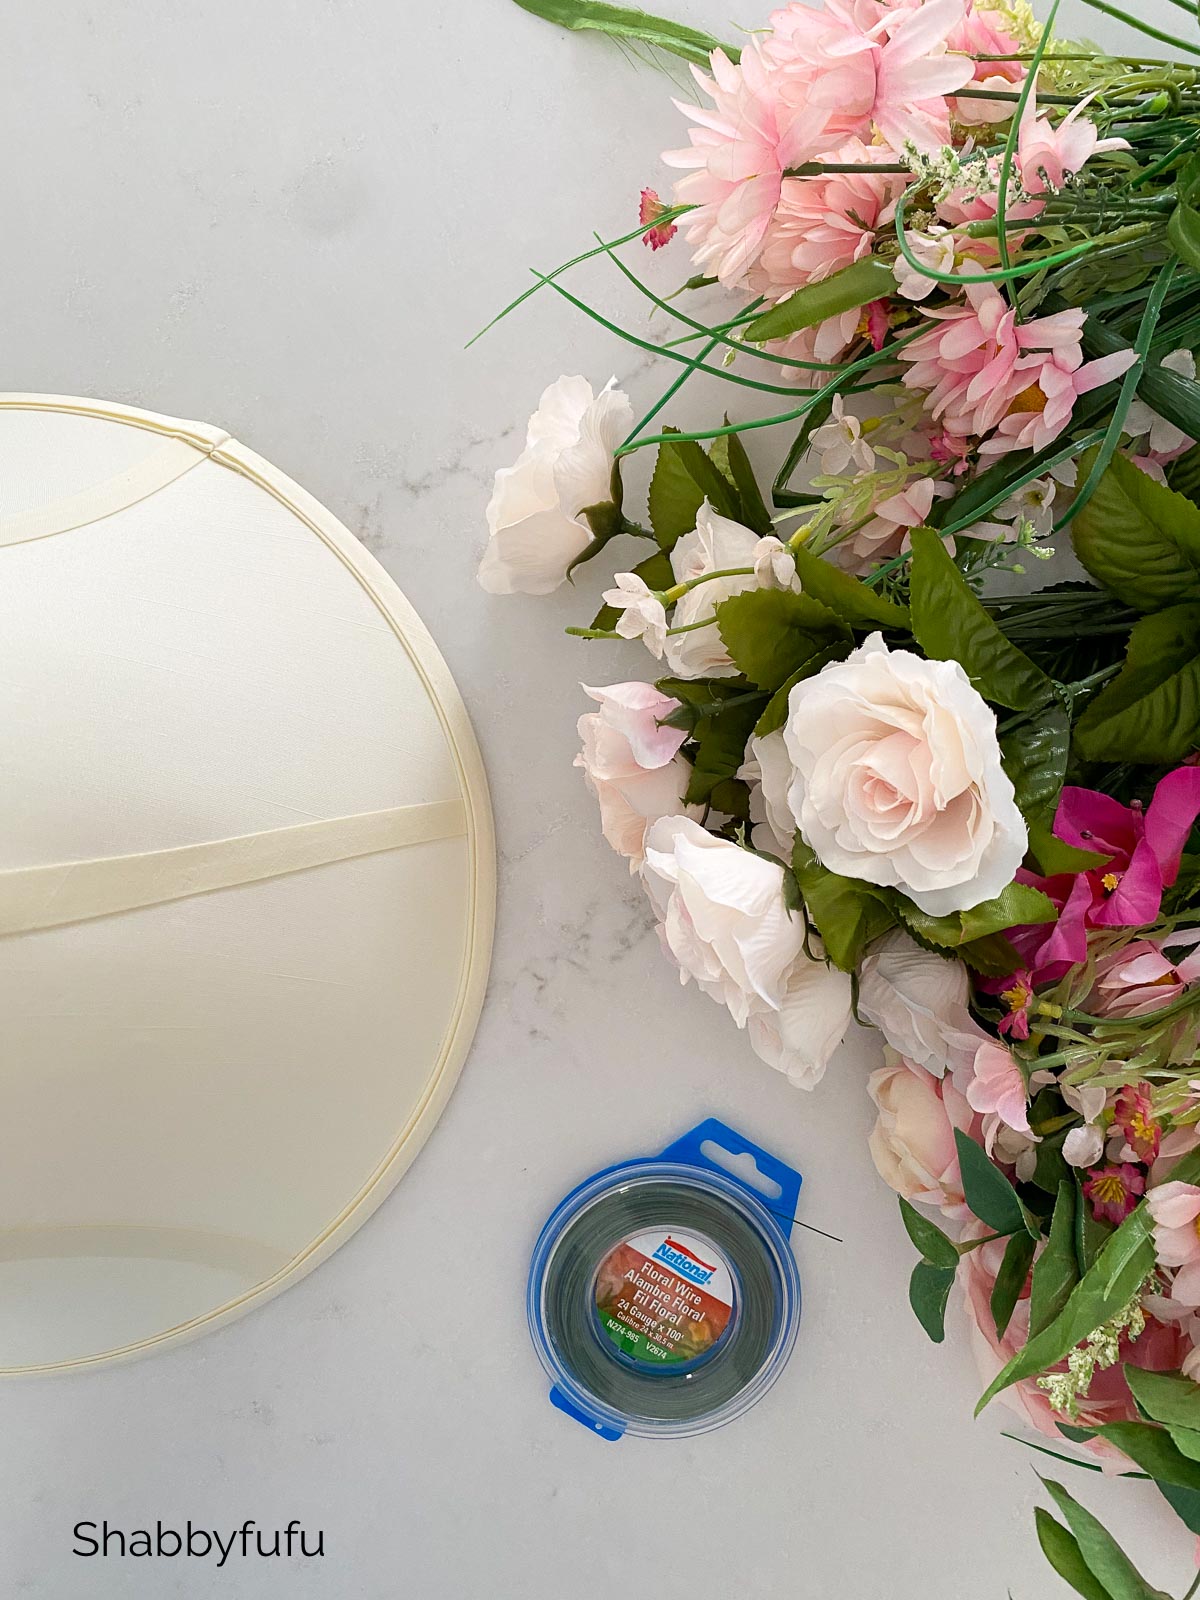
- Lampshade – We Used A Pair
- Faux Flowers Of Your Choice
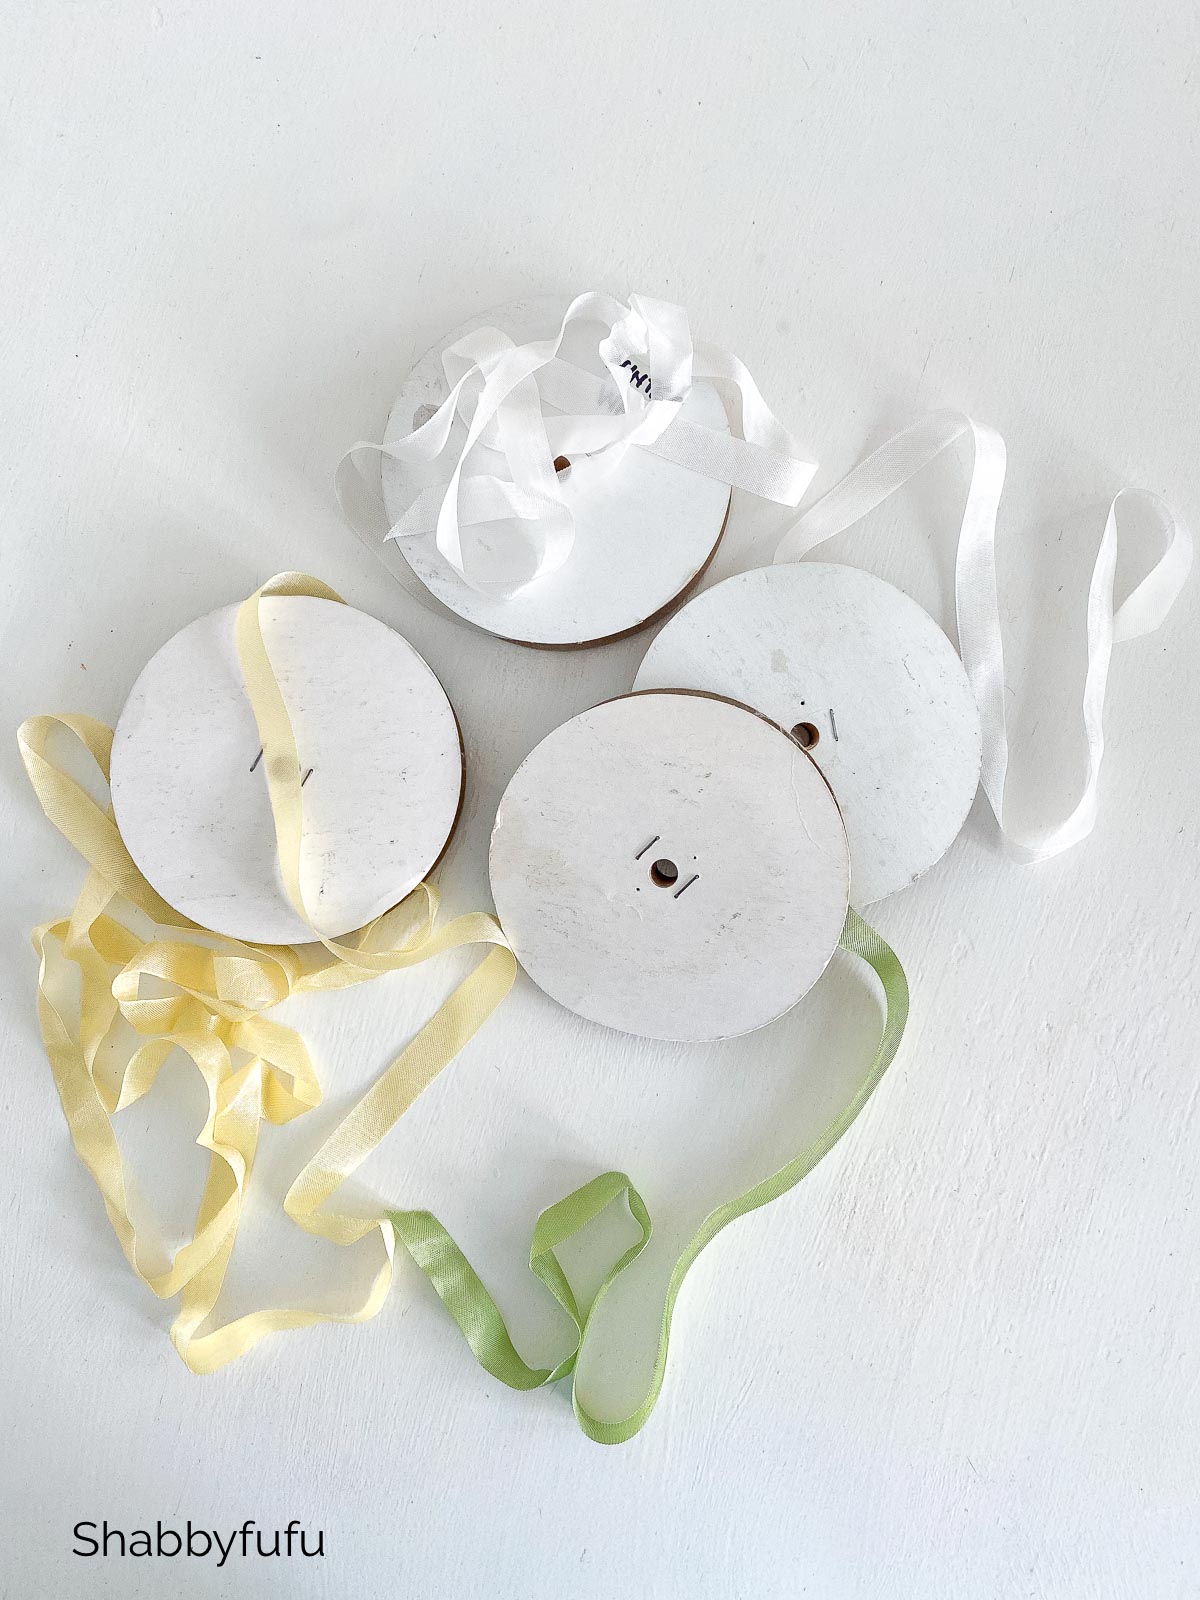
- Seam Binding Ribbon In Various Colors
- Hanging Electrical Light Sockets For Outdoor Use
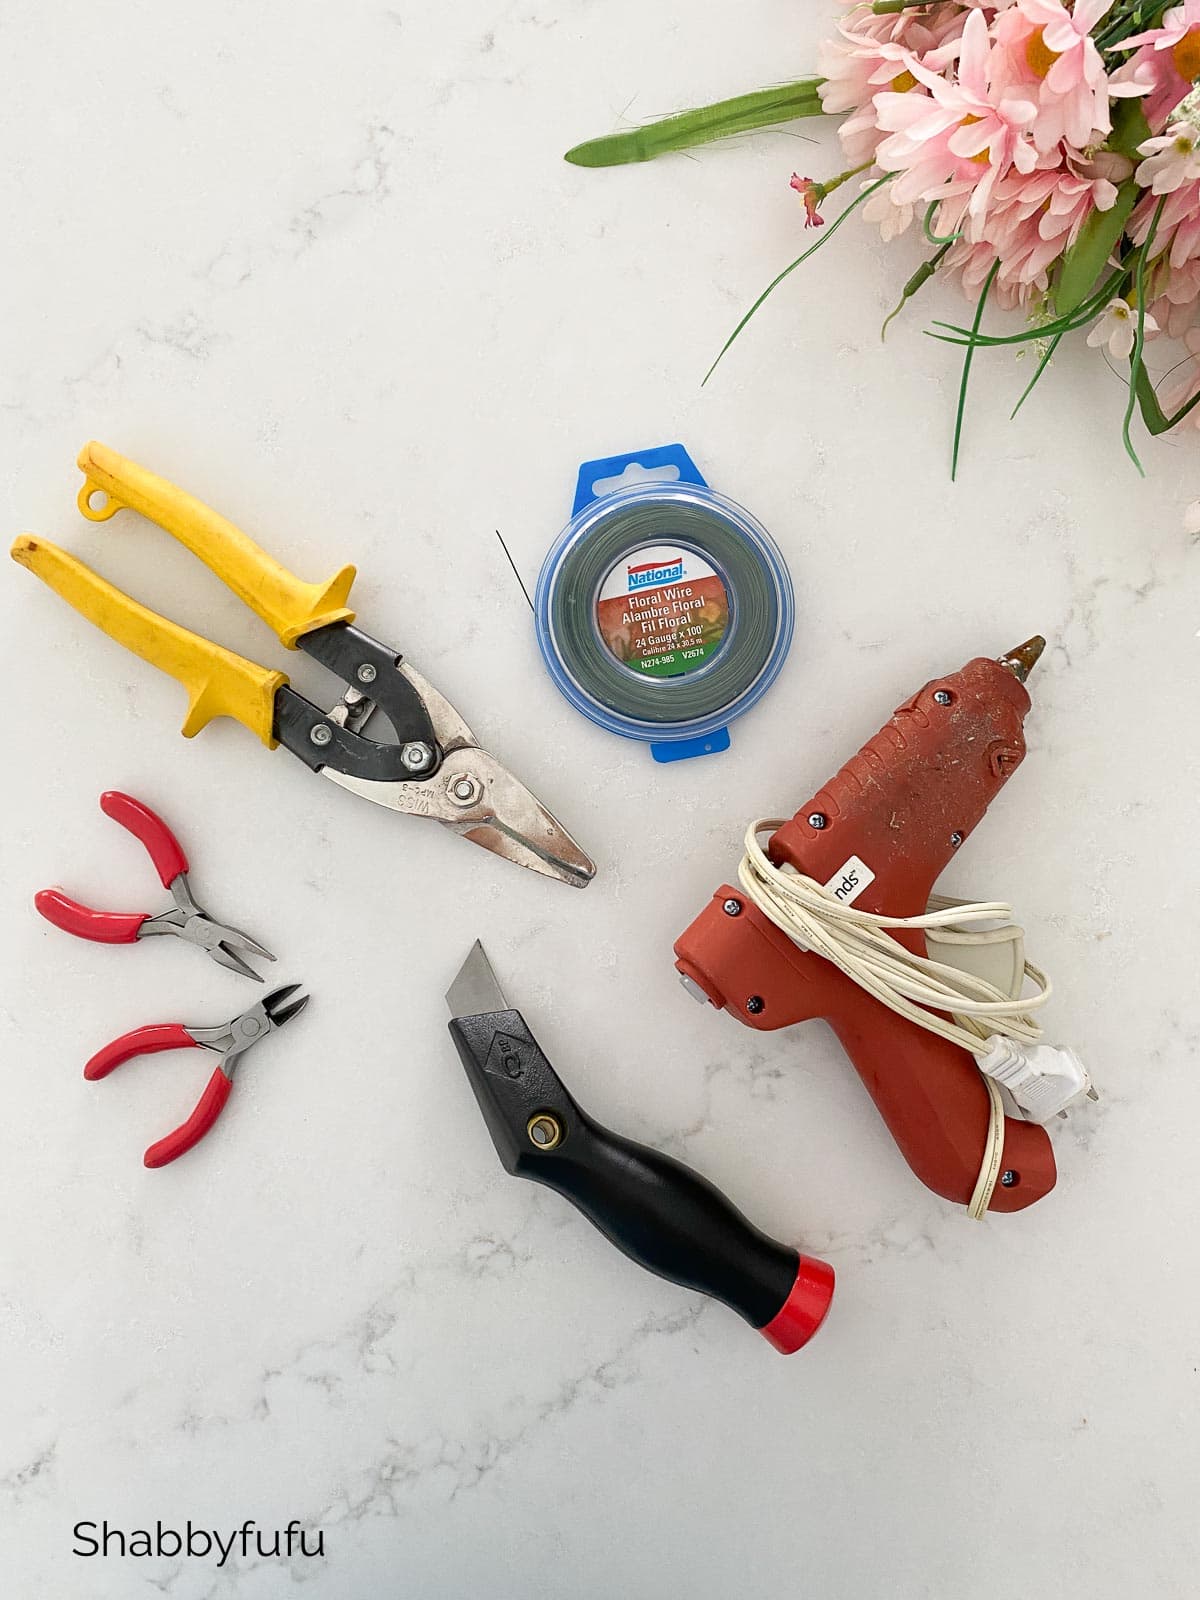
TOOLS:
- Utility Knife – Box Cutter
- Wire Snips
- Hot Glue Gun
- Sharp Scissors
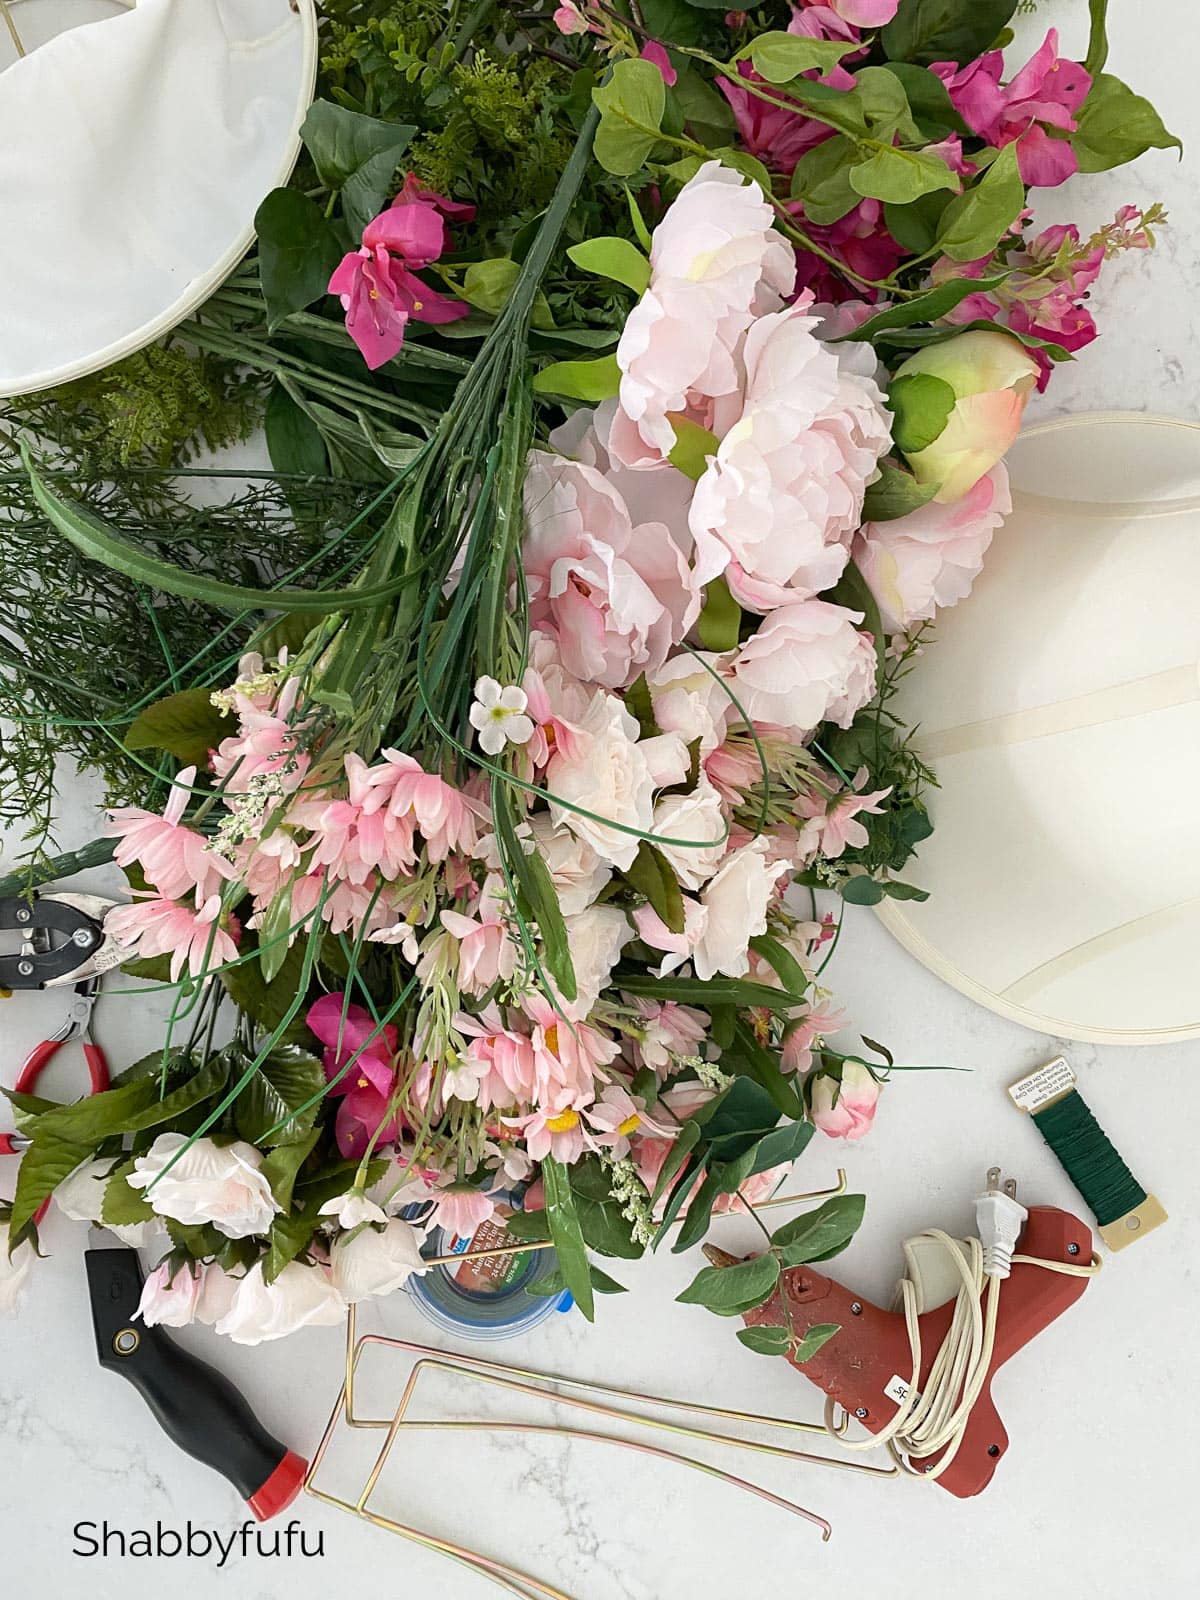
DIY Faux Flower Chandelier Instructions
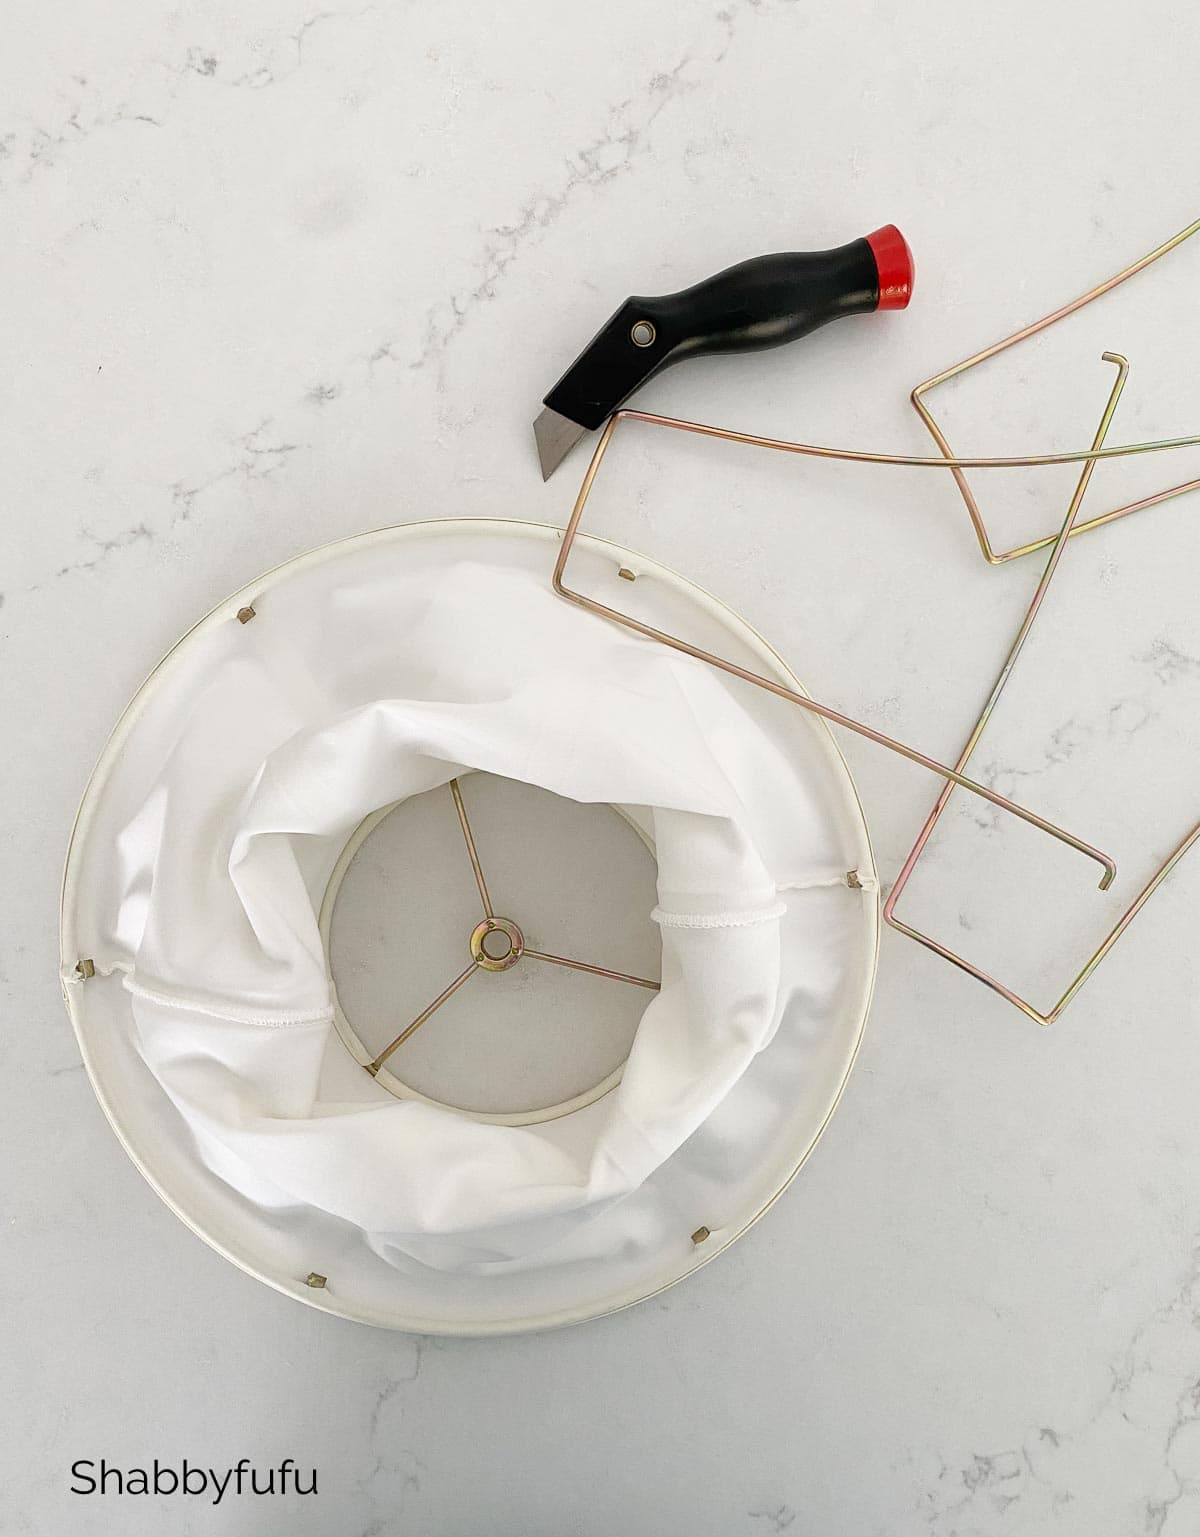
Gather Your Supplies!
Strip It
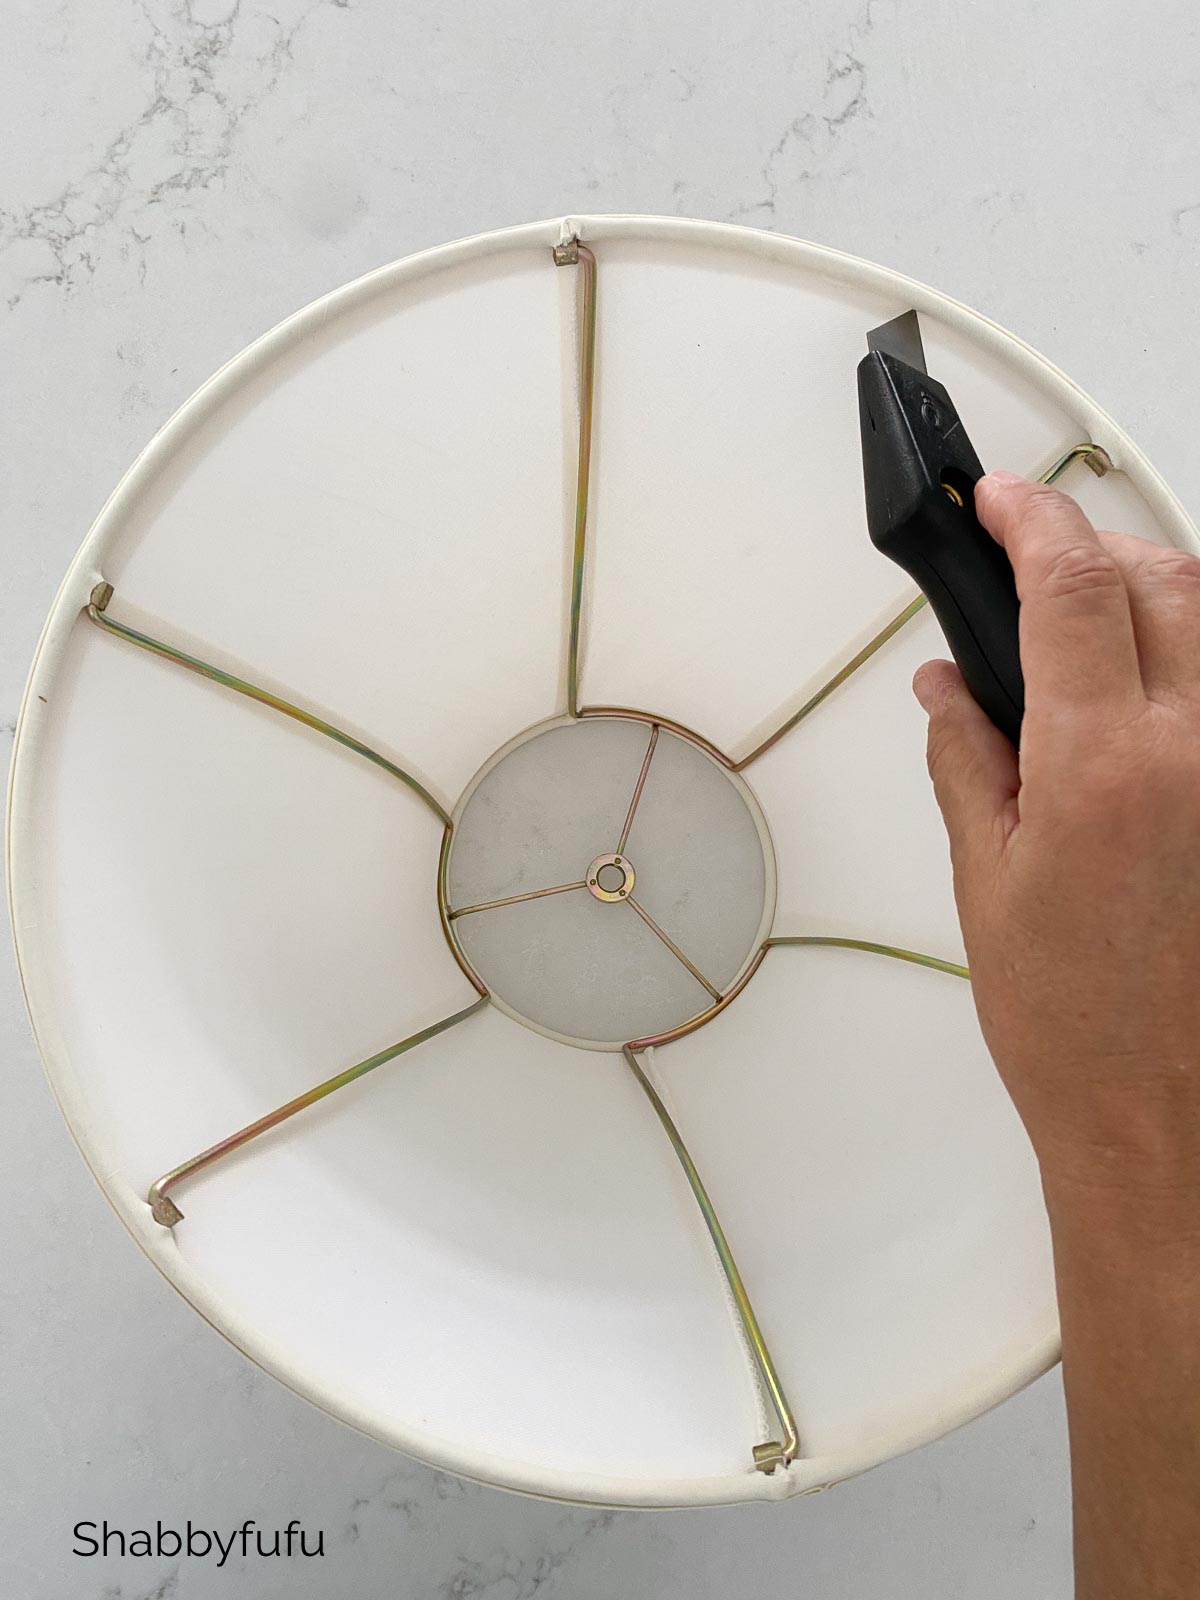
Step 1 –
Remove the fabric from your lampshade frame by cutting it off with a utility knife. Make sure to use a new blade, as this will make cutting the fabric much easier! We used new lampshades so that we could make sure that multiples could be made and that the size and shapes would match. A bonus to using these shades is that they are collapsible, so they shipped flat and disassembled for ease of cutting. Leave the fabric trim that covers the rings and spiders of the top and bottom portion of the shade. They keep the integrity of the shade form intact.
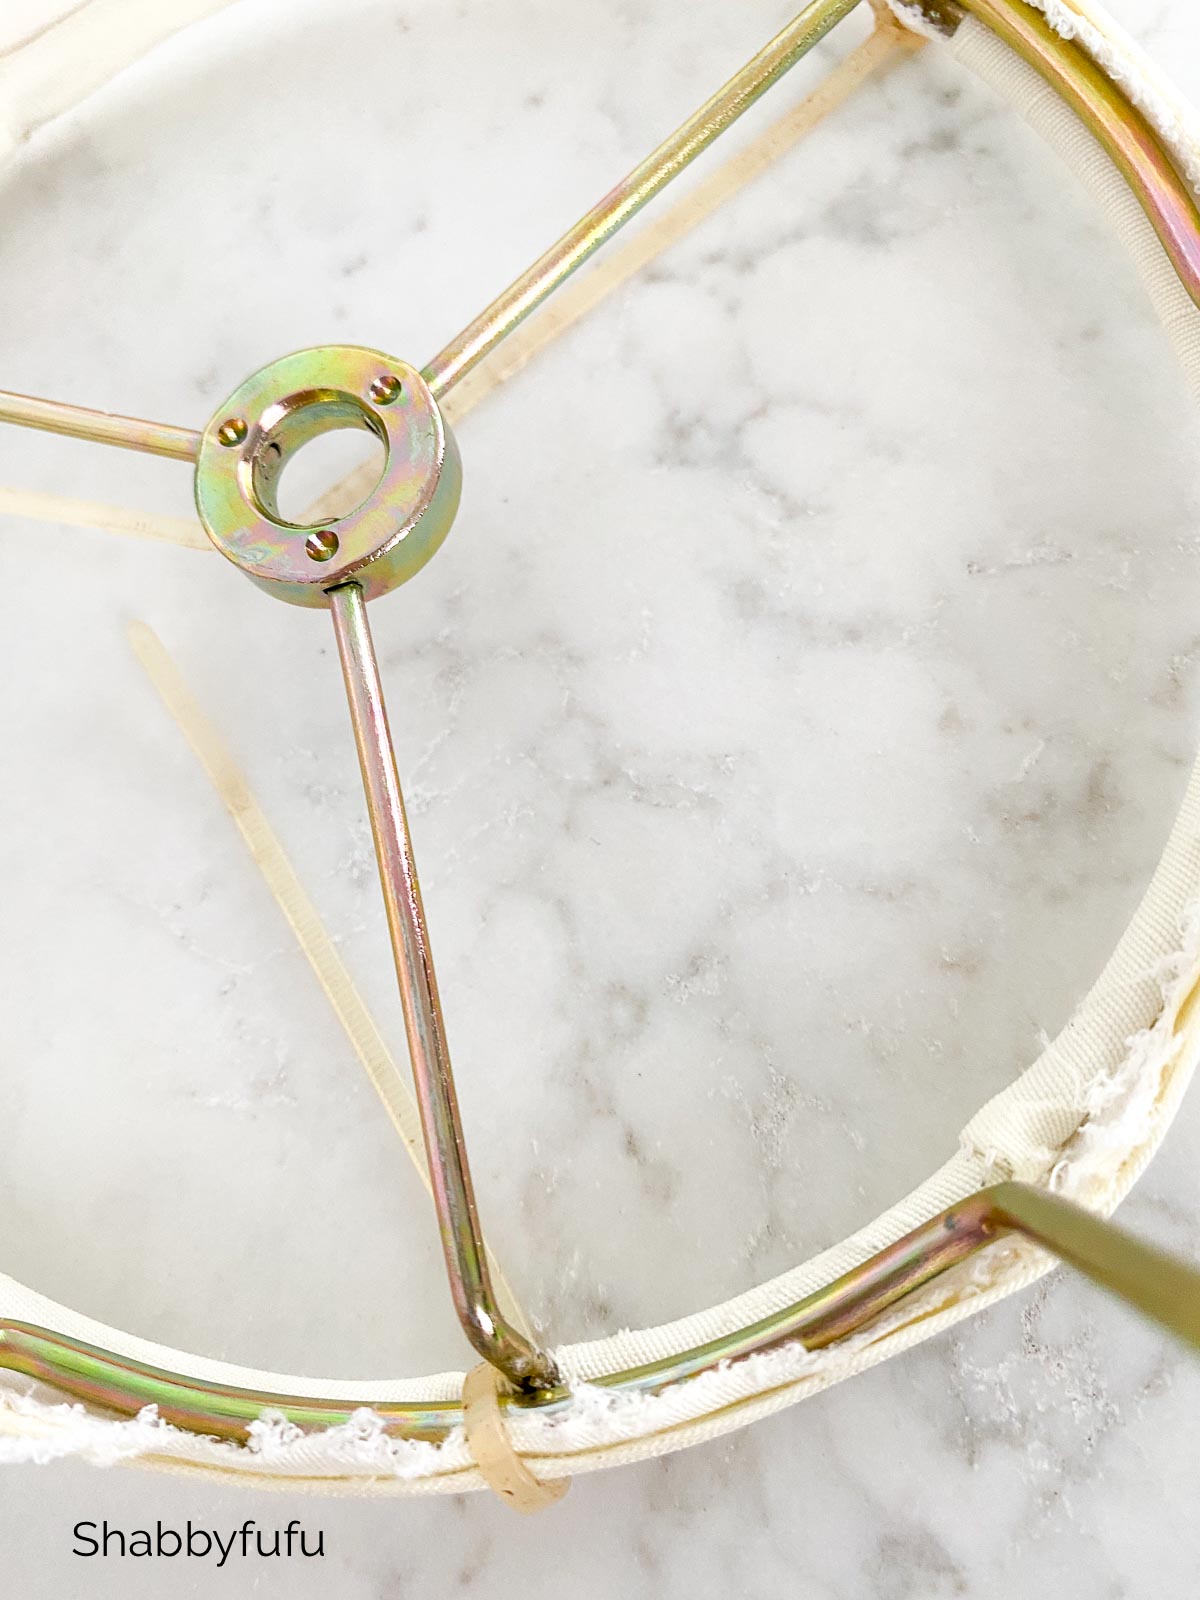
Assemble & Wrap
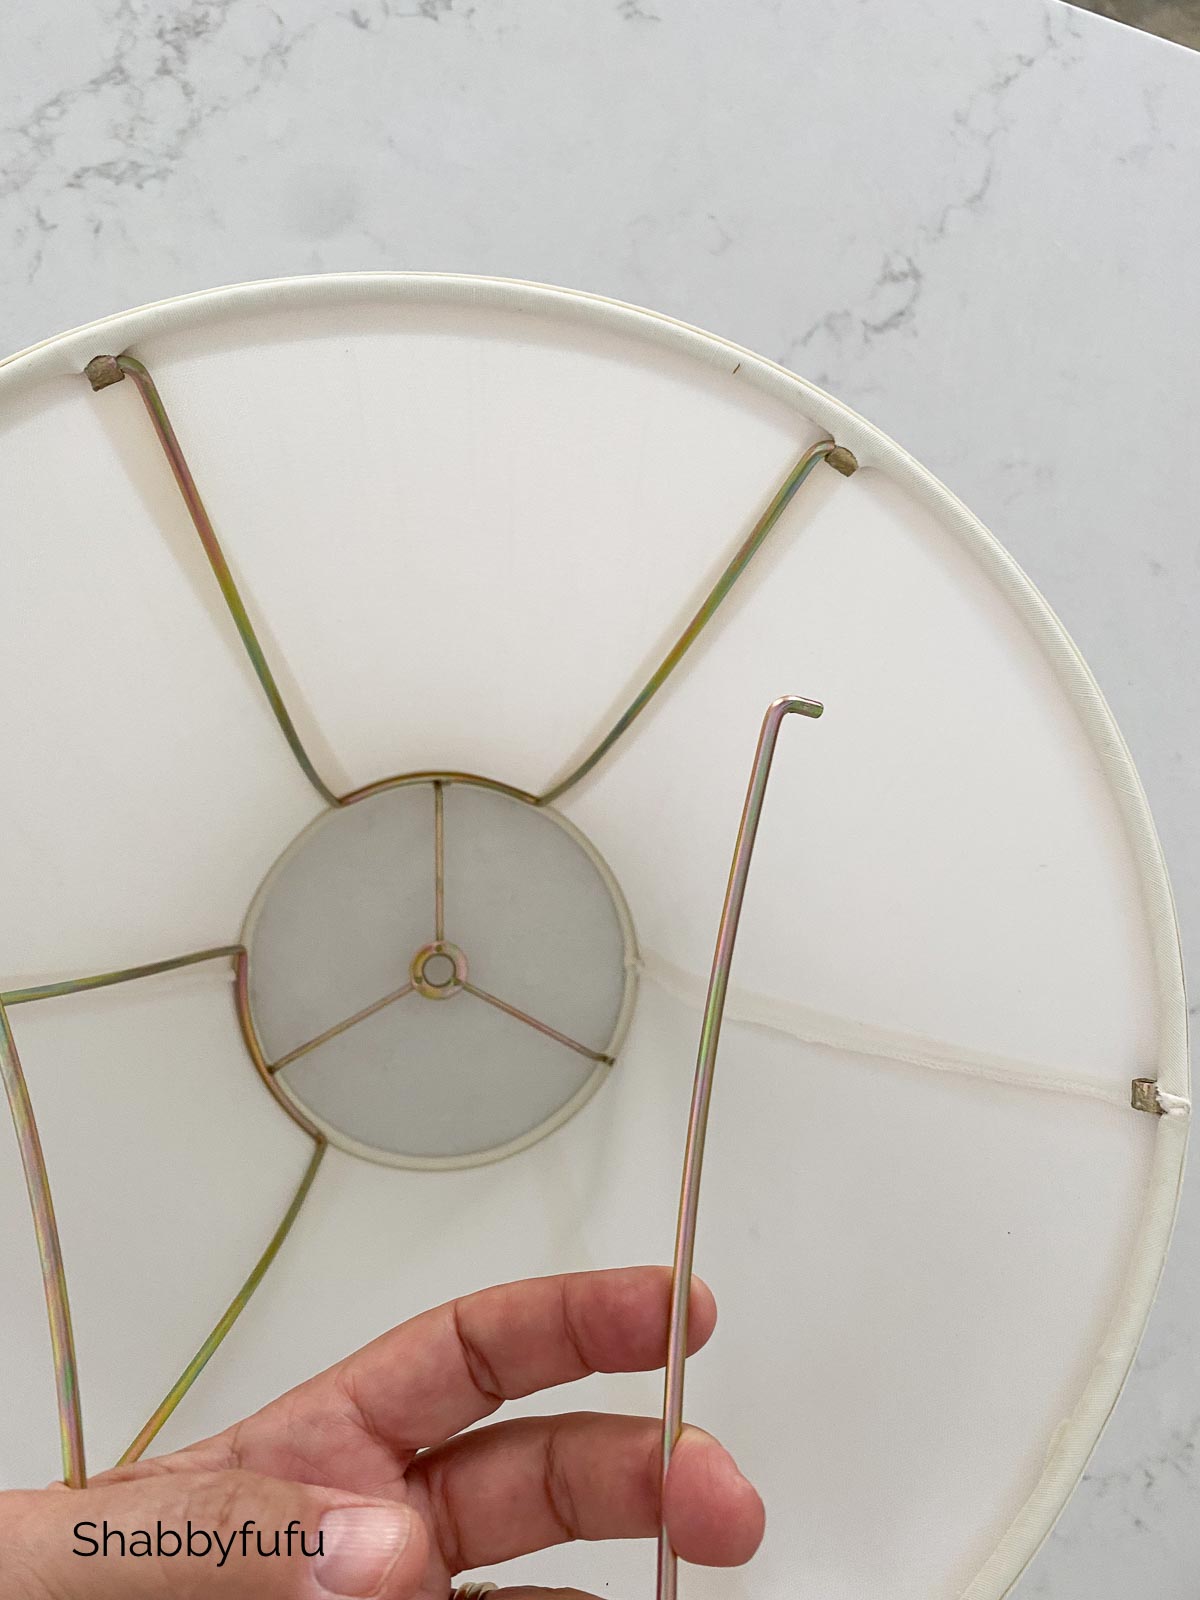
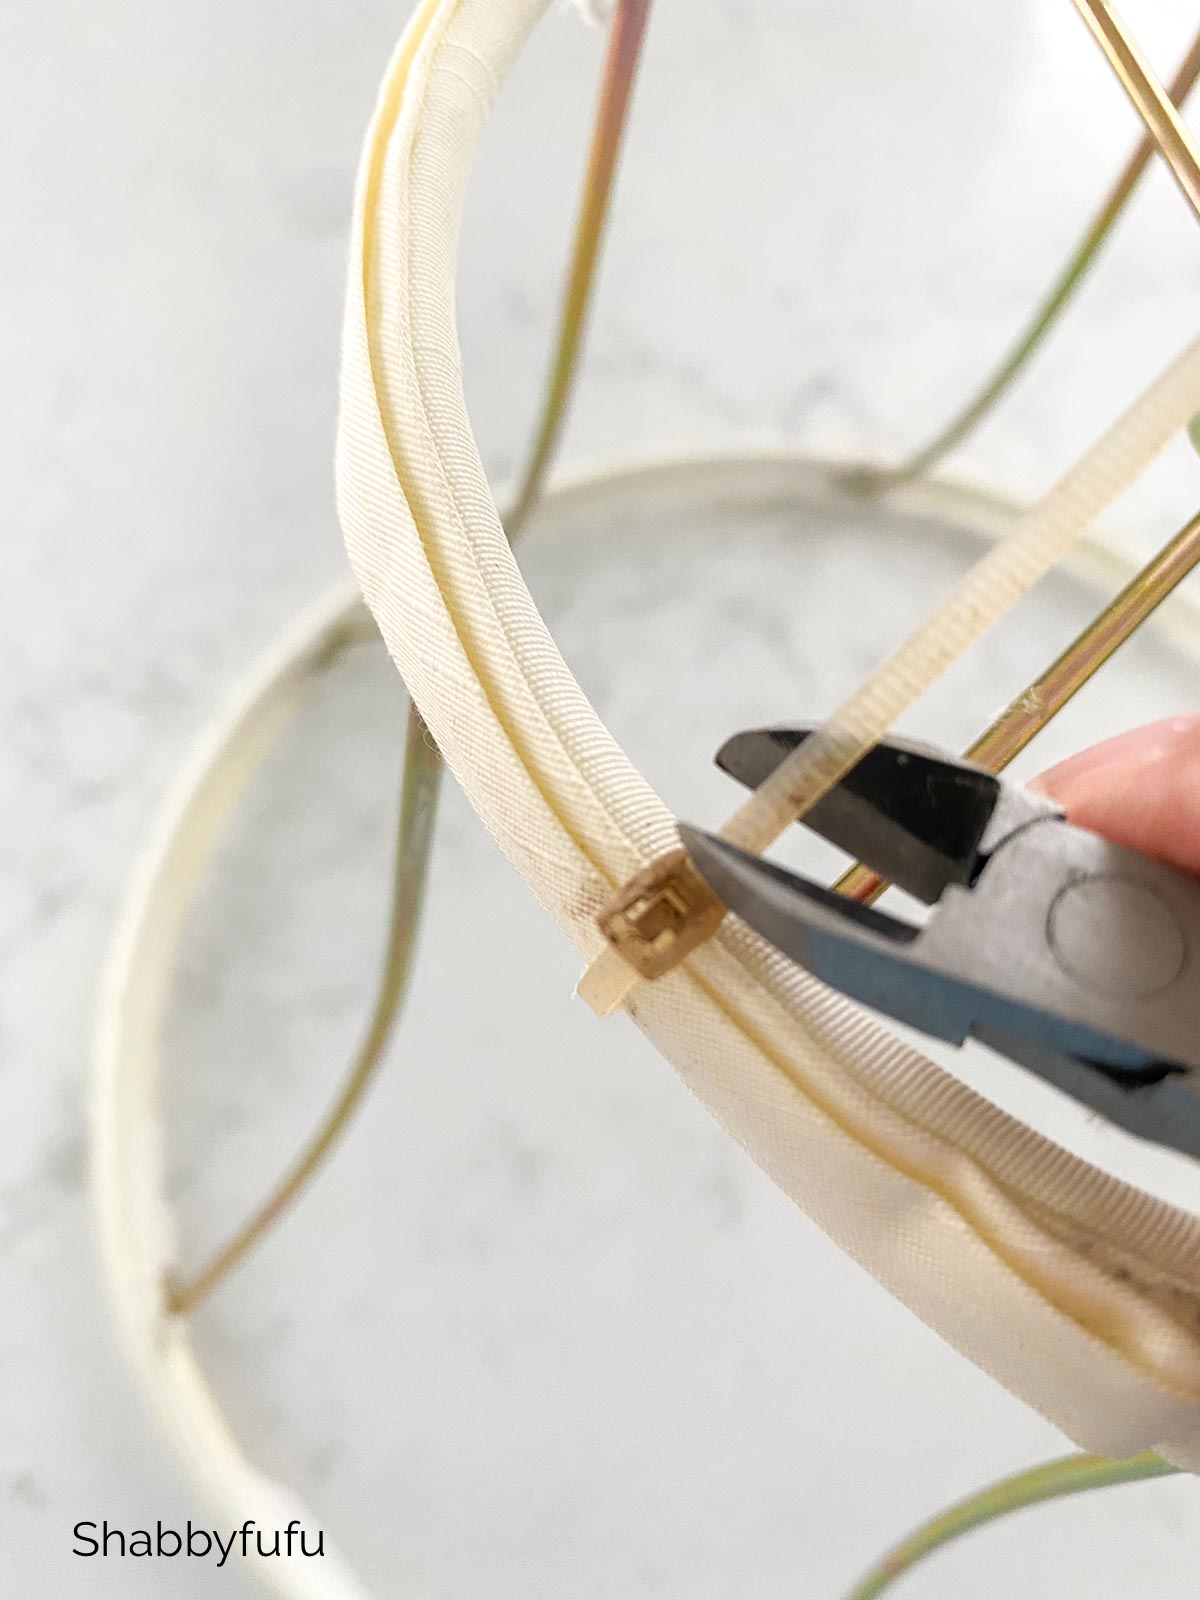
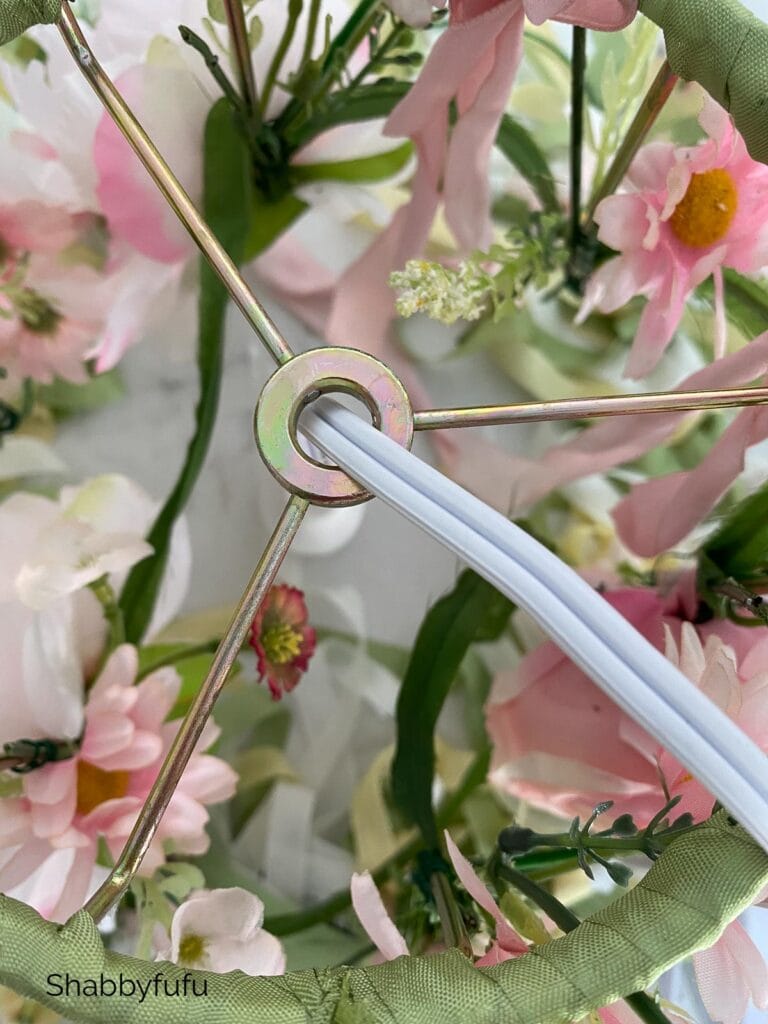
Step 2 –
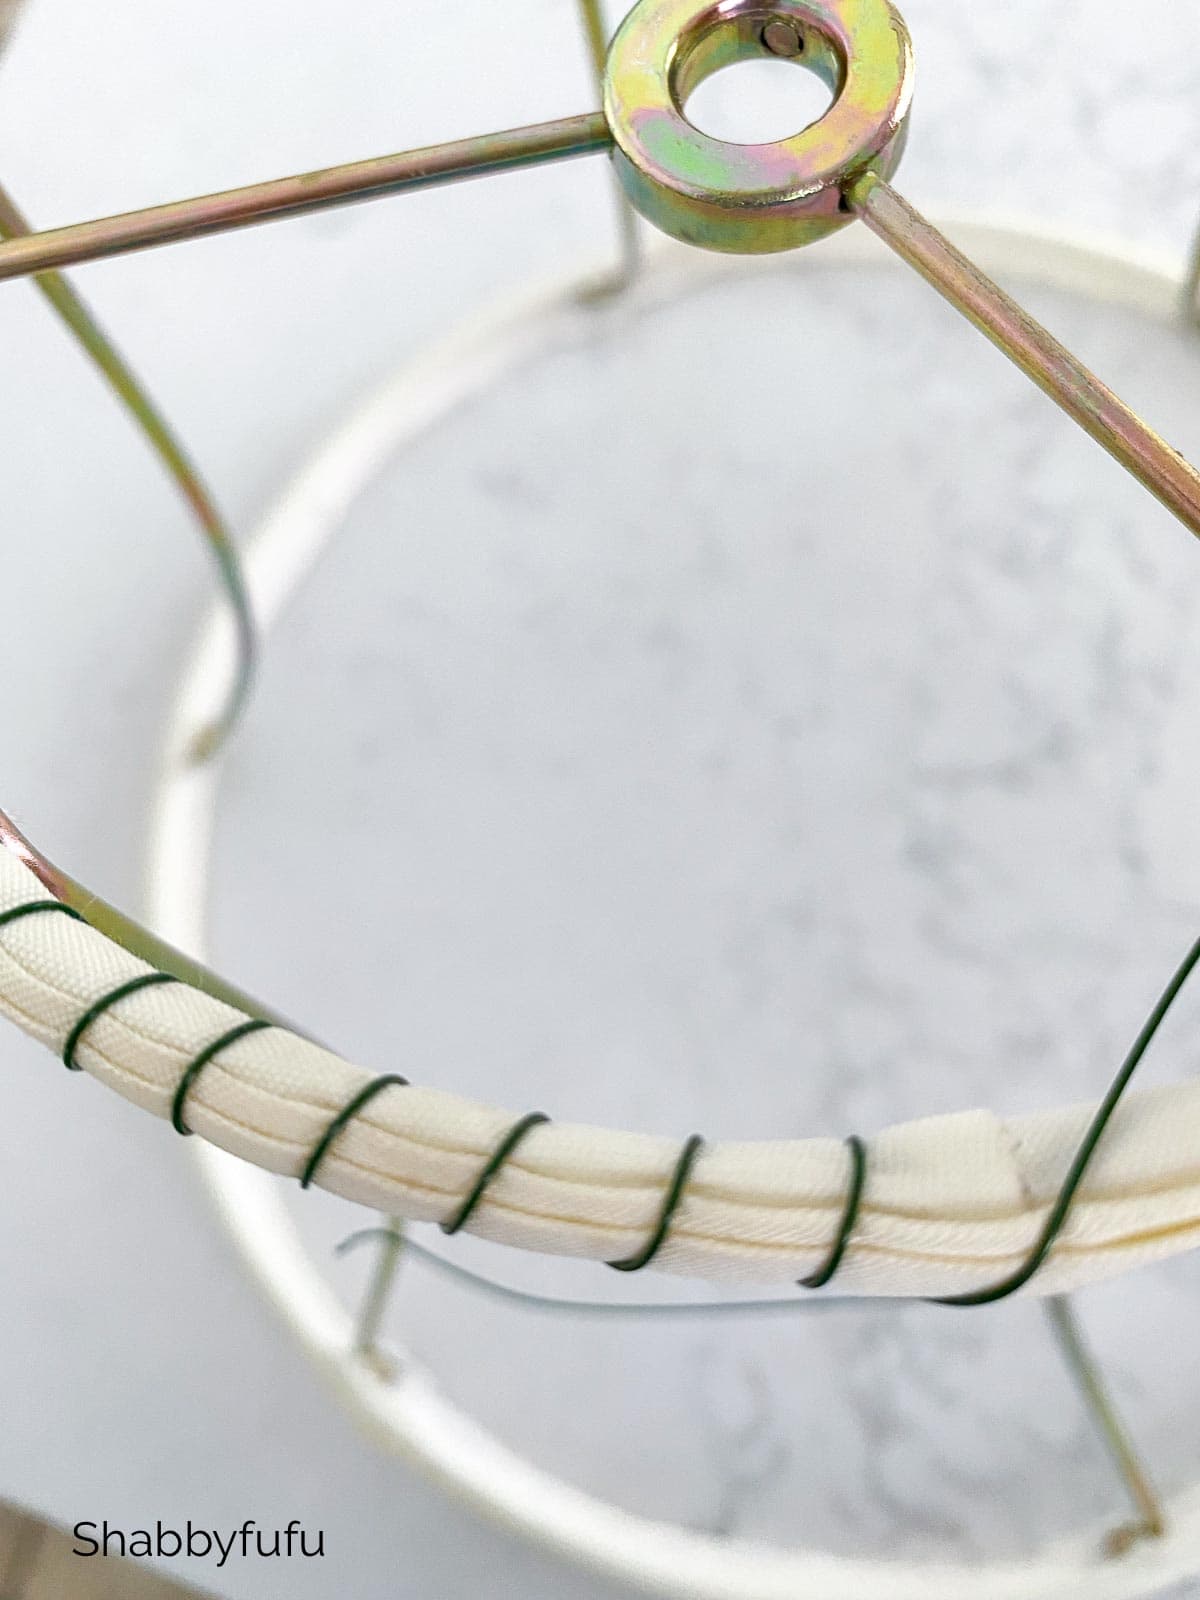
Once the fabric is cut away, reassemble the shade with the wire inserts. To temporarily hold them in place, we used plastic twist ties. You can skip this step if using vintage lampshades or new shades that aren’t collapsible. Once the shades are assembled, wrap the National Hardware Floral Wire around as shown to hold the important trim permanently in place. If you’ve used the plastic twist ties, now is the time to cut them off!
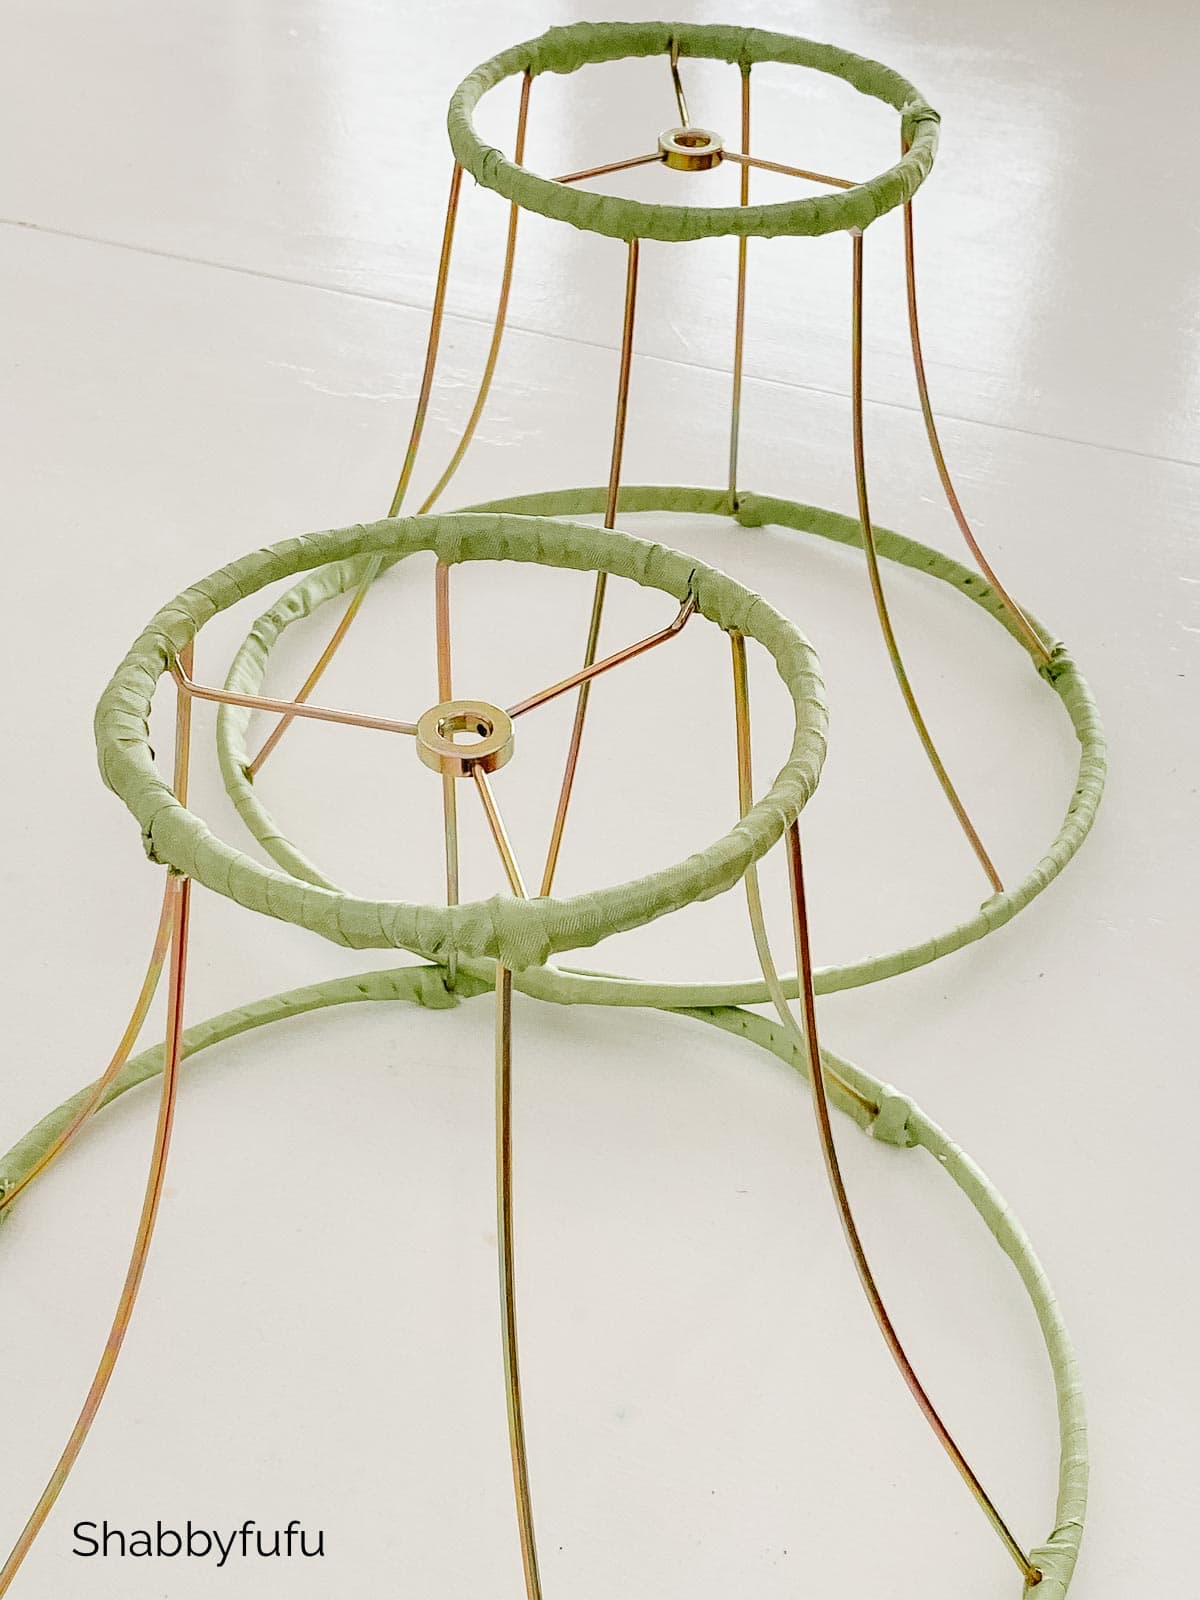
Step 3 –
Next wrap the seam binding ribbon (or any ribbon that you have) around the top and bottom rings of the lampshade. Be sure to overlap and cover all of the fabric trim so that it doesn’t show. You could also cover the metal ribs of the shade if they are unattractive or you simply don’t want them to be seen. Ours were a modern gold color and added to the design appeal!
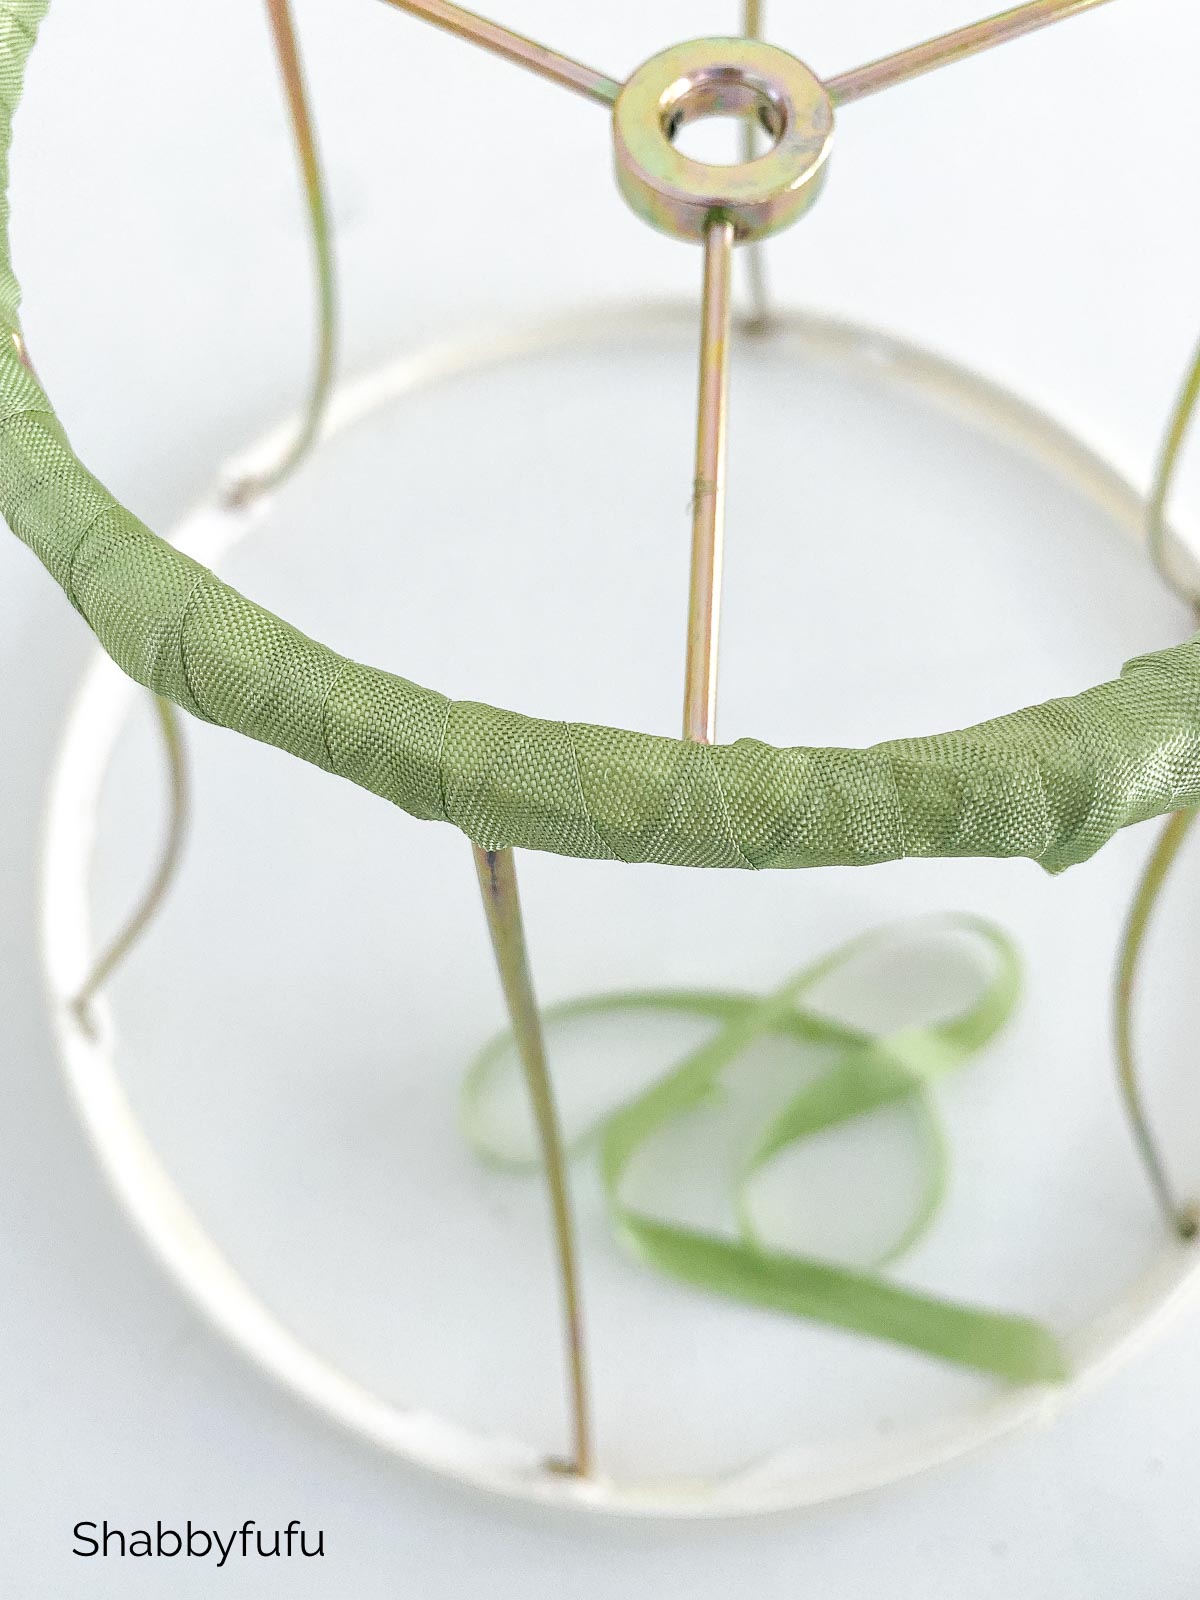
Perfection isn’t the goal here but make sure to pull and tie everything taut.
Let It Flow With Ribbon
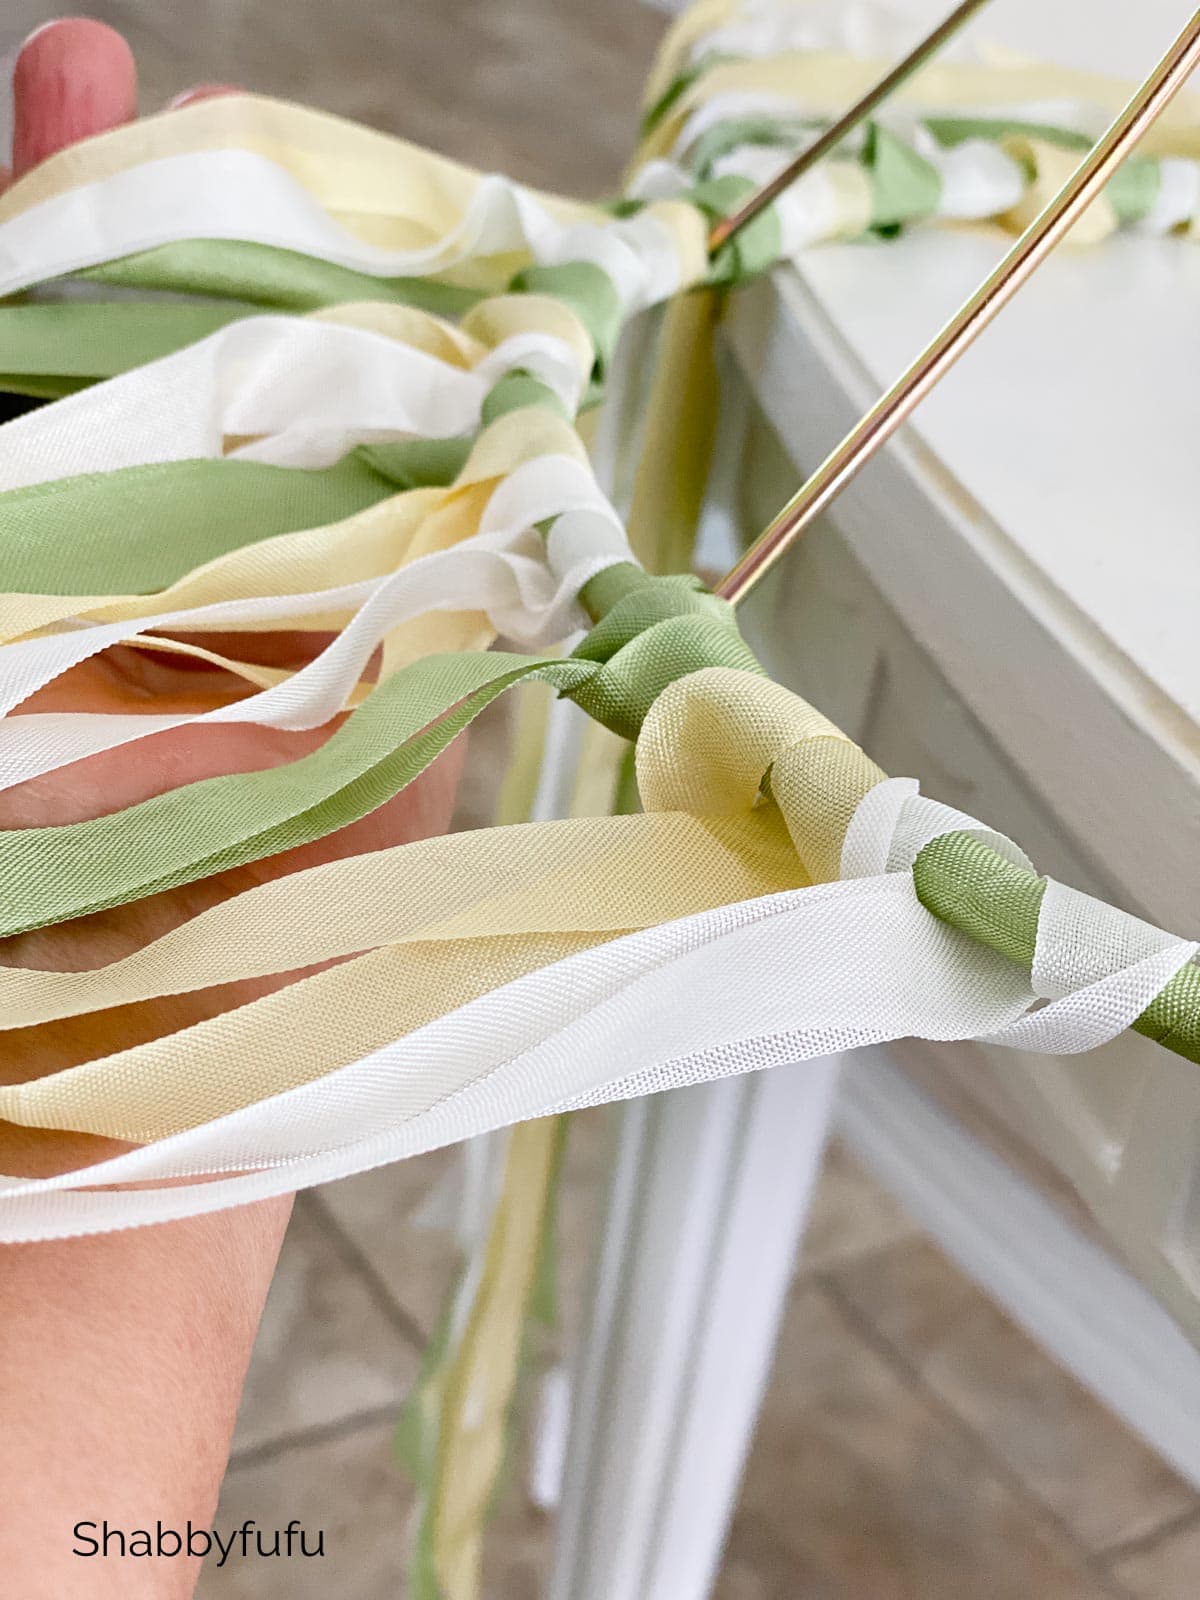
Step 4 –
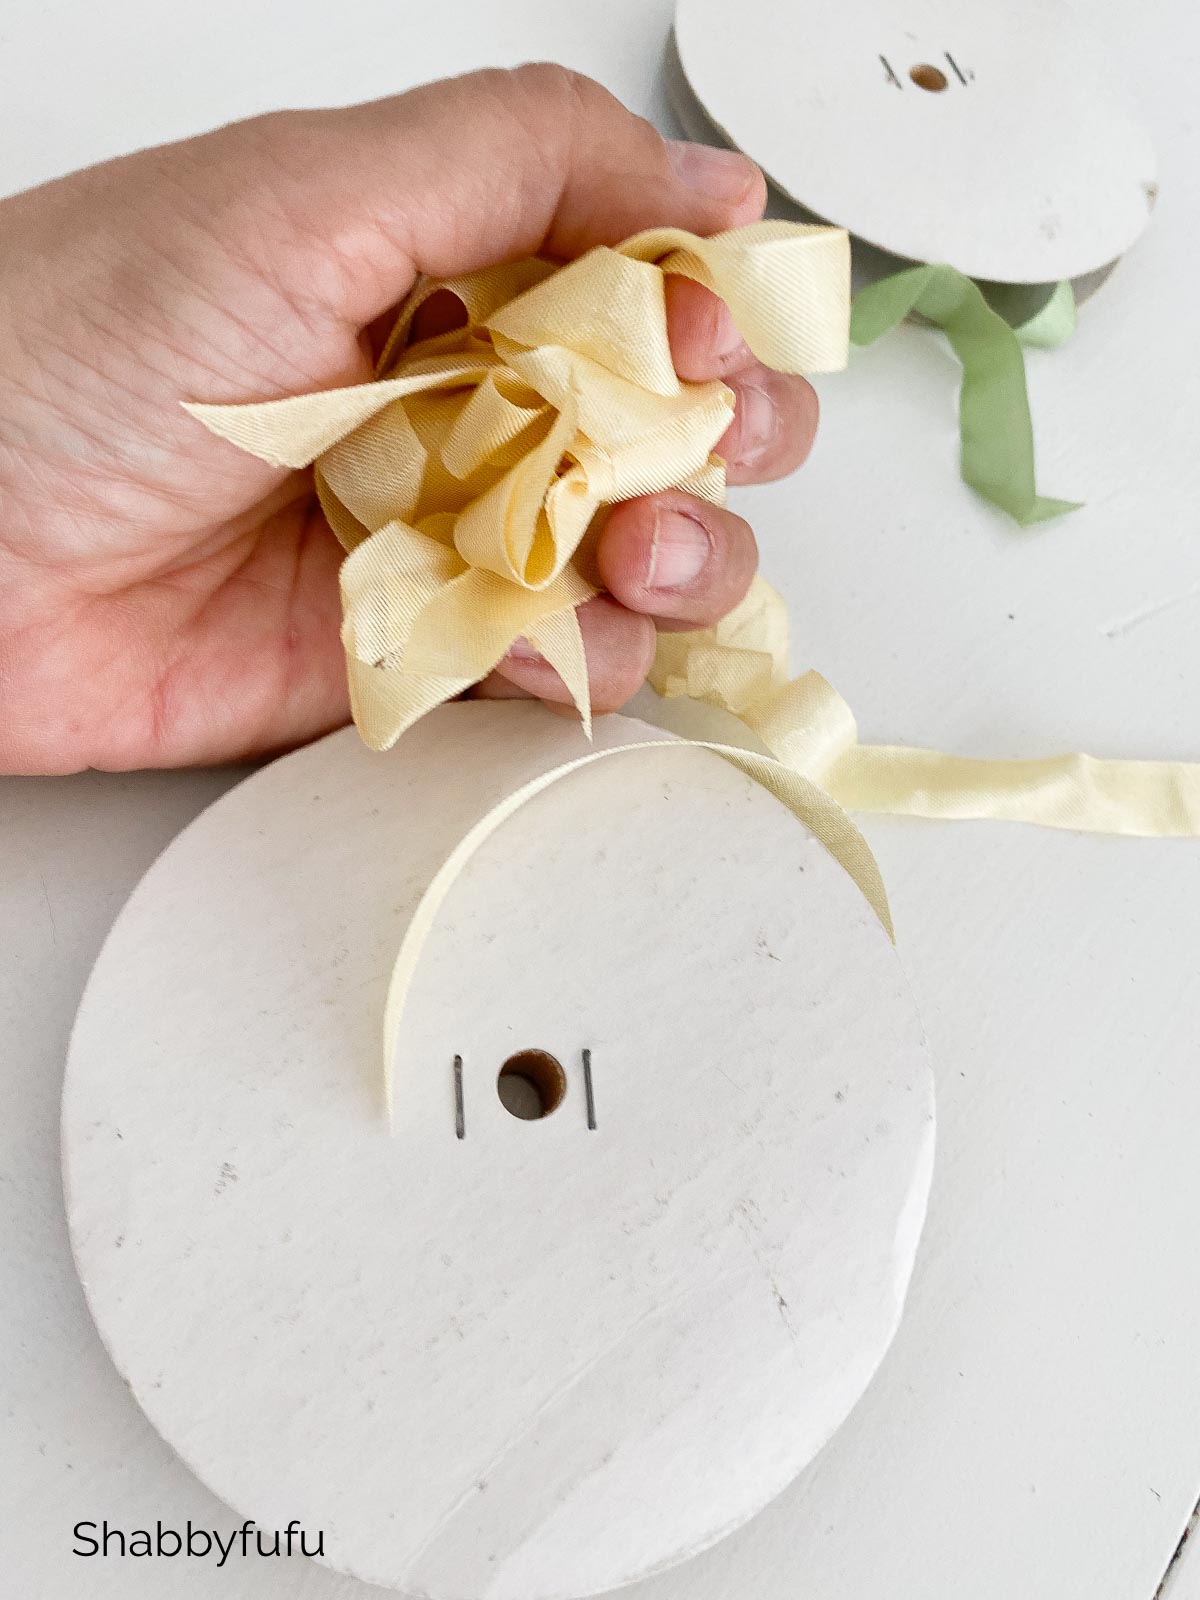
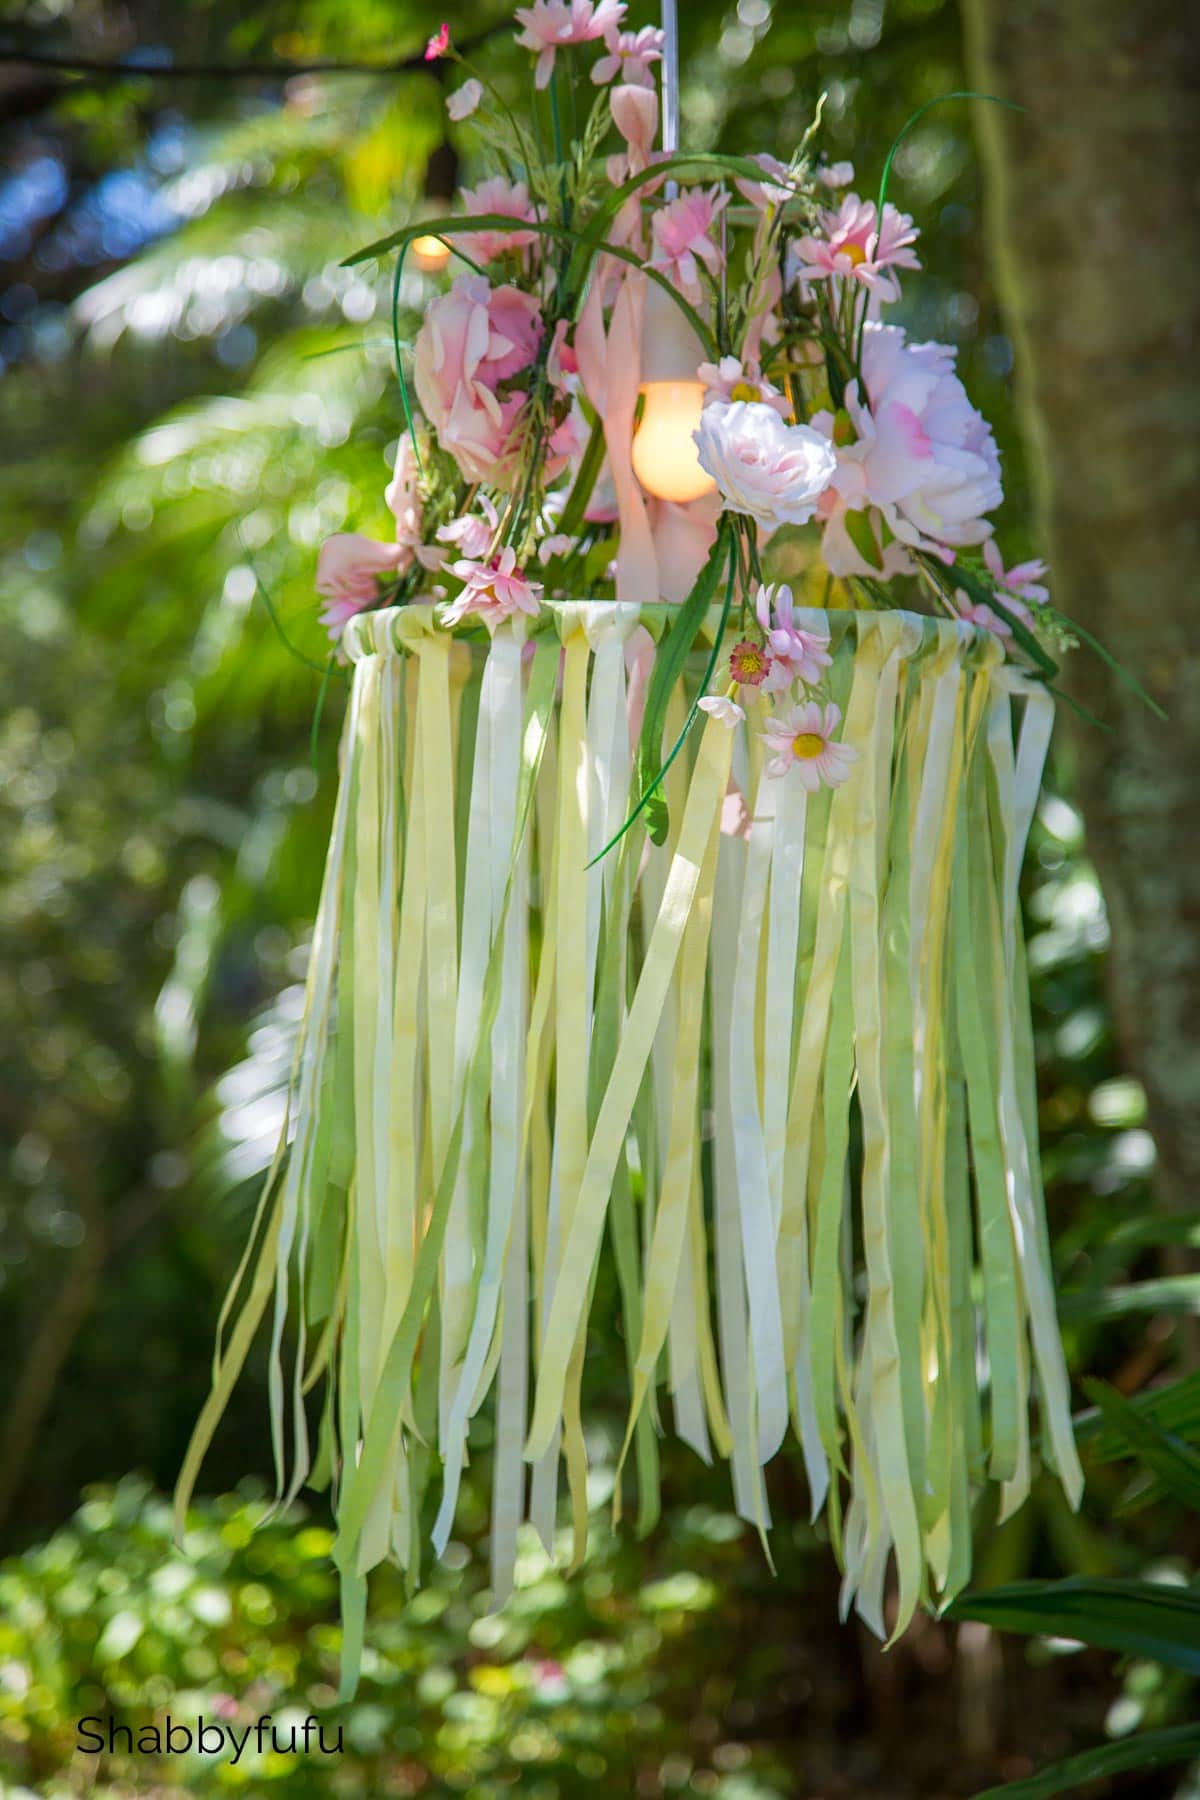
Once the rings are fully wrapped, you’ll be adding more of the seam binding (or any ribbon) as streamers to the bottom ring. Cut each piece of ribbon to measure about 36″ long and use any colors that you desire. You’ll be cutting lots of ribbon for this part of the diy floral chandelier so be sure that you have lots of ribbon on hand! We choose green, yellow and white ribbon in spring colors and wanted our faux pink flowers to stand out against the soft tones of ribbon. If you like, you can scrunch up the ribbon to give it a natural old world look by dampening it first and then allowing to dry.
Step 5 –
To attach, fold the ribbon in half and make a loop, then pull the ribbon through as shown.
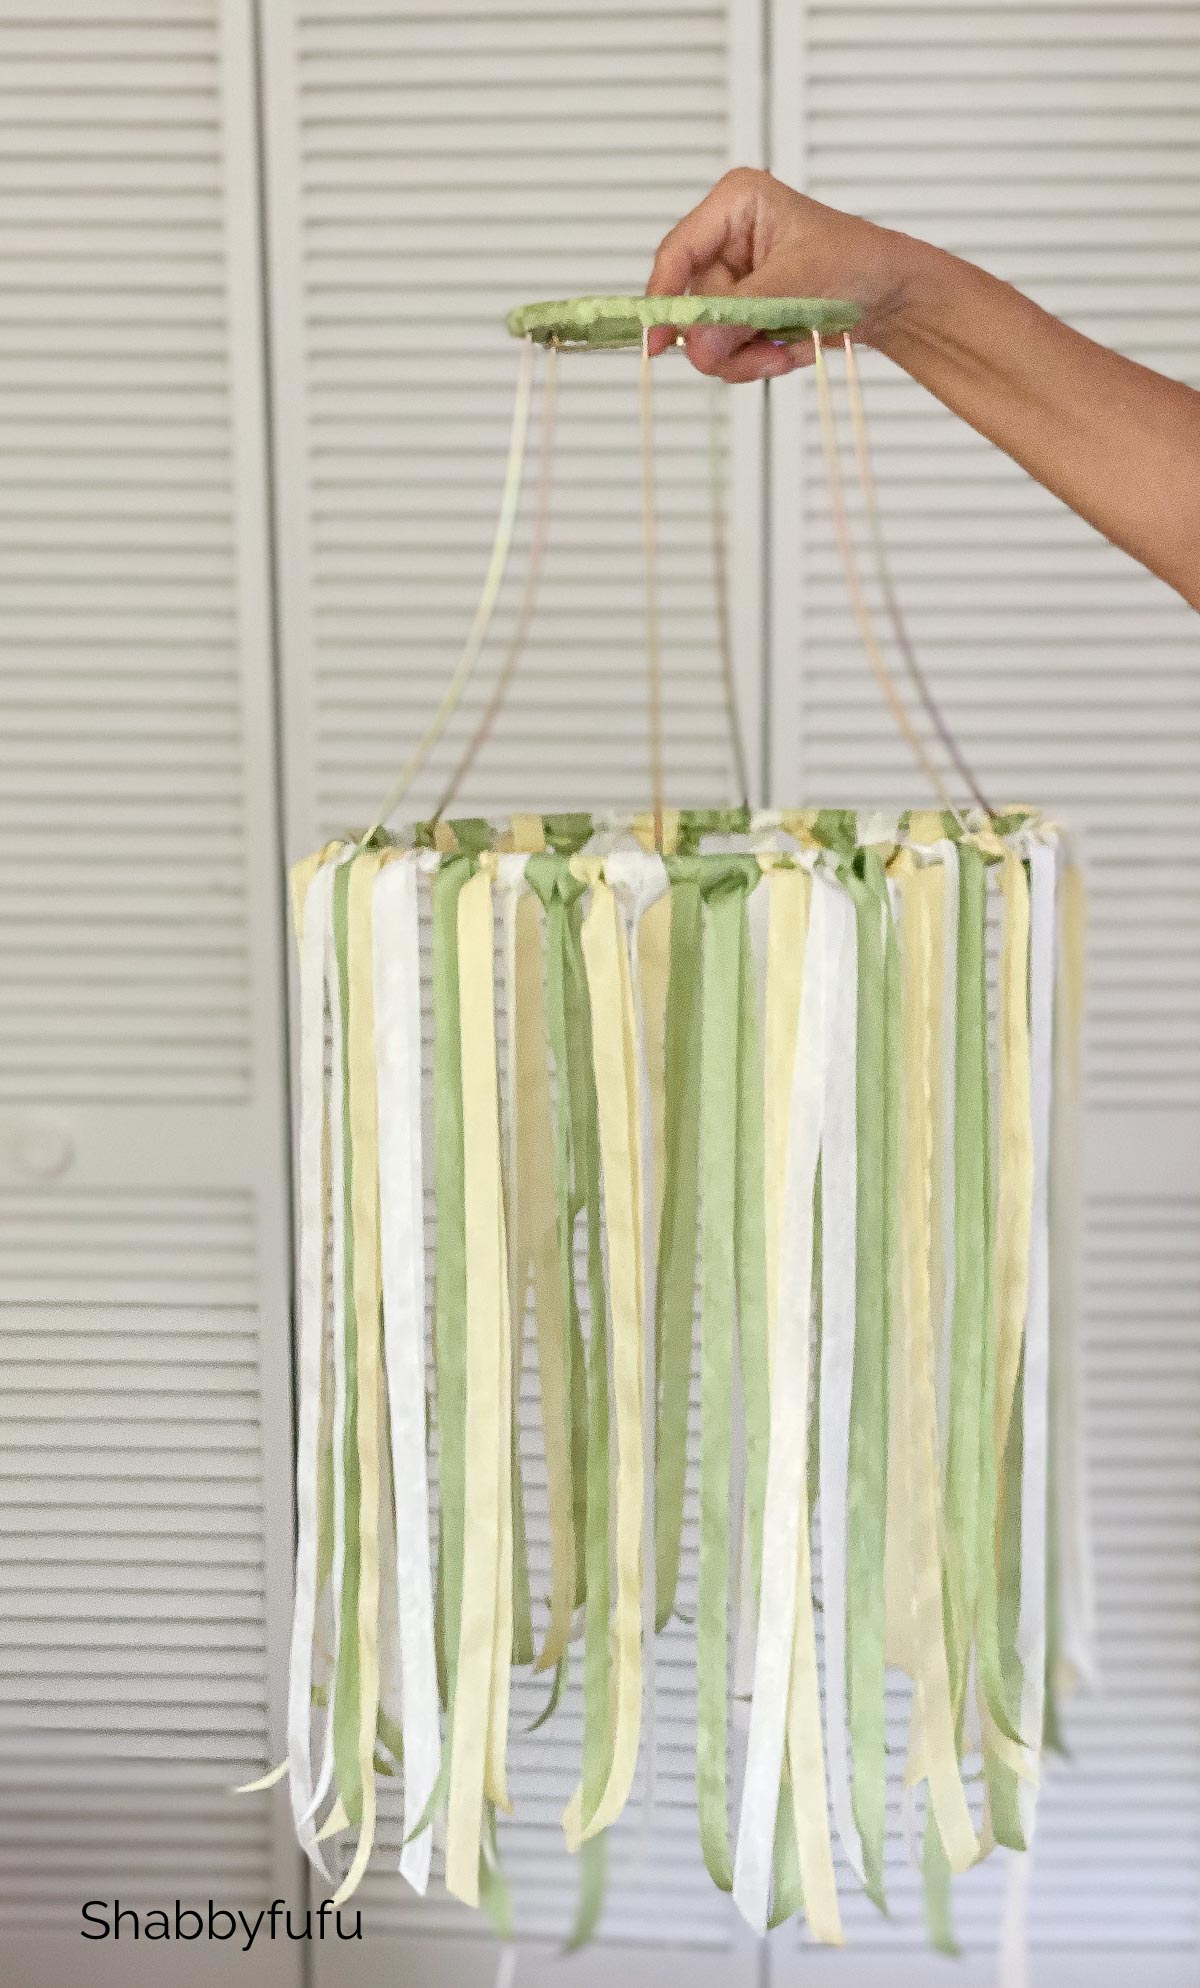
Here is how it looks when the ribbon is in place and before the flowers are added.

Adding Flowers To The Diy Floral Chandelier (The Fun Part!)
Step 6 –
Next you’ll be adding the flowers to your diy floral chandelier. This is the fun, creative and satisfying part and you’ll start seeing things come together! Use wire snips to cut off any portion of the flowers that you don’t want to use. Use the wire cutters to separate bunches of flowers as well. It’s best to have a vision of how you want your artificial flower chandelier to look, or make a sketch first.
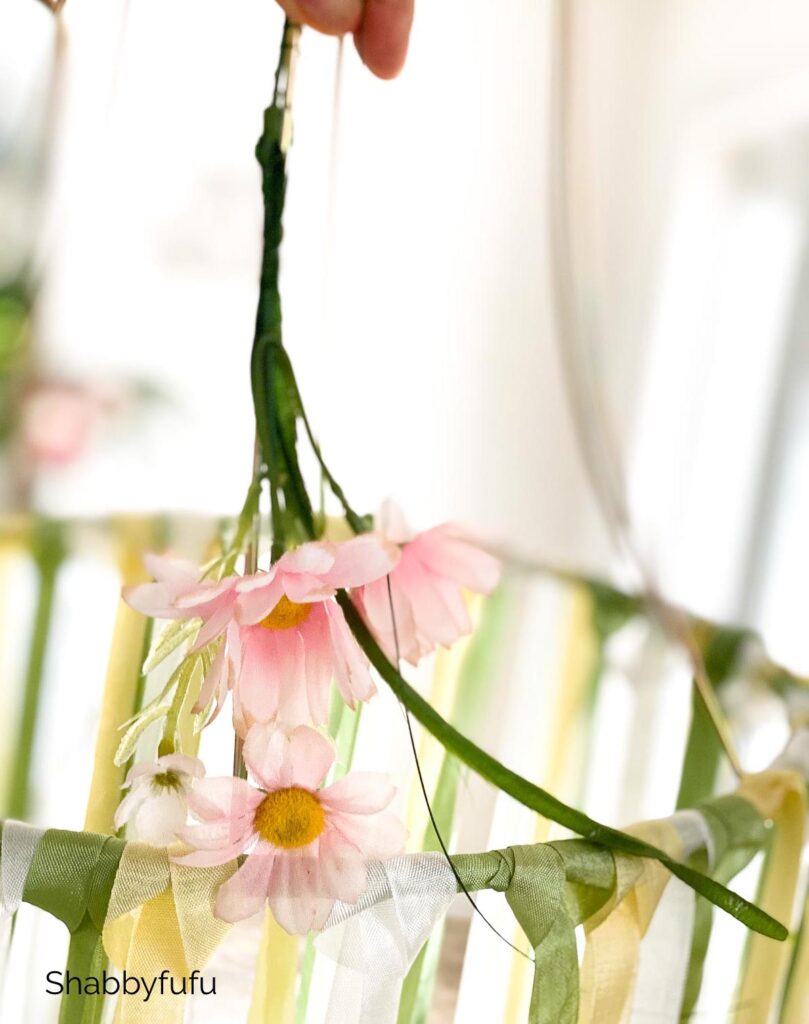
Step 7 –
Cut pieces of the National Hardware Floral Wire to 6-8″ each in length and wrap your flower pieces in place. Use part of the stems and some of the greenery and leaves for a realistic look! Since this is a hanging floral chandelier frame, keep in mind that you’ll be looking at this from the bottom up slightly (as any chandelier).
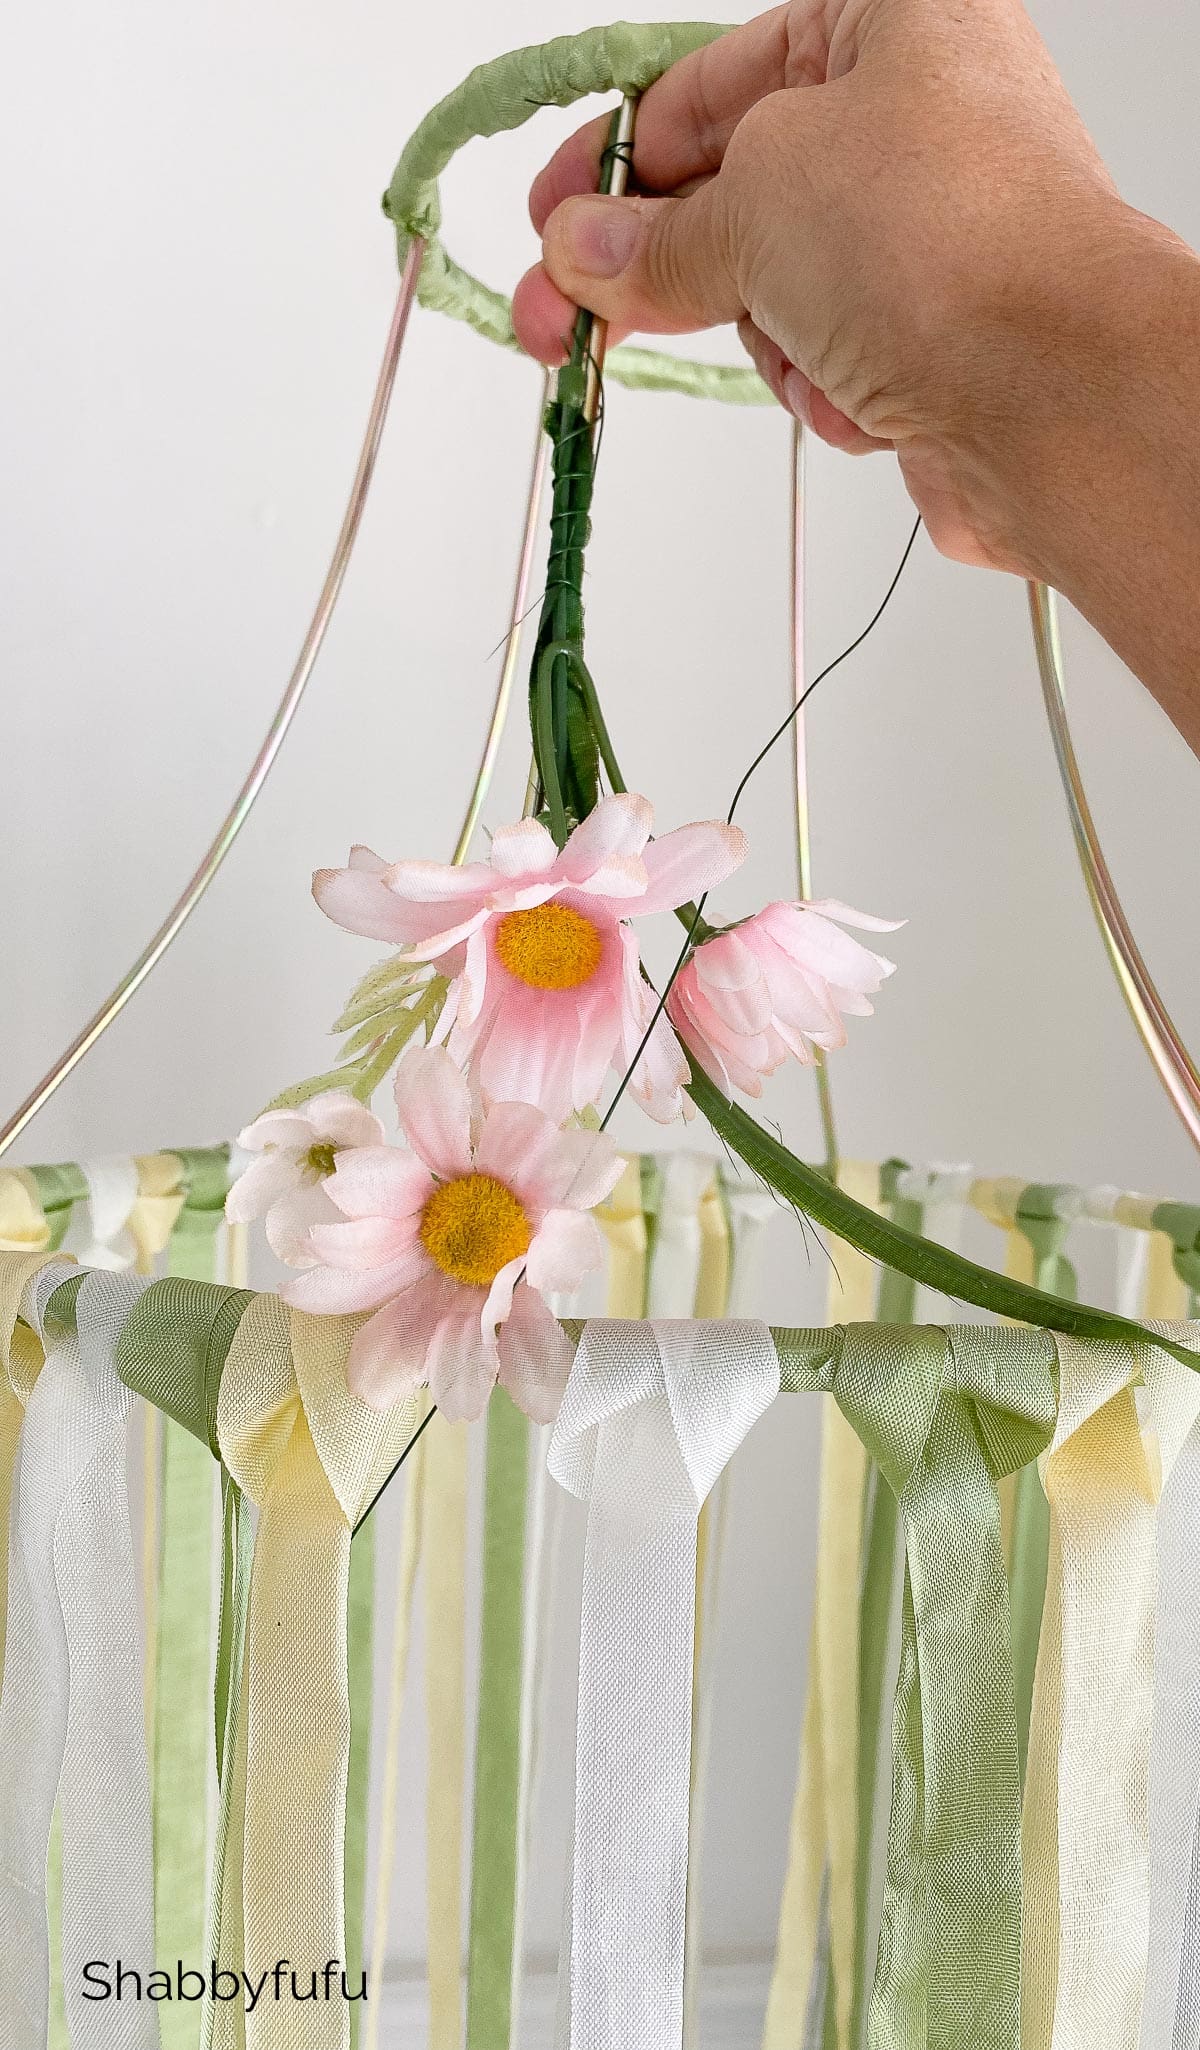
Step 8-
Fill each rib of the artificial flower chandelier with enough flowers to give interest, but don’t completely cover (or go overboard!). You could also use some dried florals in this creative project! Utilize some larger faux flower heads like peonies to give interest and a spring look to the floral chandelier. For this you’ll be grabbing your glue gun to affix the flowers in place. Keep turning the chandelier and stepping back to check your work before saying “done”!
Hanging The Floral Chandelier Frame!
Step 9 –
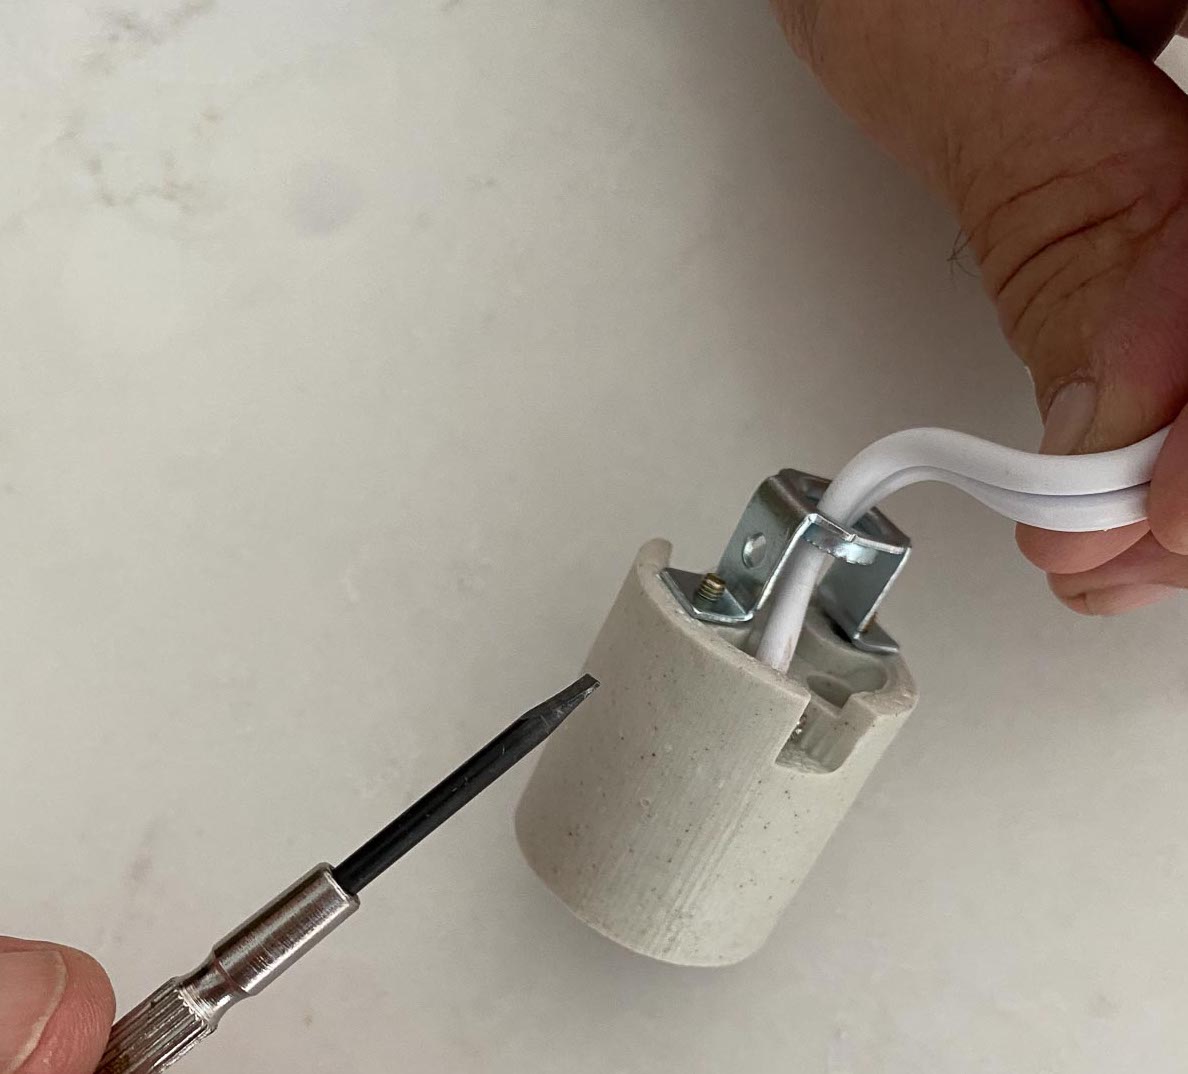
To complete the hanging floral chandelier frame you’ll need a way to hang it! You have two options here, depending if you want to electrify it or not. To simply hang without a bulb, wrap some cording around the center hole where normally a finial would be used. Wrap the cording or rope around tree branches to hang.
We decided to add hanging pendant lamp cord and socket sets to ours. Depending on the lampshade used, you will have to remove the socket first in order to slip the wire through the frame.
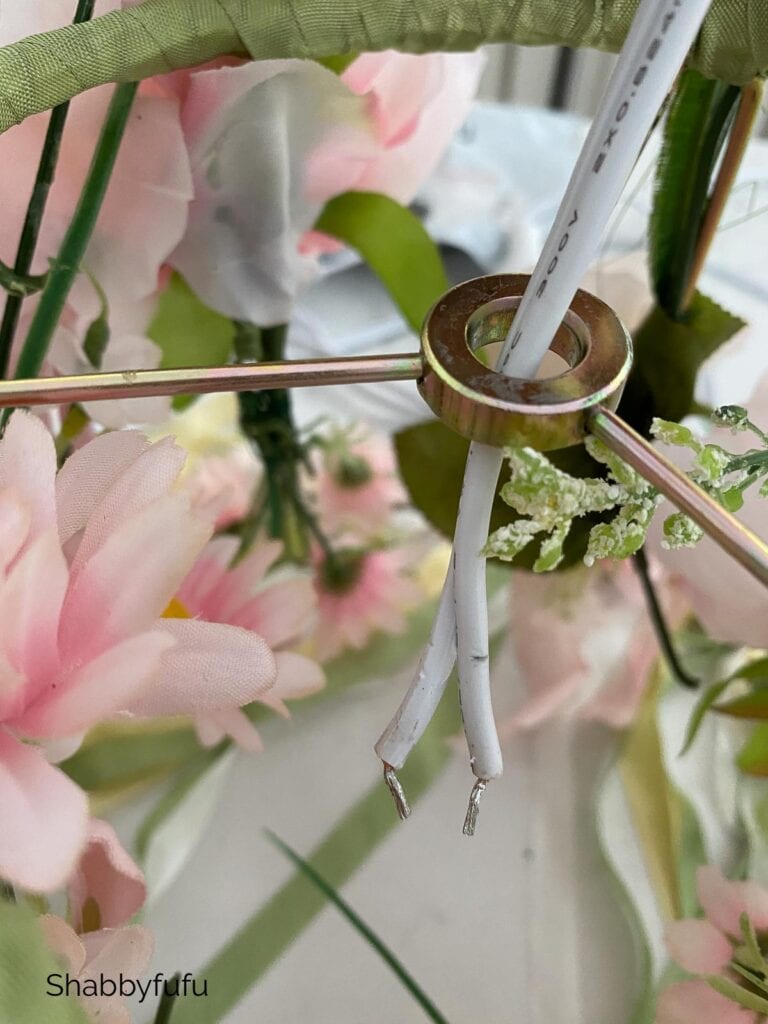
Step 10 –
Slide the wire through the top of the frame and then reattach the socket underneath the hole at the top.
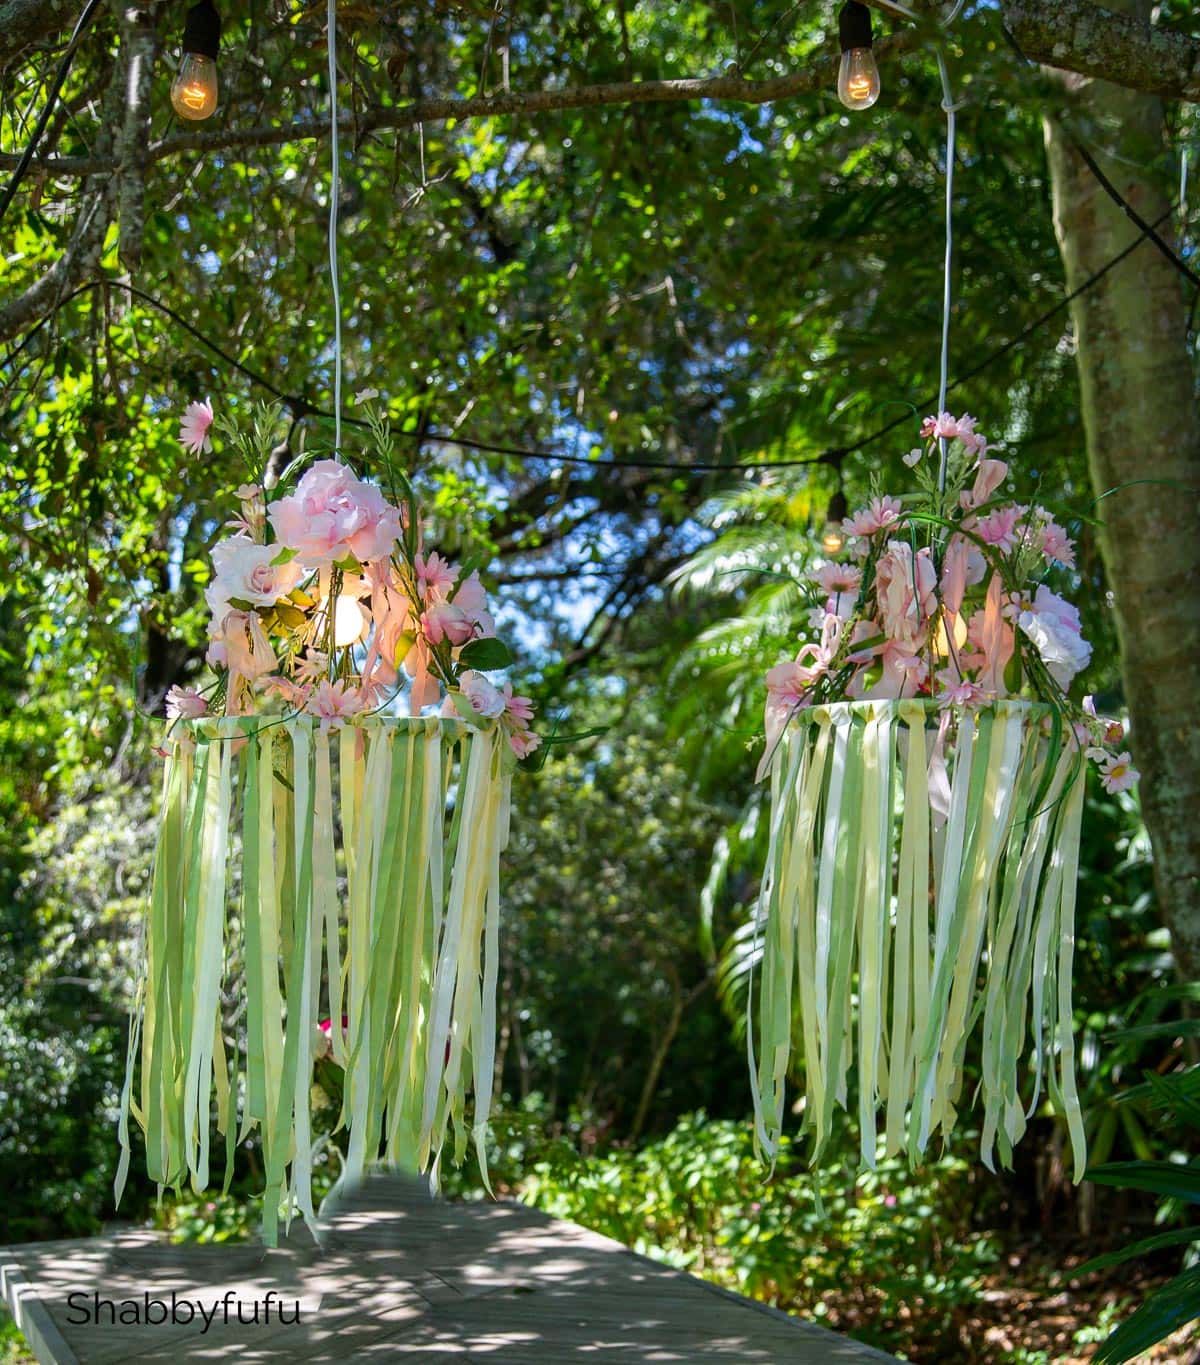
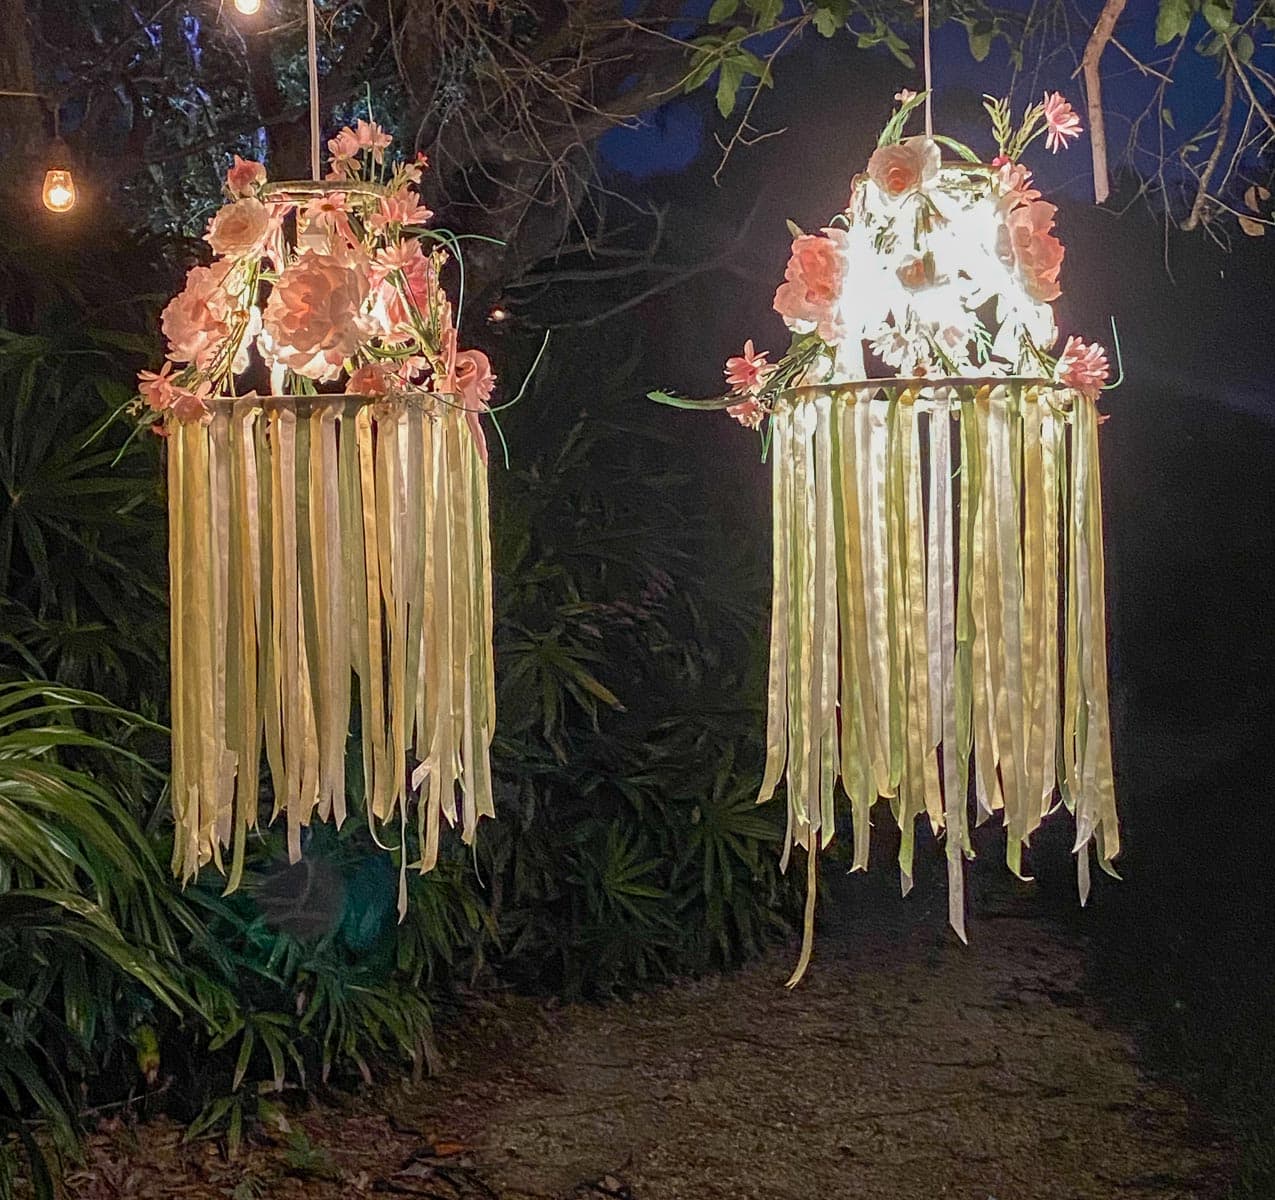
It’s fun to have these light up for a party or for a hanging flower chandelier wedding piece!
An option for a wedding or party with a vintage theme is to tie some of grandma’s teacups on to the chandelier with the ribbon!
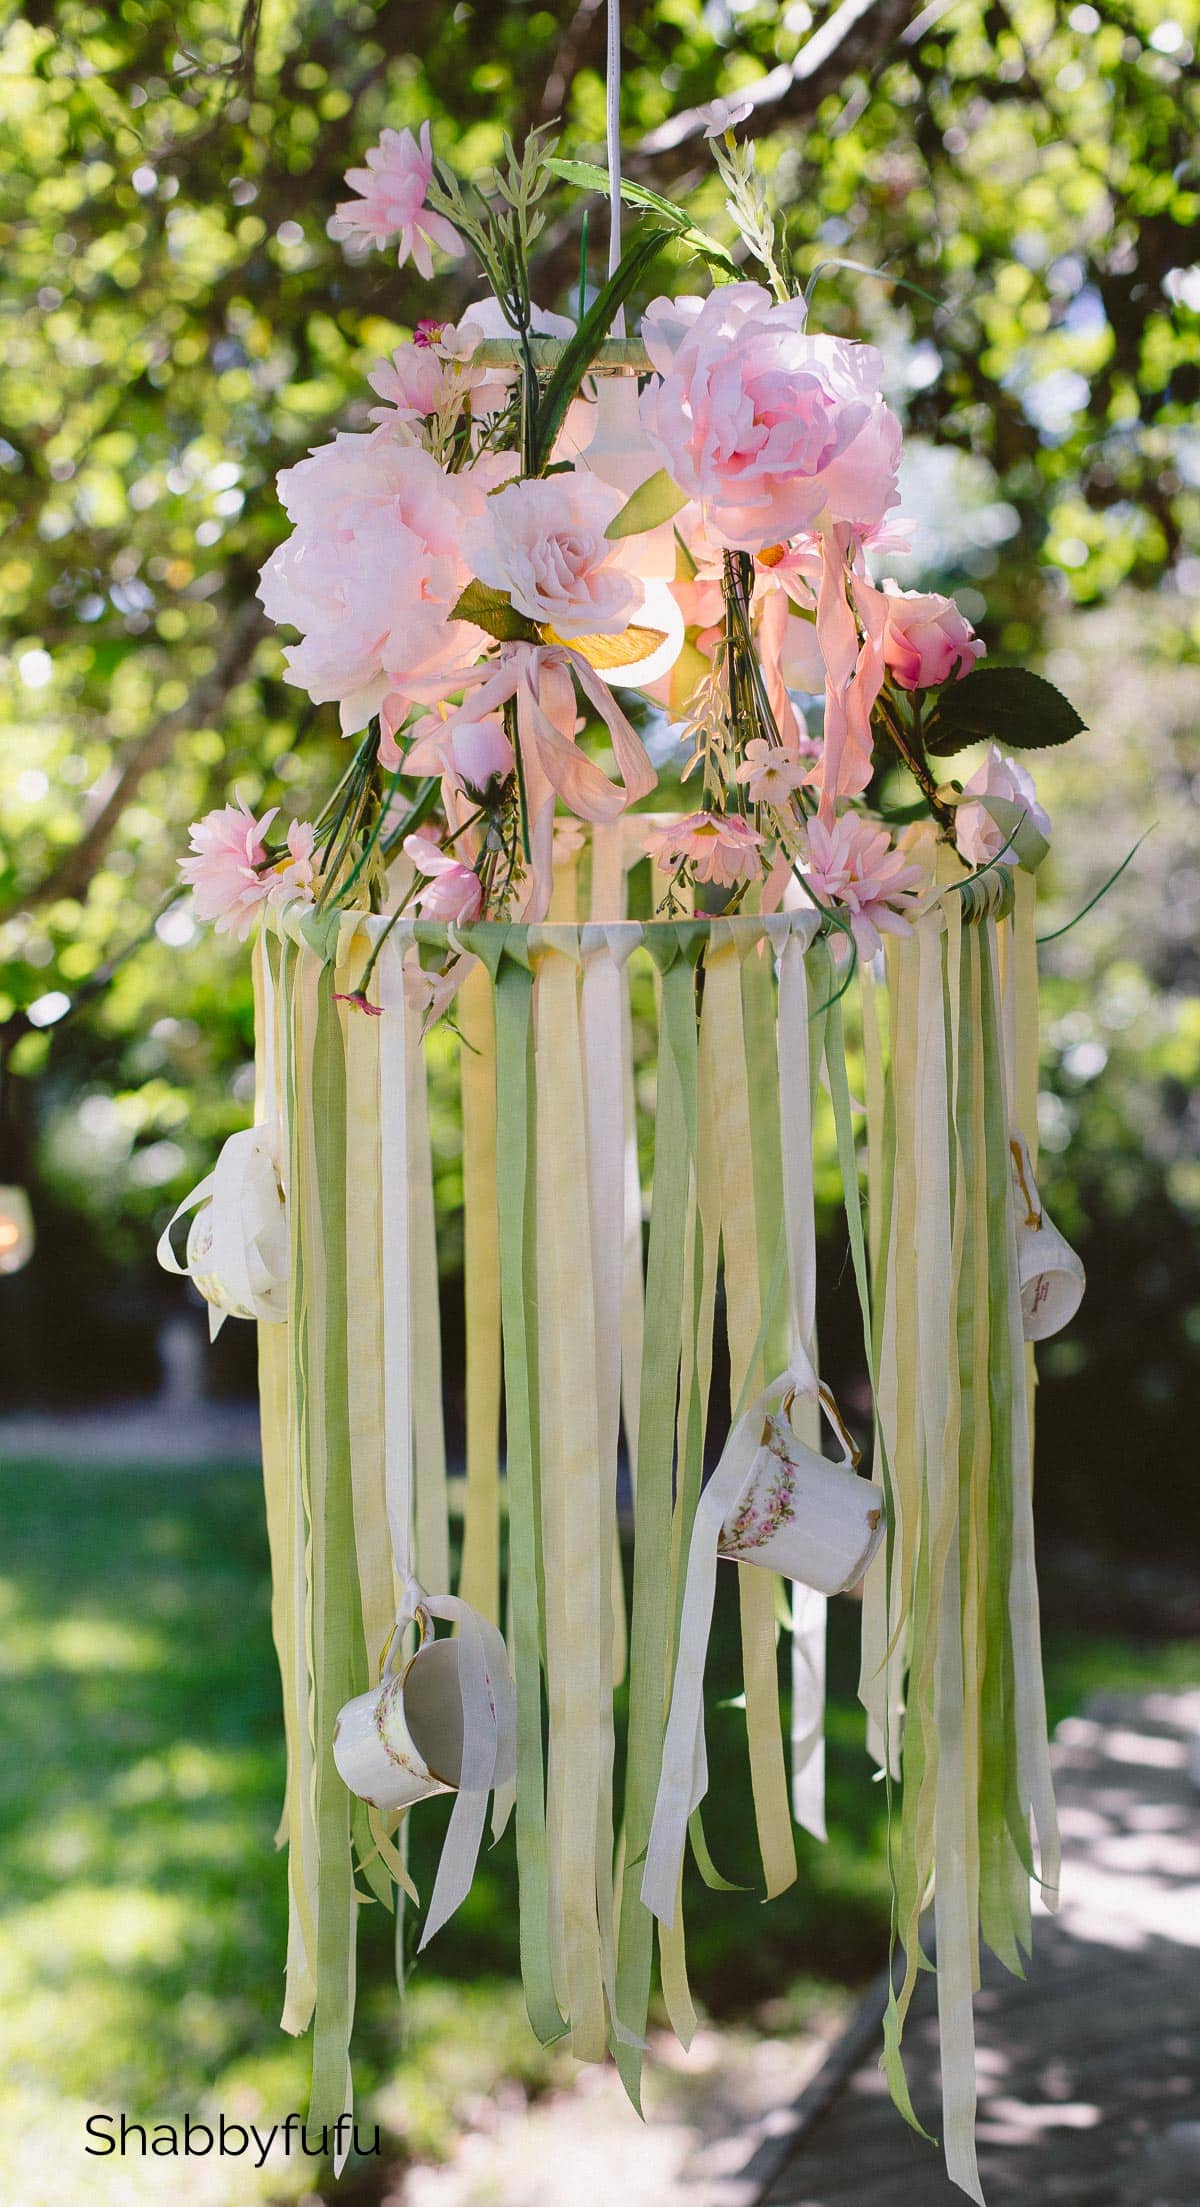
They look so pretty outside and the ribbon will catch the breezes as they blow!
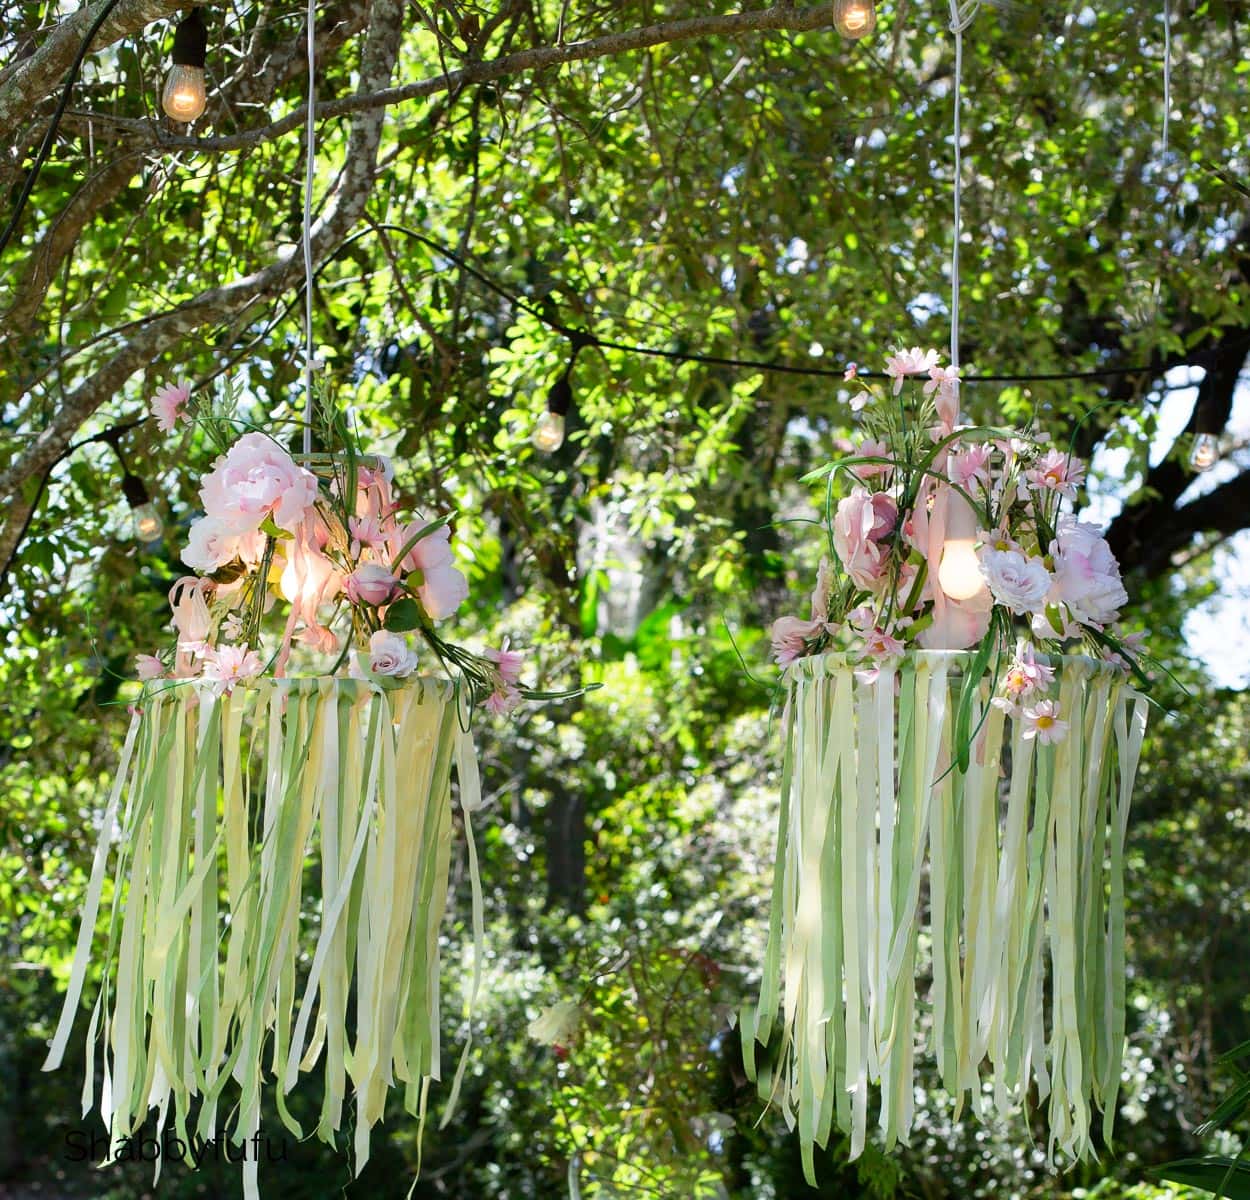
These DIY floral chandeliers provide ample light over a table in the evening. Just envision the possibilities and enjoy the process!
PIN THIS POST TO REFER TO LATER!
So pretty! Makes me want to plan a tea party! Imagine this with small bells hanging on the inside!
The bells are a fabulous idea Gayle!
I love Wishlist Wednesday’s! You get to window shop without leaving home!