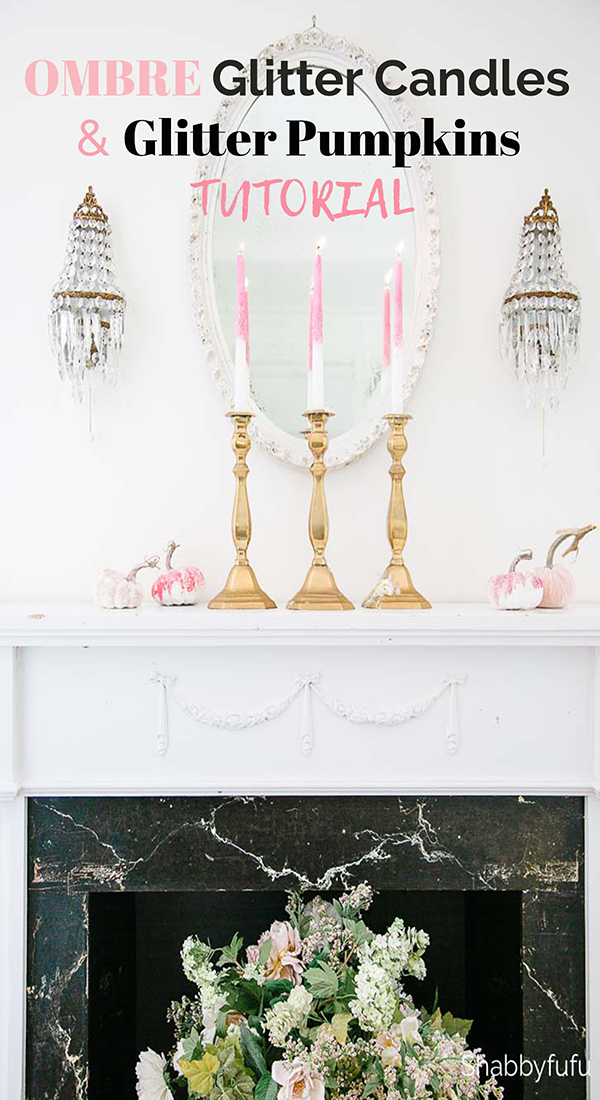
Glitter Candles and Glitter Pumpkins – Tutorial
This post may contain affiliate links. For more information, please see our disclosure policy.
I think that every girl needs a little sprinkle of glitter in her life, don’t you? In today’s post I’m sharing ombre glitter candles and glitter pumpkins and anyone can do these easy crafts!
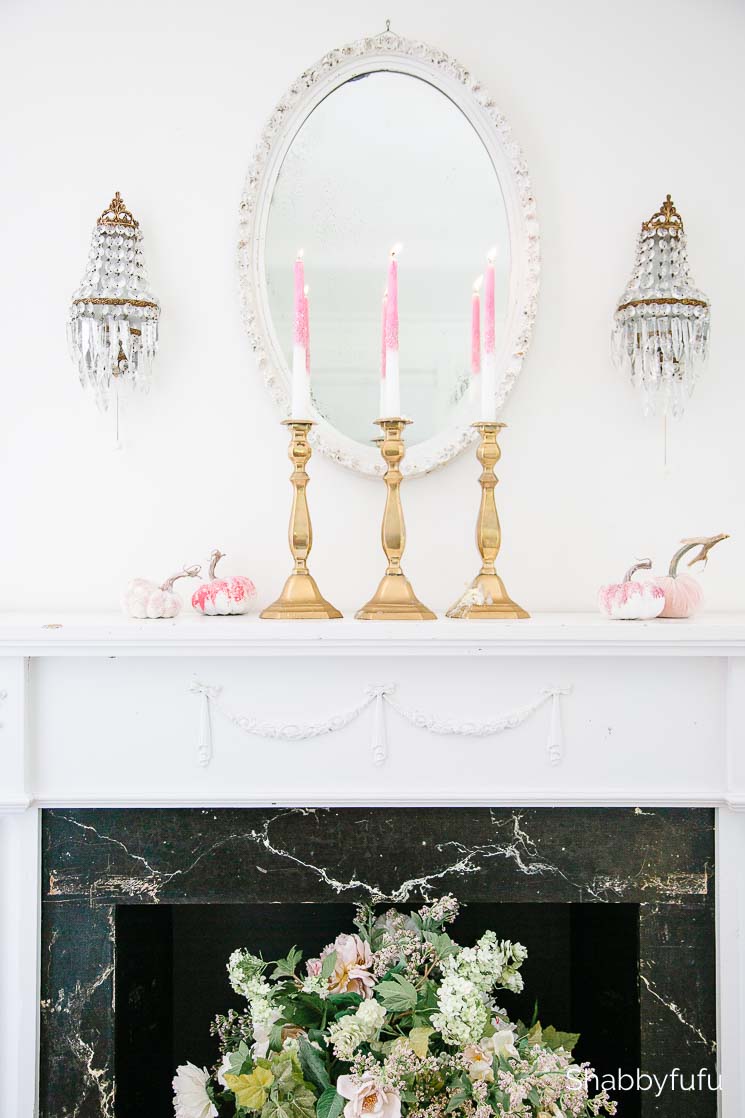
Glitter, fairy dust, sheen, shine…it’s all so pretty in small doses! I cannot help myself to love just a small touch of it during the fall and winter seasons! Being a lover of seeking light in photography and real life, I’m drawn to see how I can reflect it. Candles make perfect sense, since they cast a glow on their own. Pumpkins for autumn display aren’t to be taken too seriously. Why not add some glimmer and sheen for fun! I’m sharing these DIYs as part of the 20 minute decorating series with friends, so be sure to scroll on down.
Glitter Candles and Glitter Pumpkins
How To Make Ombre Glitter Candles

Supplies –
- Candles – I used tapers but this would work with pillars as well
- Crayons – Color of your choice for ombre effect
- Glitter – Look for glitter that is non-flammable, although I have personally never had a problem.
- Glue – School glue (like Elmers) or Mod Podge
- Microwave proof glass jar, stirring stick, paint brush

Instructions –
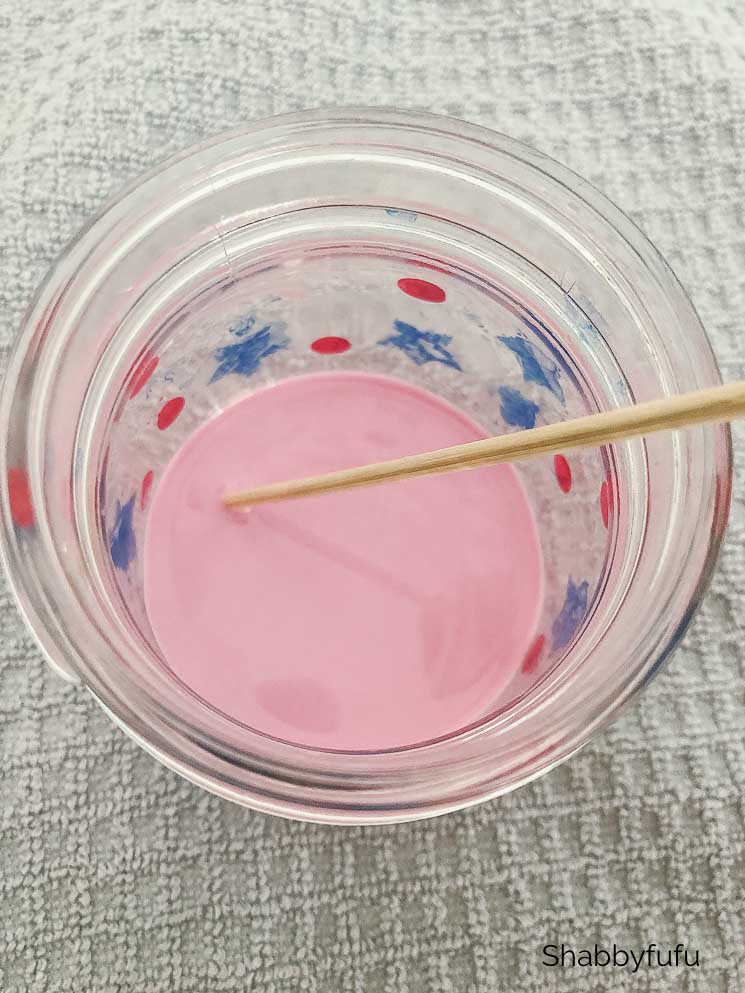
- First thing that you’ll want to do is to decide on your color and raid the kids crayon box! I have lots of crayons in my studio and grabbed a pink crayon for this project. Peel off the label and cut the crayon into small pieces. Then take a scrap candle and slice off some small bits with a craft knife. You are going to mix these together in a glass jar and melt in the microwave.

2. You’ll want about a 50/50 mix of candle wax pieces and crayon pieces. Melt on high in your microwave for about 2 minutes, checking and stirring at least once. All microwaves are different and may require more (or less) time.
3. Once the mixture is melted, work quickly and paint onto your taper candle. Use a thin layer so that it doesn’t get too chunky. Reheat the wax mixture if necessary when working with multiple candles. Optional – Take a lighter to the candle once finished and slightly melt the coating to make it smoother, working in sections. I did not, since they were going to be glittered.
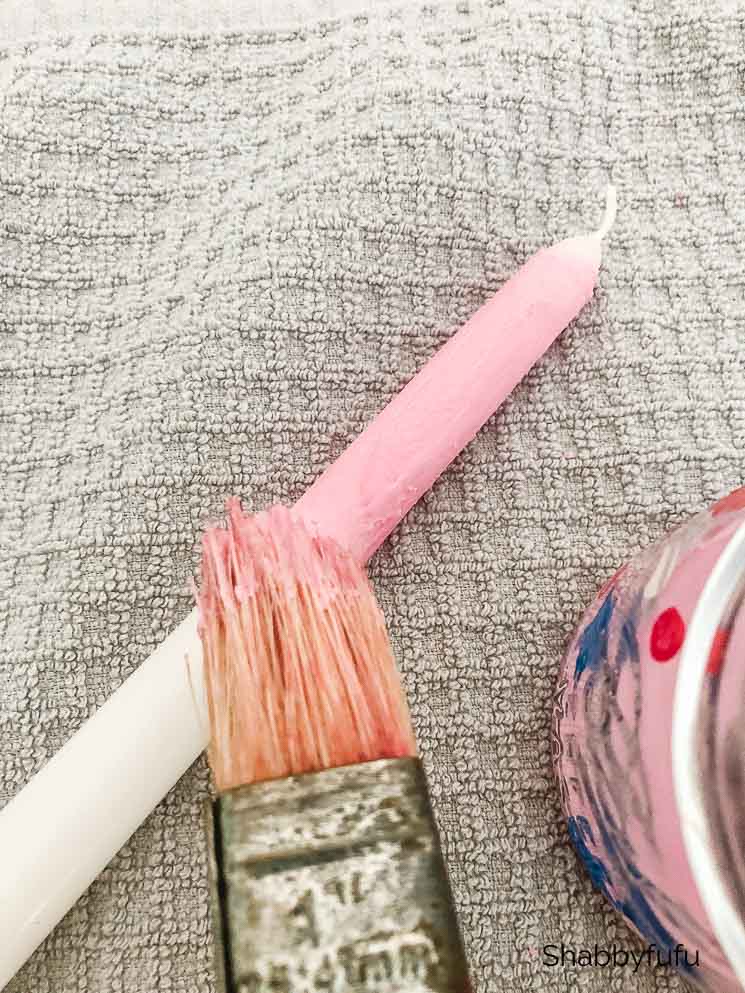
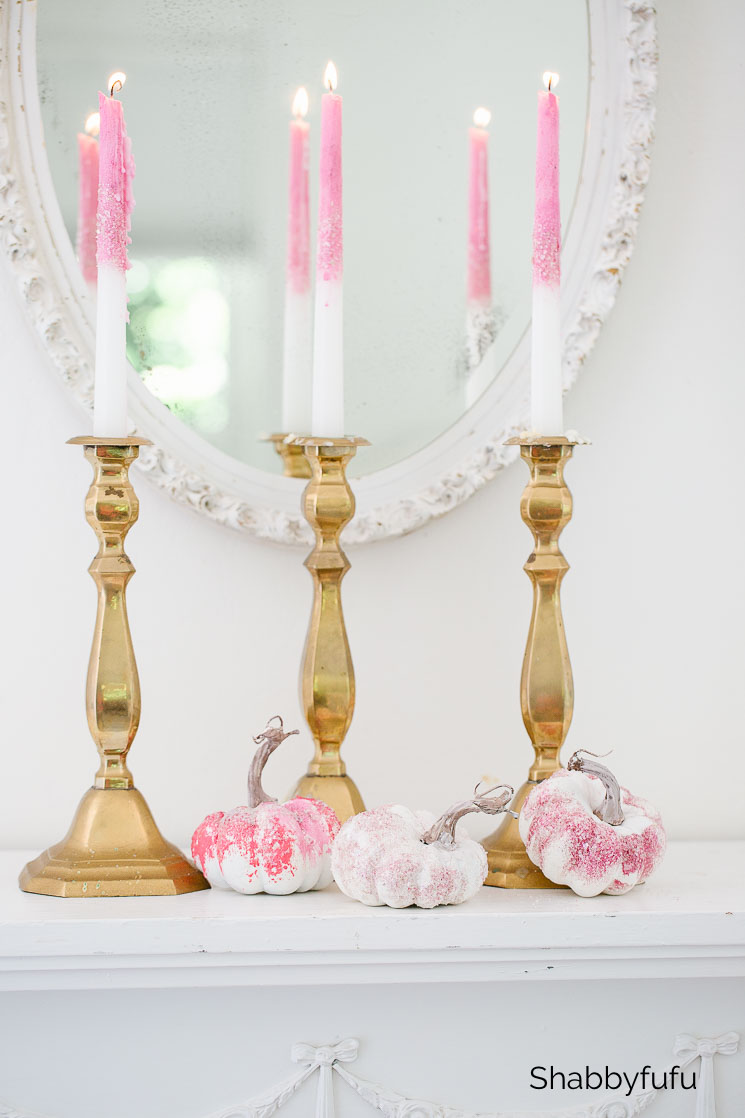
4. Lightly coat small areas with school glue and sprinkle on your glitter. I used a combination of this – NATURAL MICA GLITTER – and regular glitter.

So pretty and sparkly!!
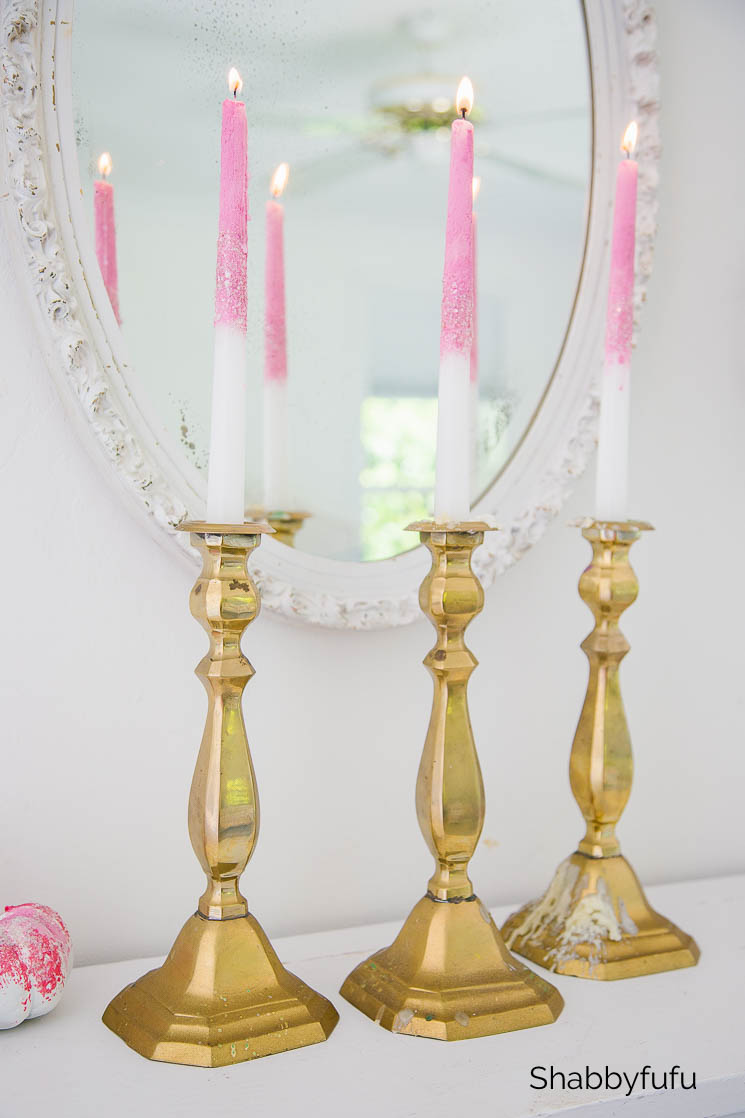
As mentioned, do not leave candles unattended when burning and you can refer to THIS safety guide for more information.
How To Make Ombre Glitter Pumpkins
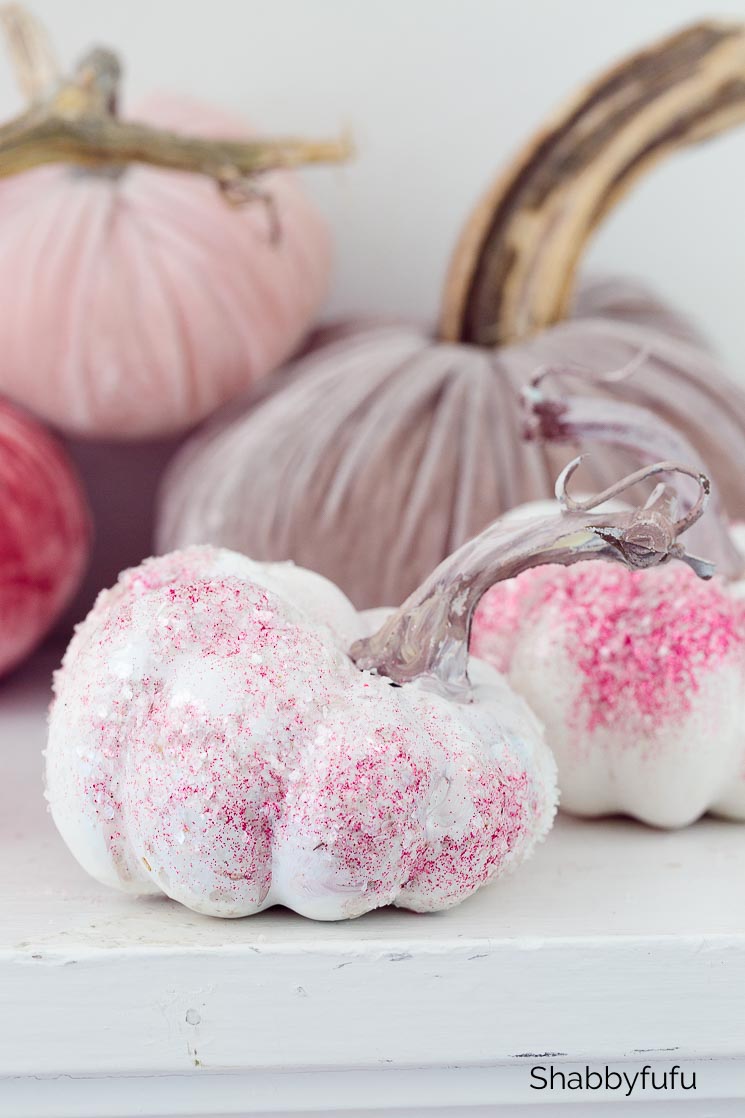
- Same supplies as above, but add in some pumpkins, faux or even real ones! Brush on the hot wax. While the wax looks bumpy it won’t matter because you’ll cover with some glitter.
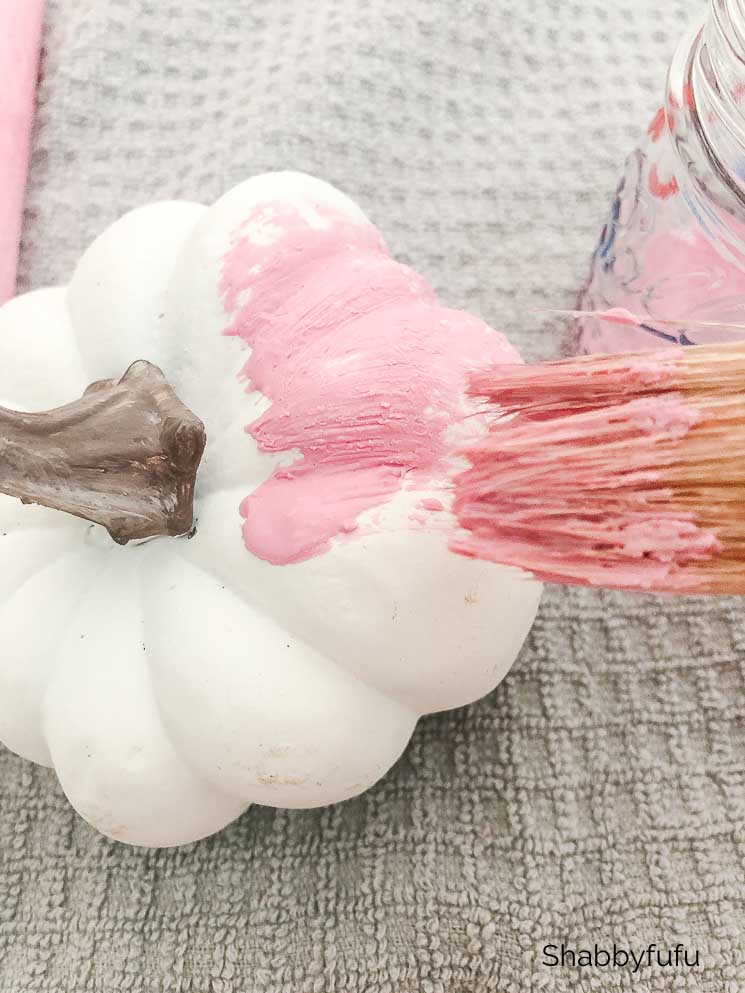
2. Once the colored wax is dry, brush on a layer of either school glue (Elmers) or Mod Podge. Quickly add your glitter mixture before the glue dries.
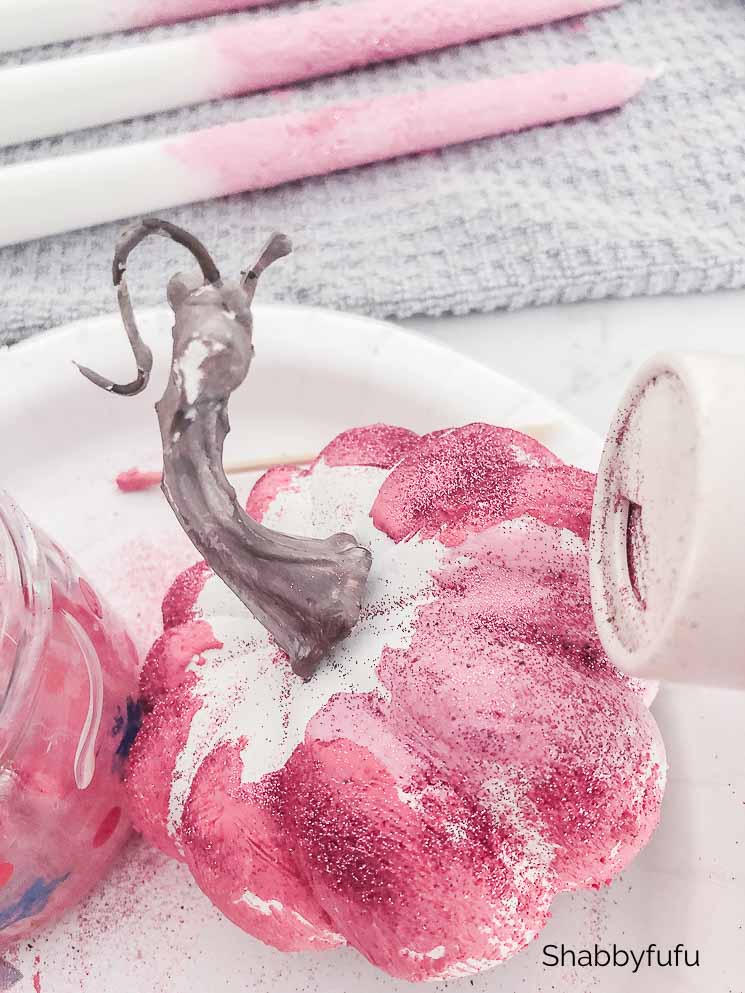
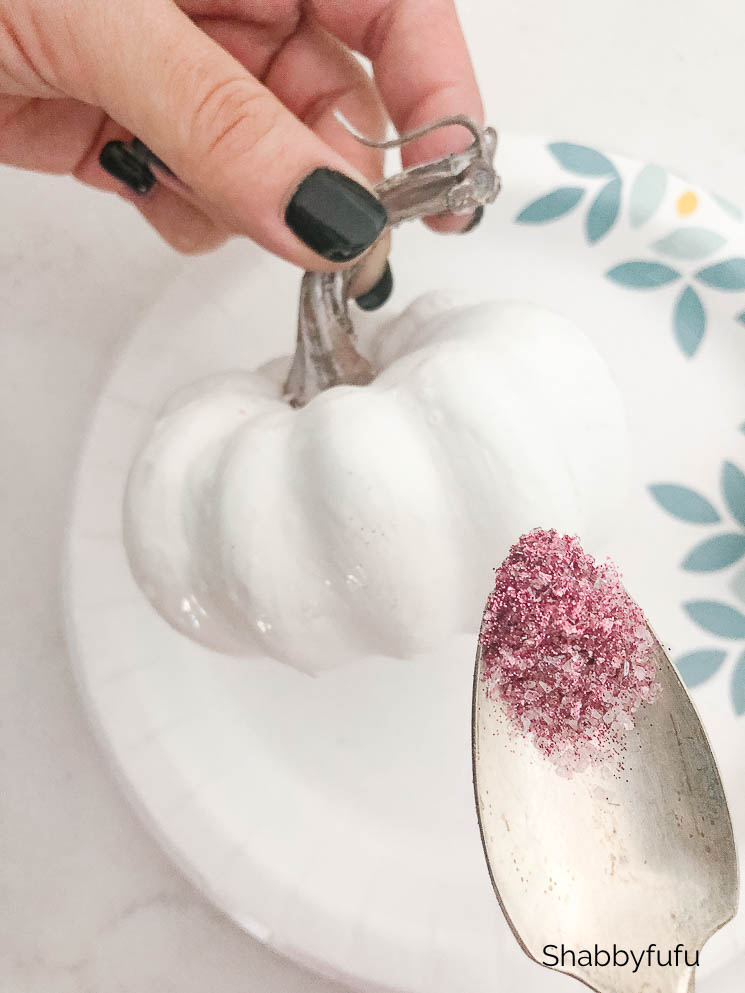
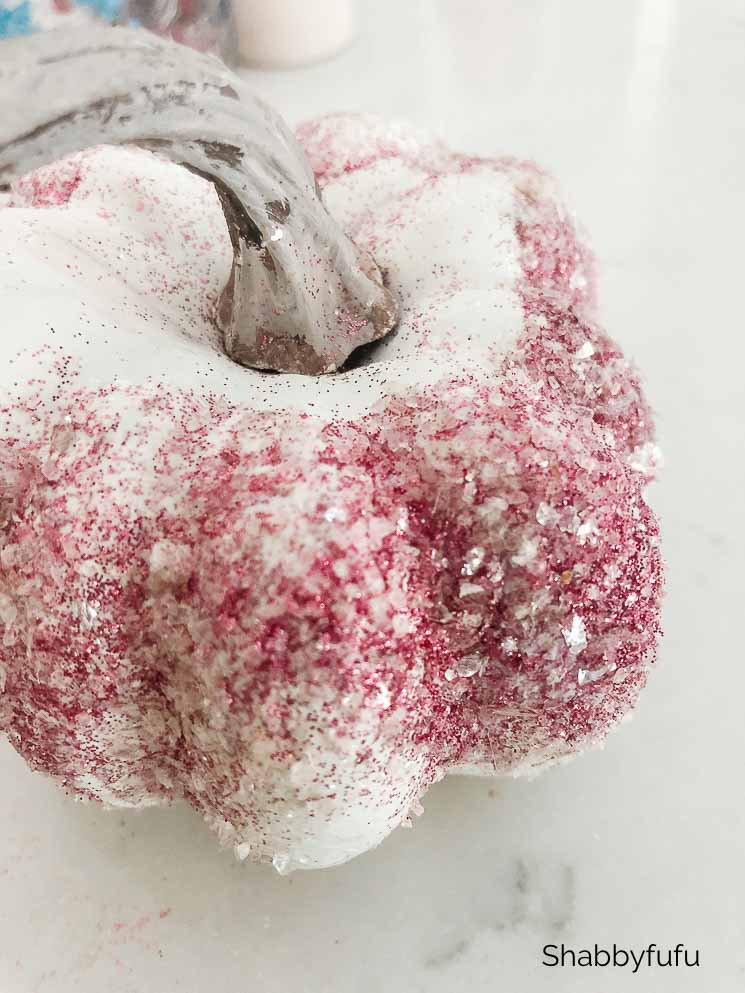
You don’t have to use the wax ombre and just apply glitter, as I did for some of these faux pumpkins here. Optional – add in a bit of epsom salt to make a more chunky glitter mixture!
So pretty and sparkly! These crafts are so fast…each one only took about 15 minutes to create!! You can do this…no skills at all required.
I LOVE WAX and have used it for years in crafting! For a recent post on wax head over here – ENCAUSTIC WAX PAINTING DIY.
Please visit my friends who are sharing more quick decorating projects today!
![]()
On Sutton Place | Cozy Fall Kitchen Decorating Ideas

Shabbyfufu | Glitter Candles & Pumpkins

StoneGable | White Patterned Pumpkin DIY

Designthusiasm | Fall Guest Bedroom Ideas

French Country Cottage | 20 Minute Autumn Patio Decor

Cute ideas! Thanks
Hope you try them!
This is such an awesome project, Janet! I’m a glitter girl, so it really speaks to me… 🙂
Well this one is super easy…I love glitter too!
These are so darling and fun Janet! Thanks for the tutorial – I never would have thought of crayons – brilliant! ❤️
Lots of fun to do…I love crayons!
I love the way you used the candle wax and crayons. The glitter makes them even more outstanding.
Thanks Sue…such an easy and fun project!
Beautiful candles! Should the glitter be similar color as the crayons or can it be clear glitter? Thanks!
Thank you Karen! Clear glitter will work and I would just experiment with what you have on hand. Enjoy the process!
Drippy candles add so much texture and I see others showing them but everyone of my tapers are non-drip…bummed. I like the glue and glitter idea Janet and the ombre pumpkins I must try that. I get tired of the same pumpkin decor that I have and never can find blue ones it seems.
Links on drippy old tapers would be great if you come across one please share.
Fall? Already time to think about getting ahead of the buying frenzy where I miss out cause I’m late to the ordering. I bet adding your crayon technique to my tapers I could get that drip look?!