How To Build A Raised Covered Vegetable Garden
This post may contain affiliate links. For more information, please see our disclosure policy.
Have you ever wanted to build raised covered vegetable garden? In this post you’ll learn how to construct one quickly. You guys enjoyed our recent outdoor cat house project and this one will hopefully become another to try!
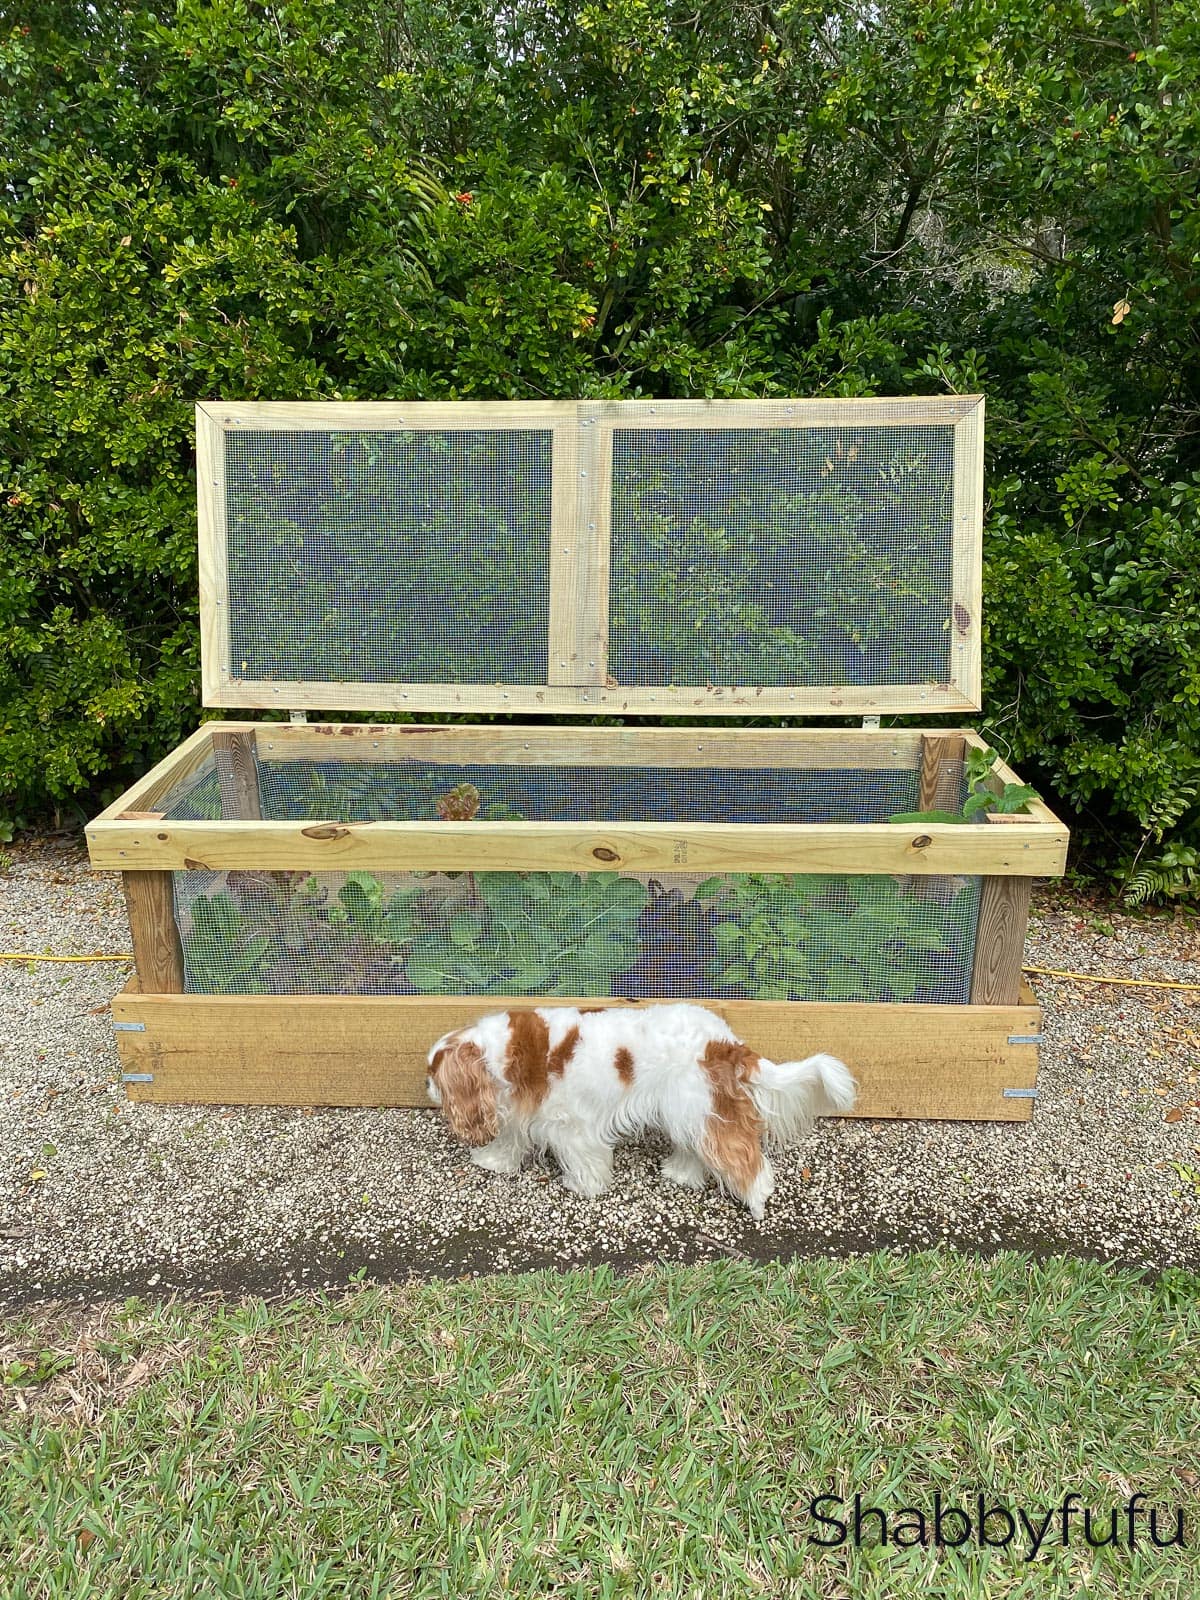
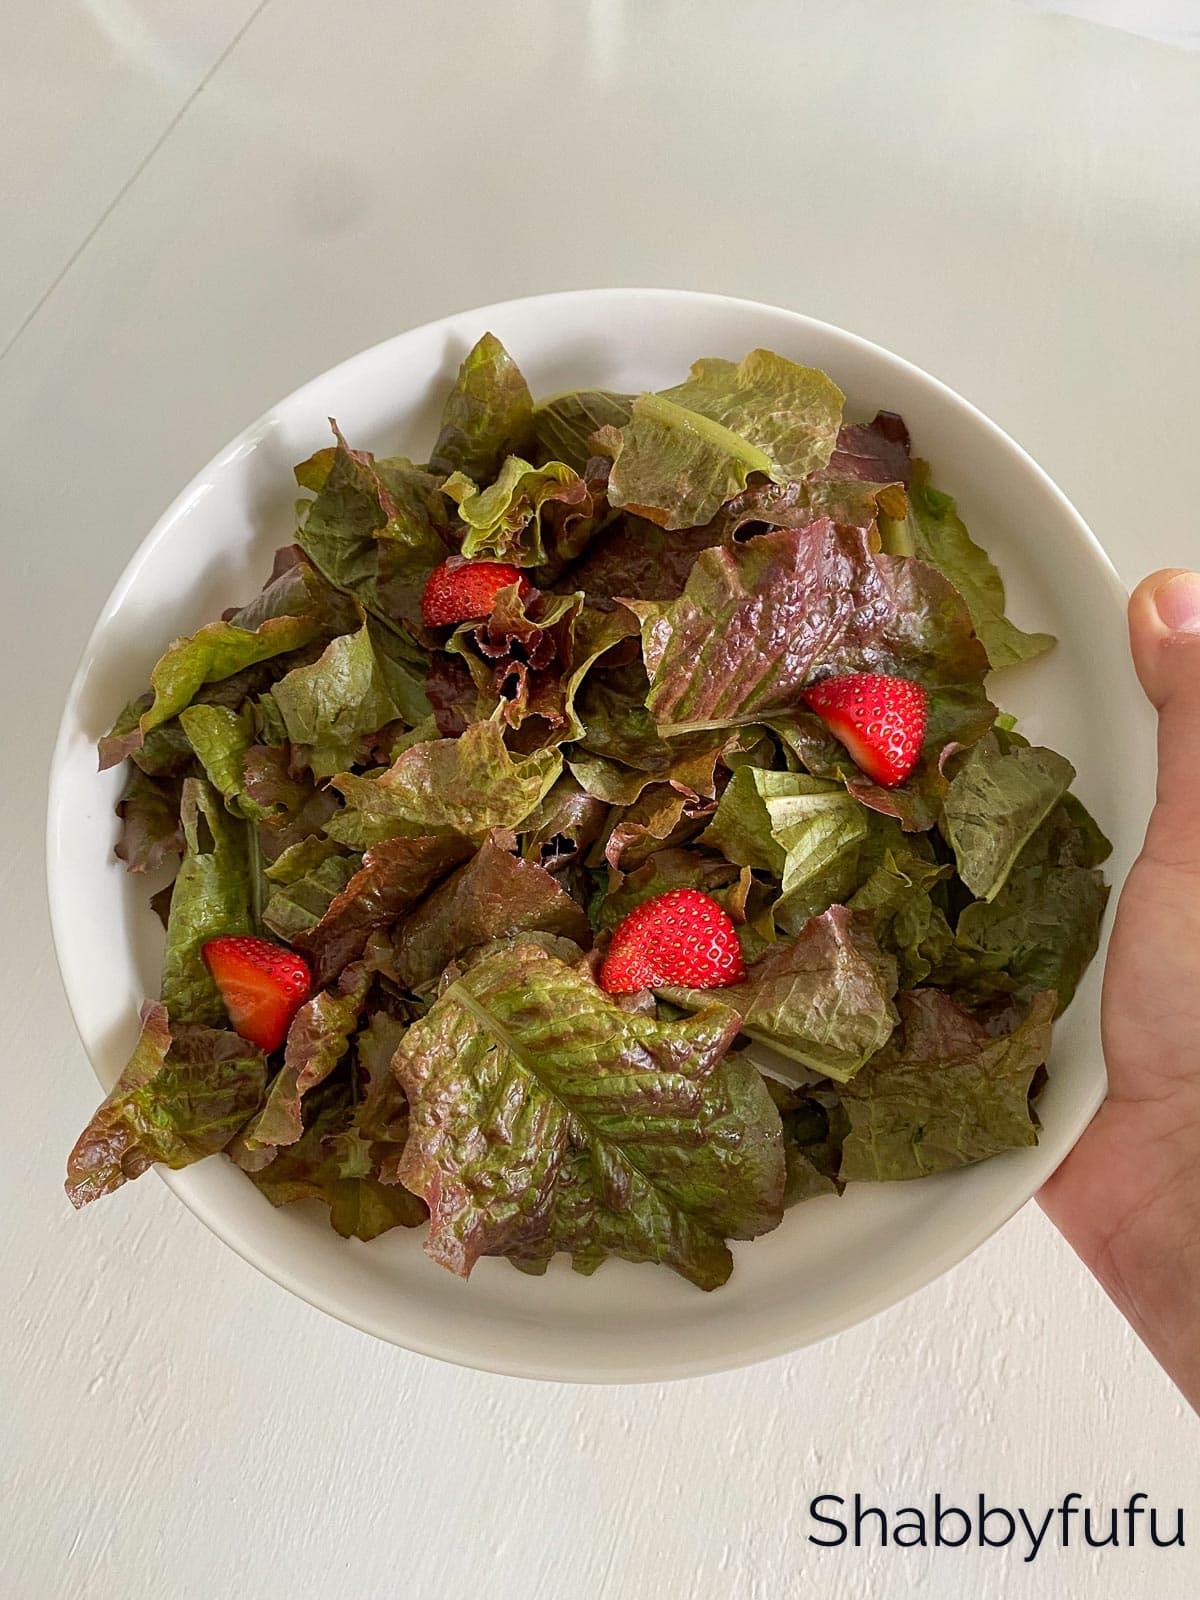
There really is nothing like growing your own vegetables and being able to head out the door to pick them! We mostly grow a variety of lettuces in our garden, along with some peppers, Brussel sprouts, cucumbers and strawberries. Keeping it simple and organic has been yielding a delicious crop of the lettuces for salads!
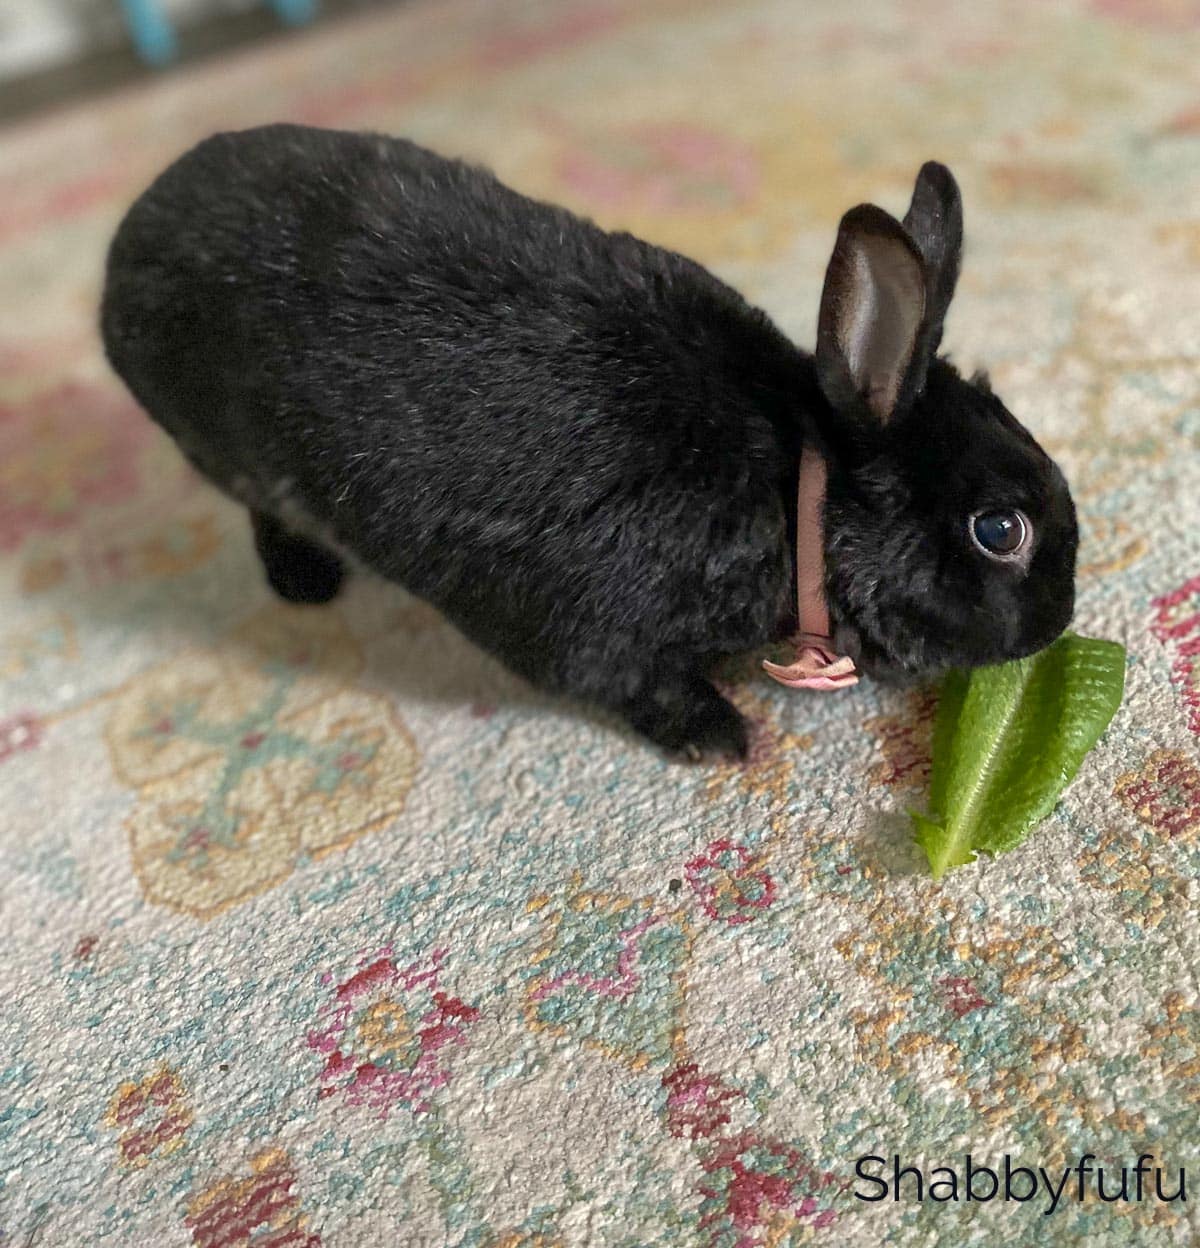
Even our beloved bunny Mars can’t get enough 🐰
Let’s get right to the project and let me know if it’s something that you might try in the comments below!
This is a paid post in behalf of Spectrum Brands but the work and opinions expressed here are my own.
Our sketch as we planned out the raised covered garden bed project
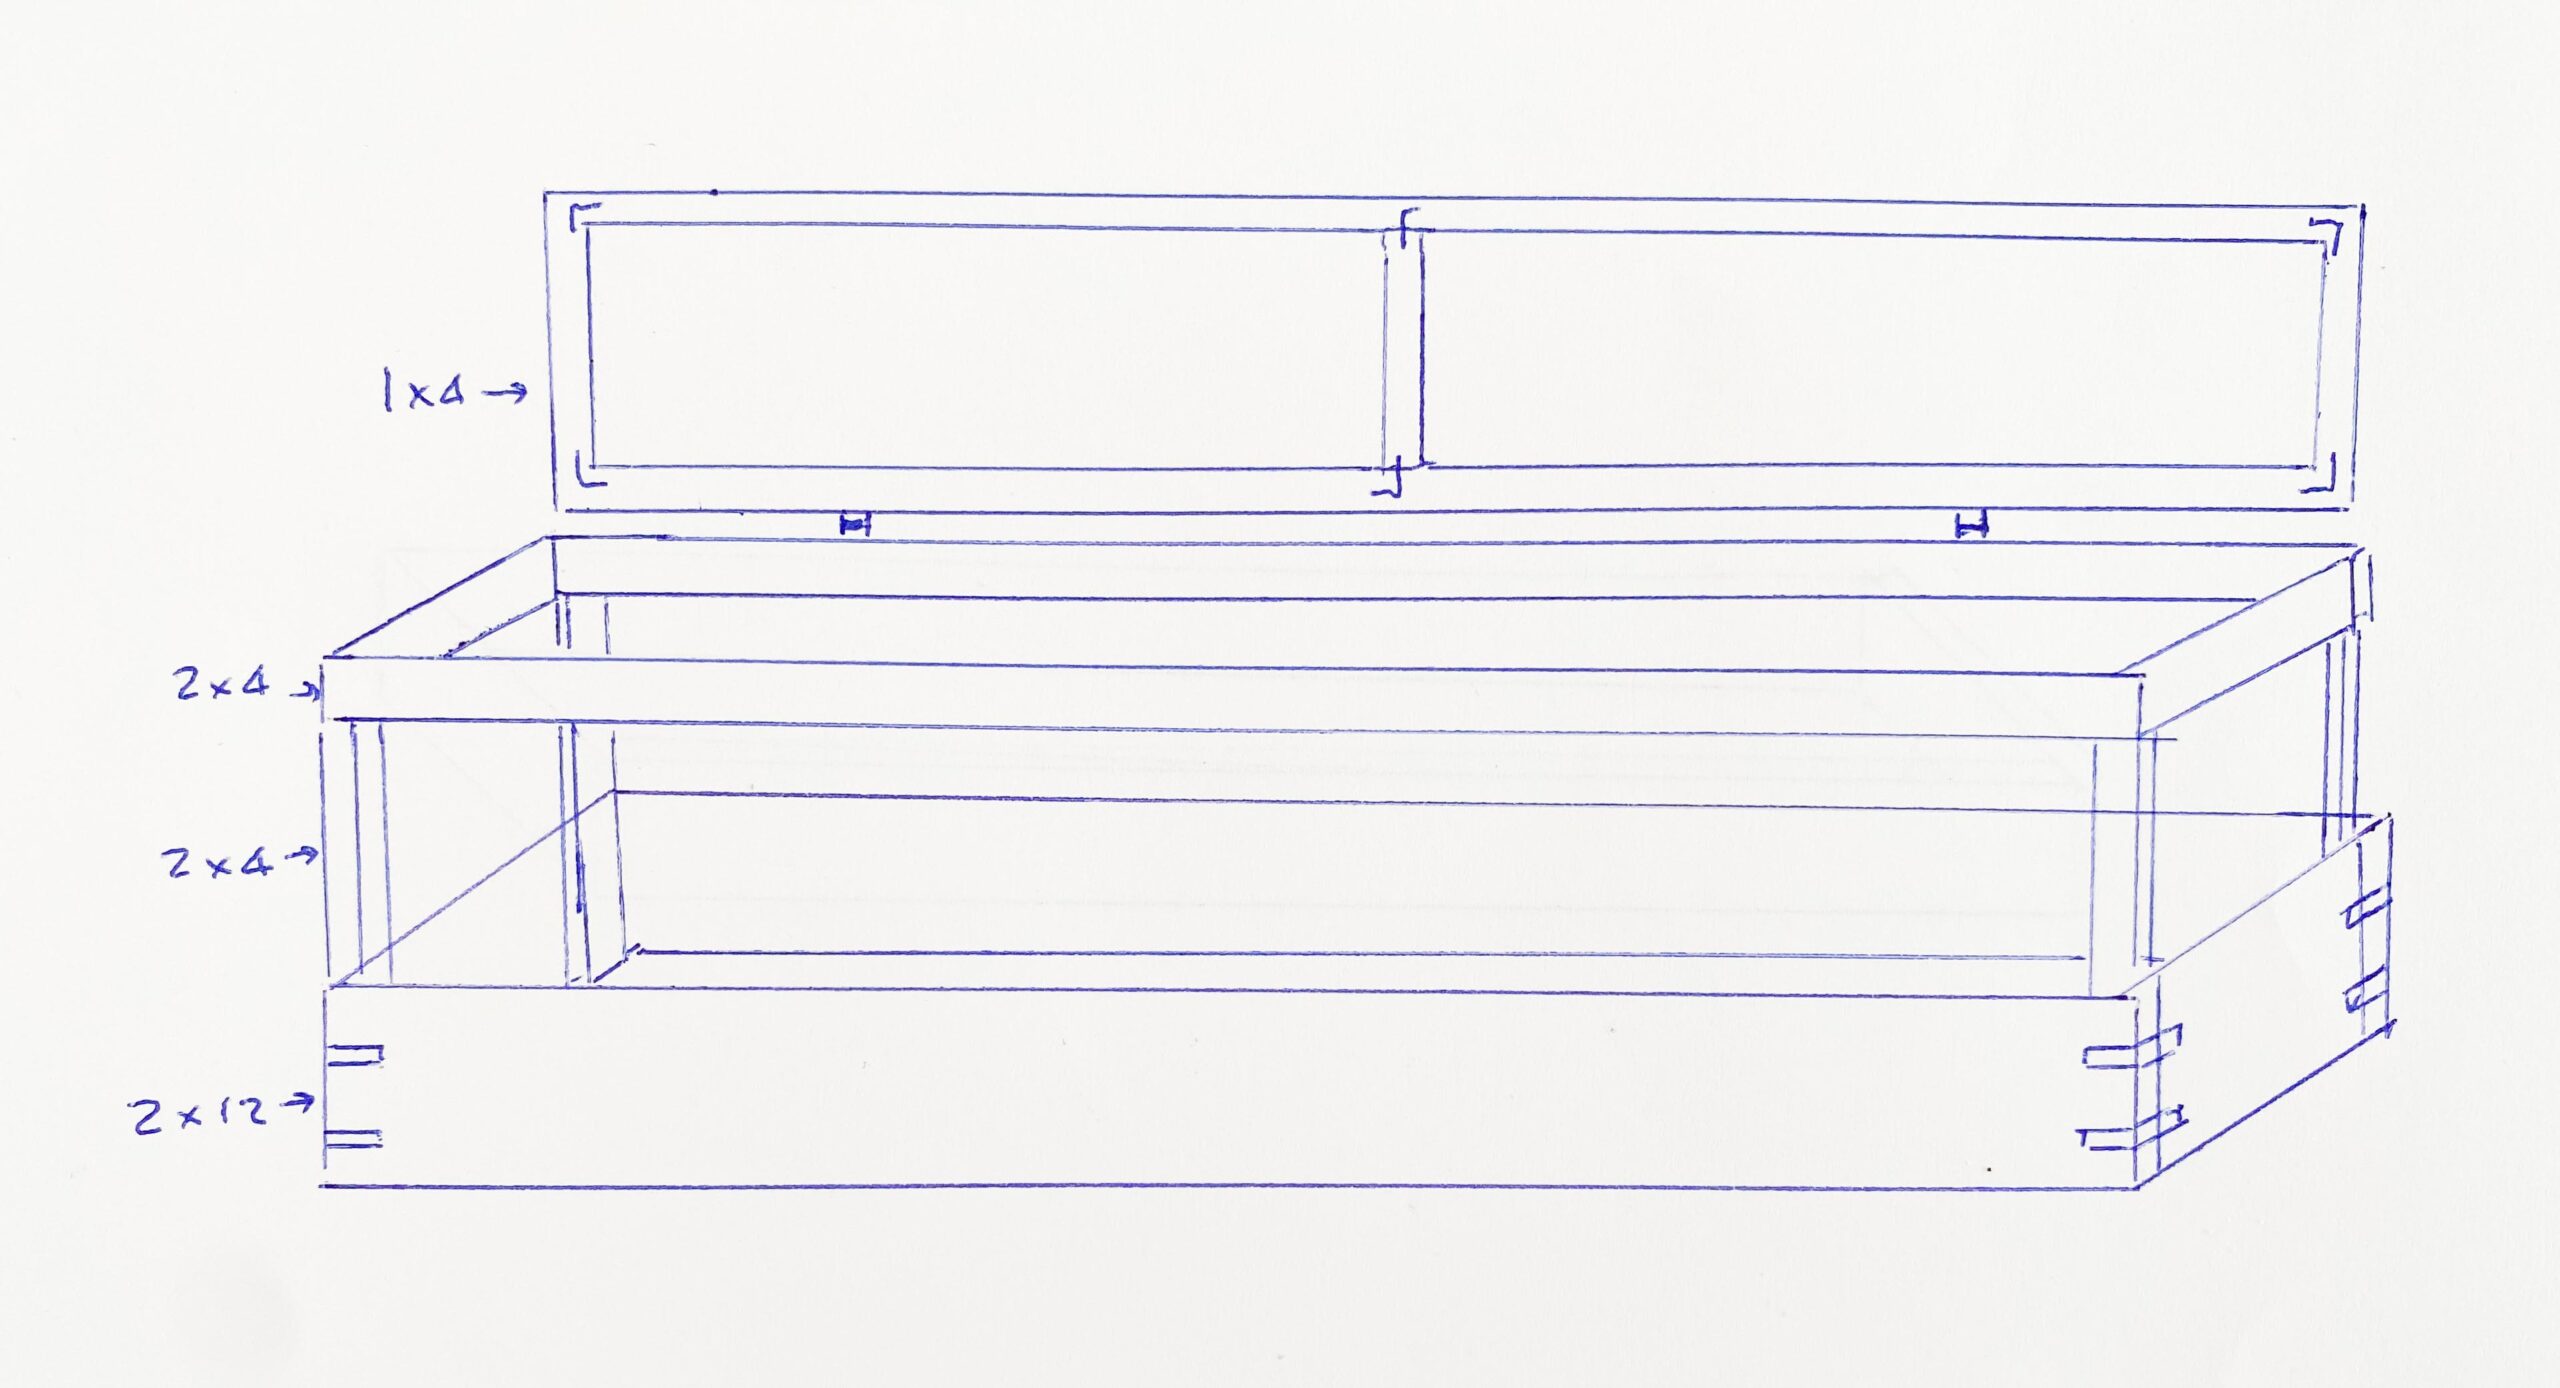
Materials:
- Two – 2 x 12’s – 8′
- Two – 2 x 4’s – 8′
- Three 1 x 4’s – 8′
- Three Rolls 1/4″ Mesh Screen (Metal)
- One Box 1/2″ Tech Screws
- One Box 2 1/2″ Deck Screws
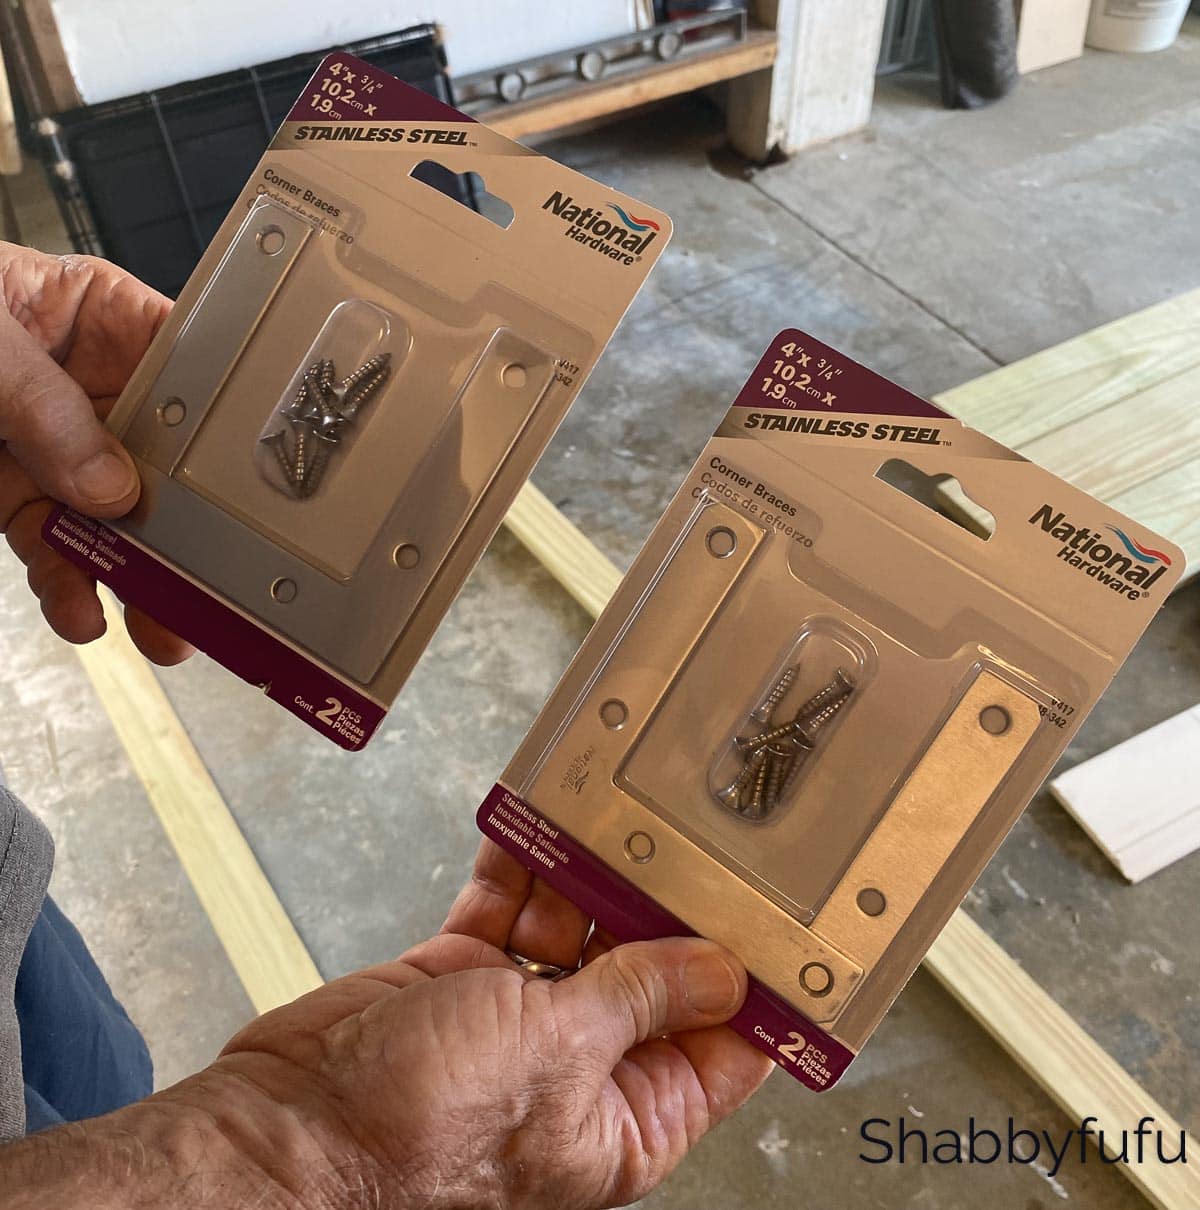
- Eight – National Hardware 2 1/2″ Corner Braces (Galvanized)
- Two – National Hardware 1 1/2″ Back Flap Hinges (Zinc Plated)
- Six – National Hardware 3″ (or 2″) Flat Corner Braces (Zinc Plated)
Tools:
- Measuring Tape
- Chop Saw
- Screw Gun
- Metal Snips
- Shade Cloth
- **Safety Equipment – Gloves** Always use care when working with power tools.
DIY – How To Build A Raised Covered Vegetable Garden
Building The Raised Garden Box With Wood
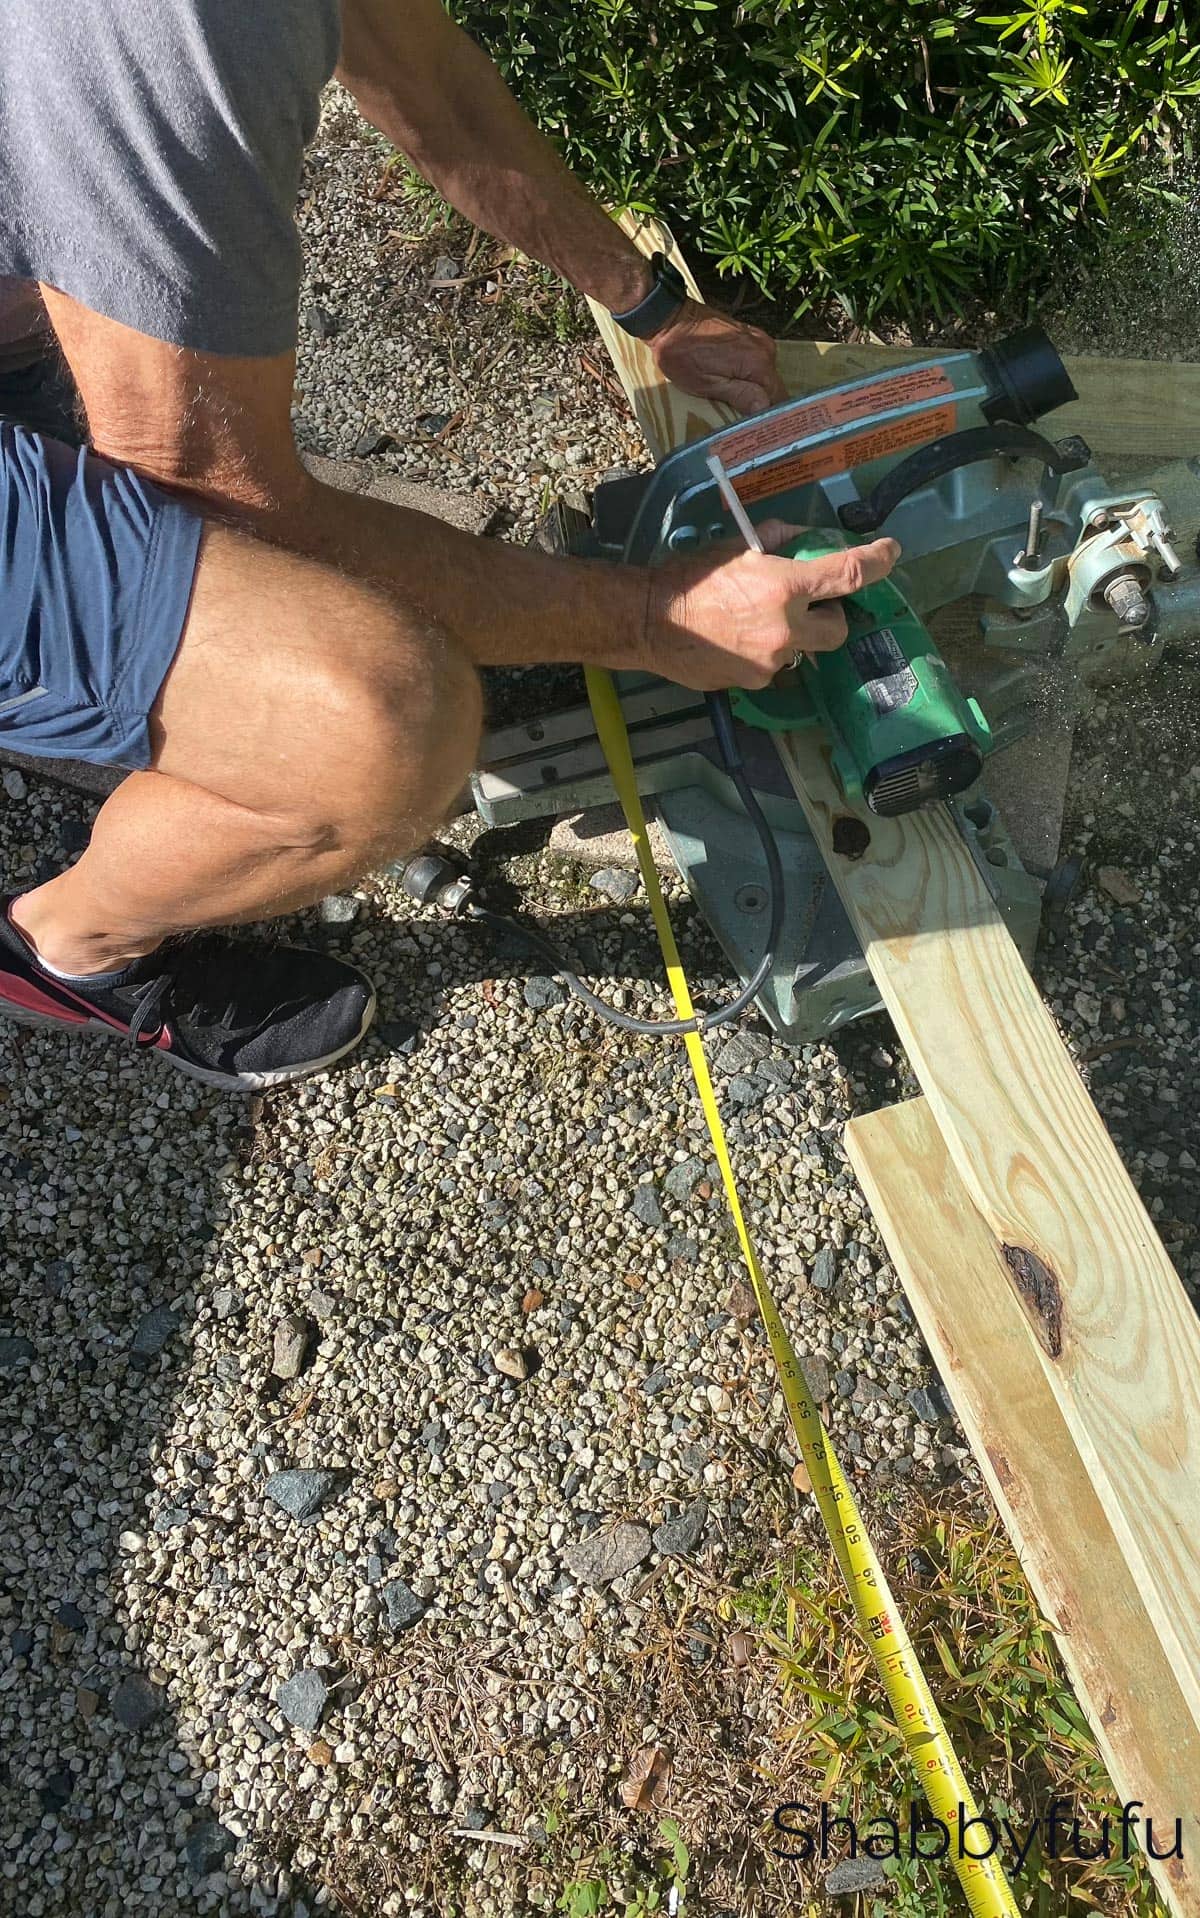
Step 1 –
Using a chop saw, cut the two eight foot long 2 x 12″s each into two 6′ long pieces.
Step 2 –
Take a 6′ piece and a 2′ piece and screw them together to make a 90 degree right angle corner. Do this again with two more pieces of the same lengths that you’ve just cut. You will now have the outside pieces for the bottom to build the raised vegetable garden box.
Step 3 –
Place the pieces perpendicularly and screw them together with the 2 1/2″ deck screws creating a rectangle. You will now have the bottom of the box!
Step 4 –
Cut four 2 x 4’s to be 2′ long each.
Step 5 –
Attach the two foot long 2 x 4’s to the inside of the 2 x 12’s as shown using 2 1/2″ deck screws.
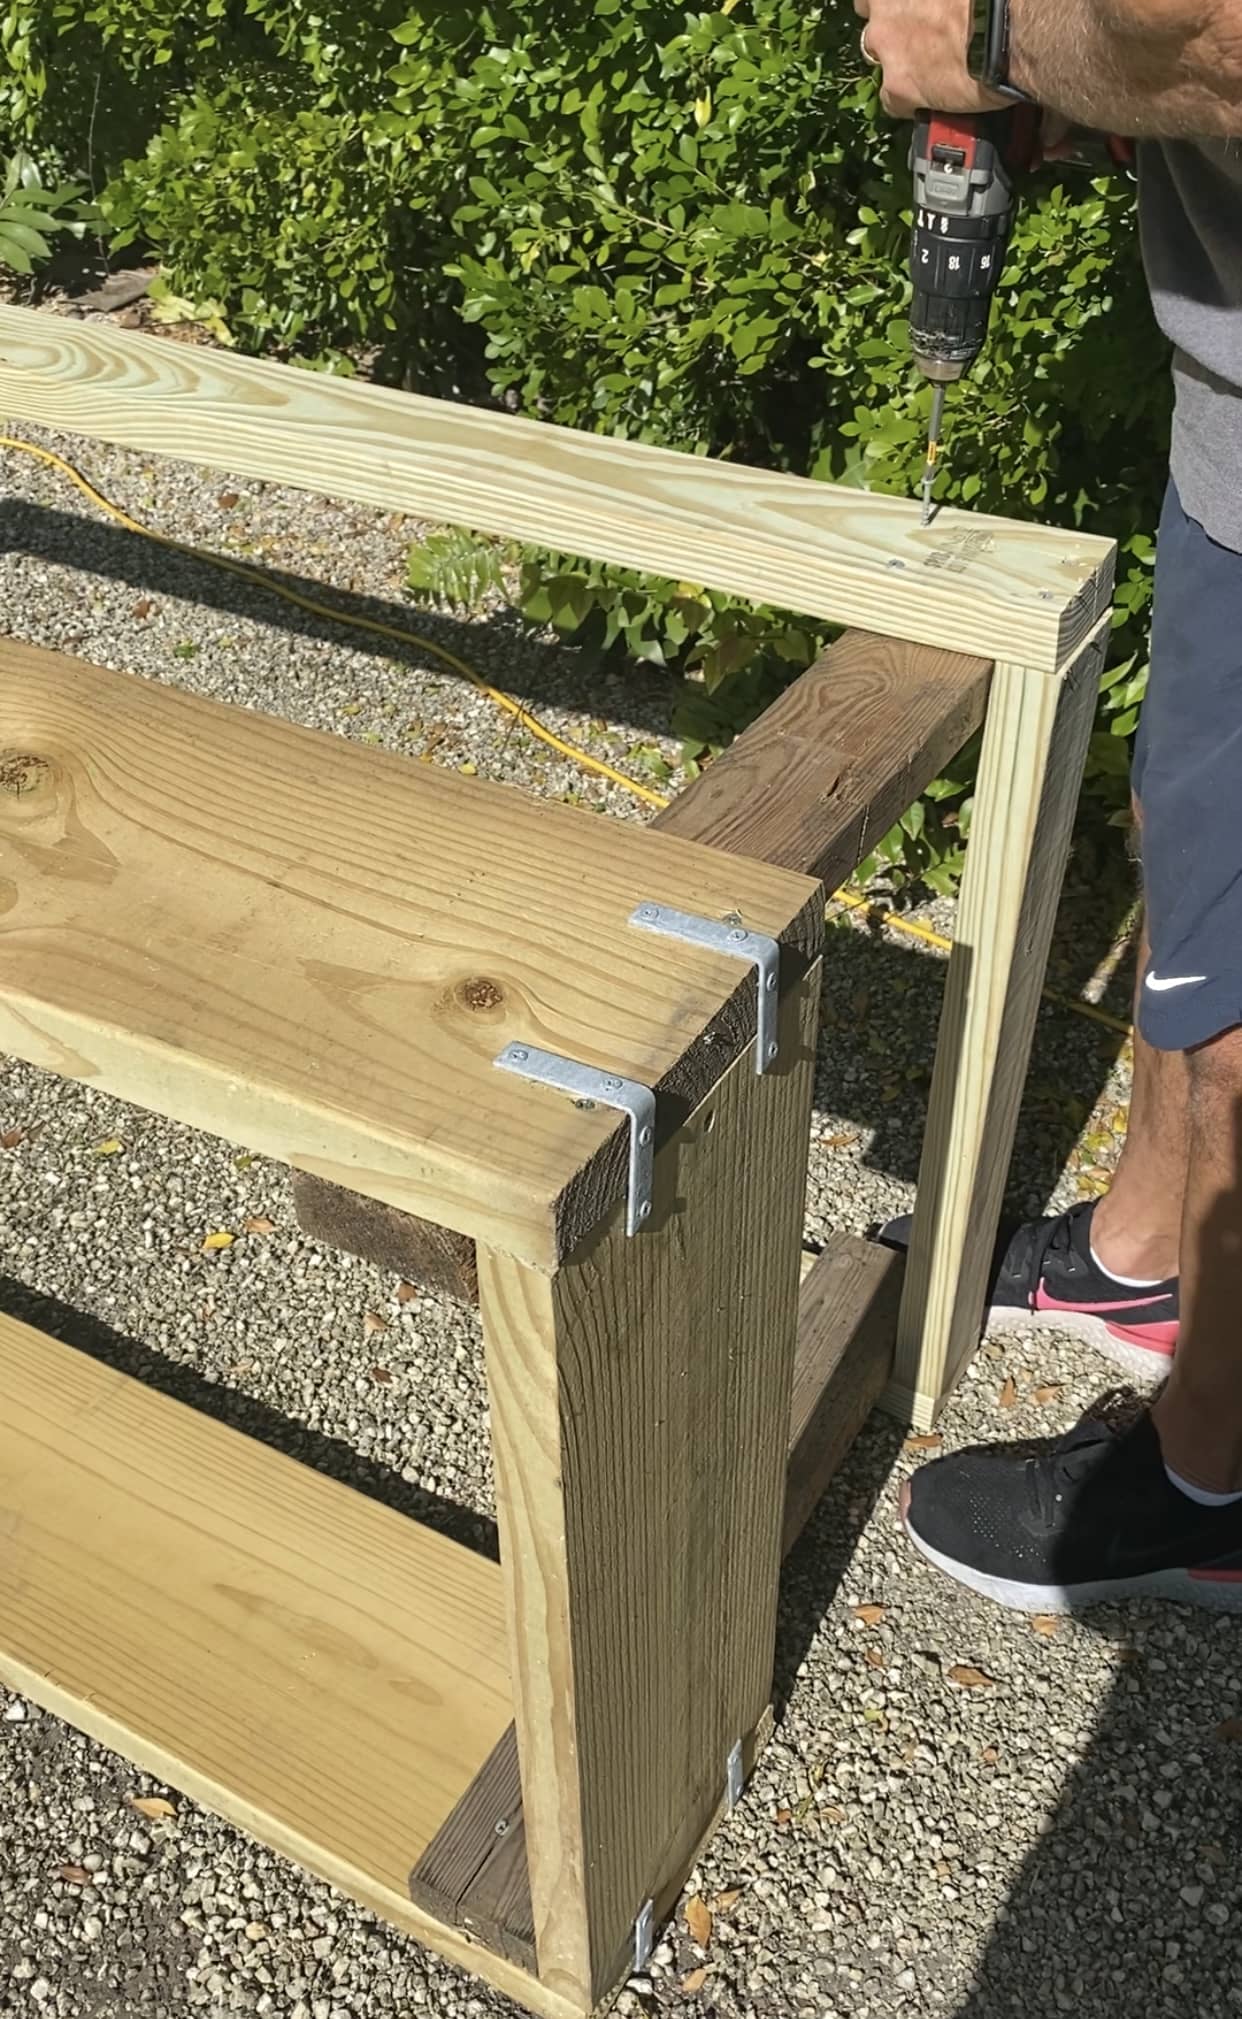
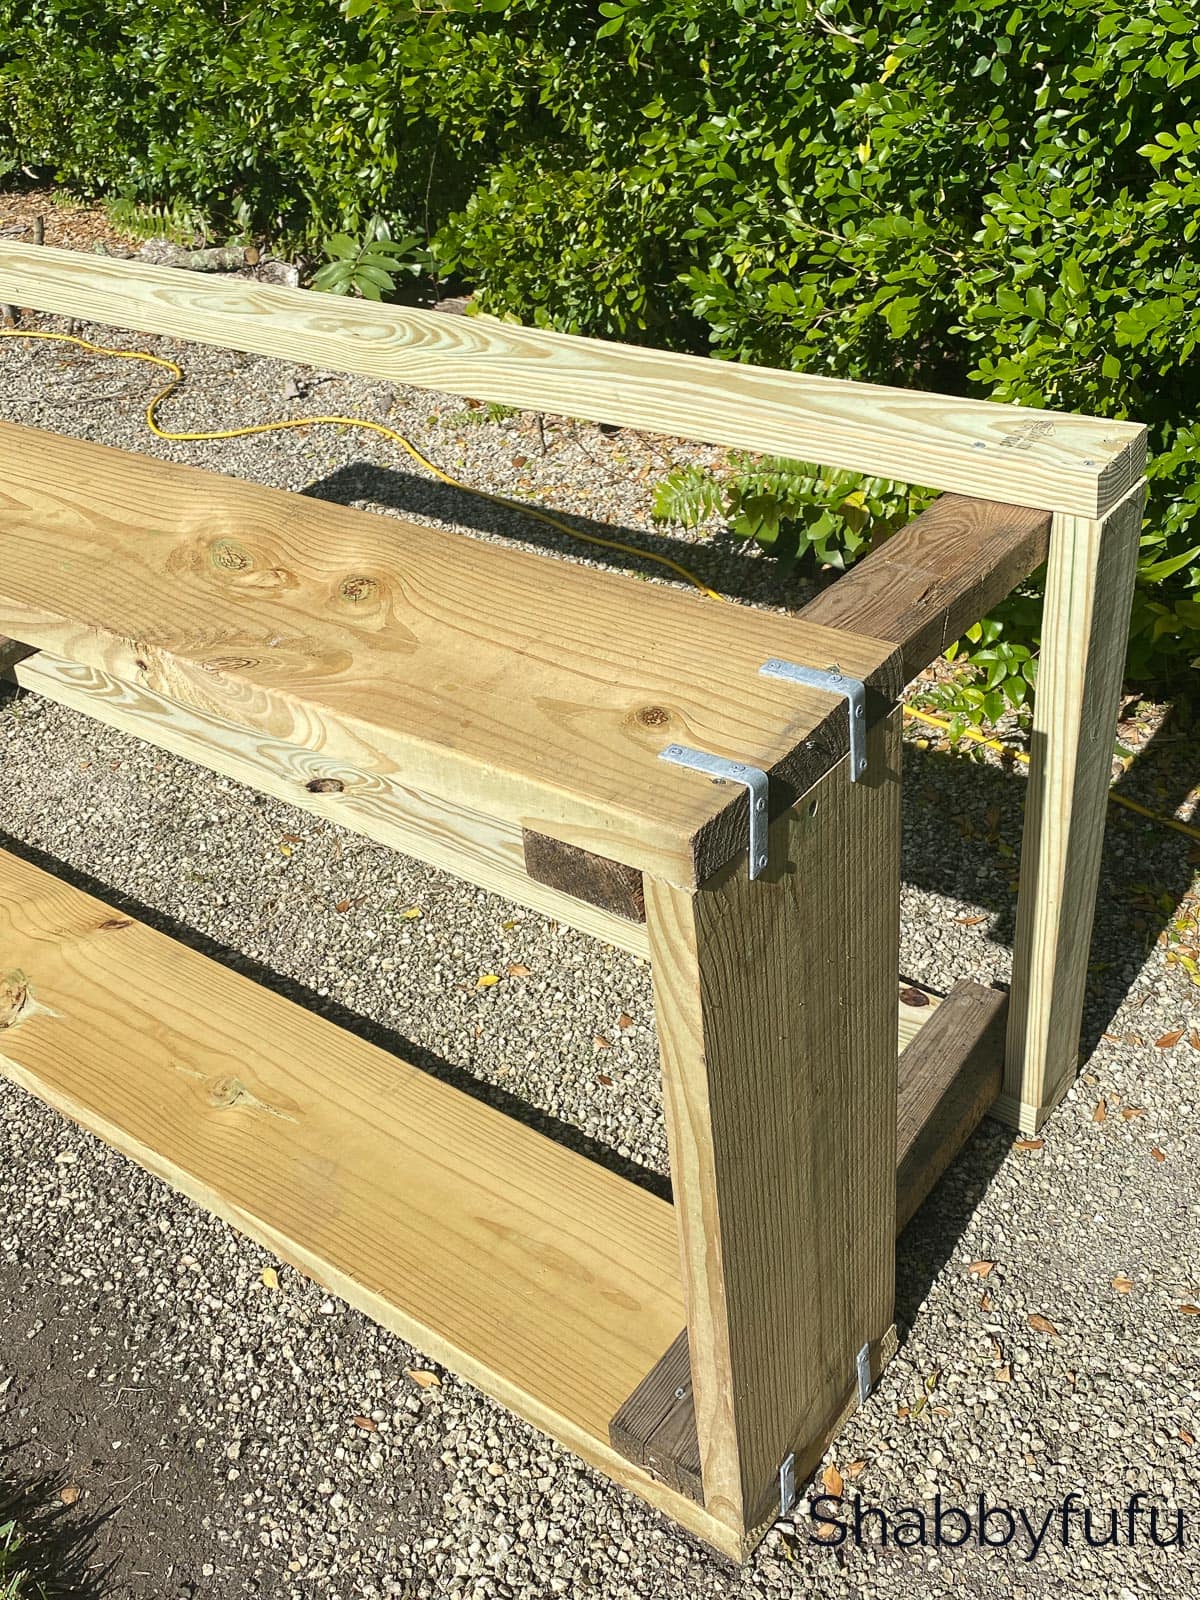
Step 6 –
Attach the National Hardware 2 1/2″ Corner Braces to the outside corners of the 2 x 12’s. Use two of the corner braces on each corner.

Step 7 –
Take two 8′ 2 x 4’s and cut them 6′ long.
Step 8 –
Attach the 2 x 4’s that you’ve just cut to the corner 2 x 4’s that you’ve previously attached to the inside of the box.
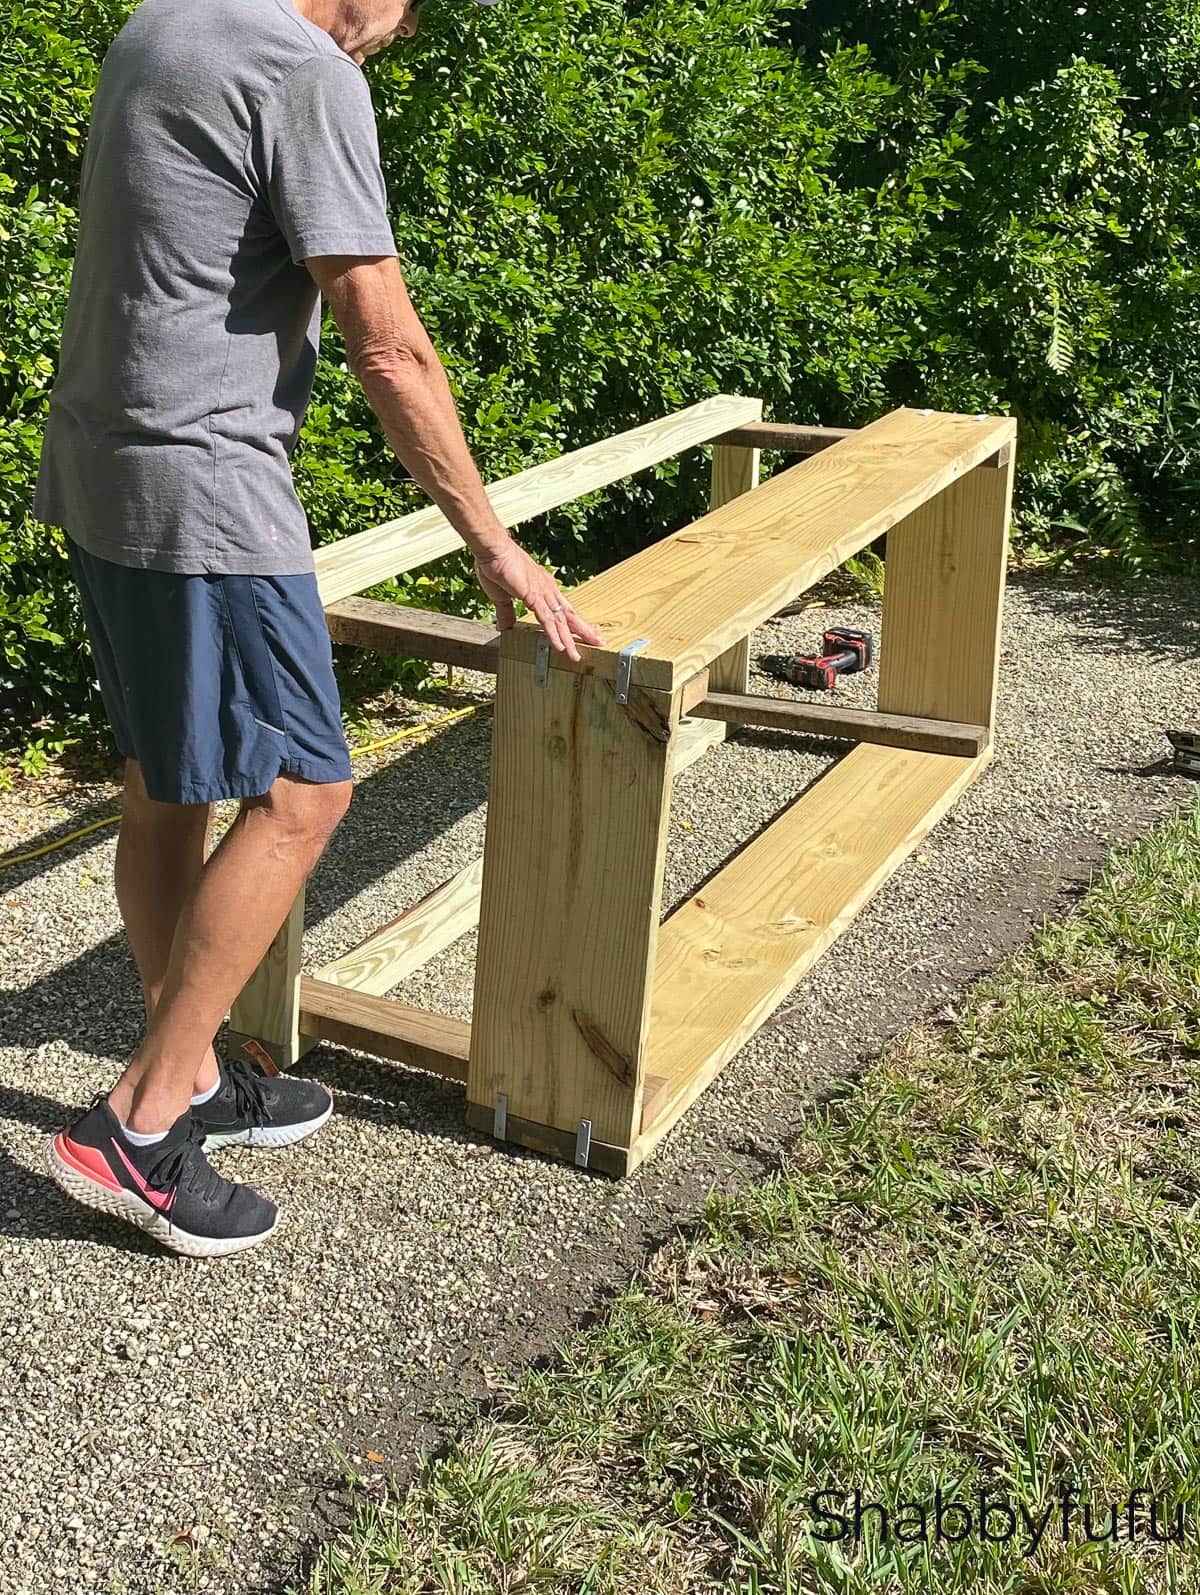
Step 9 –
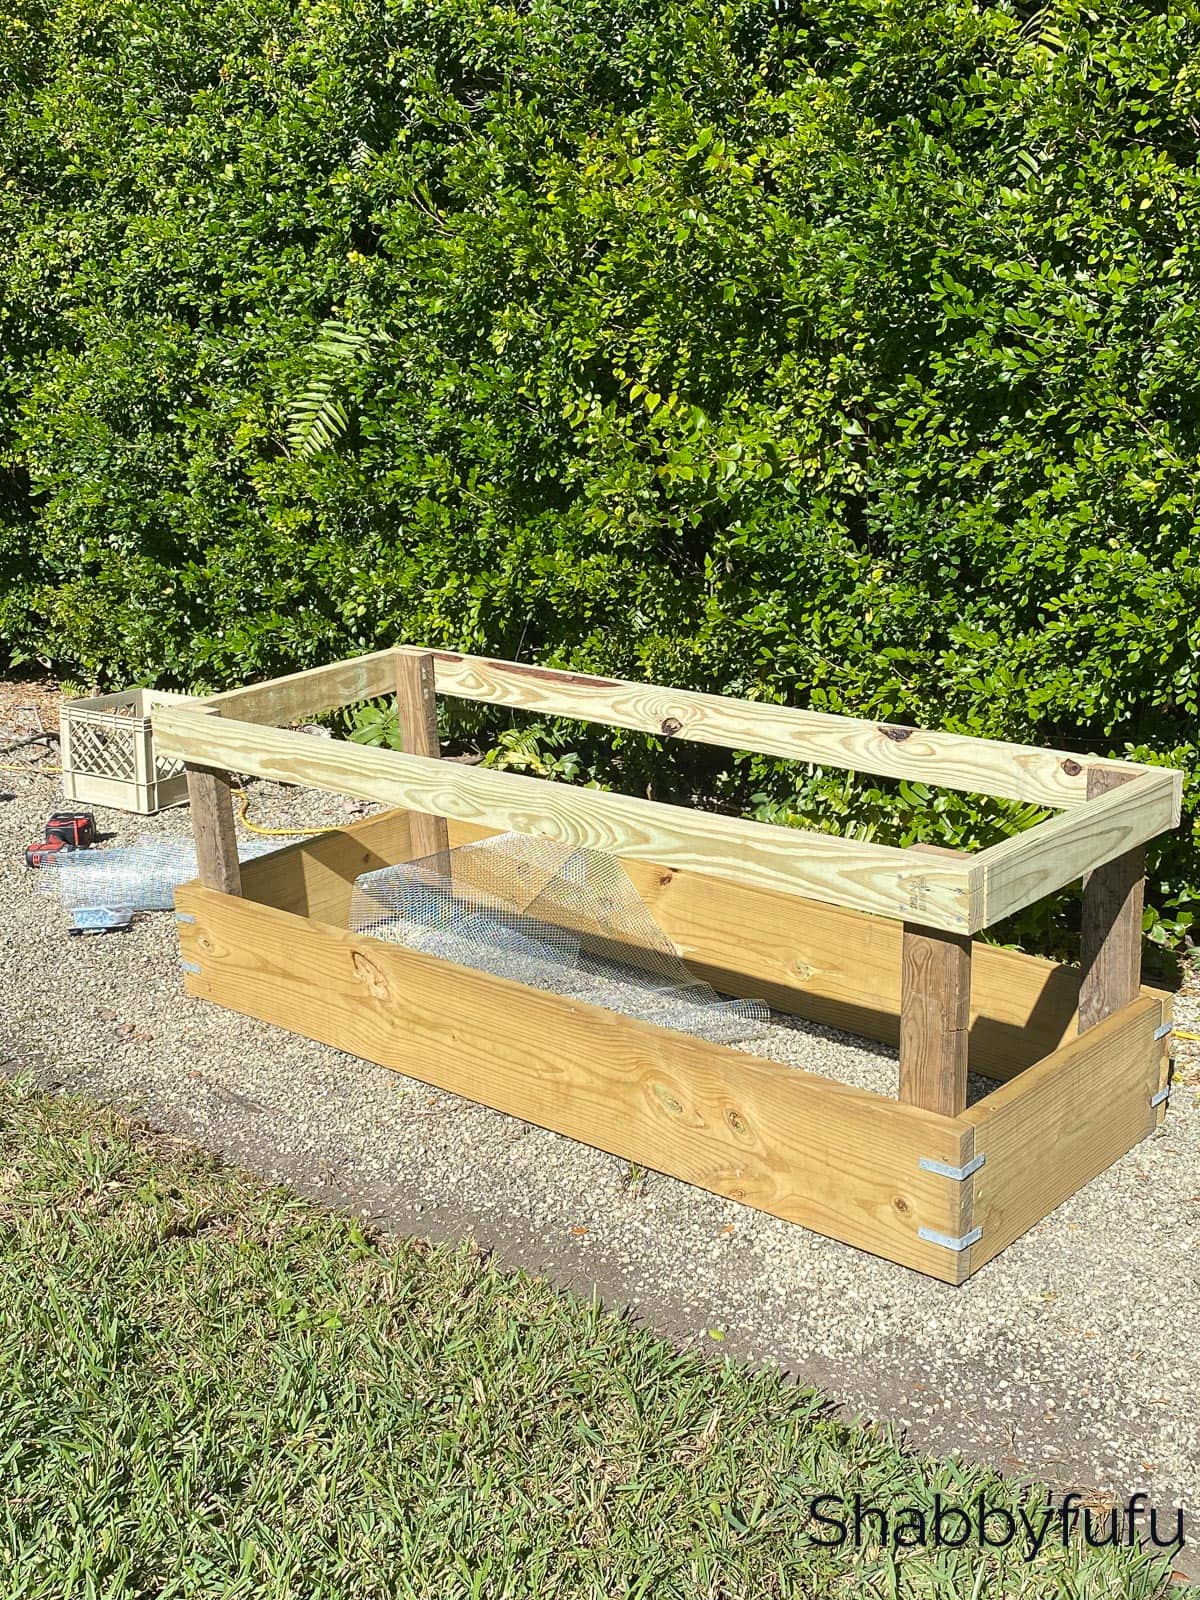
Turn the box upright and now it’s time to construct the top for the raised covered vegetable garden!
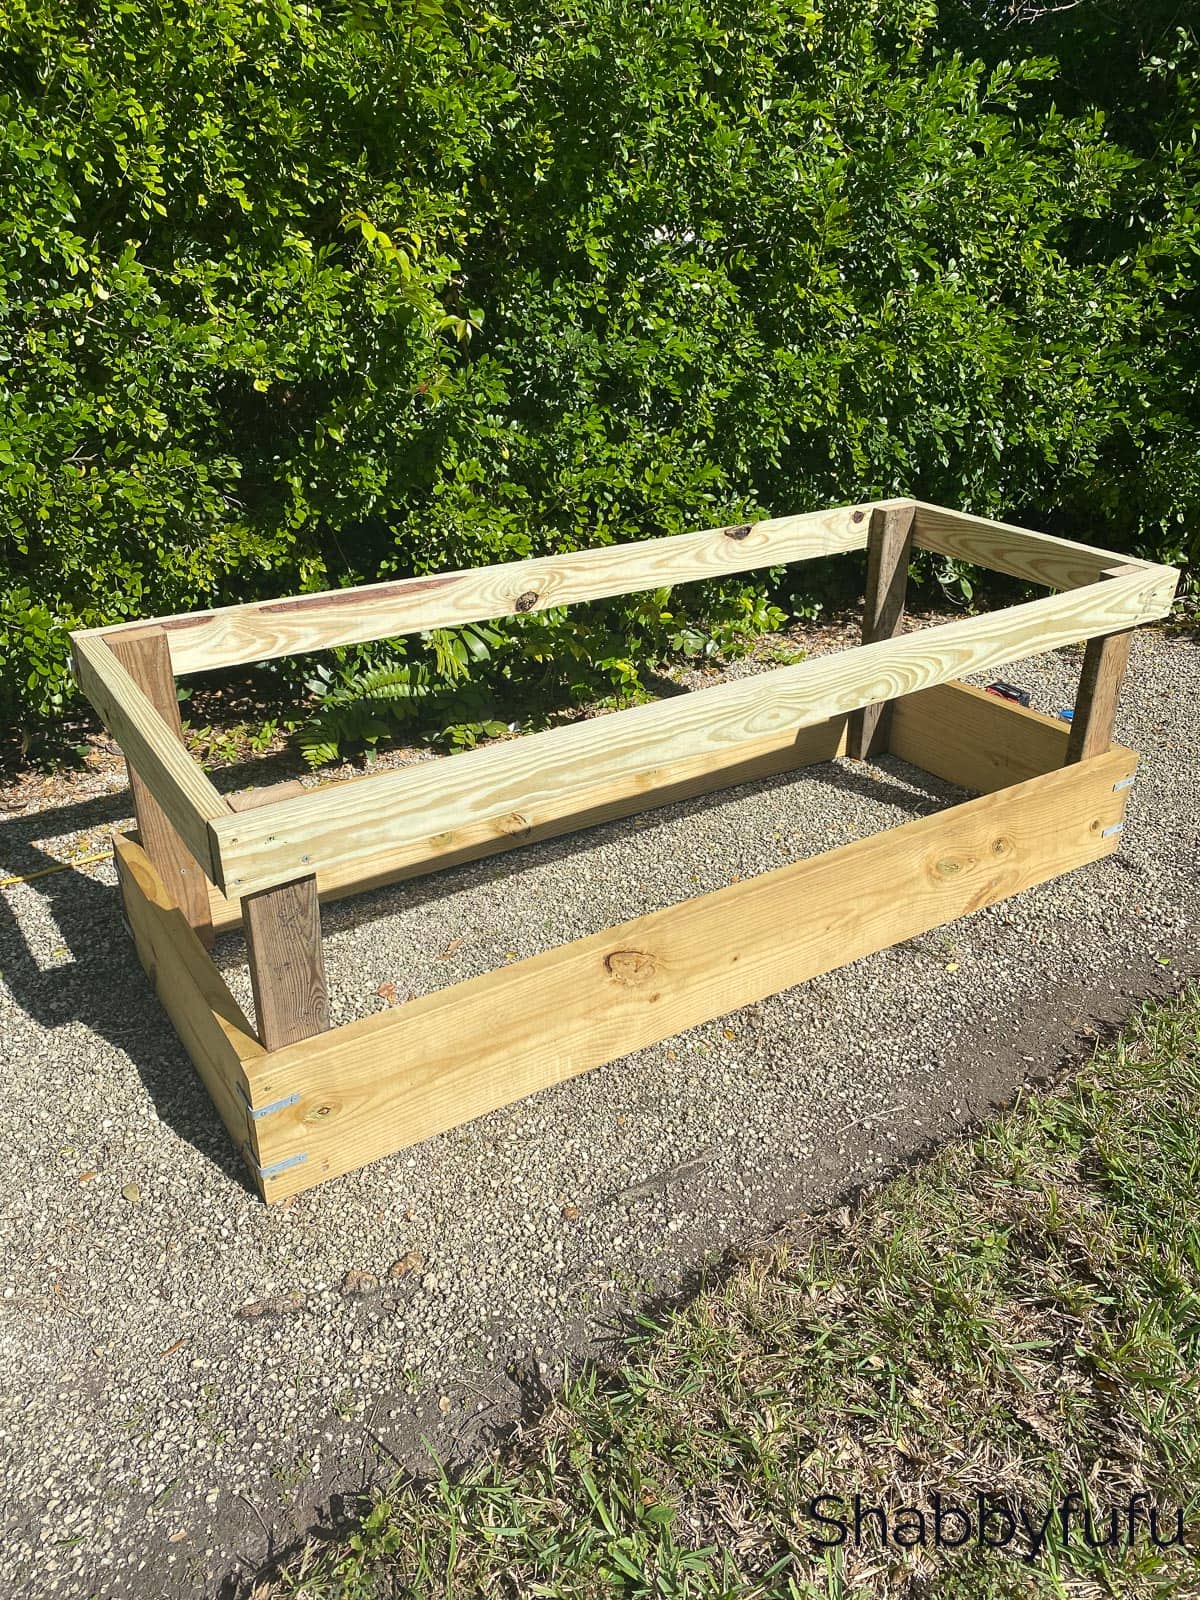
Building The Top Of The Raised Covered Vegetable Garden
We decided to make a metal mesh screened cover to keep unwanted critters out. This works for our locale and the type of animals that could possibly get in. They have access to plenty of other food growing freely here as our property has a variety of tropical plants that they love! We take a look inside every day and if there is any sign of bugs we spray the crops with a teaspoon of Dawn dish soap diluted in water. The garden crops are organic, but we still do rinse before eating to take off any pollen or dust.
Step 1 –
Using a chop saw set at 45 degrees, cut two pieces of 1 x 4 to be 6′ long each. Using the chop saw still set at a 45 degree angle, cut two 1 x 4’s to be 28 1/2″ long each.
Step 2 –
Reset the chop saw at a 90 degree angle. Cut one piece of 1 x 4 (or 1 x 6) to measure 23 1/4″ long.
Step 3 –
Place the 1 x 4’s that you’ve previously cut on the ground forming a frame that will start to make the top of the cover. Take the 23 1/4″ piece and put it in the center of the top. Using six of the National Hardware 3″ (or 2″) Flat Corner Braces attach the corners and the center bar support together.

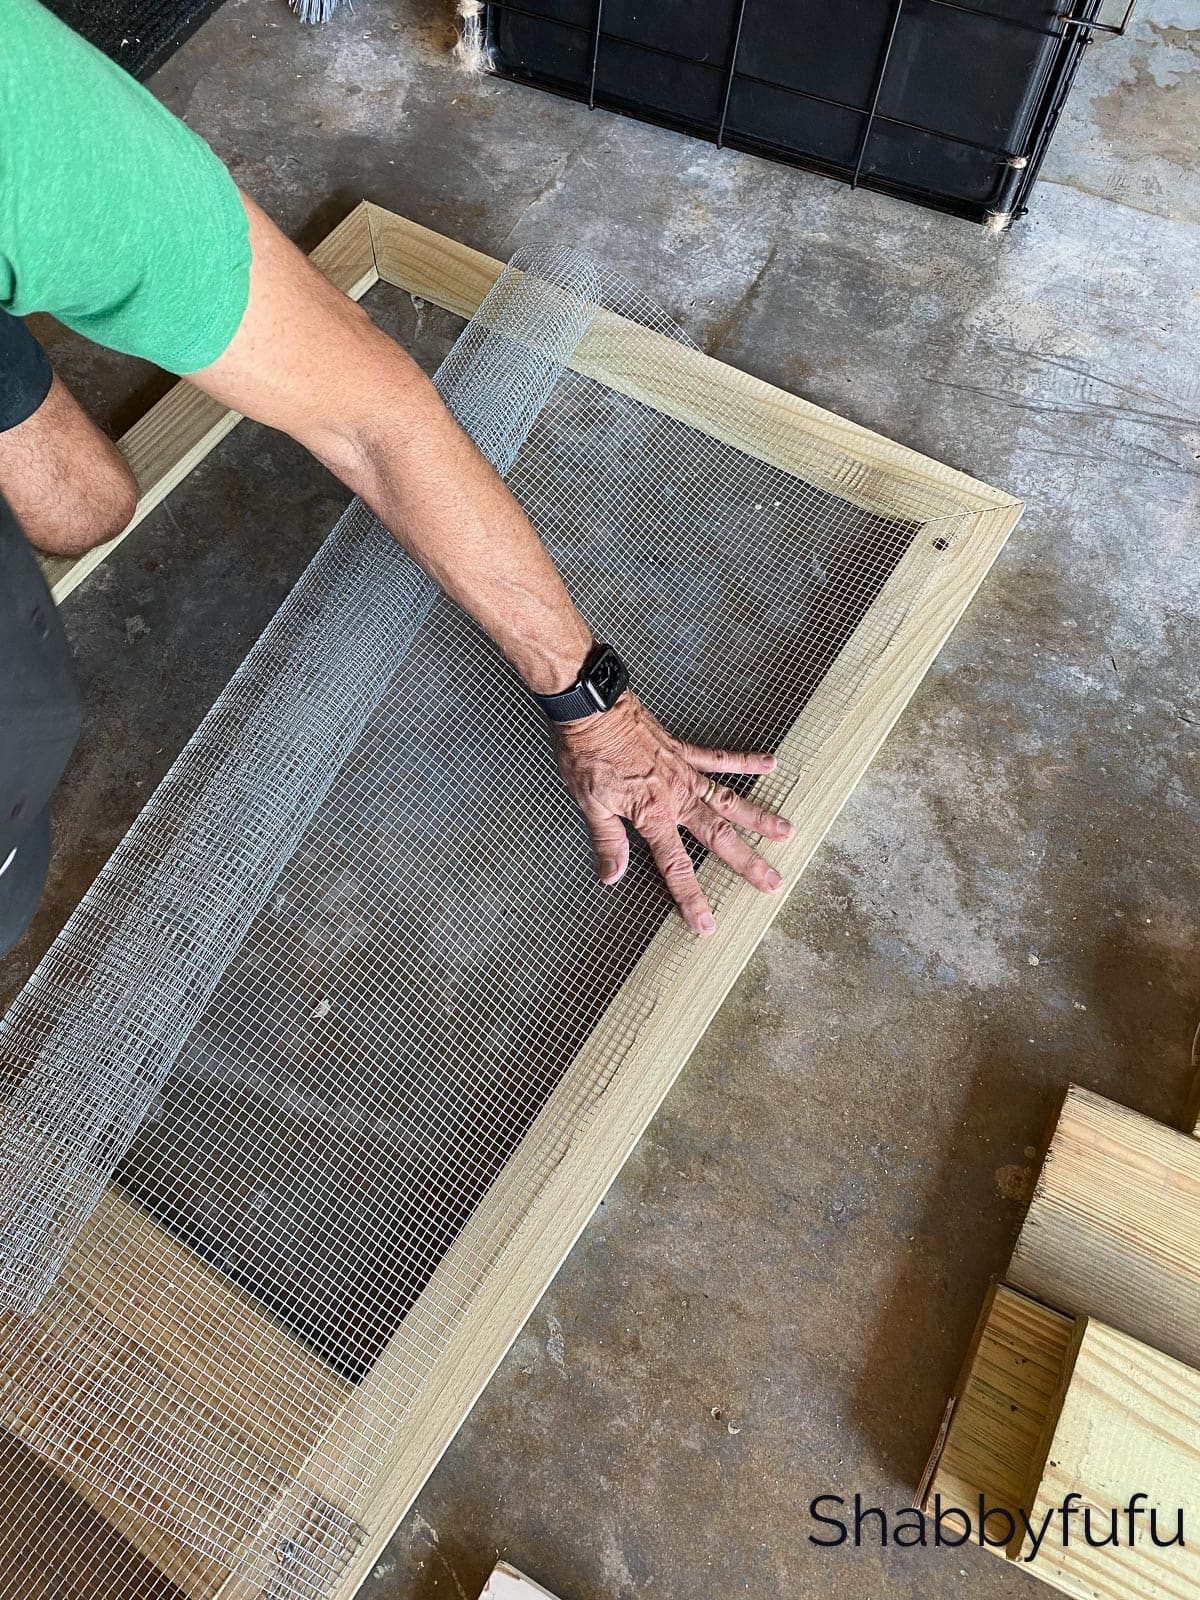
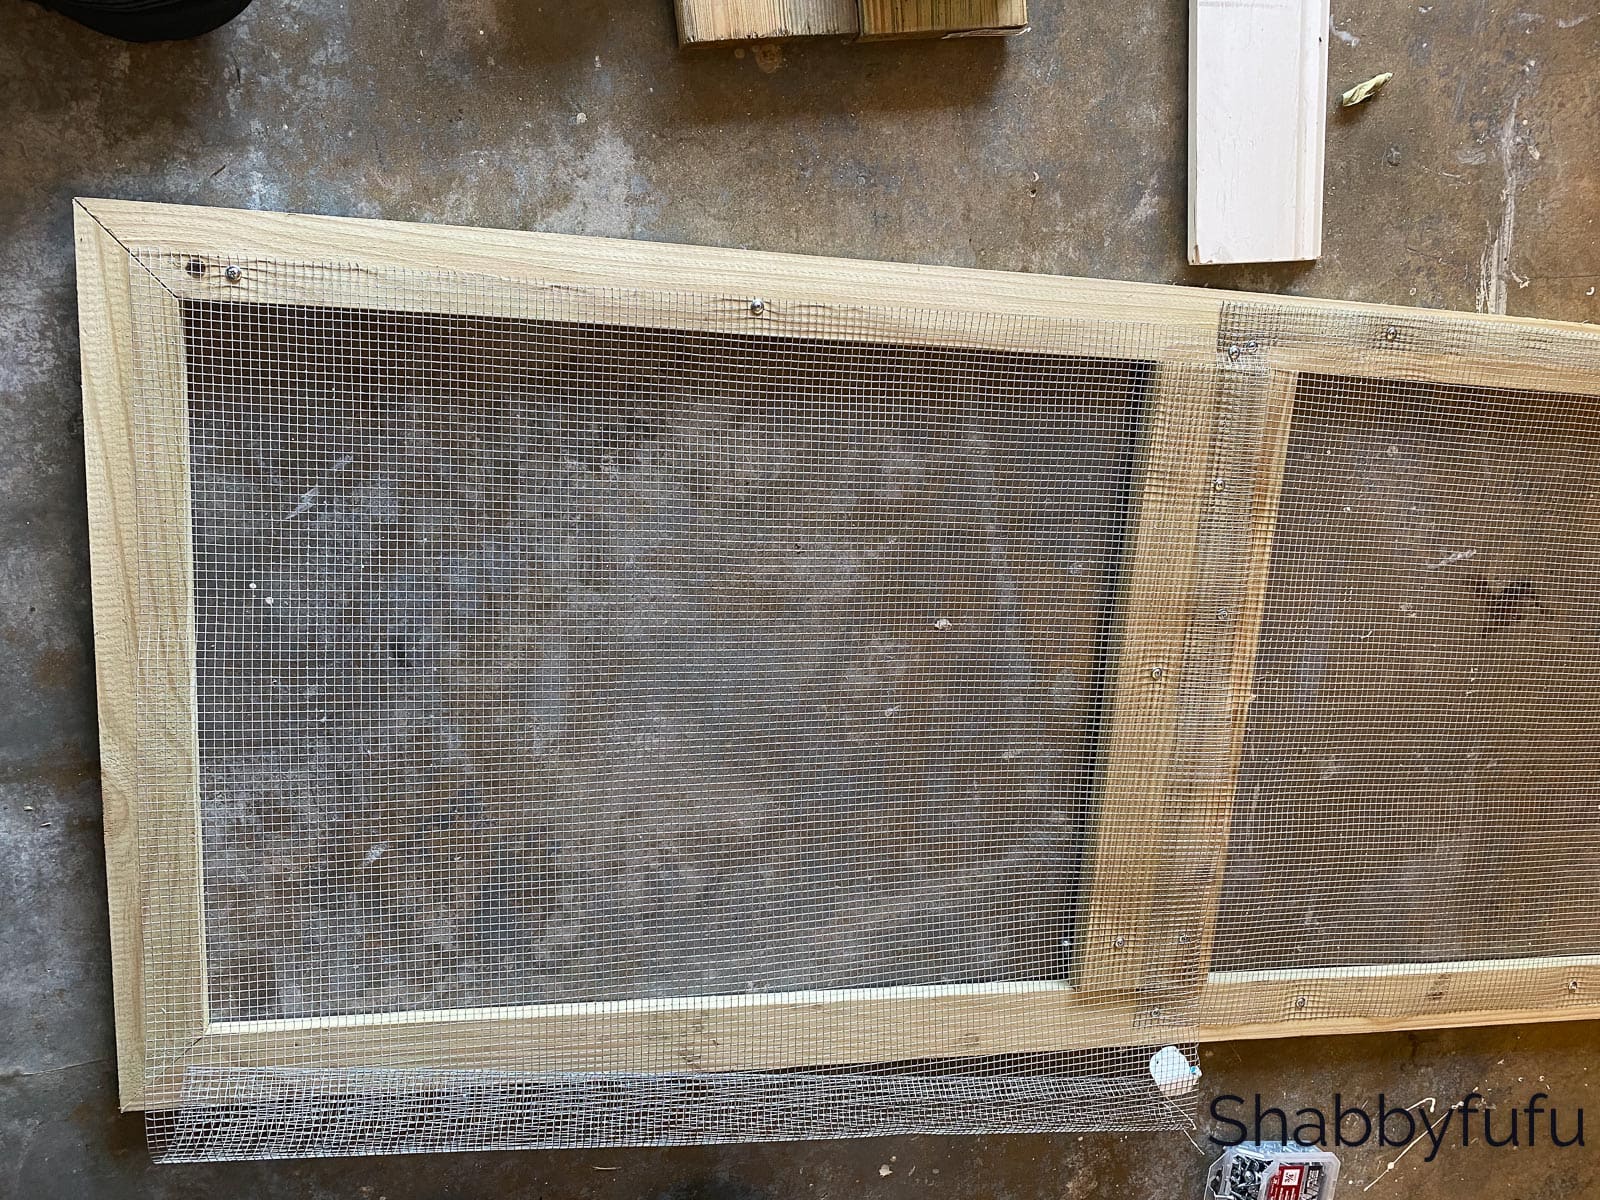
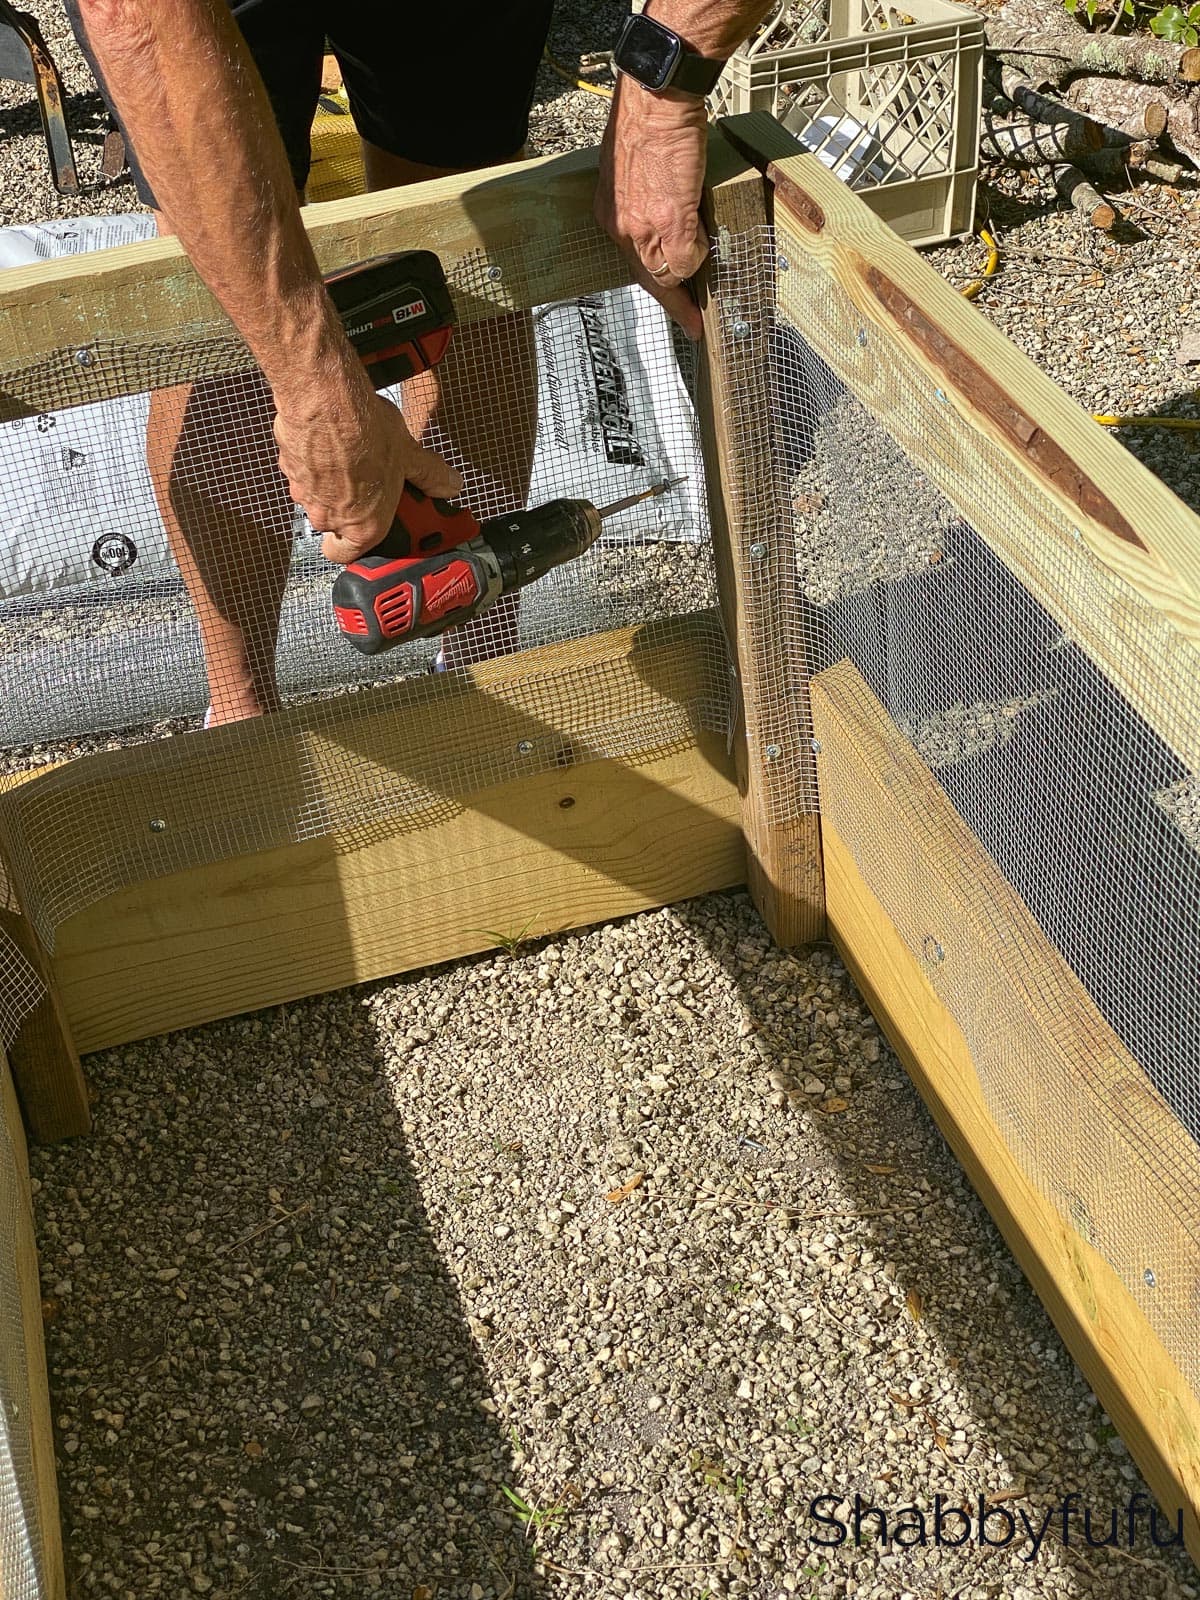
Step 4 –
Next you’ll attach the screening on the raised covered vegetable garden that will protect the plants from intruders! Turn the top over. Open up a roll of the mesh metal screen and screw the sheet on one side using tech screws. Cut off the excess screening with metal snips. Continue to attach the screening in the same way until the top is covered.
Step 5 –
Take additional metal screening and cut then attach pieces measuring 18″ to the insides of the box using tech screws (also known as pan screws).
Step 6 –
It’s time to attach the lid to the box! Screw two of the National Hardware 1 1/2″ Back Flap Hinges each placed approximately 8″ from ends of the box.

Step 7 –
The box is finished! Since this method of building a raised covered vegetable garden has no bottom to the box, we used shade cloth to line the inside bottom. This way the dirt will not escape the bottom of the box. Cut to fit and attach to fit with tech screws.
Filling Your Raised Covered Vegetable Garden
Now you can fill with about 6″ deep of garden soil and you’re ready to plant! New to gardening? You might find some of the tools that you’ll find helpful in this post and learn all about planting zones here. We also built a DIY POTTING BENCH if that interests you to try. Happy gardening to you!
